How to Draw on Your PC Screen With Your Android Phone
Whether you use your phone as a drawing tablet or just want to annotate pictures occasionally, here’s how to draw on a PC with an Android device.
Whether you’re learning from a PDF on your desktop, sharing your screen in an online meeting, or just sketching out some ideas in Photoshop, there are times you wish you could draw and share on your screen.
Using a graphics tablet would be an easy fix, but don’t worry if you don’t have one. This is how you can draw and write on your Windows PC screen with your Android phone.
How to draw with an Android device on your Windows PC
You can set up your phone to work in art apps like Photoshop as a cheap alternative to a graphics tablet. But you can also use it to annotate your Windows PC screen in other ways, which makes it ideal when you’re teaching or giving presentations, for example.
You need a third-party PC remote control app on your Android phone or tablet to draw on your computer screen. For this guide we will use two apps: the PC Remote Receiver app on Windows and the PC Remote app on Android. Both are free to use, although there are in-app purchase options in the Android app.
After installing both apps, launch them and follow these pairing steps:
- Connect your phone to your Windows PC using a USB cable.
- On the mobile app home screen, tap Connect and then select the USB Symbol.
- You will be prompted to enable USB tethering on your phone and once you have done so, your two devices will be paired successfully.
If your smartphone and PC are on the same Wi-Fi network, you can pair them by tapping Wireless Internet access icon instead of USB, and then select your computer name from the list.
When pairing your phone with the computer, the mobile app sometimes shows an error message, no matter what pairing mode you use.
To fix this, you must first close the app and then remove it from the Recents menu. After that, force quit the app in your phone’s settings and open it again.
Once you’ve paired your phone and PC, launch the mobile app and follow these steps to start drawing on the screen:
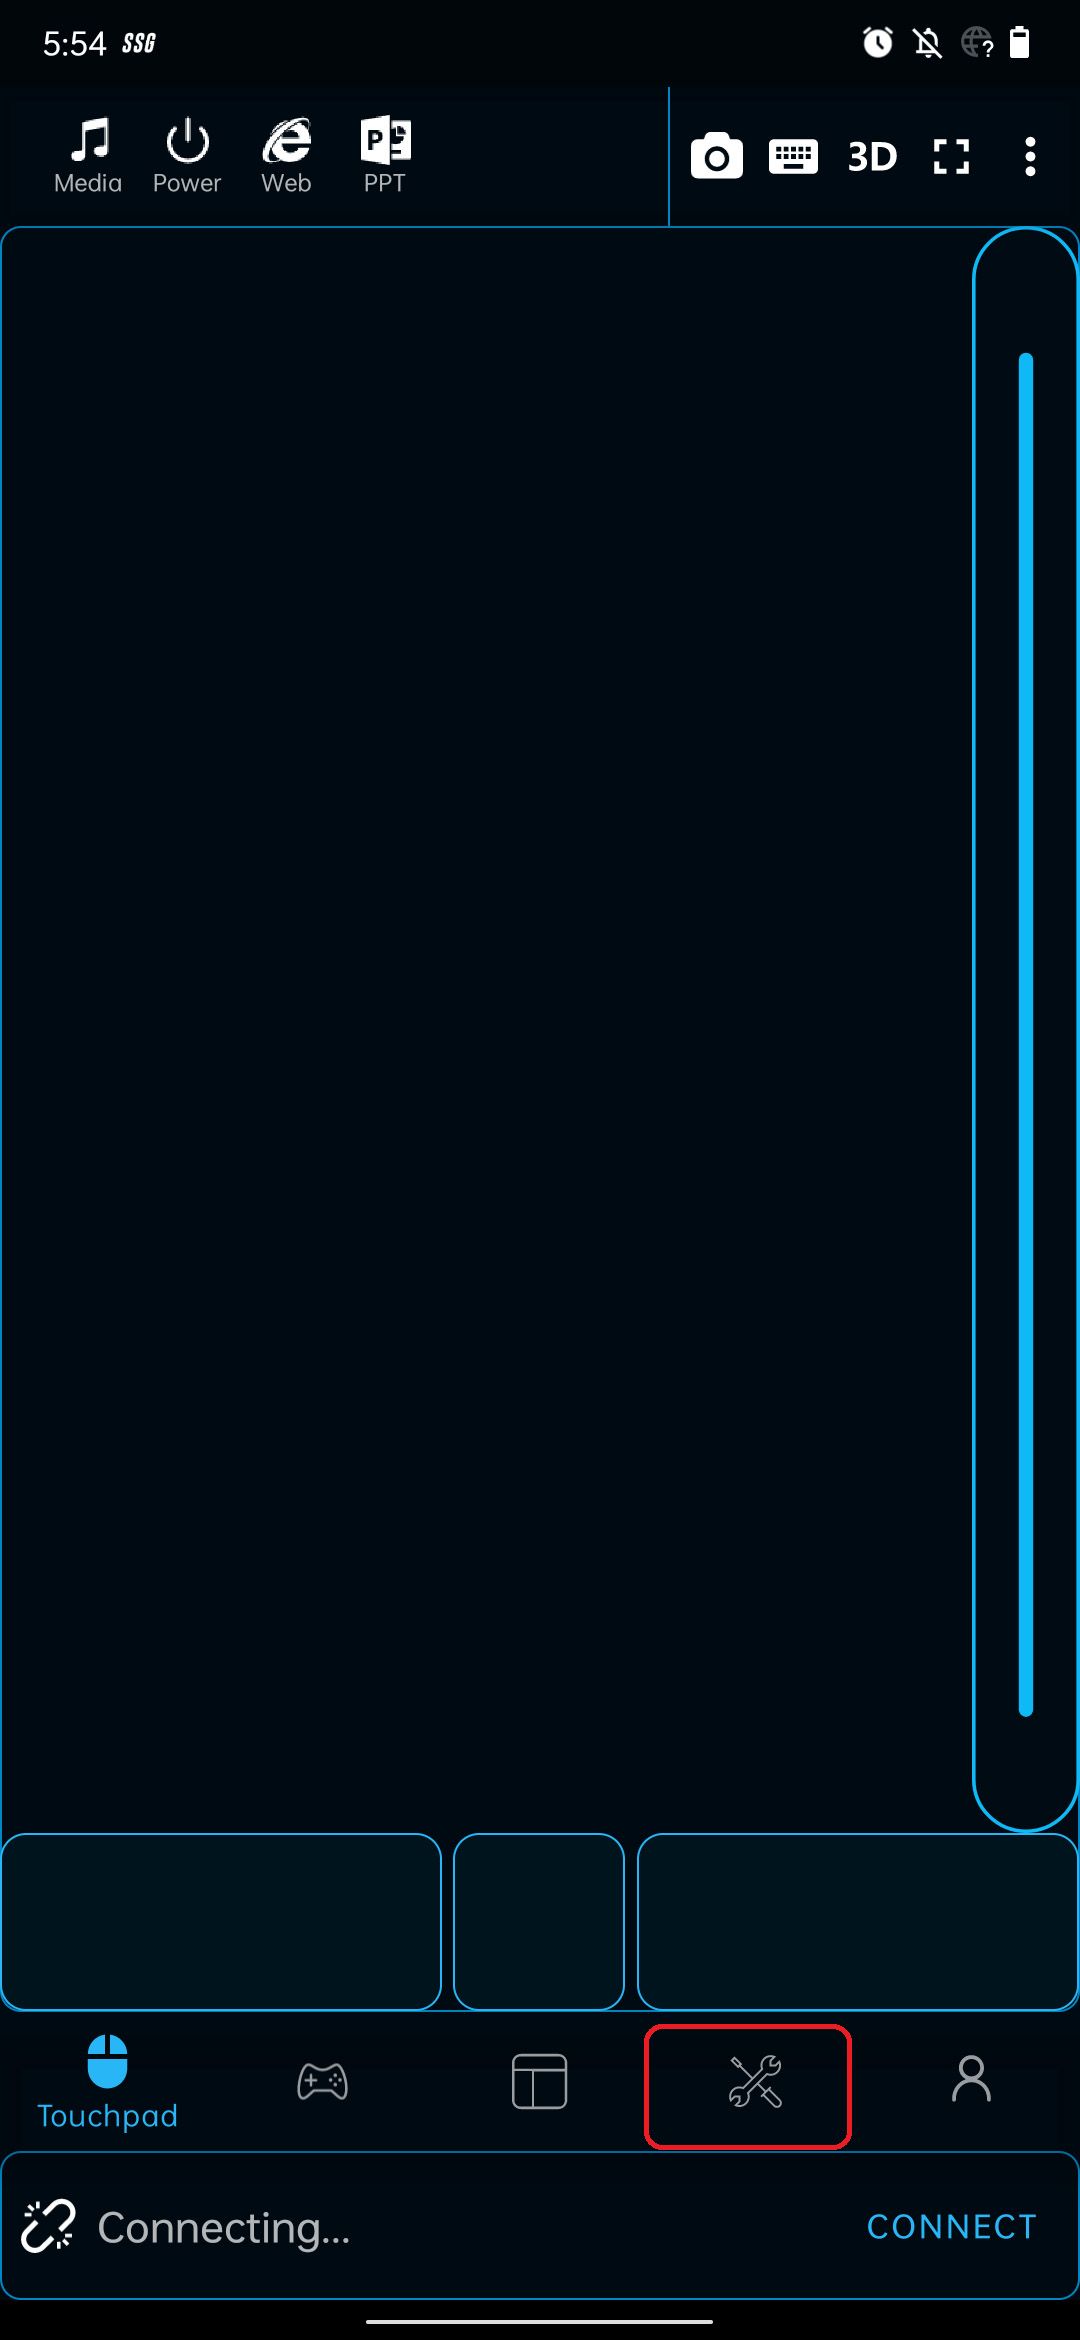
- Tap the auxiliary tools Option below, second from right.
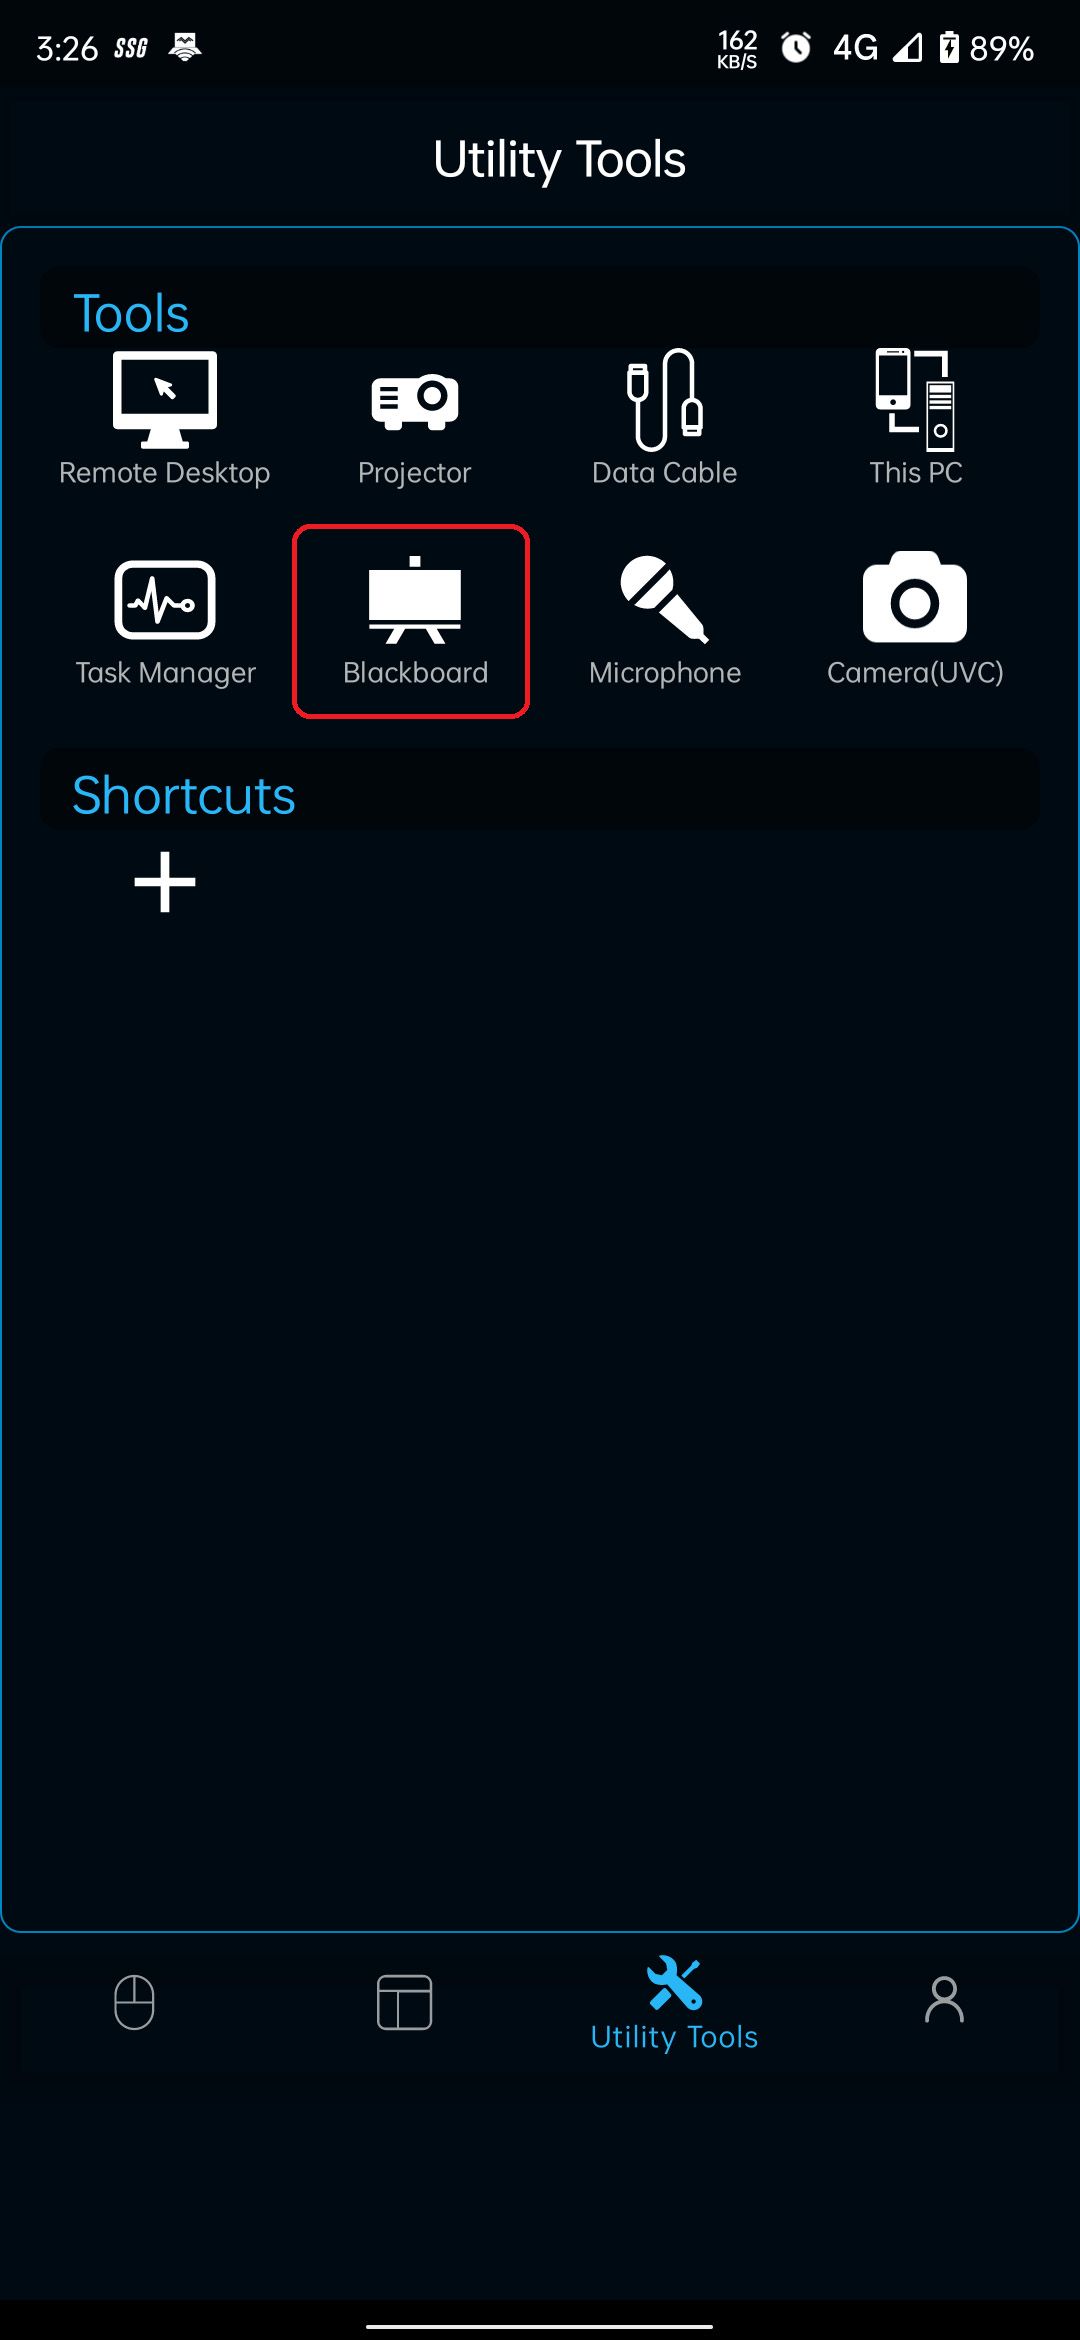
- In which auxiliary tools section, select the blackboard icon, and you can see your PC’s screen mirrored on your smartphone.
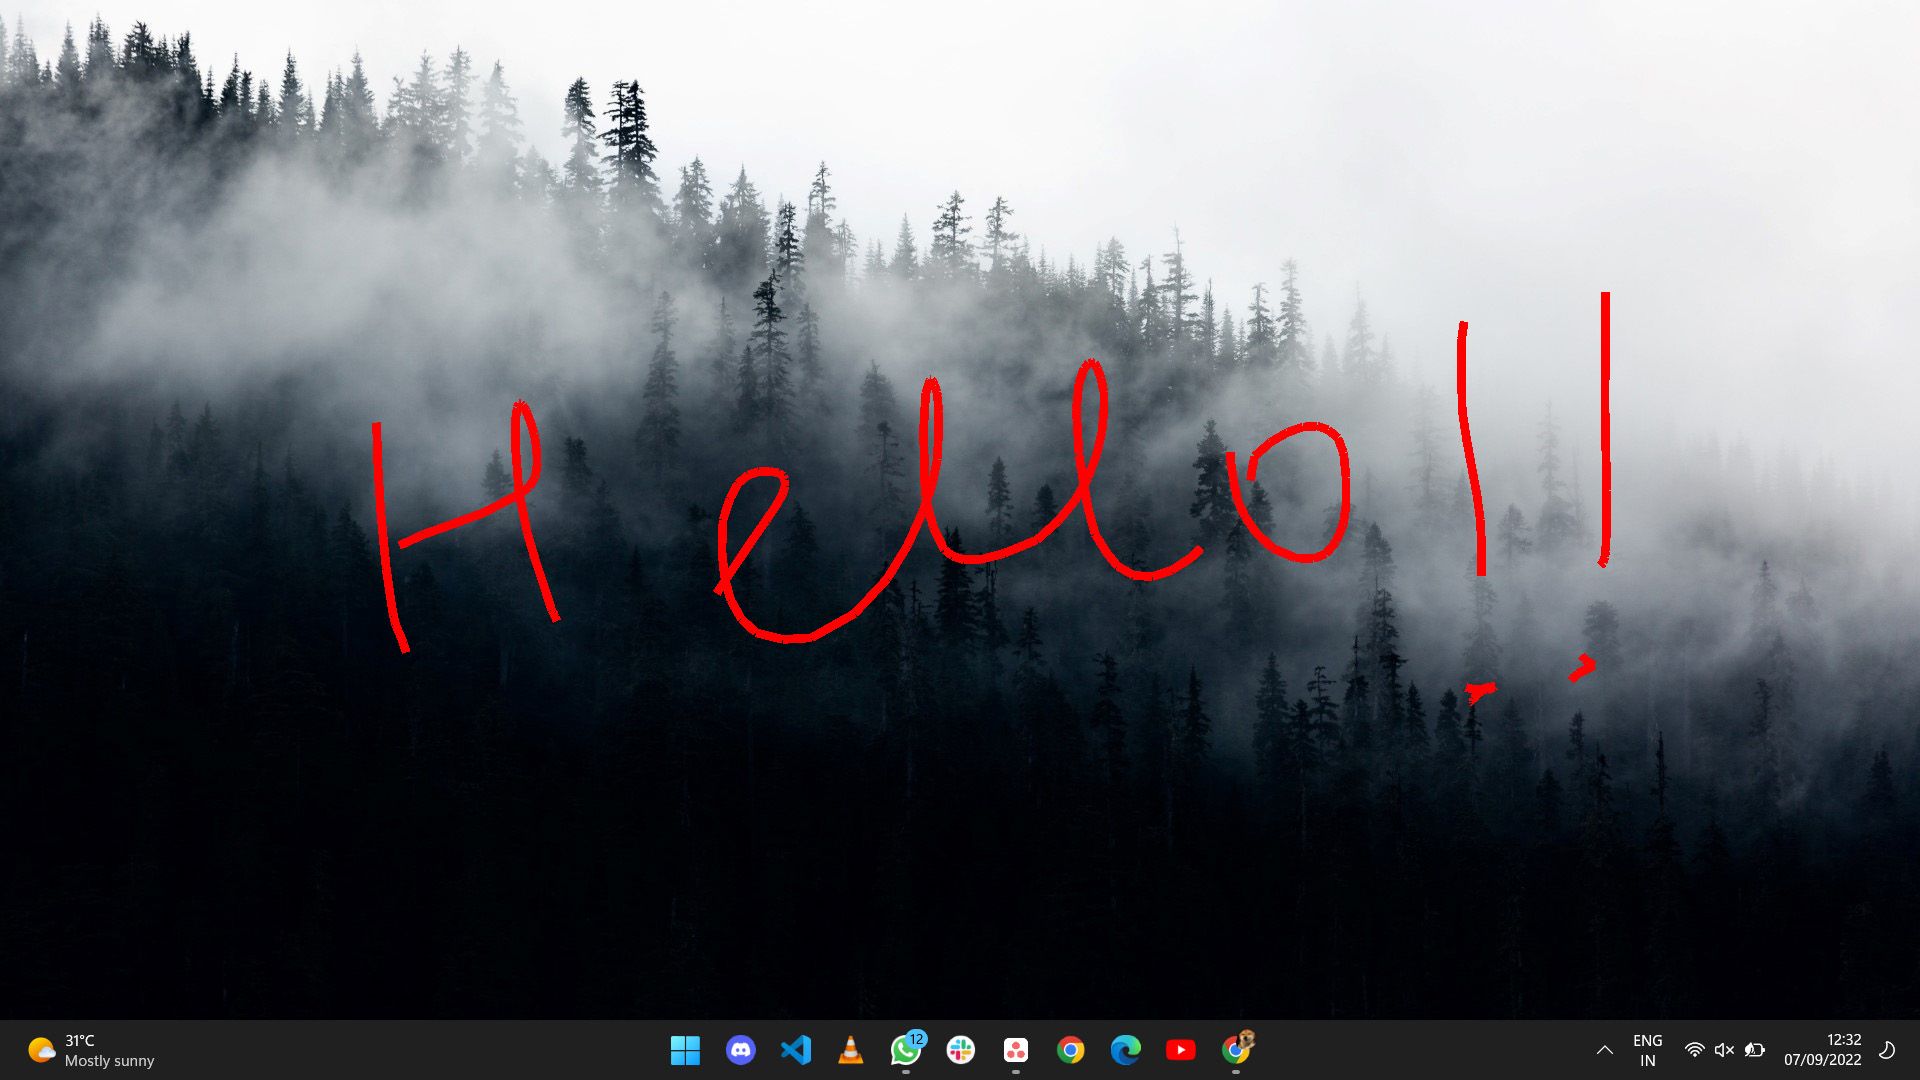
- Tap the Pen Icon to draw something on your screen. This is what your drawing will look like on your Windows screen.
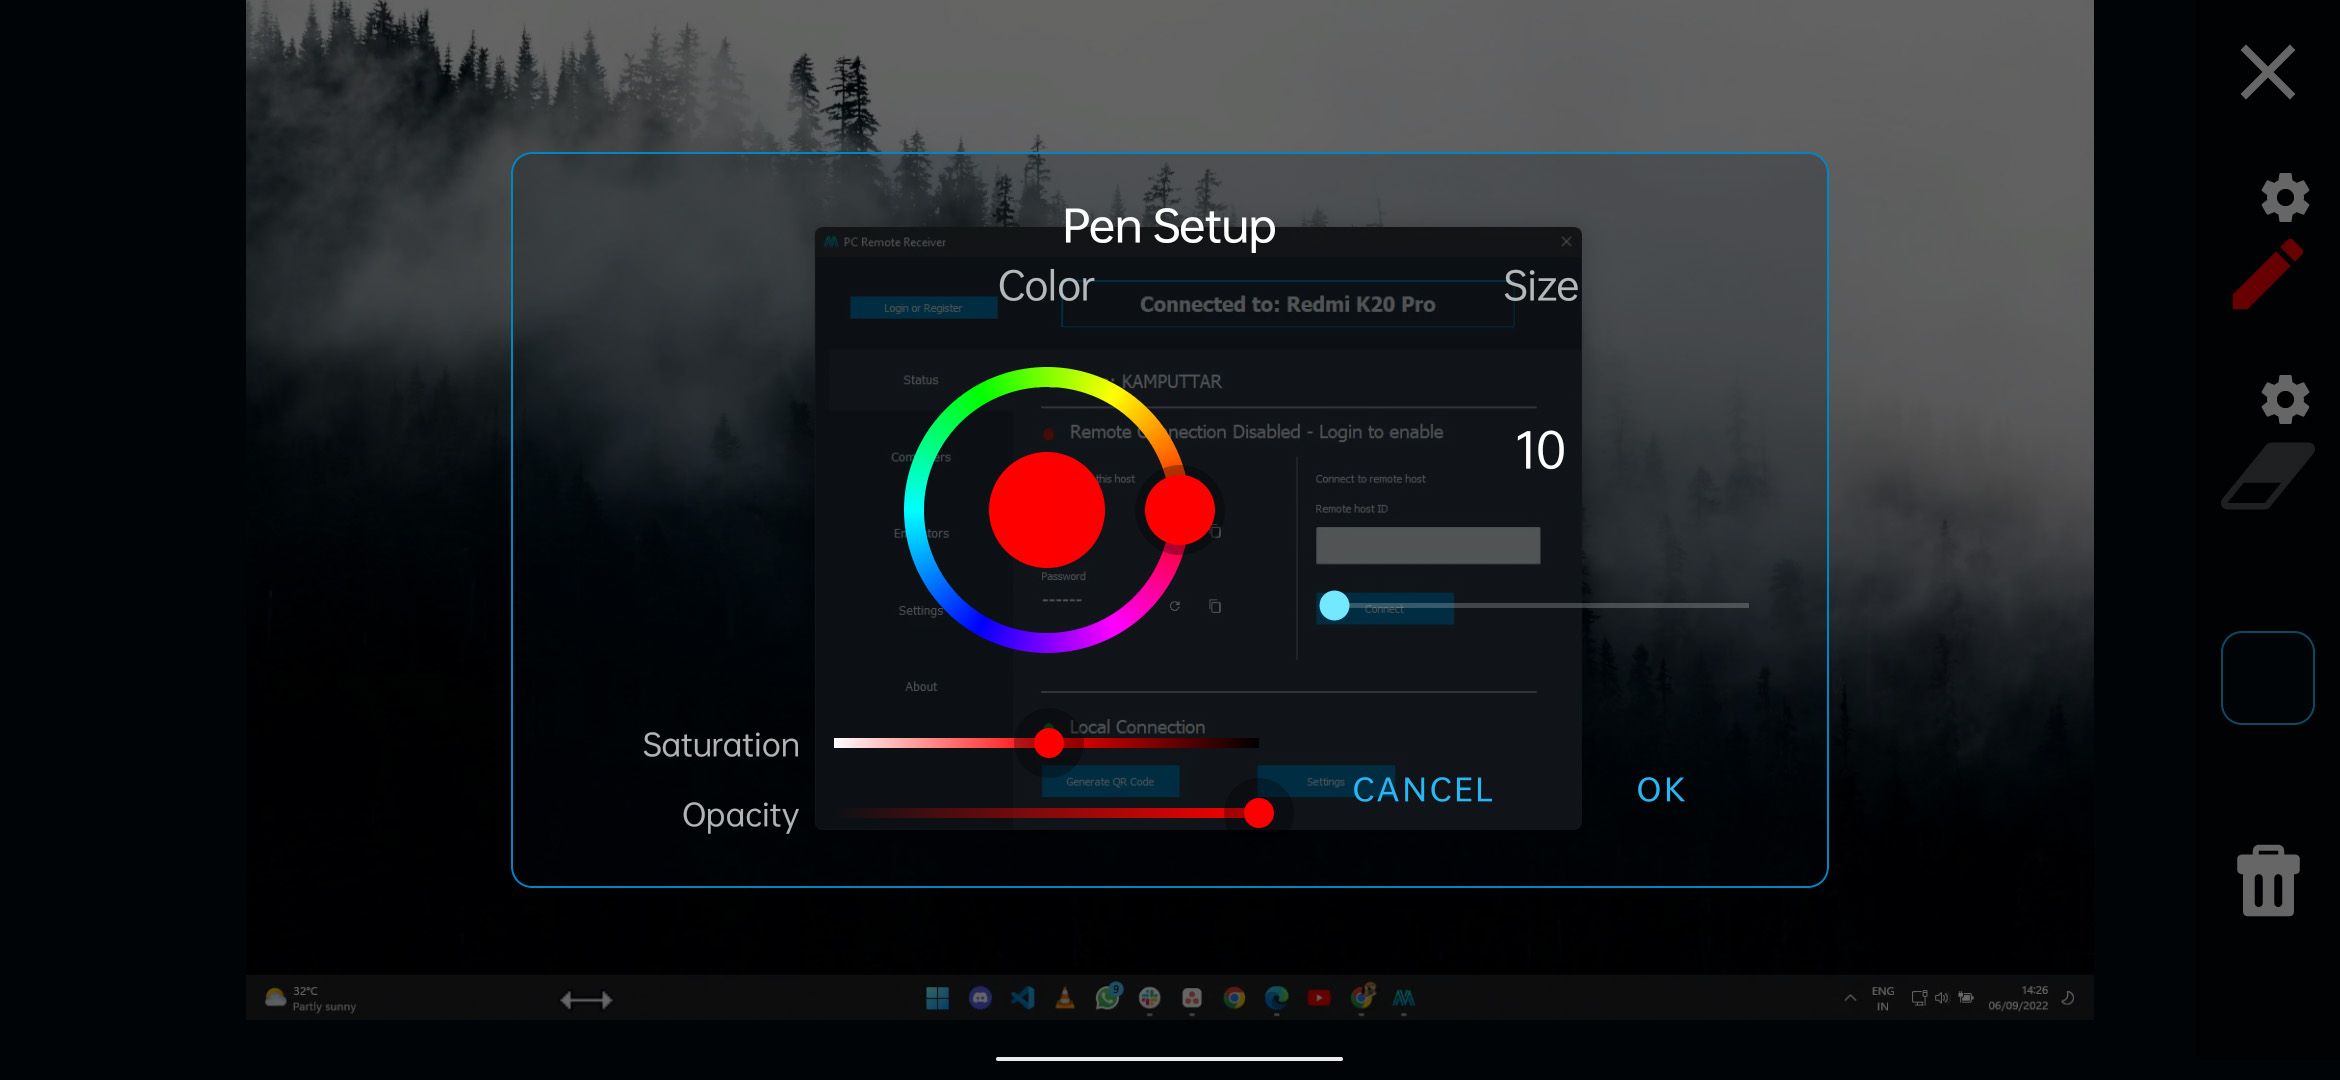
- Above Pen icon, you will see a gear icon. Tap it to open the pen settings menu, where you can adjust the pen’s size, color, opacity, and sharpness.
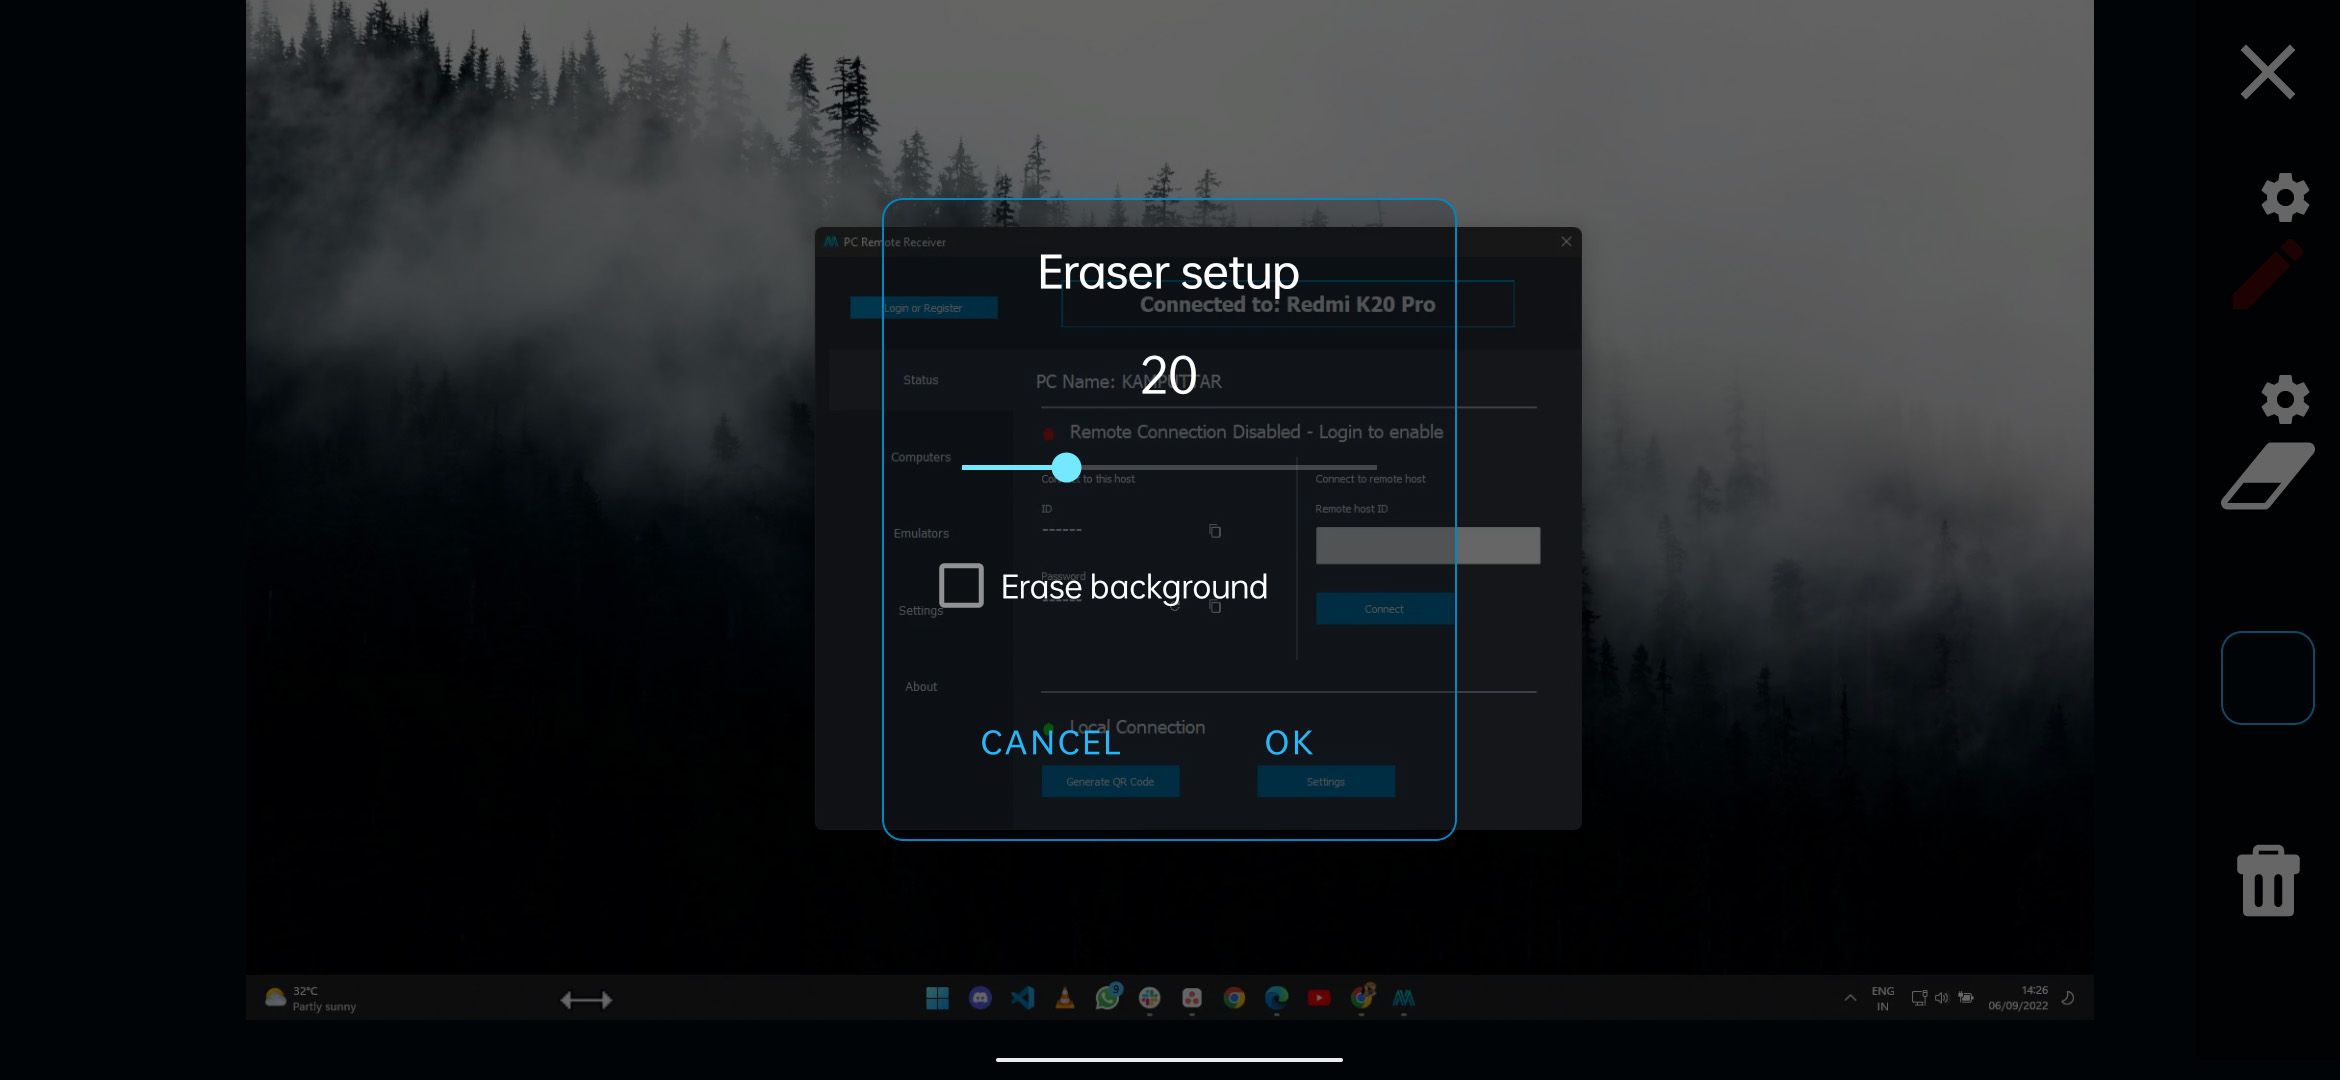
- Tap the eraser The icon allows you to erase any part of your drawing. In addition, there is a gear icon that allows you to increase or decrease the size of the eraser by dragging the slider.
- If you want to erase everything you’ve written on the screen, tap Extinguish Icon present at bottom left.
- After you finish your work, you can disconnect your phone by tapping first Me icon that is next to the Utility icon, and then select it SEPARATE Possibility.
Turn your Android phone into a drawing pad for your PC
Using an Android phone to draw on the screen of a PC is a great money-saving option for new graphic artists and people who occasionally need to annotate something on their PC. But it’s not a replacement for dedicated gear when you really need it. If you’re into digital art for a living, you won’t regret investing in a good graphics tablet or iPad.
