How to Edit Images in Edge Before Downloading Them
Editing images usually requires downloading them, which can be cumbersome. Luckily, an Edge feature lets you edit images before downloading them.
Not every image you see on the internet is the look you want. The sad part is that in order to edit an image from the web, you have to download it first. However, not in the Edge browser from Microsoft.
Edge lets you quickly edit an image before downloading it, making it easier to work with images. Also, you don’t have to use another tool to edit the images later unless you want to make major edits that Microsoft Edge’s editing tool doesn’t have.
Here’s how to access Microsoft Edge’s built-in image editor
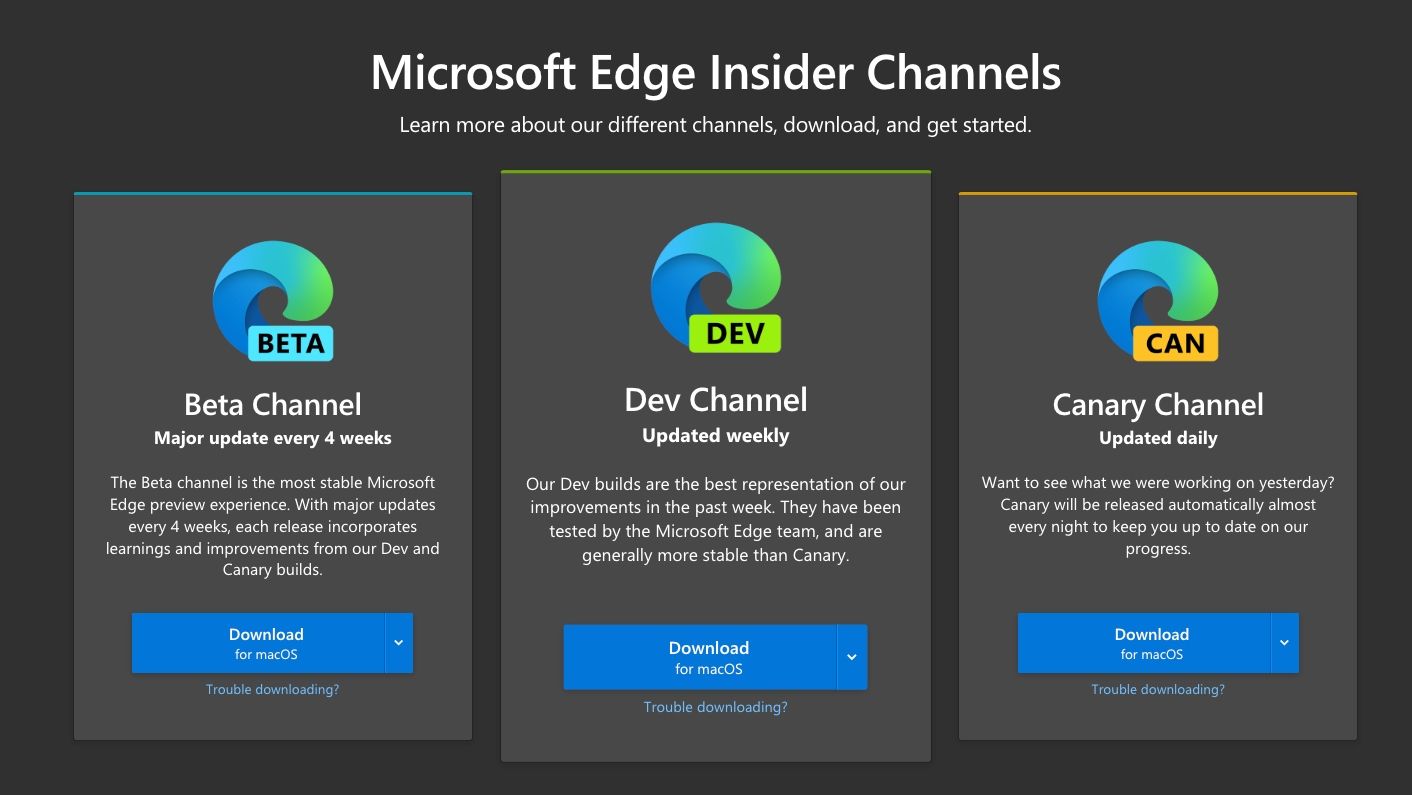
The public version of Microsoft Edge is missing the image editor at the time of writing. You must therefore download the beta version of the browser.
You can download the beta by going to the Microsoft Edge Insider Channels page, then selecting one of the available options and clicking Download. We recommend downloading Edge from the Canary channel as it is the only version with this feature at the time of writing.
The pop-up window will show different options depending on the operating system. Select the appropriate option and click on it Accept and download on the next page. The download will start shortly. When you’re done, install and open the app.
How to edit an image before downloading it in Edge
Getting started is easy with Edge installed. Here’s how:
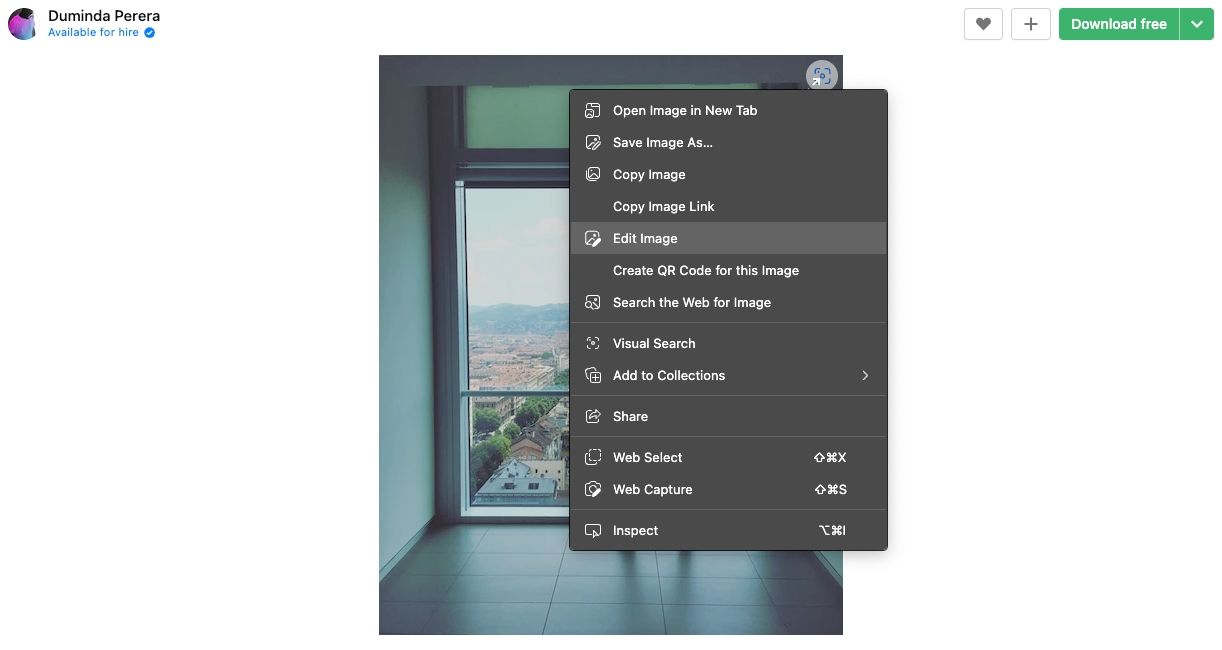
- Right-click an image that you want to edit. On Mac, you need to double-click the touchpad. Select in the context menu Edit image.
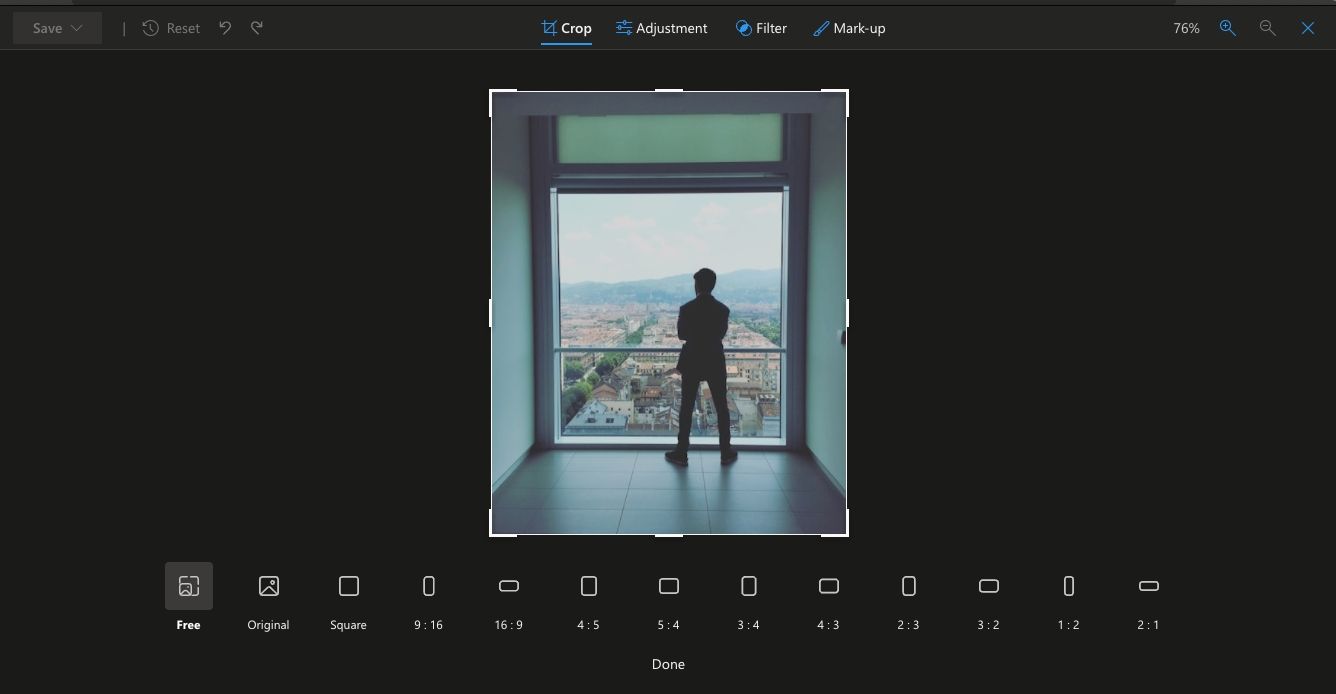
- Edge opens an editing window where you can adjust the image. There are four tabs: Crop, Adjustment, Filter, and Markup. So if you need to do more, you must use one of the best photo editors.
- Start by cropping your image to your preferred size. More specifically select Free below, then select a preferred aspect ratio. You can also rotate or flip the image on the Crop tab. For best results, it’s important to remember the top tips for cropping an image.
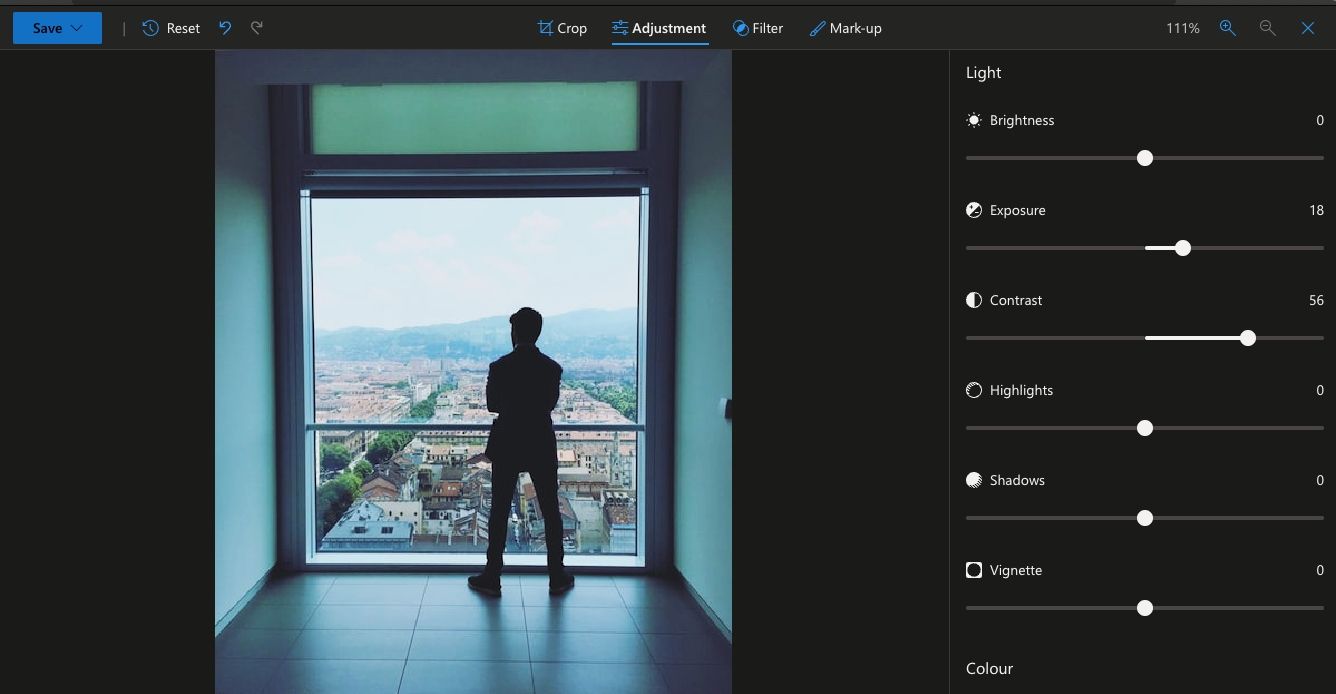
- When you’re happy with the result, go to the Adjustment tab where you can adjust brightness, exposure, contrast, highlights, shadows, color, and more. Remember that you can always click and hold the image to view the original version.
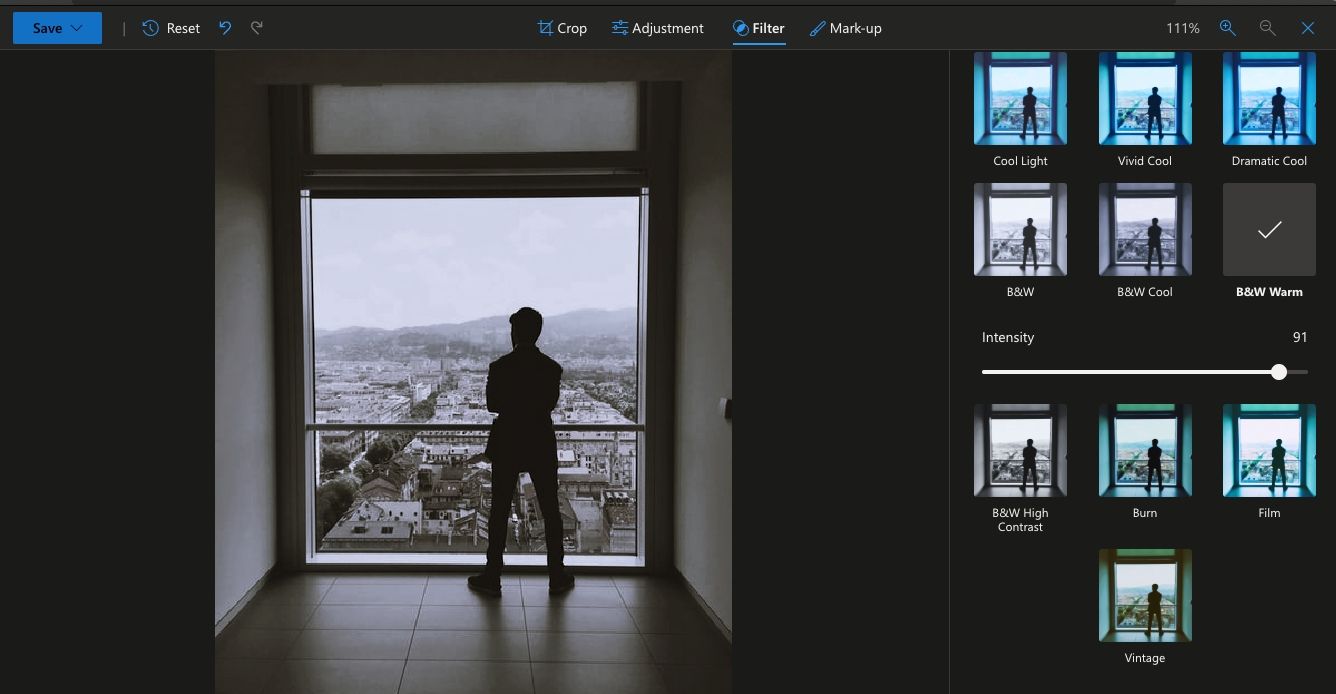
- For quick adjustments, we recommend using the Filters tab, which contains preset filters that you can apply to the image. The tool also allows you to adjust the intensity of the filters.
- Then click on the mark Tab if you want to annotate the image.
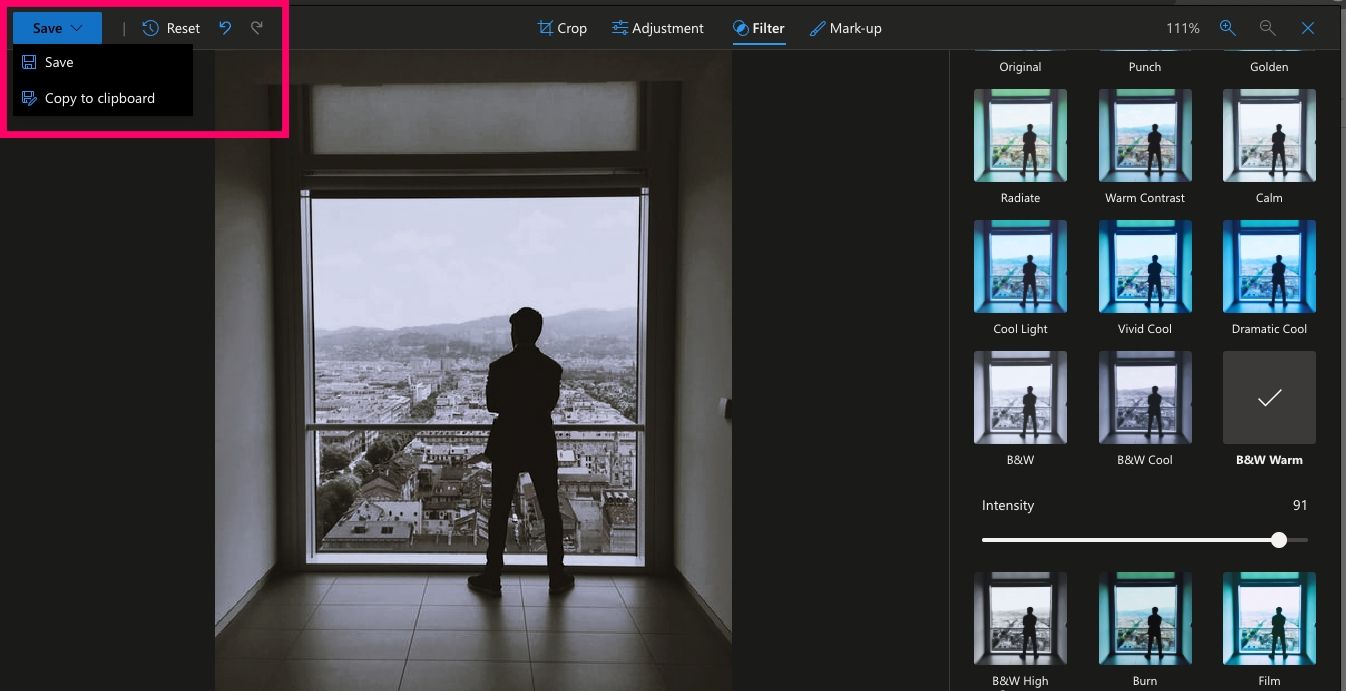
- When you are finished editing, click Save on computer press and select Save on computer to download the image or Save to clipboard if you want to copy the image and paste it somewhere else.
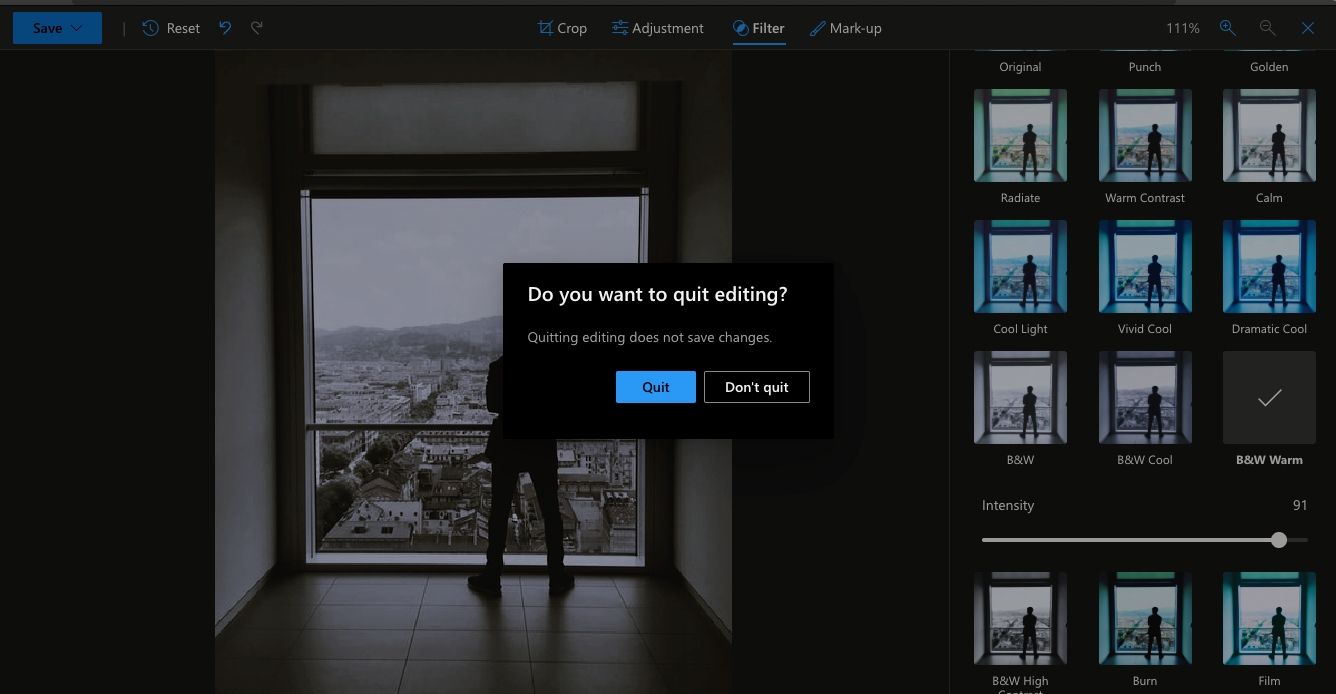
- press the X click and select at the top right Stop to close the editor.
If at any point you want to undo or redo an action, use the Cancel and To repeat button near the Reset to default Button. The reset button is your first choice when you want to start over.
No need to download images before editing
Microsoft Edge’s built-in image editor is a game changer by allowing you to make quick changes to an image before downloading it. It’s straightforward, with a slight learning curve.
Even if you stick to your other favorite browser, the built-in editor should convince you to use the browser at least if you want to edit an image before downloading it.
