Scorn Act 4: How to complete the maze puzzles
You’re almost certainly familiar with the biomechanical world of Scorn by this point, and hopefully you’ve started to understand the language of this strange environment a little better. Act 4 feels particularly easy in terms of puzzles, but this is where your combat skills might feel a little more necessary.
That said, and I’ll no doubt repeat myself a lot in this guide, most enemies are worth luring out and running from. It’s always worth stocking up on ammo and healing resources in Scorn, and many enemies are mostly avoidable. However, those who spit acid at you could pose a greater threat.
Anyway, take this as your spoiler alert for what follows, and here’s our guide to completing Act 4 of Scorn!
How to complete Act 4 of Scorn?
Act 4, like Act 3, consists of only one part, which we will now guide you through.
Walkthrough for Scorn Act 4
After taking the big elevator and being spat out by Scorn in Act 4, proceed. You can then choose to go left or right. In this case, turn right. You can go to the left if you really want to, but a lot of acid-spitting aliens and their chicken-shaped counterparts will be there.
Eventually you will ascend with some stairs in front of you and on your left. Go straight and a two-handed pillar will be on your left.
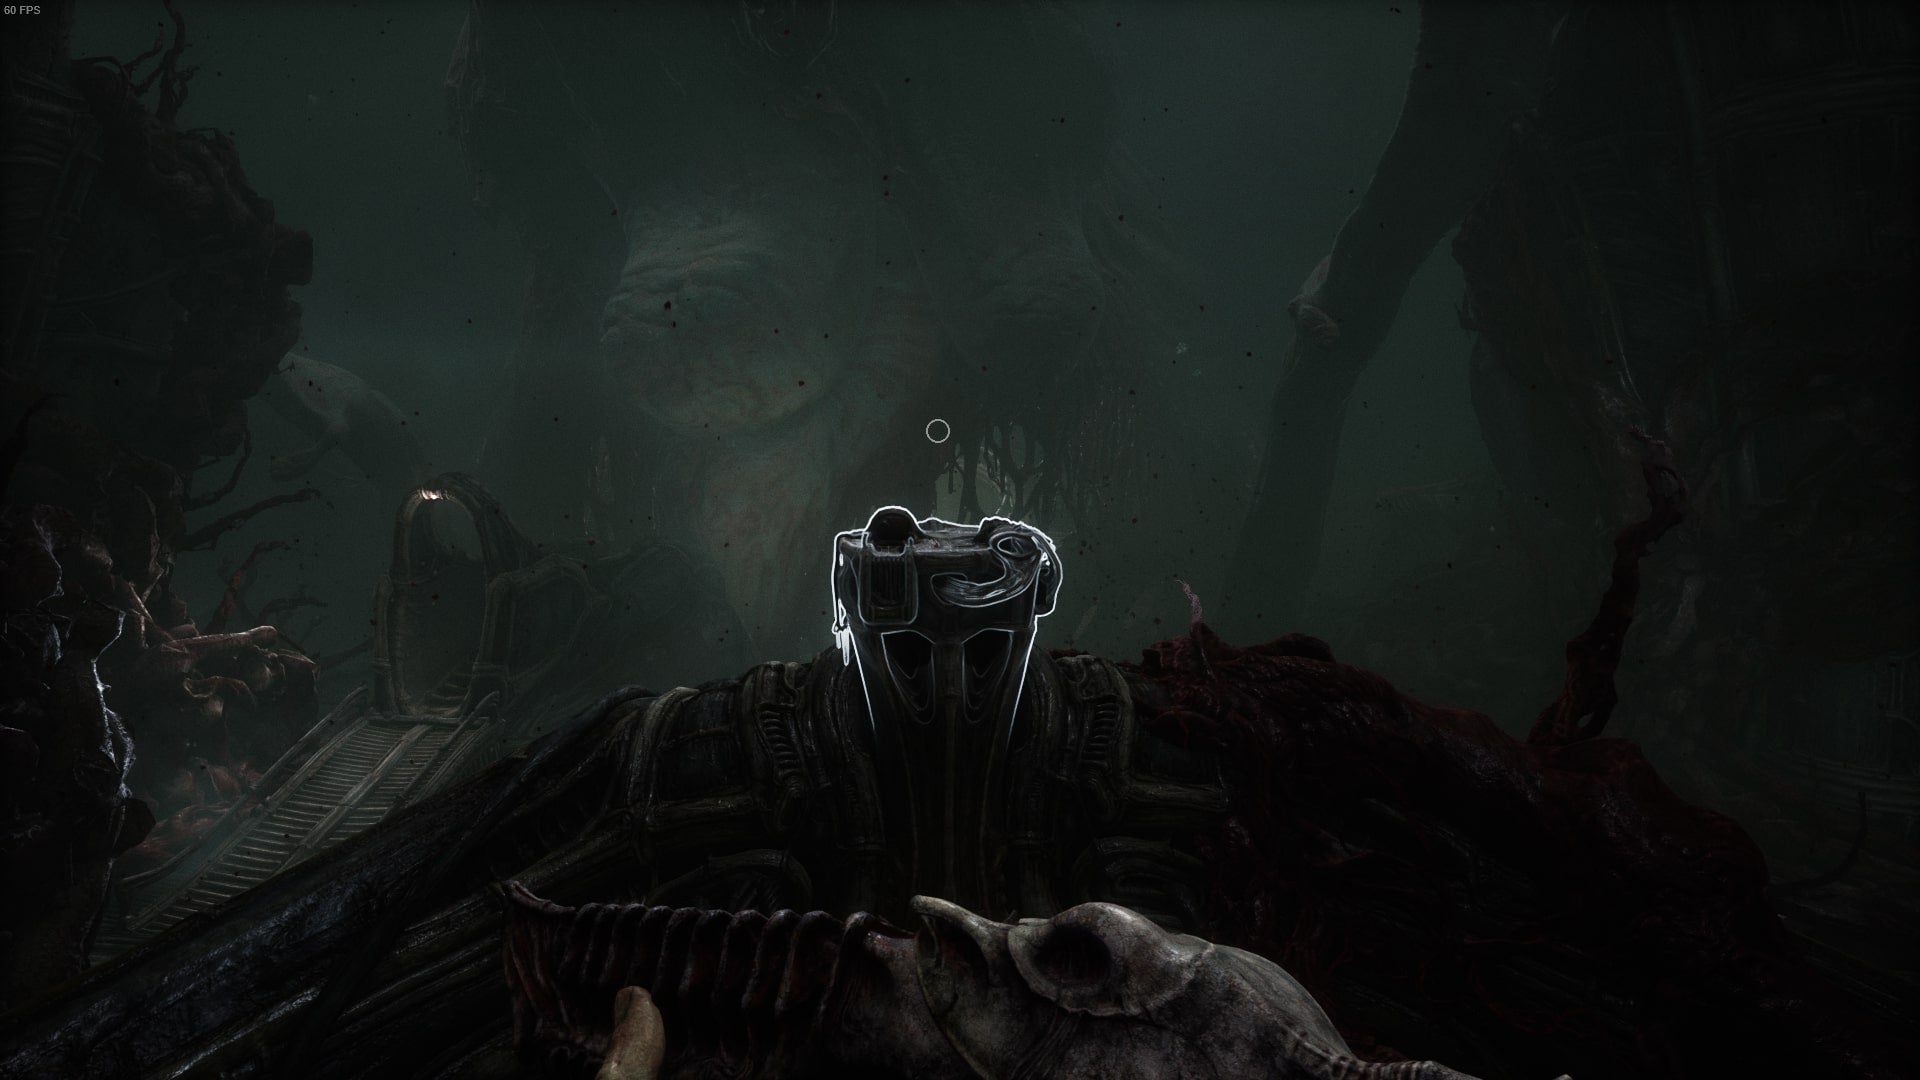
Interact with the pillar and then the bulging mass in front of you that looks like a large loose-skinned alien. Immediately after that’s done, a chicken-like alien will appear to your right and start spitting at you. Deal with it, then head down the stairs and up the stairs to your immediate right. You will reach another pillar with a maze above it.
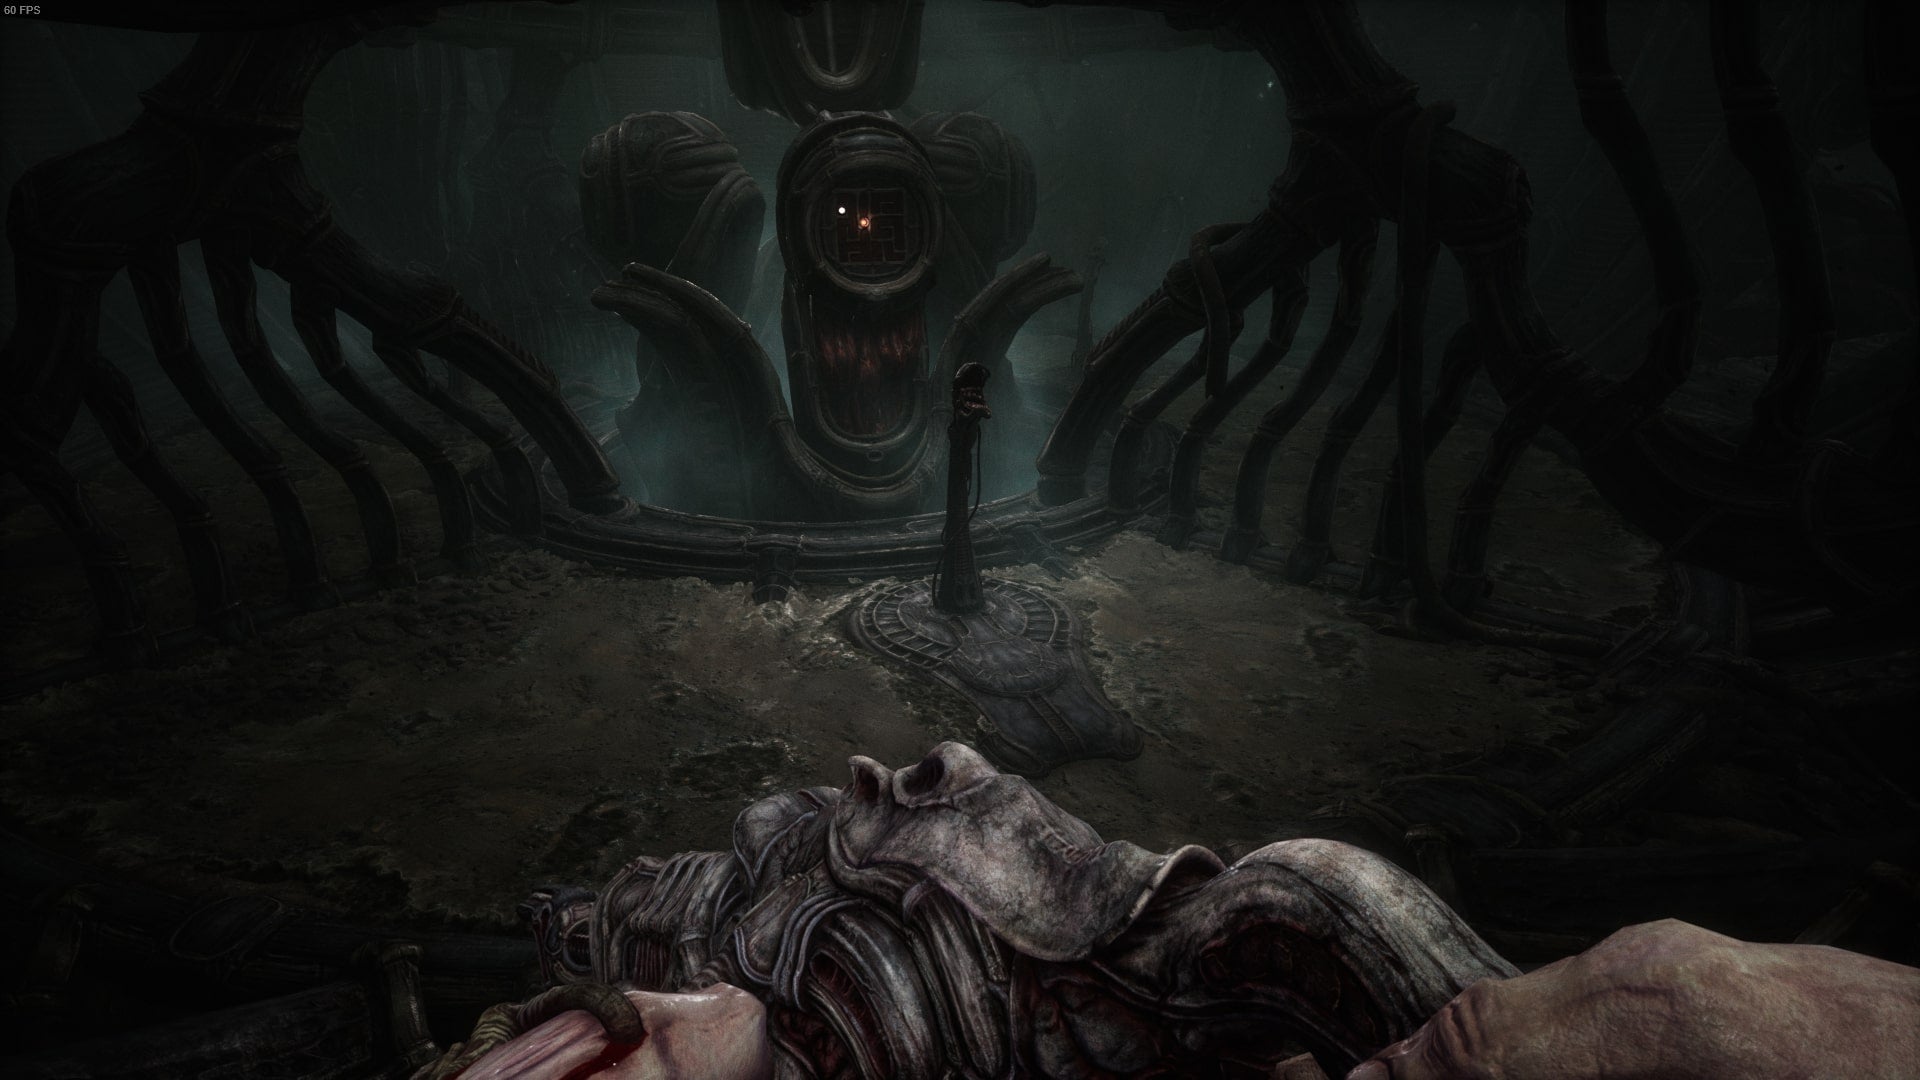
First maze puzzle
Interact with the pillar and the maze will rise. Turn around and you will see that there is another set of stairs next to the ones you just came down. Go up the unknown stairs.
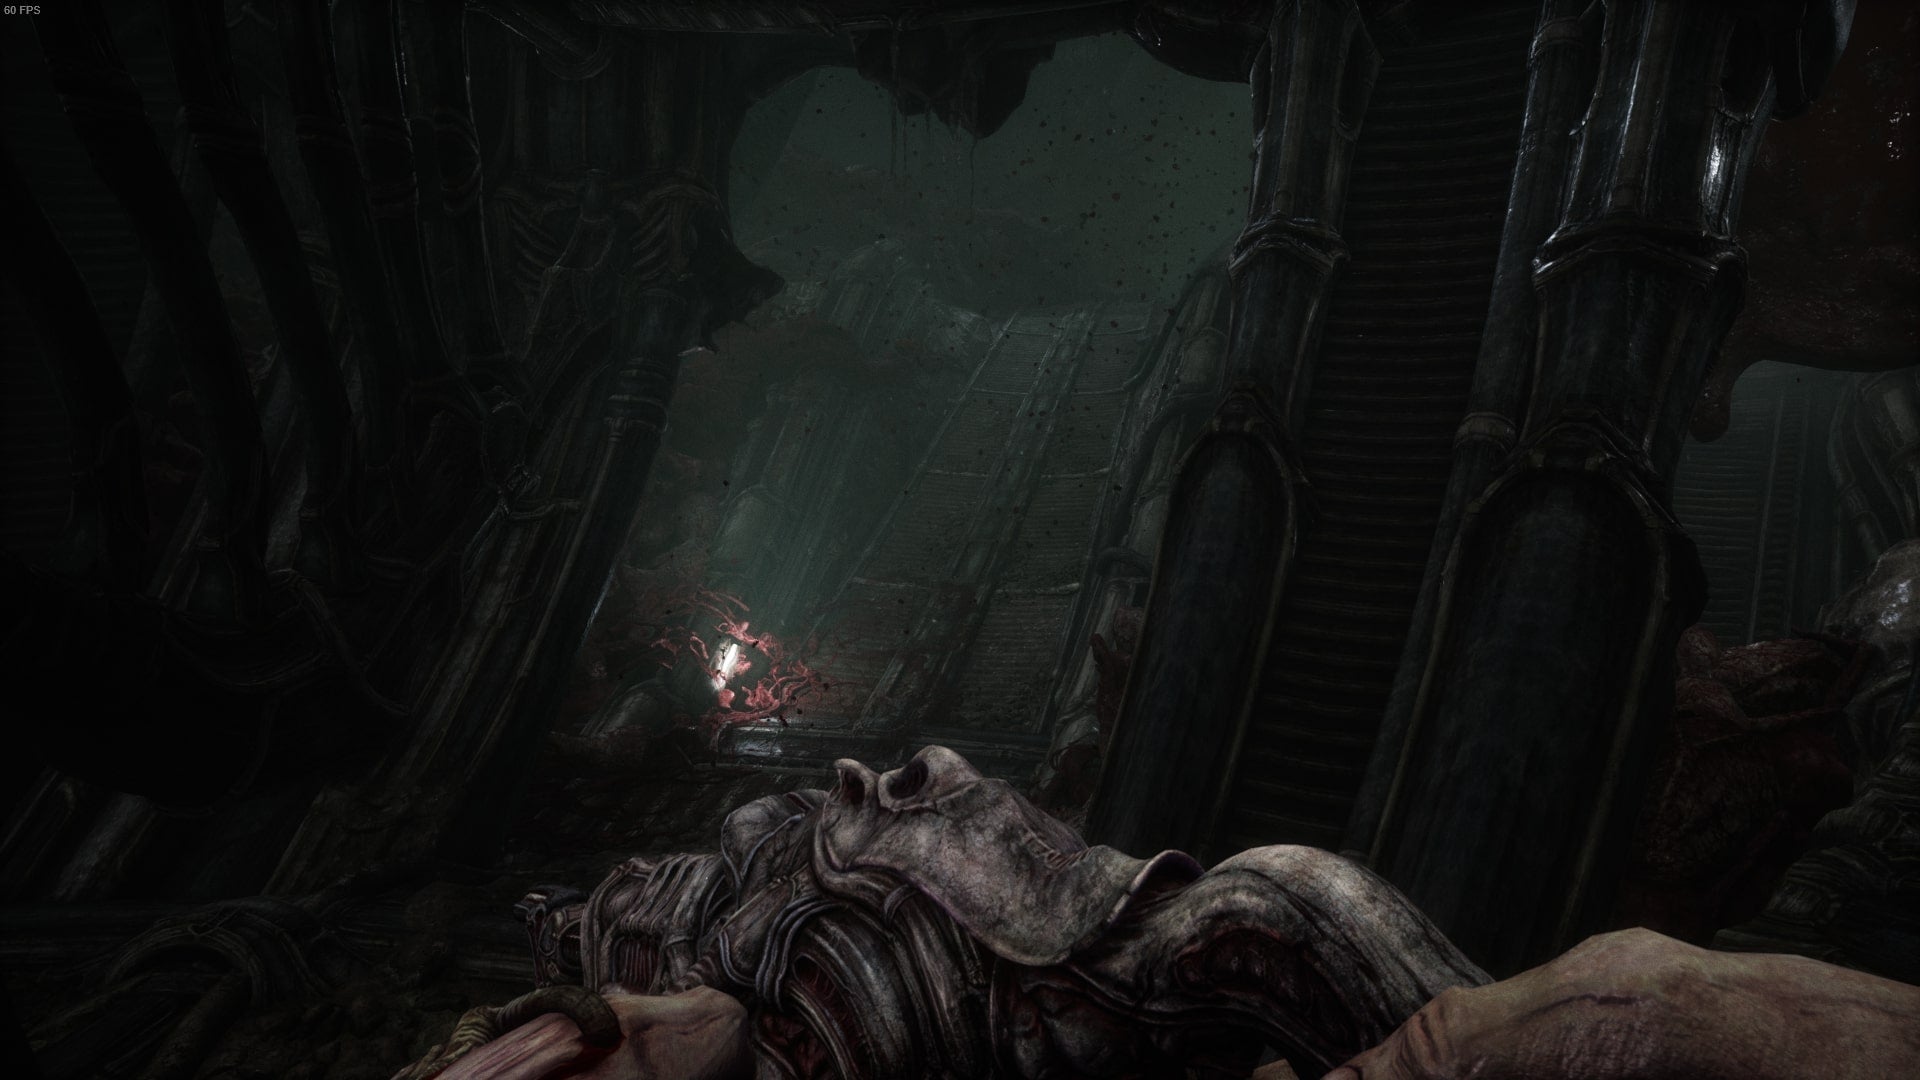
You should follow this path until you reach more steps that you need to climb. There are many smaller enemies along this route who will want to attack you, so be careful. I recommend trying to walk past them wherever you can! You will appear in the area shown below where you can choose to go left, forward or right.
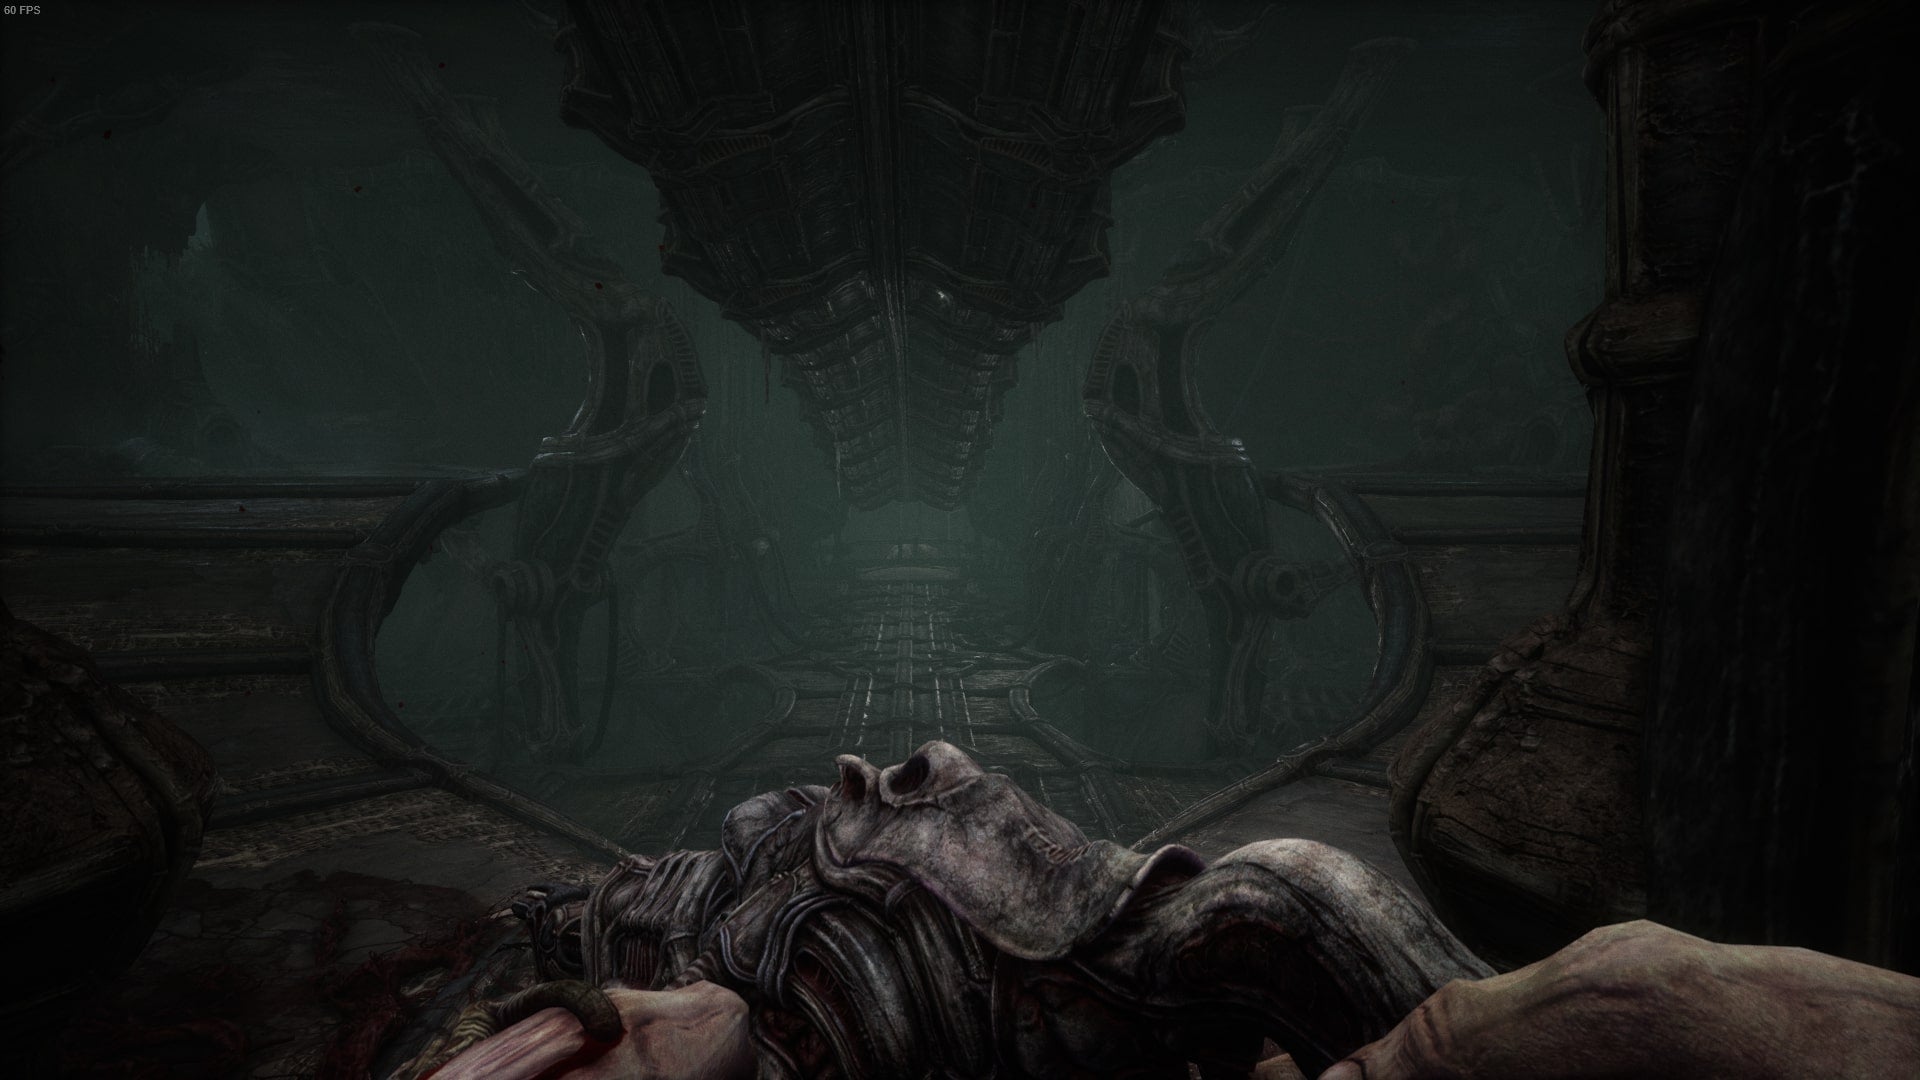
There’s a dead end on the right, but on the left you can find another Crab Bite Healing Machine to refill your heals. Directly in front of this machine is another pillar, pictured below. Interact with it and then interact with the bulbous part of the alien creature that has the open wound.
I’ll also call this giant being ‘Nelly’ from now on, as appropriate, and a little more politely too.
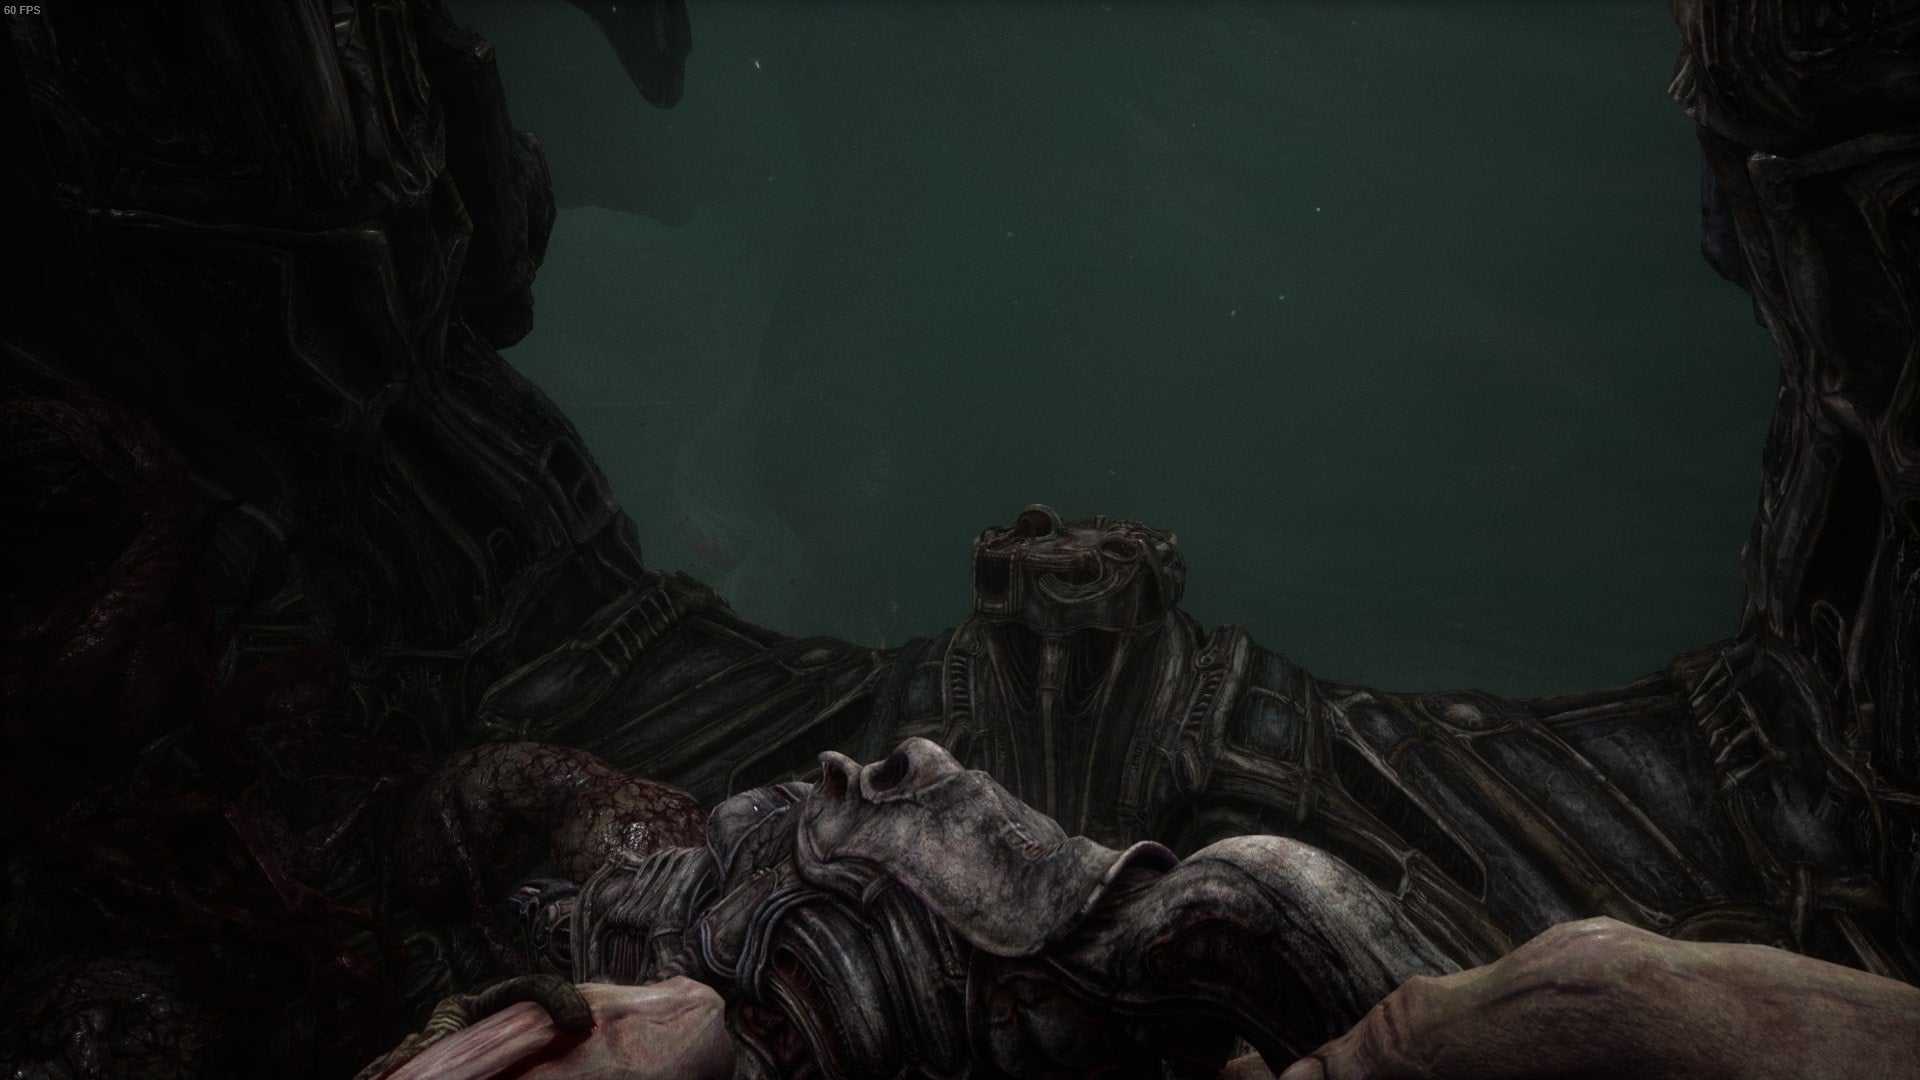
After that, watch out again for the smaller aliens to approach you. Up the path just past this area is another door that you don’t have access to yet. Remember the position for later.
Go back to where the crossroads was before and take the last path you haven’t already taken: forward. After the small cutscene, you can either go left or right at the end of this route. Using the maze machine from earlier, you’ll reach another two-handed pillar. Interact with it to start the puzzle, but you may find that you can’t quite complete it just yet. Note this location again and we’ll come back to it later.
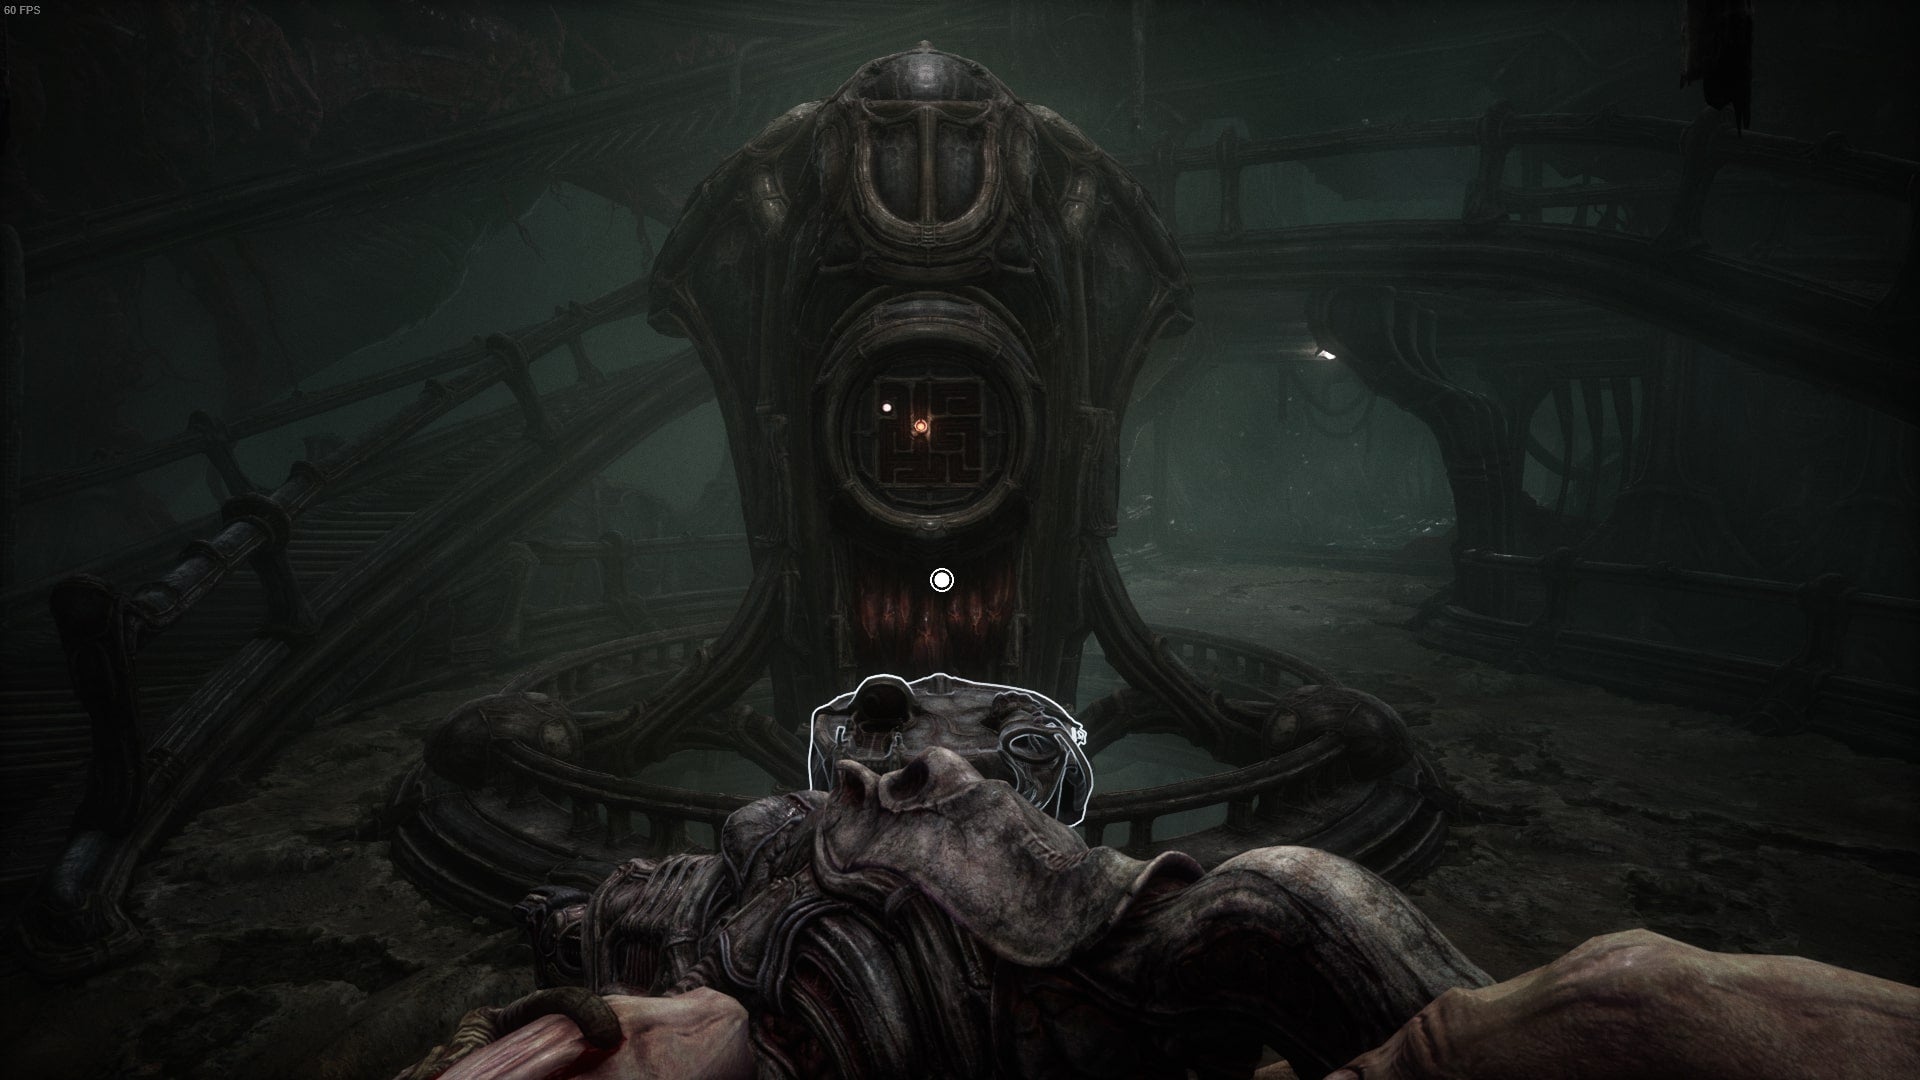
Walk down the path behind the maze machine. Along here and to the left is another door that you don’t have access to yet. Straight ahead, however, are two more machines; One will upgrade your healing crab and the other will upgrade your weapon again.
Finally, the path to the right houses an alien tyrant that can be taken out with two shots of your new weapon. At the end of the path is a lever you can activate that will take you to the top in an elevator. Again, be careful, there will be more enemies lingering above.
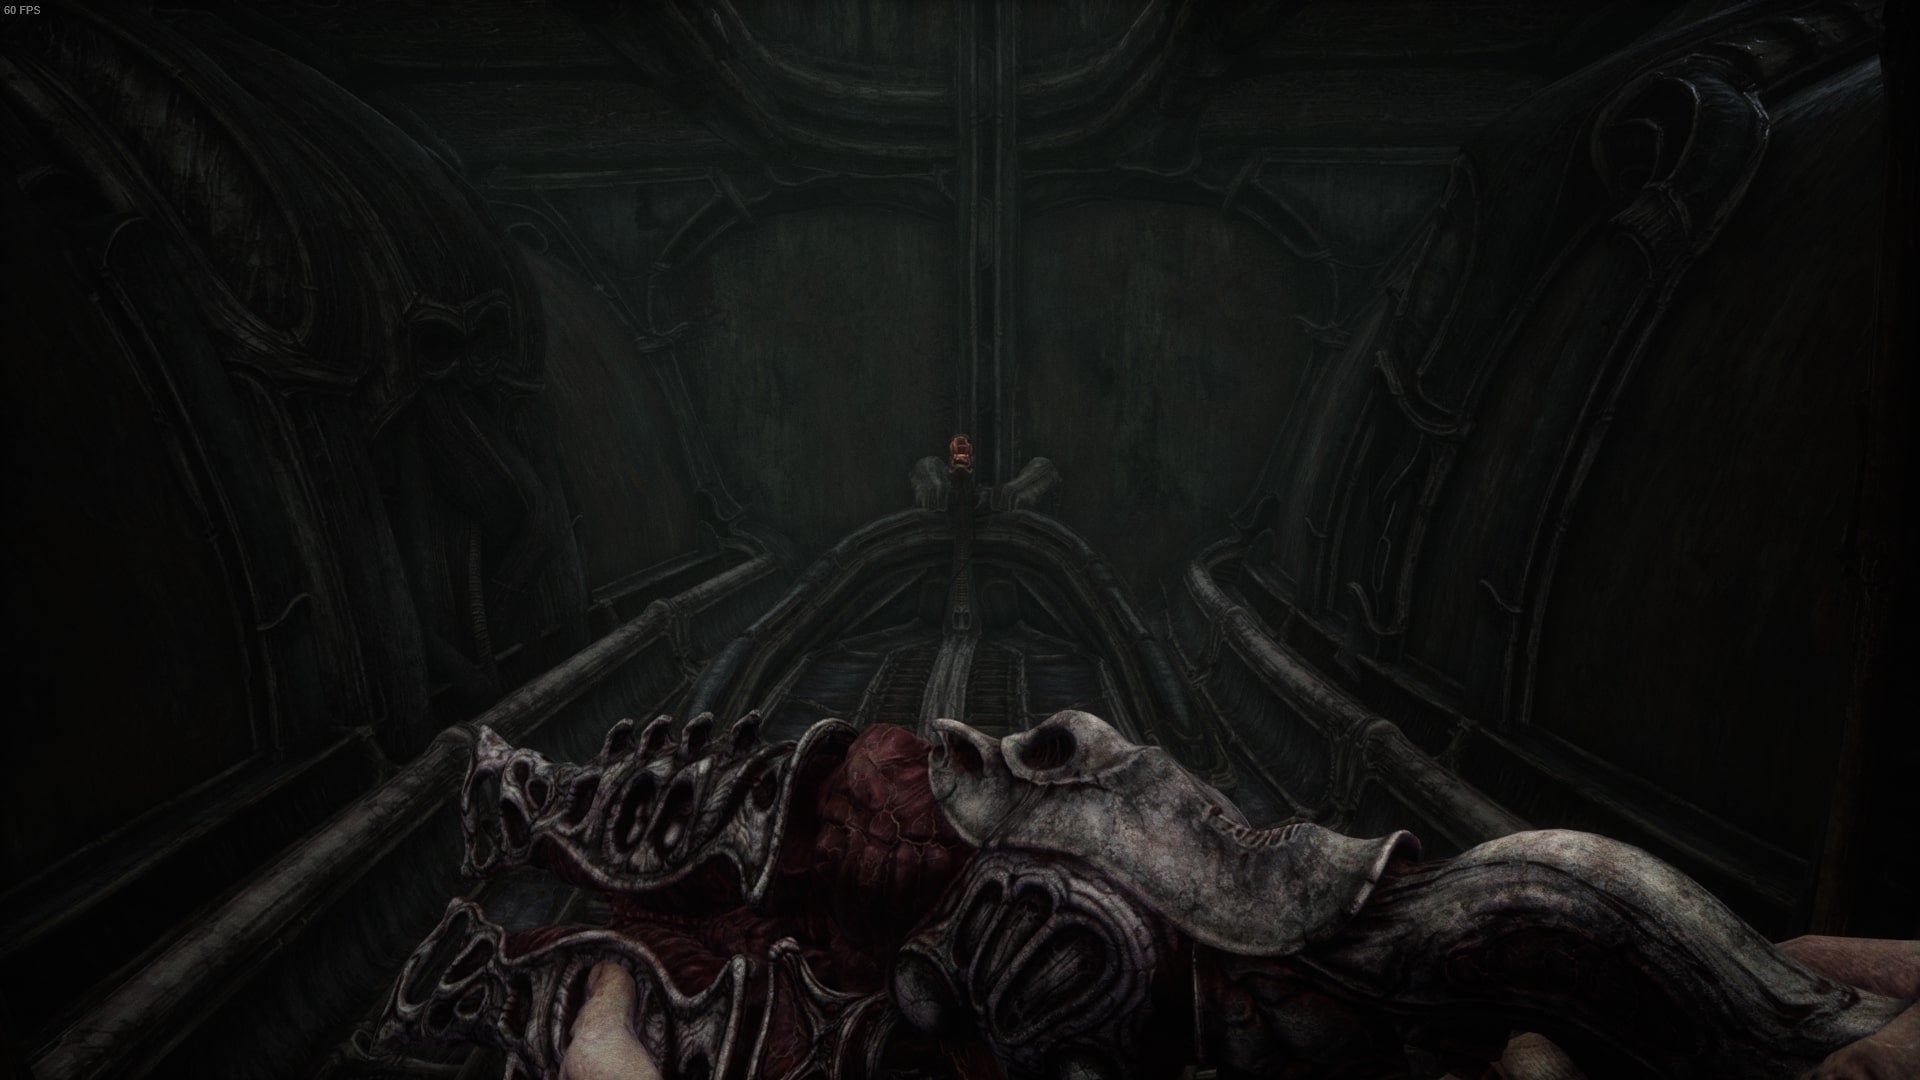
From here turn right. From now on you can safely assume that alien enemies will be everywhere you go. Again, I recommend using stealth and running where you can to conserve your ammo.
Keep going and keep left. When you enter a room with the big tyrant alien, immediately go right and then left again. It’s confusing, but you should end up at the machine image below, which will upgrade your key and grant you access to the doors we saw earlier.
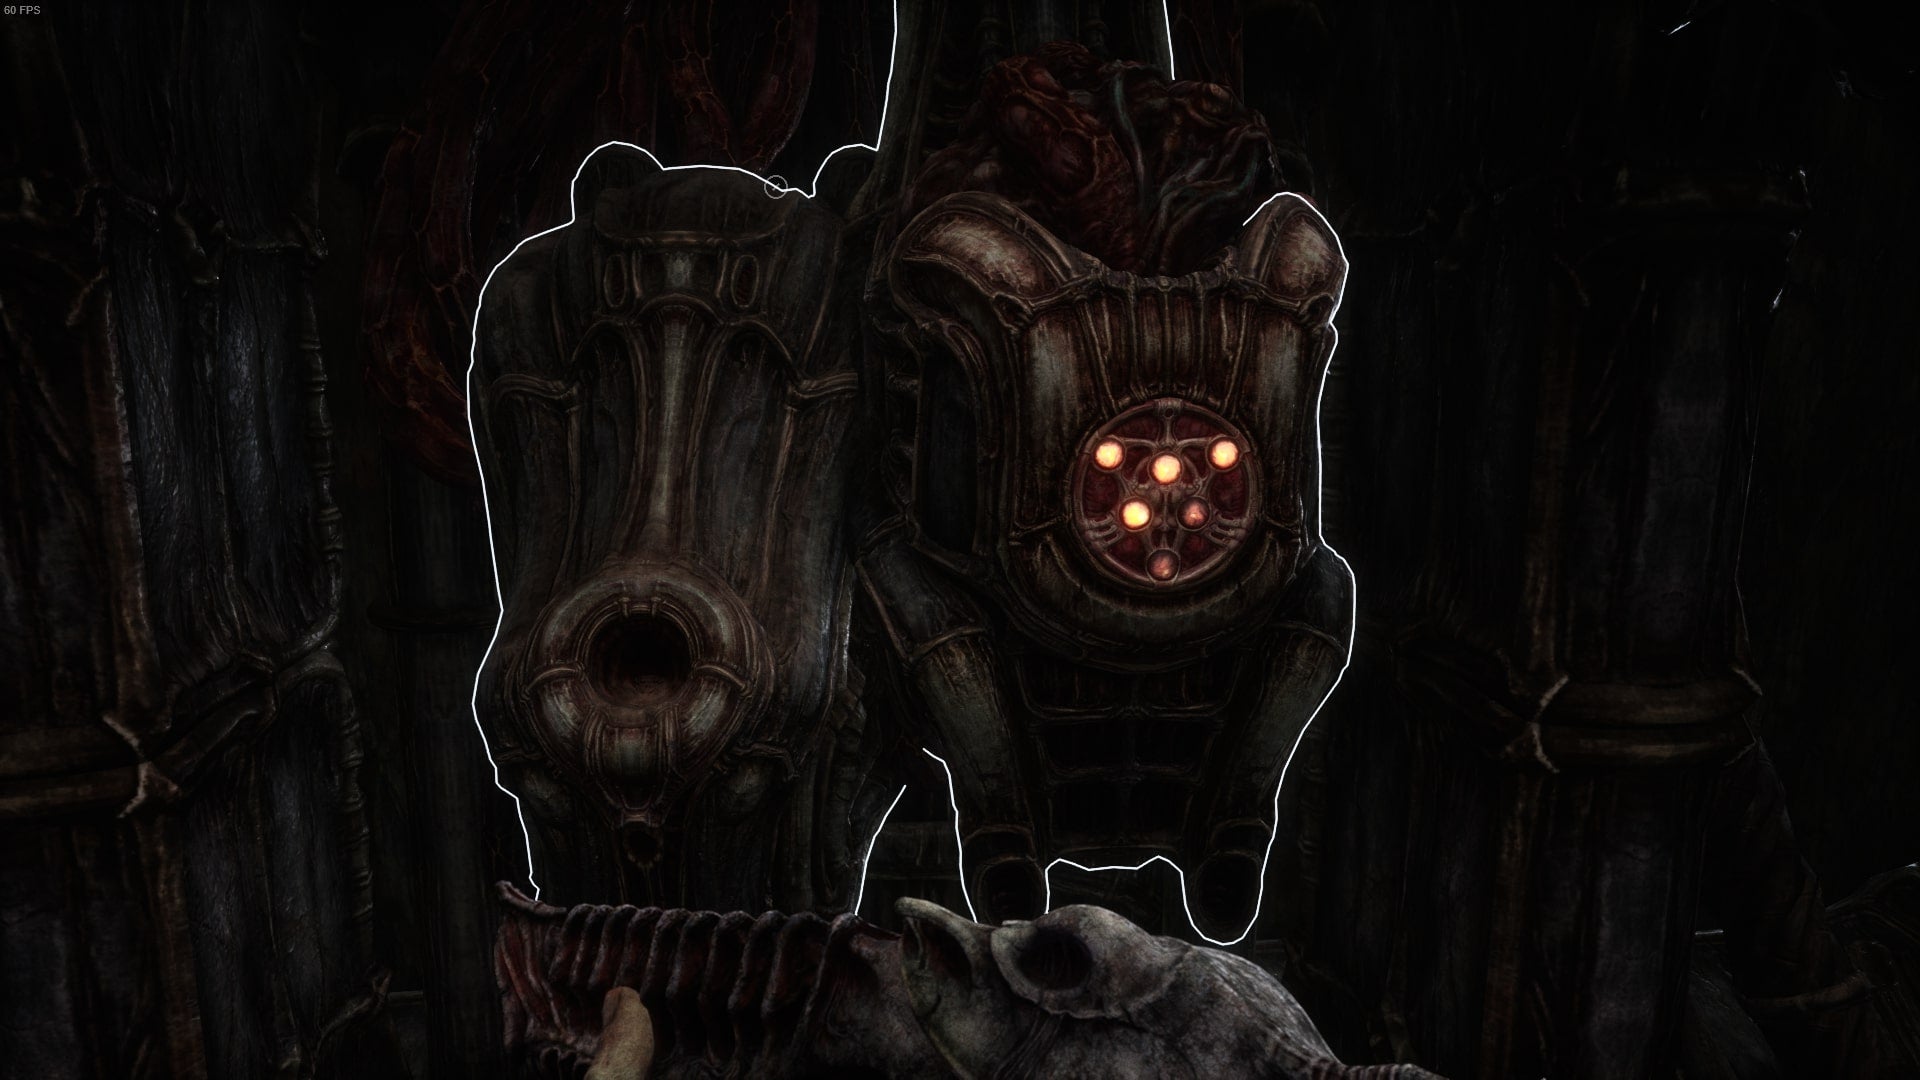
Head back into the area with the Tyrannical Alien and at the end of the room (past him) is a door that you can now unlock and go through. This will spit you out of the crab bite healing machine and pillar from earlier. What you want to do now is head towards the maze machine from earlier.
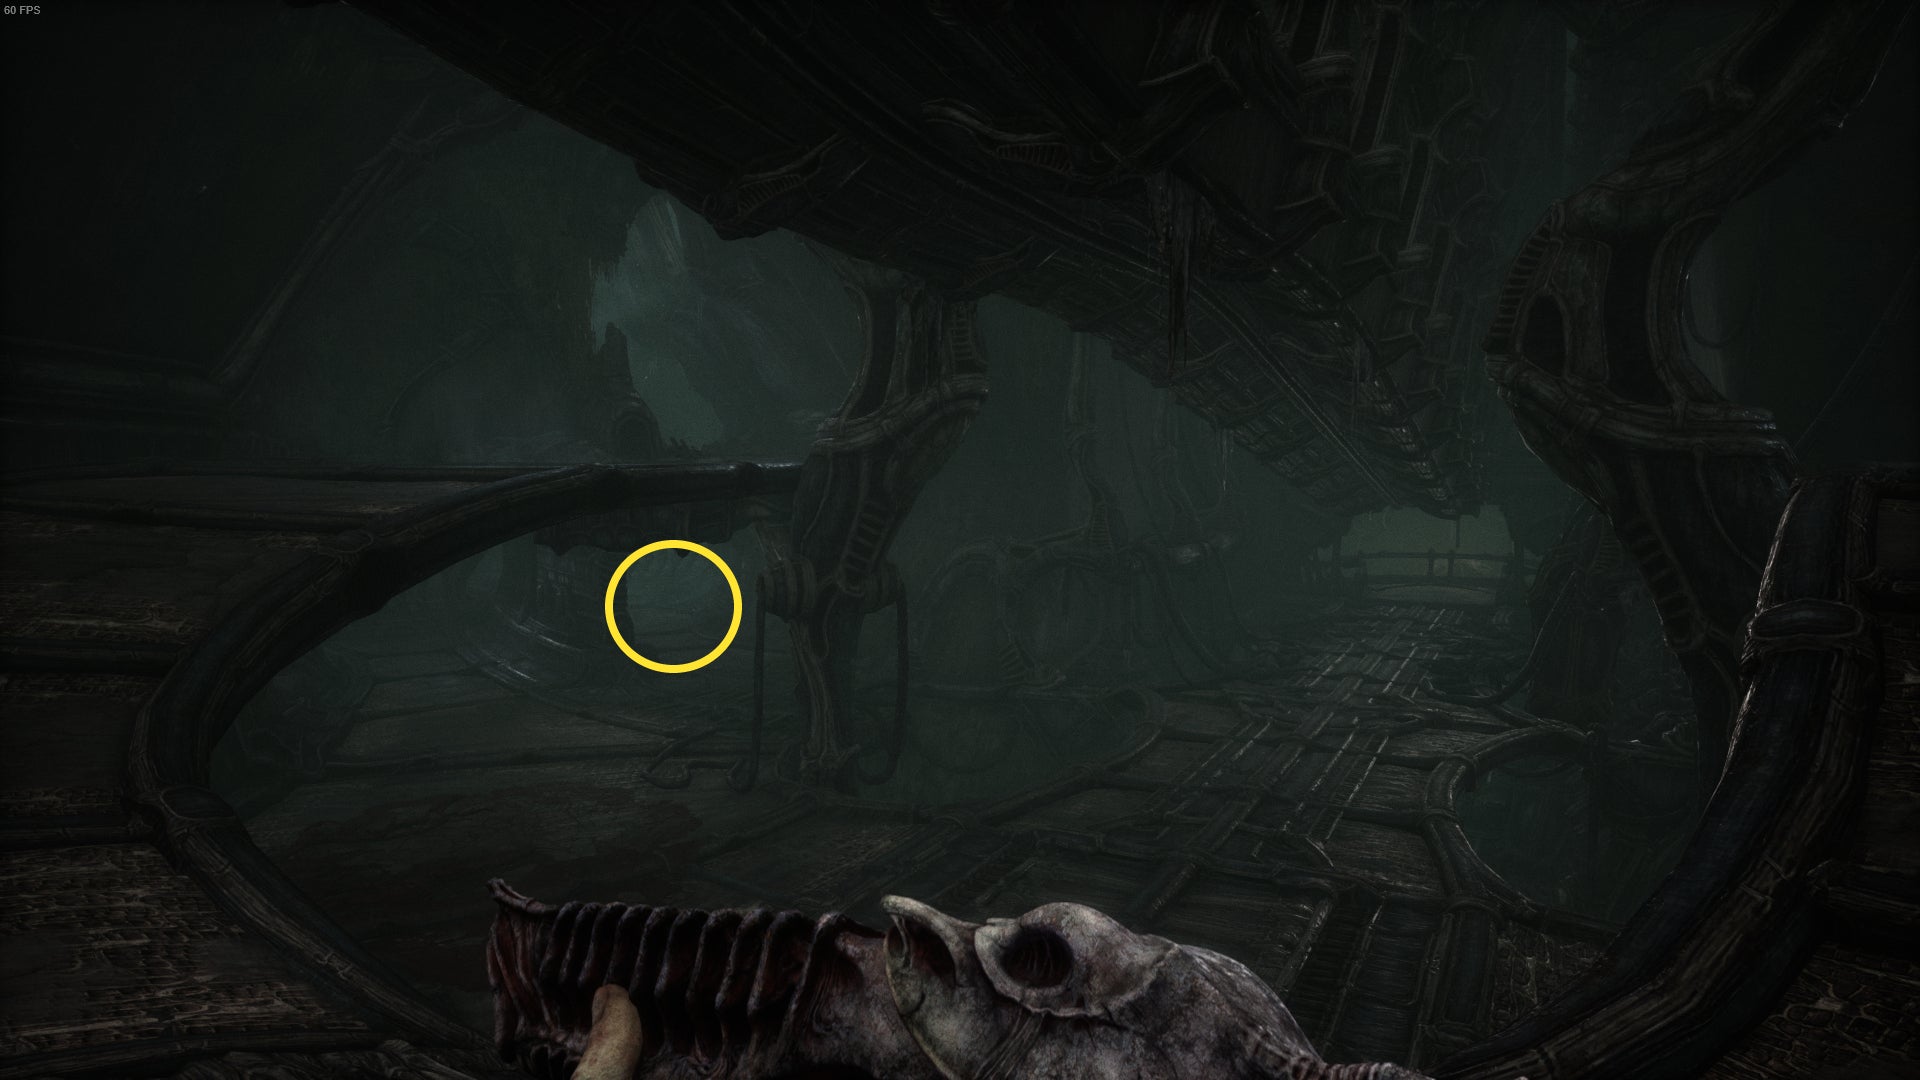
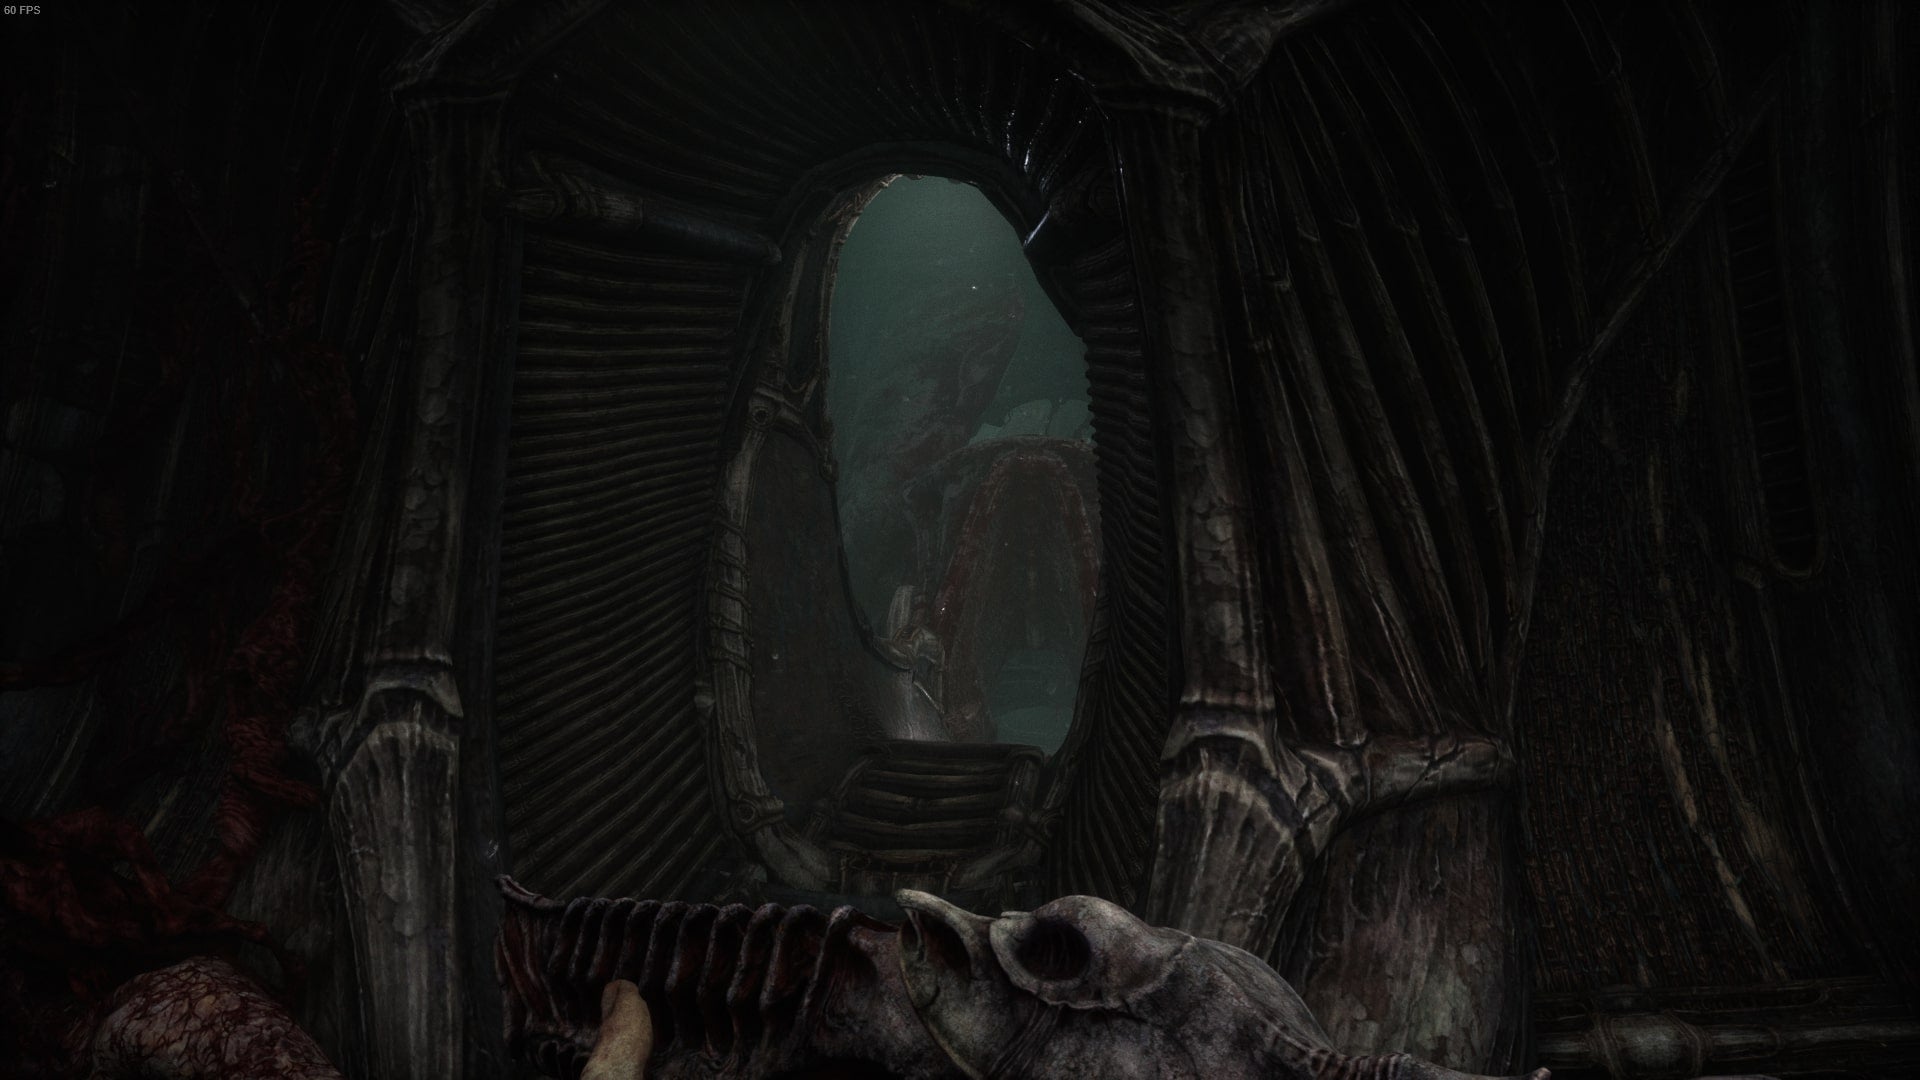
When you are at the intersection shown below, don’t walk straight towards the maze machine. Instead, head toward the designated area. Here’s a socket that fits your newly upgraded key. Interacting with it will cause the gate to move, eventually letting you walk down the new stairwell you somehow built by detonating one of Nelly’s pustular masses.
Second maze puzzle
You get to a second maze puzzle. Interact with the lever in front to see it rise and join the first maze you moved. Well you guessed it, there is one more maze that we need to find and move before we can finally solve the whole maze puzzle Shabang.
Go down to the two maze puzzles and take the path behind them again. Instead of entering the room with the healing and weapon upgrade machines, turn left and you’ll encounter the bottom gate. Go ahead and unlock it.
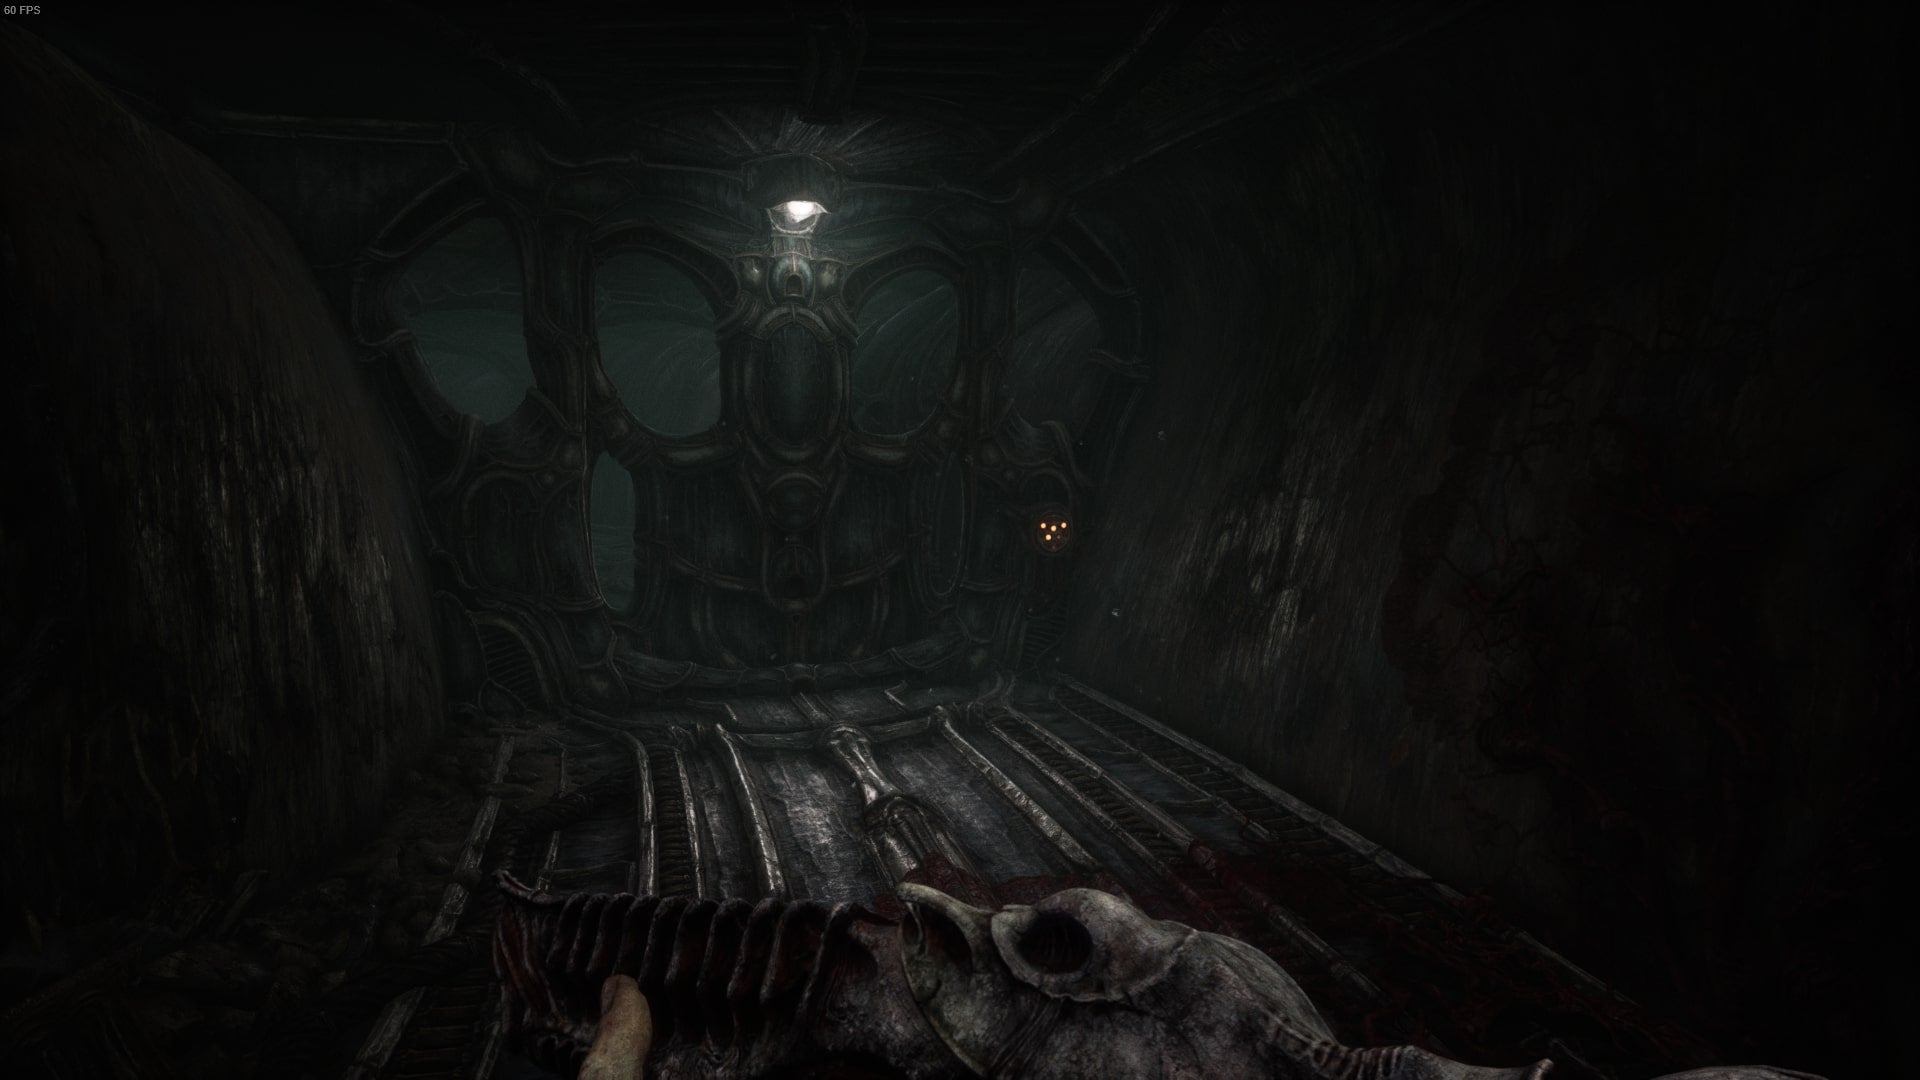
You come to another elevator. Use the lever and go up. At the top is an alien and a pillar for your melee weapon. interact with it and another gate will move.
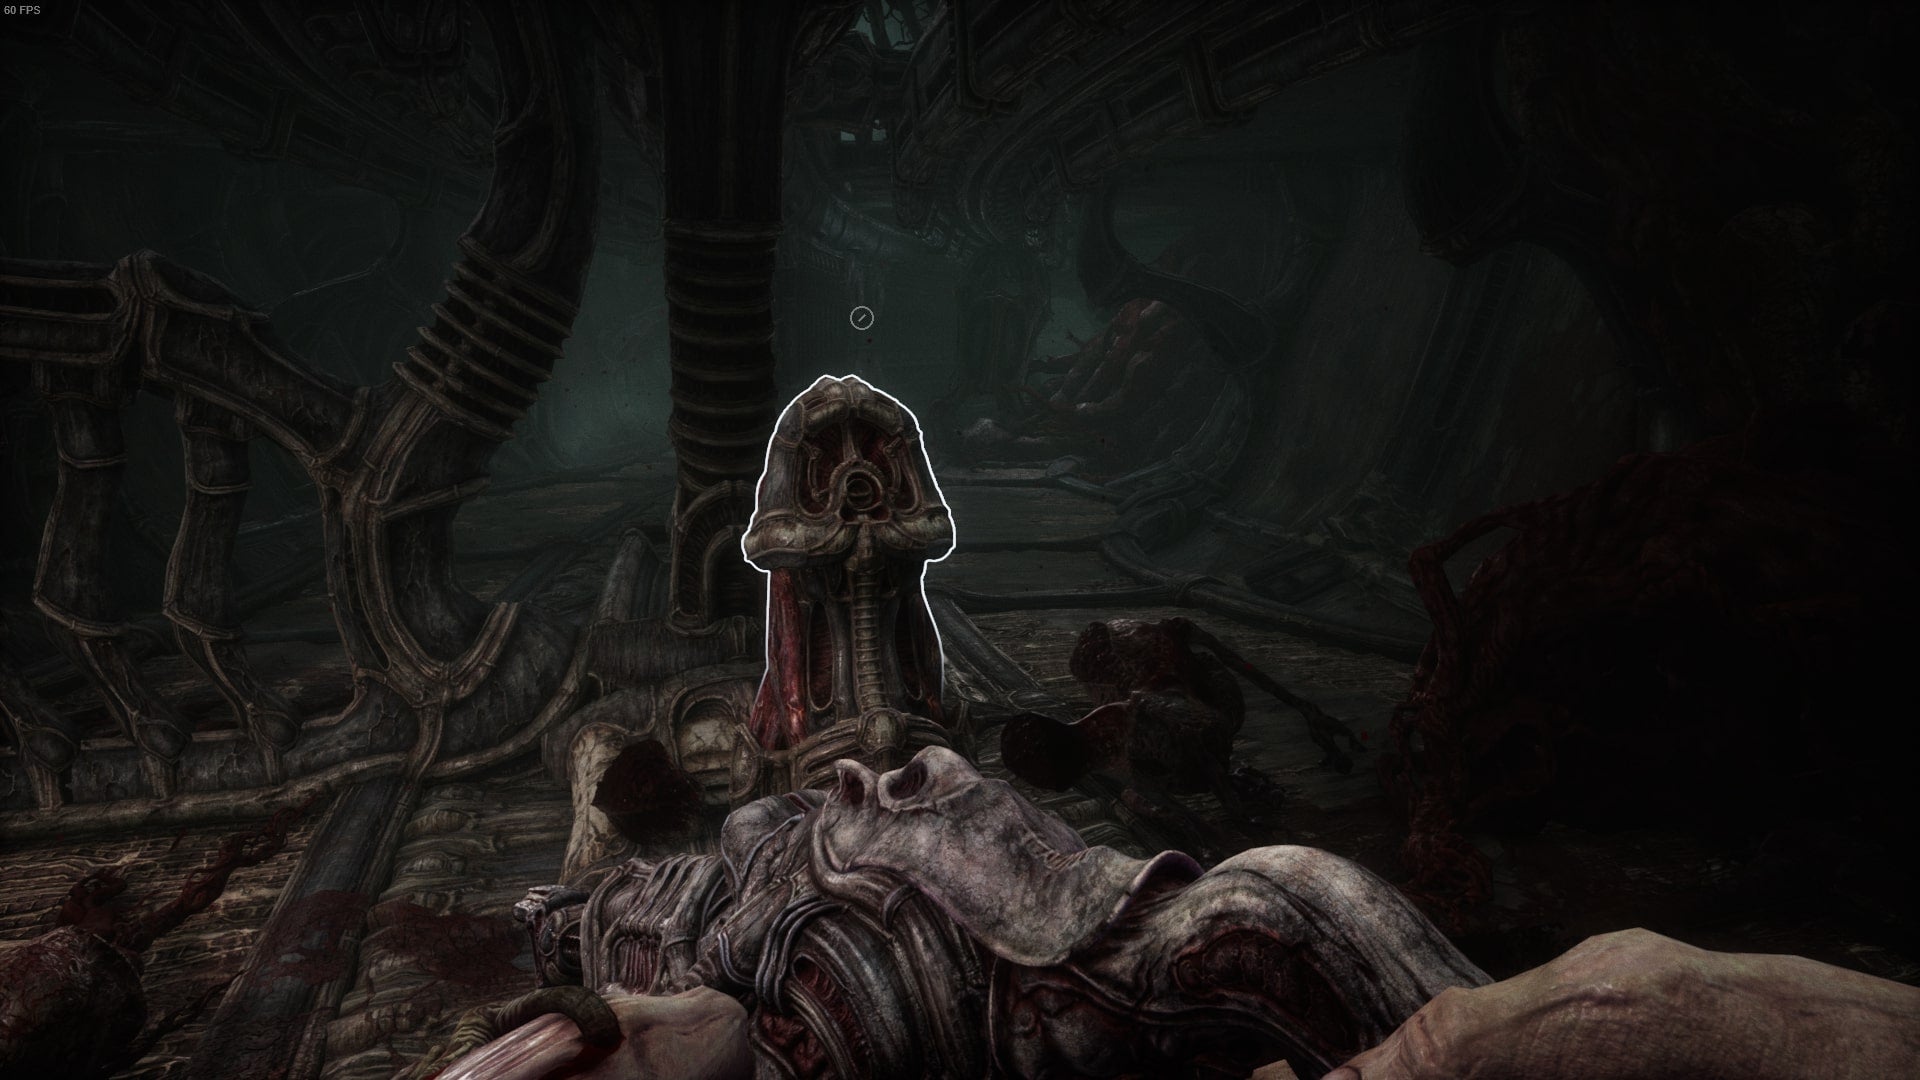
Now, instead of heading towards the newly relocated gate (which only takes you back to the crossing area I keep mentioning), do a U-turn. There is another route behind the elevator to go down!
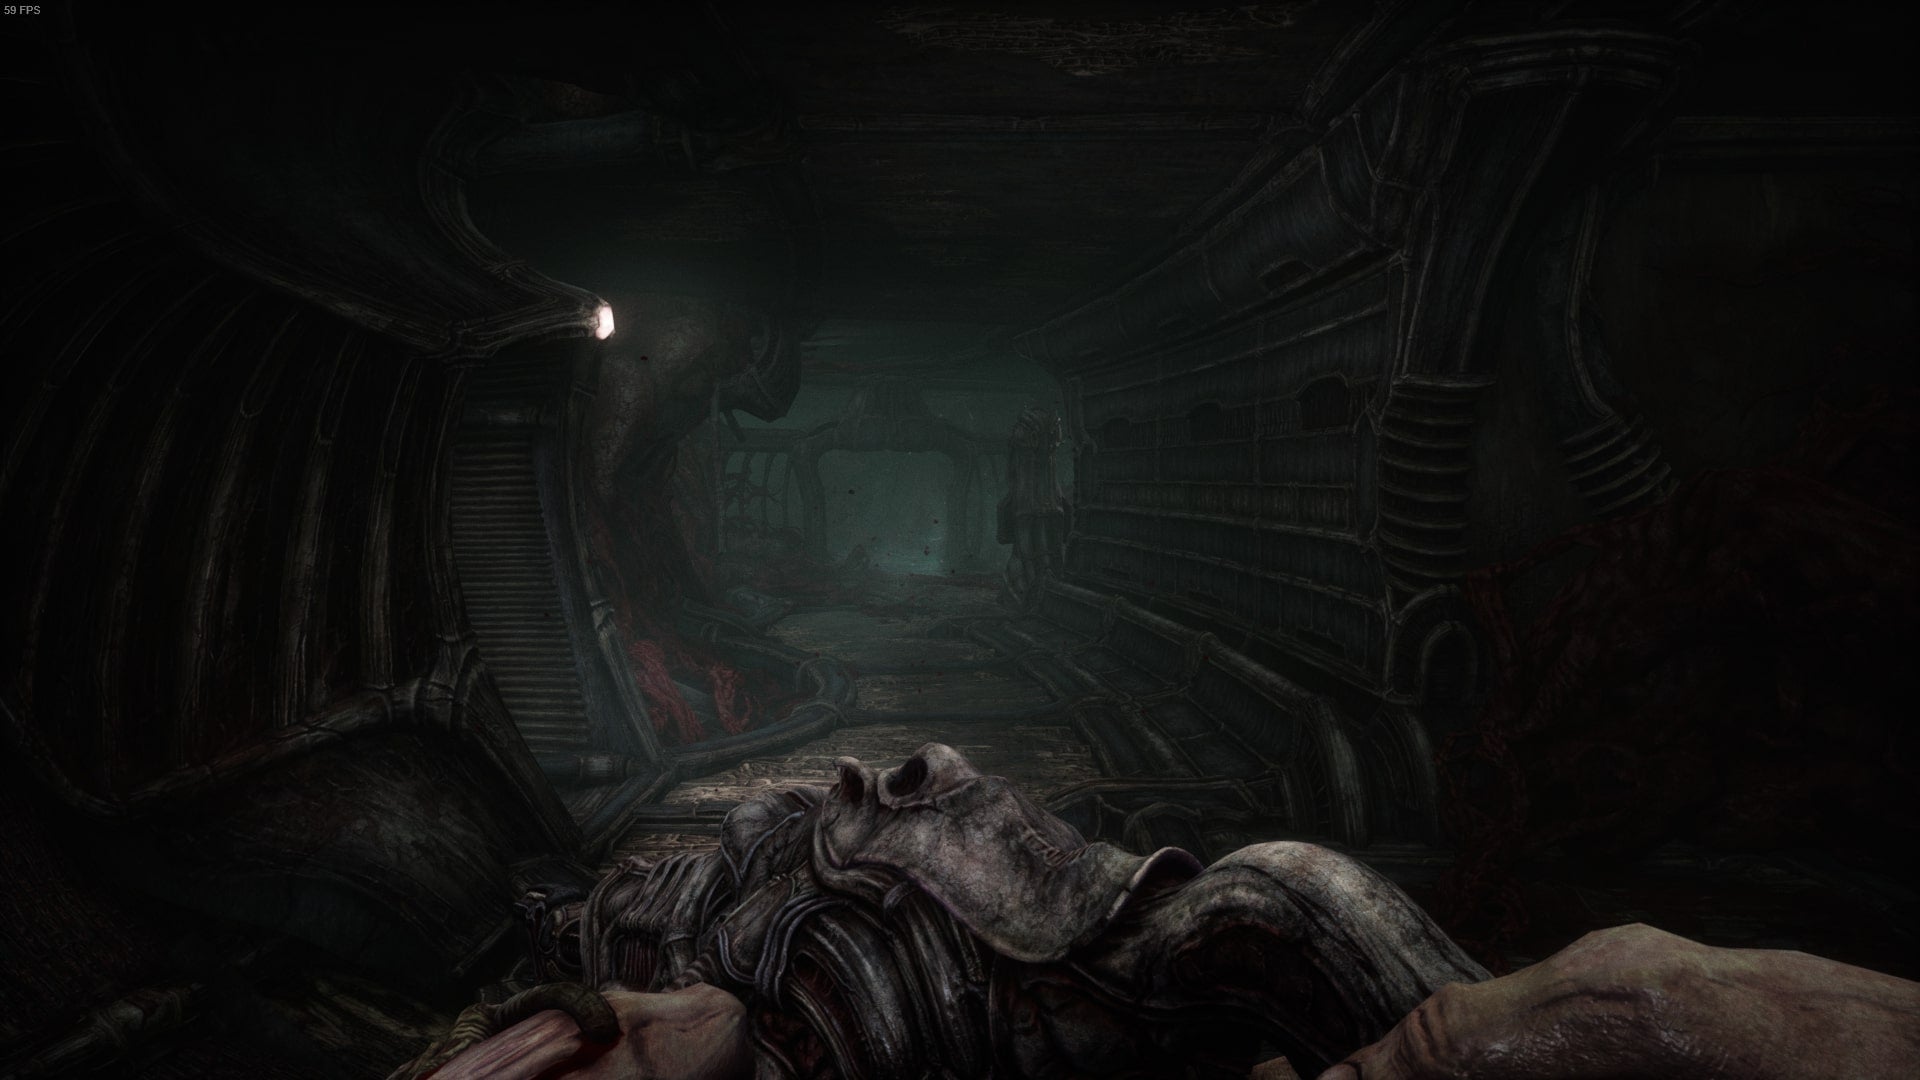
Third maze puzzle
Stay straight, take care of the tyrannical alien and don’t forget to use the crab-stinging healing machine that’s on the way. You arrive at another elevator and you know what to do here.
When you get to the top, make sure to look behind you for Nelly. I’m sure she’s just trying to say hello instead of scaring us needlessly.
Turn around again and go forward. You will arrive at another pillar; interact with it, interact with another of Nelly’s bulbous blobs, and then you’re good to go.
Go down the elevator and forward; Watch out for aliens, and the recreated path from Nelly’s lump is on your right. Go down it.
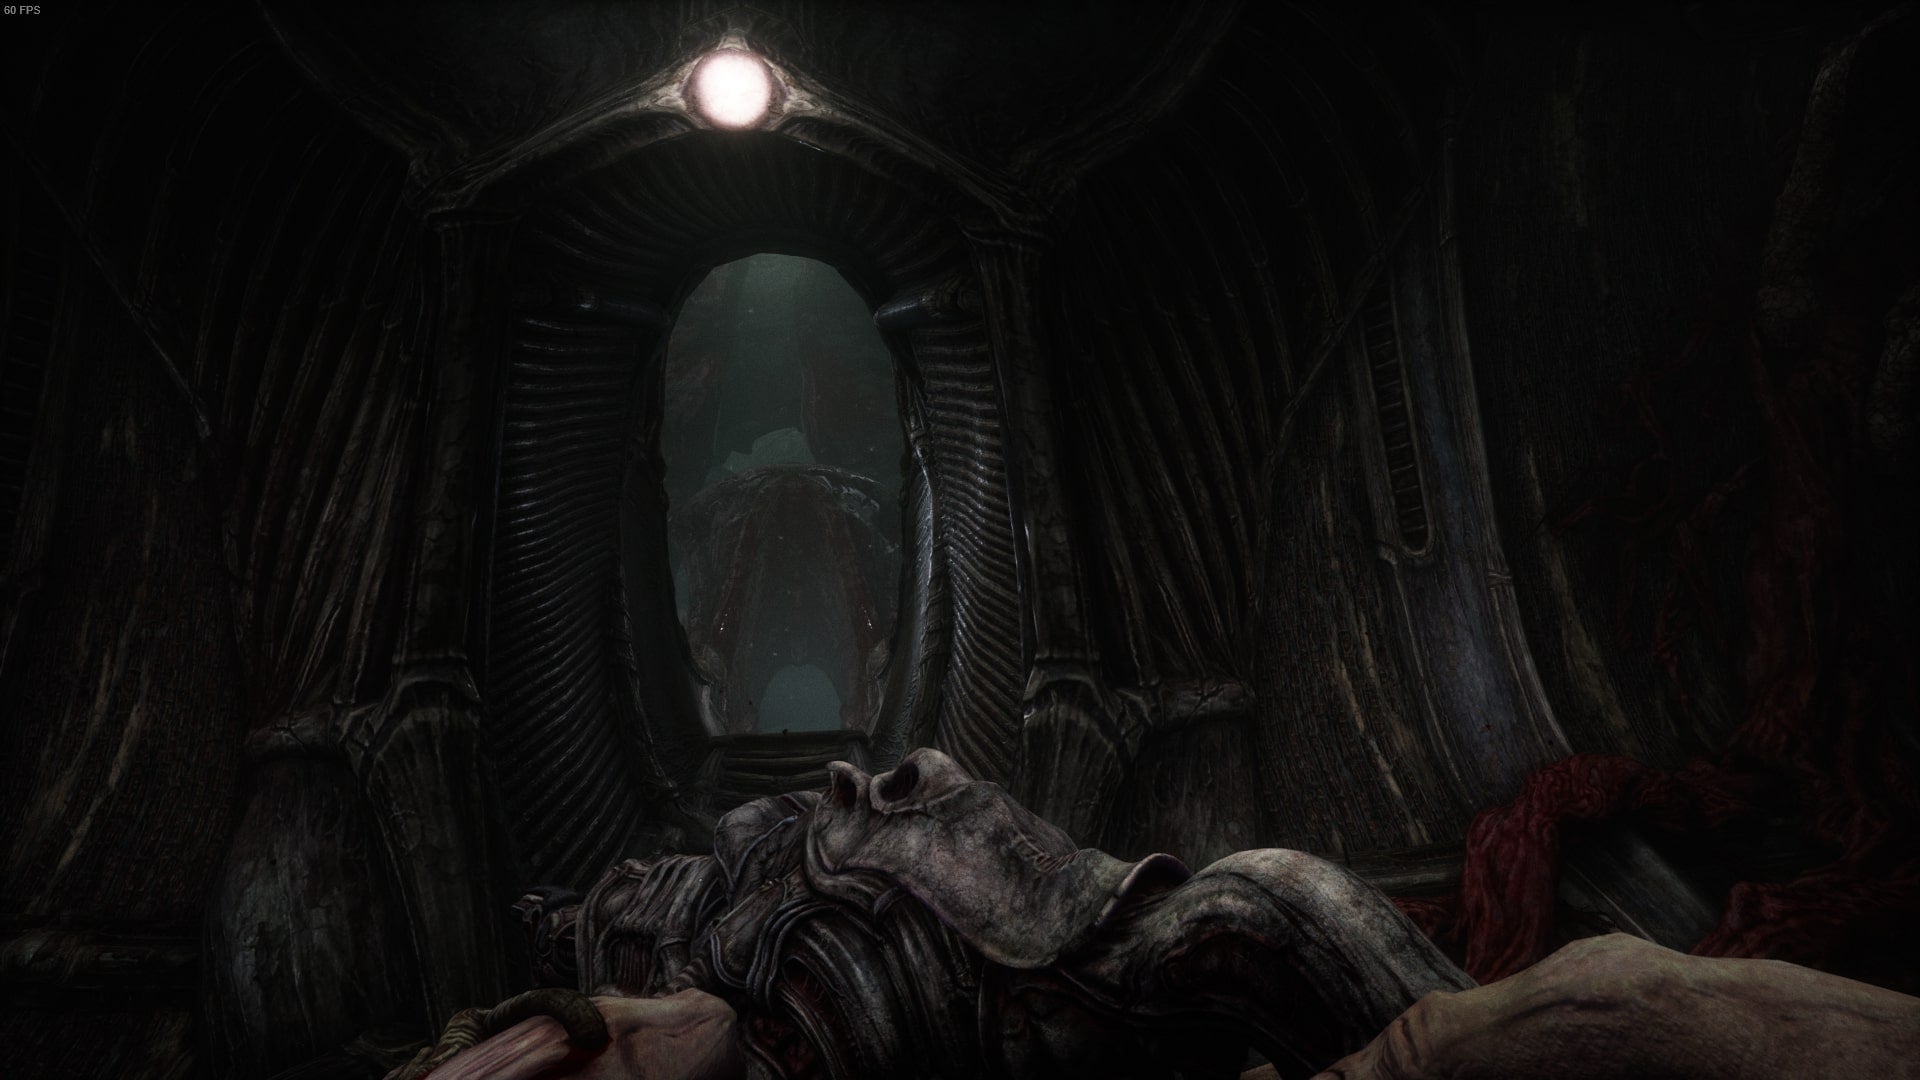
You’ll find a lever and a third maze machine; Interact with the lever and send the machine up, then take your desired path back to all three maze machines.
These maze puzzles were honestly more guesswork and a lot of trial and error. Essentially, the cue ball that you move in one maze also moves in the other mazes. You can use this to your advantage to get the cue ball down previously inaccessible paths in the mazes.
With this logic you can solve each maze individually (these aren’t real mazes I guess). Remember that it’s easier than you think and most balls only need to be moved a spot or two before progressing to the next maze.
You also want to aim to get each ball to the top right corner of the maze, and then all you have to do is solve one maze. It’s perhaps the easiest puzzle of all we’ve encountered so far.
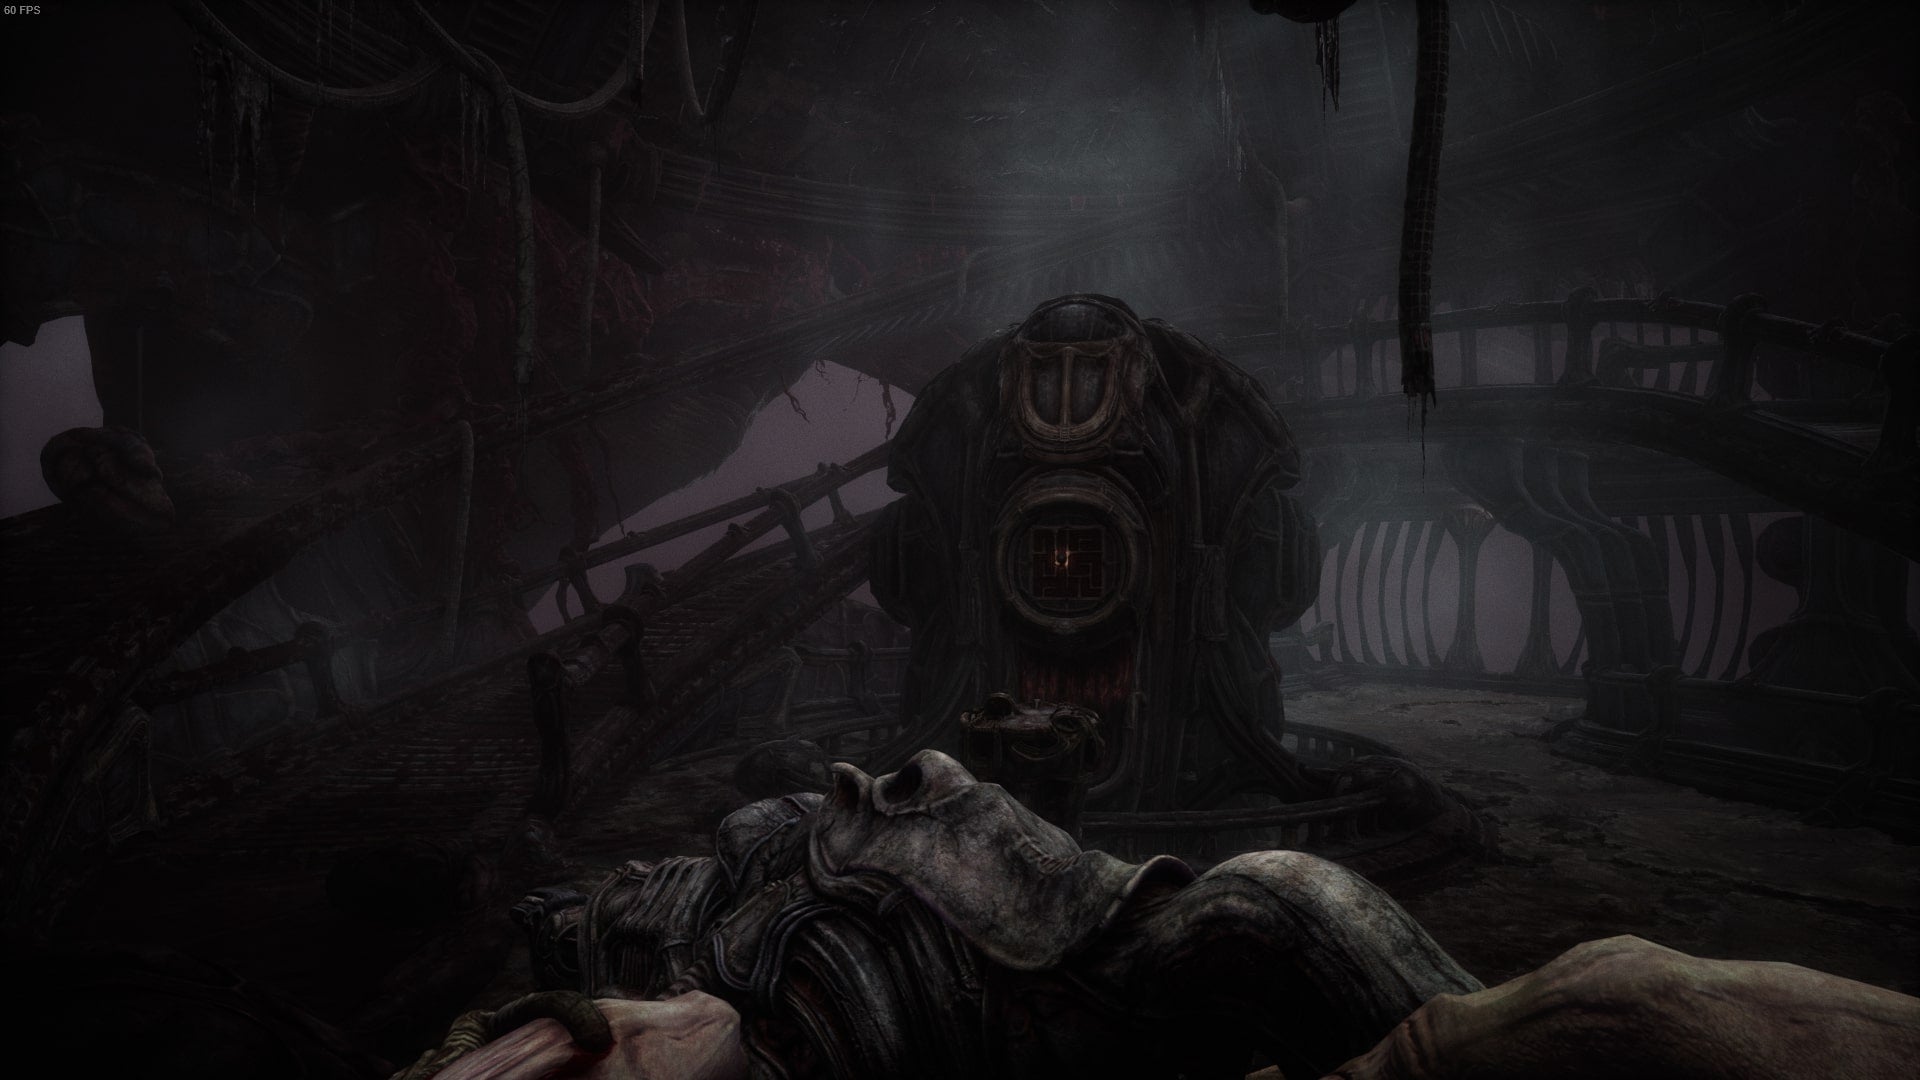
When the puzzle is completed, the gates behind the maze puzzles will close and it will appear that the platform you are on is moving. Go up the extreme flight of stairs on your left and follow the long, winding path you are on.
After the small cutscene you encounter as you step into a narrow corridor, approach the pillar you are forced to face. Activate it and enjoy your alien train journey.
Exit the train when it finally arrives and climb the stairs in front of you. Make your way to the grand entrance of some sort of alien meat palace.
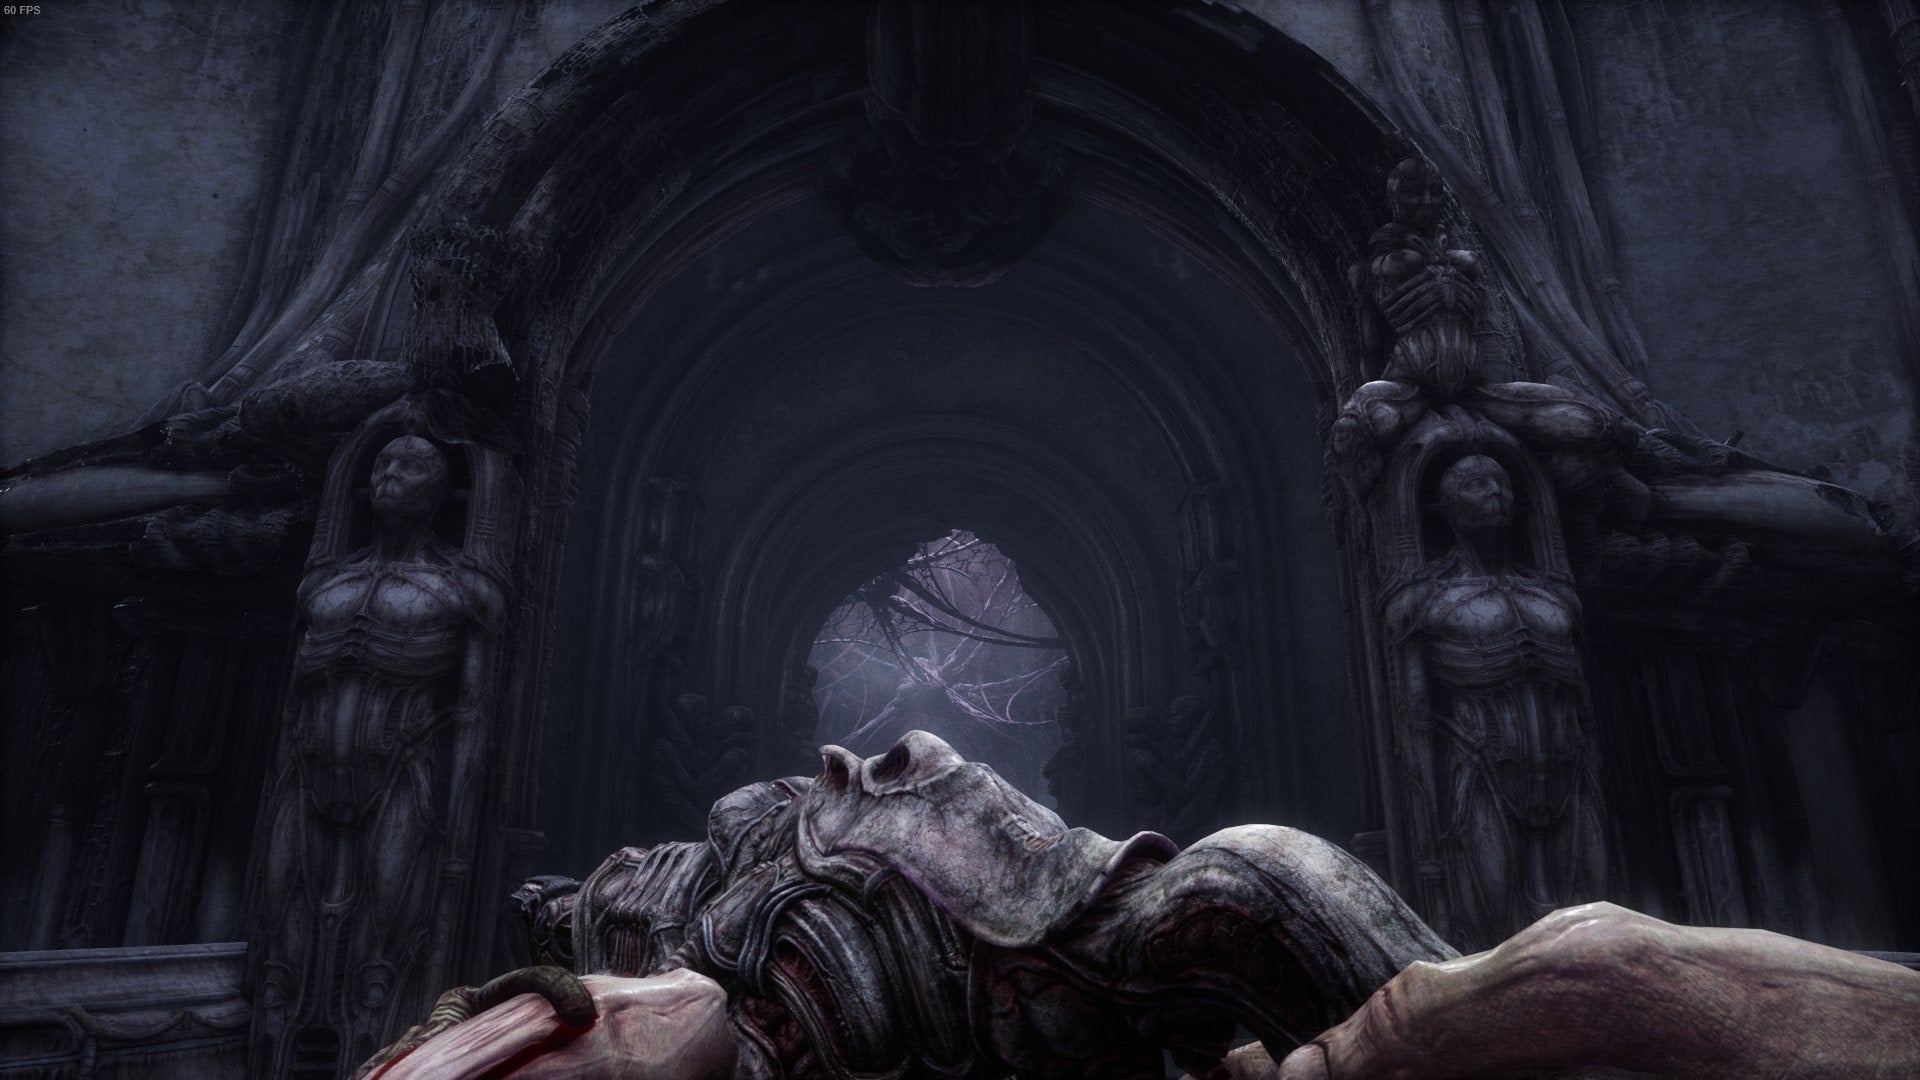
As you get closer to the palace, you will find that you have now completed act 4 and are about to start act 5.