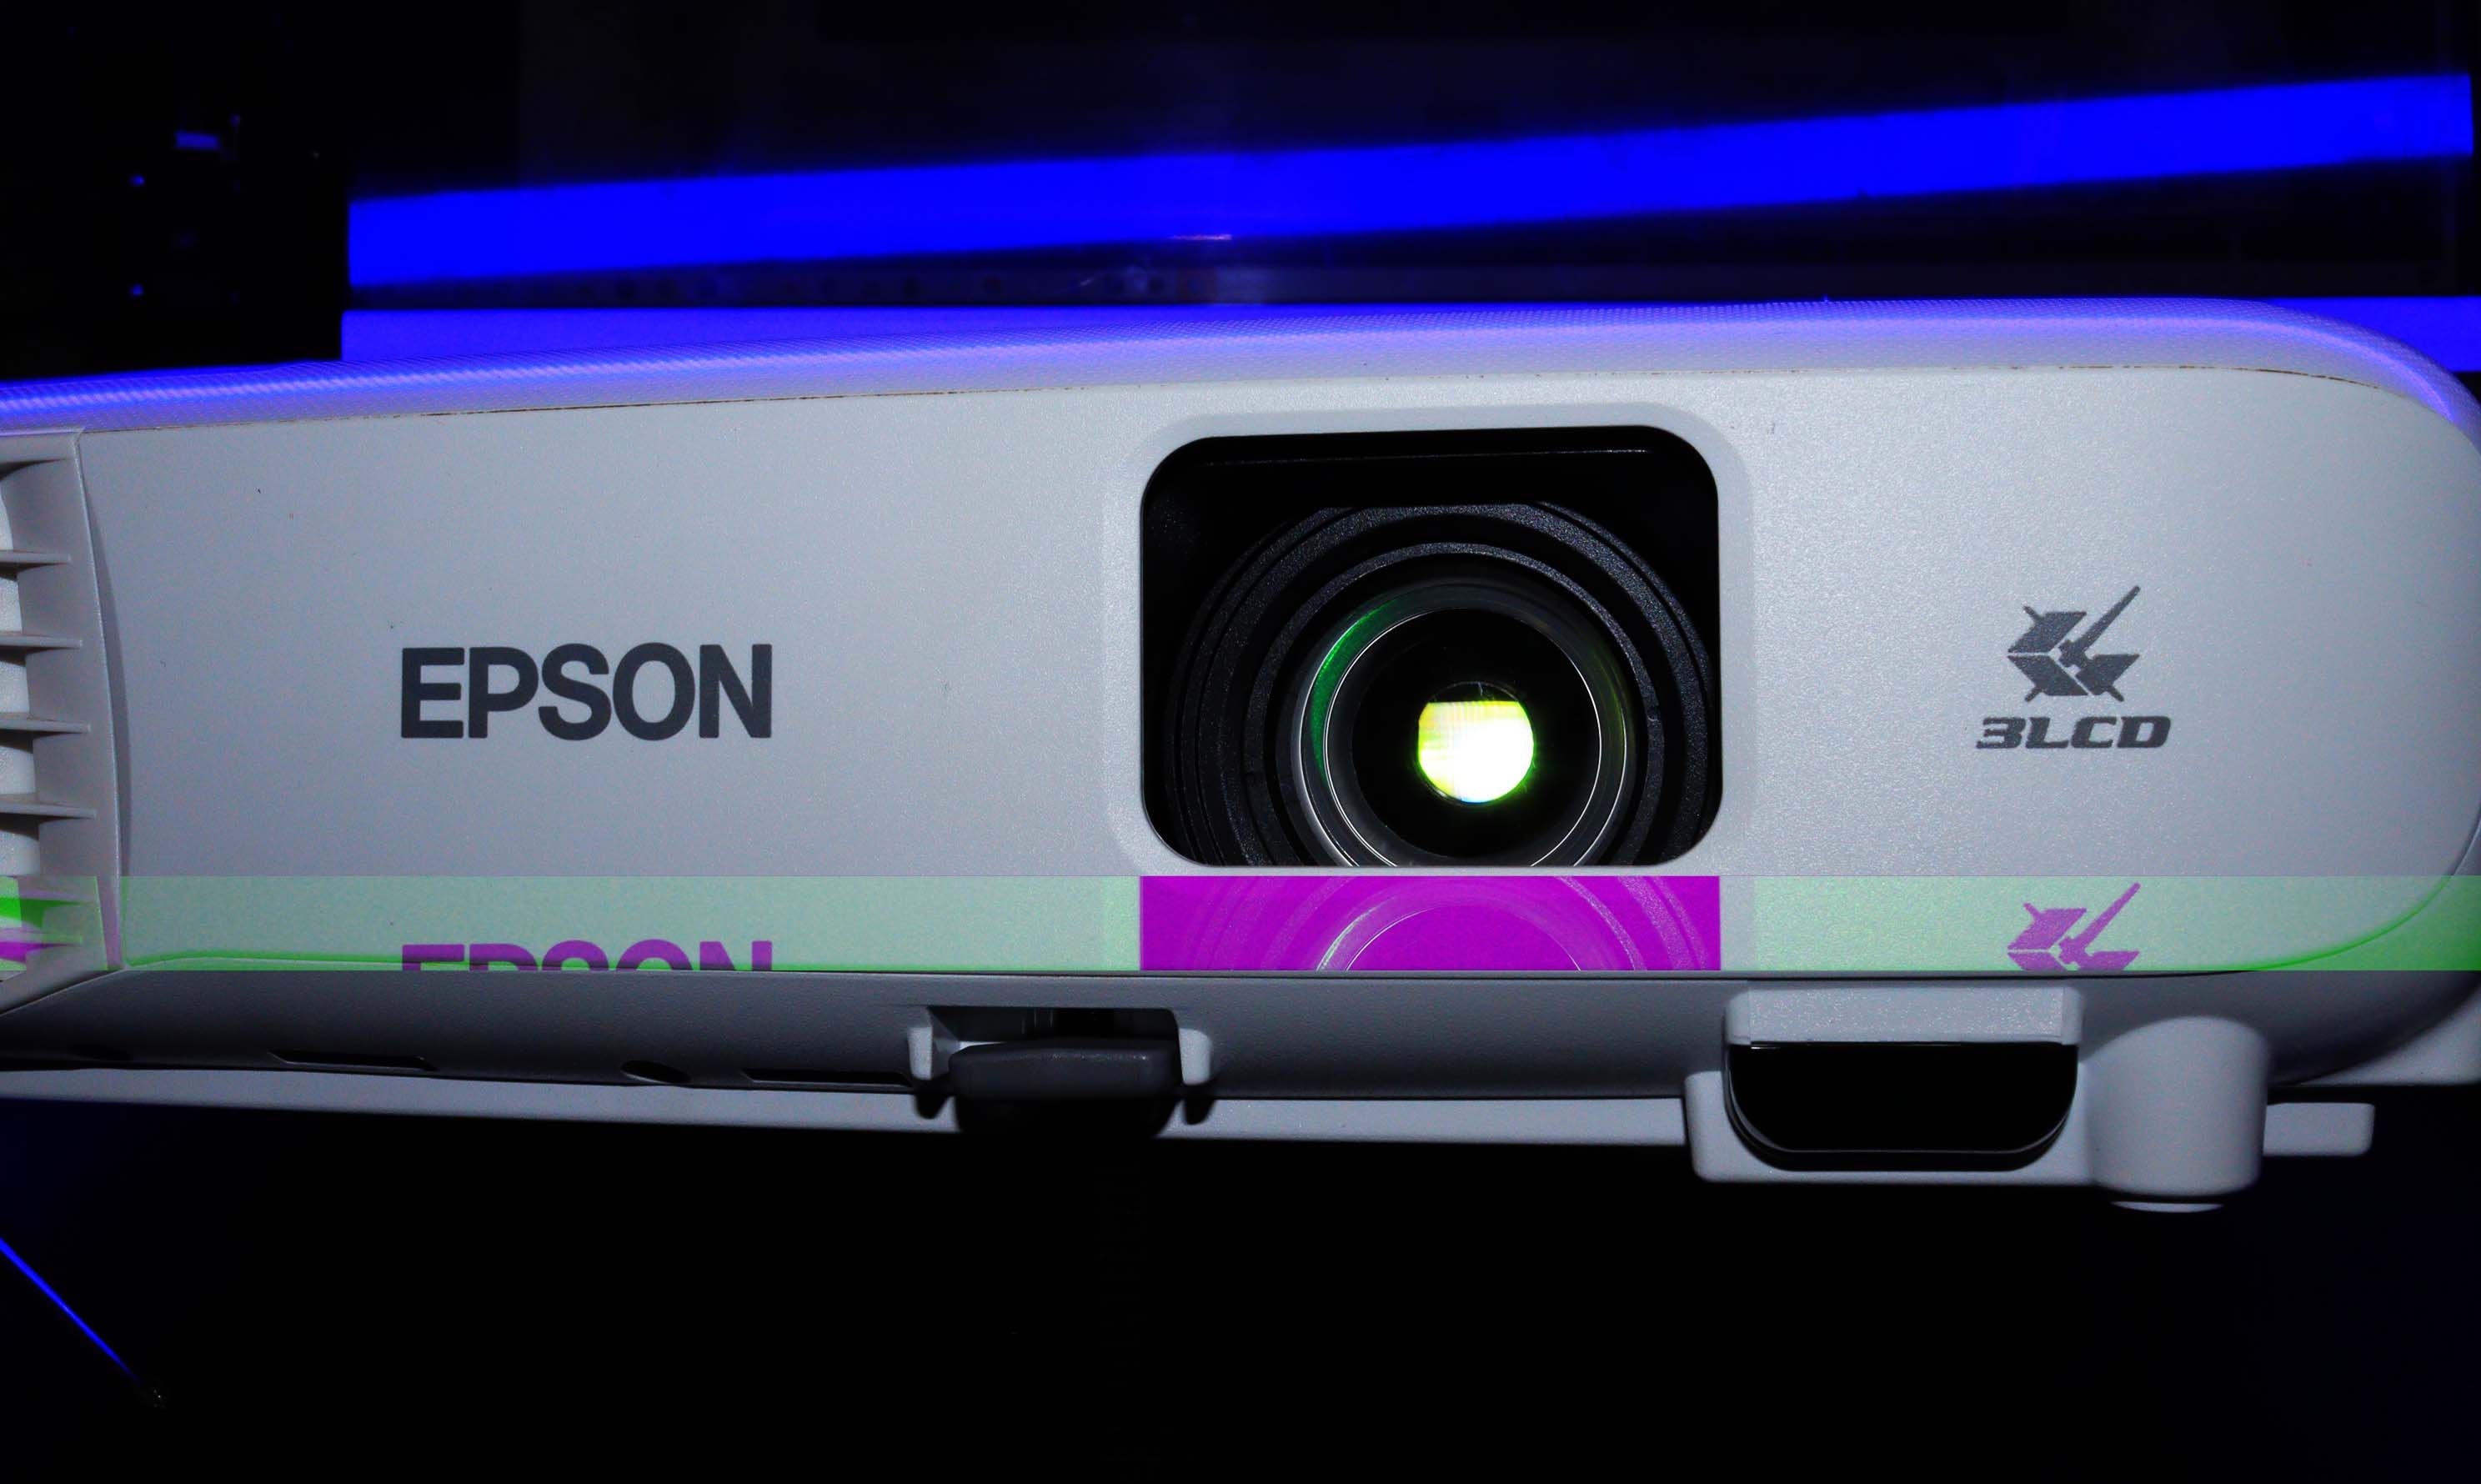
How to Clean a Projector Lens
Projectors are a great way to share information with a large group. Many people also use it to watch movies and TV shows on a big screen or wall. However, if you don’t clean your projector lens regularly, it will get dirty and the picture quality will deteriorate.
Cleaning a projector lens is a delicate process that should be carried out with care. Follow the steps below to do this appropriately.
What is a projector lens and how does it work?
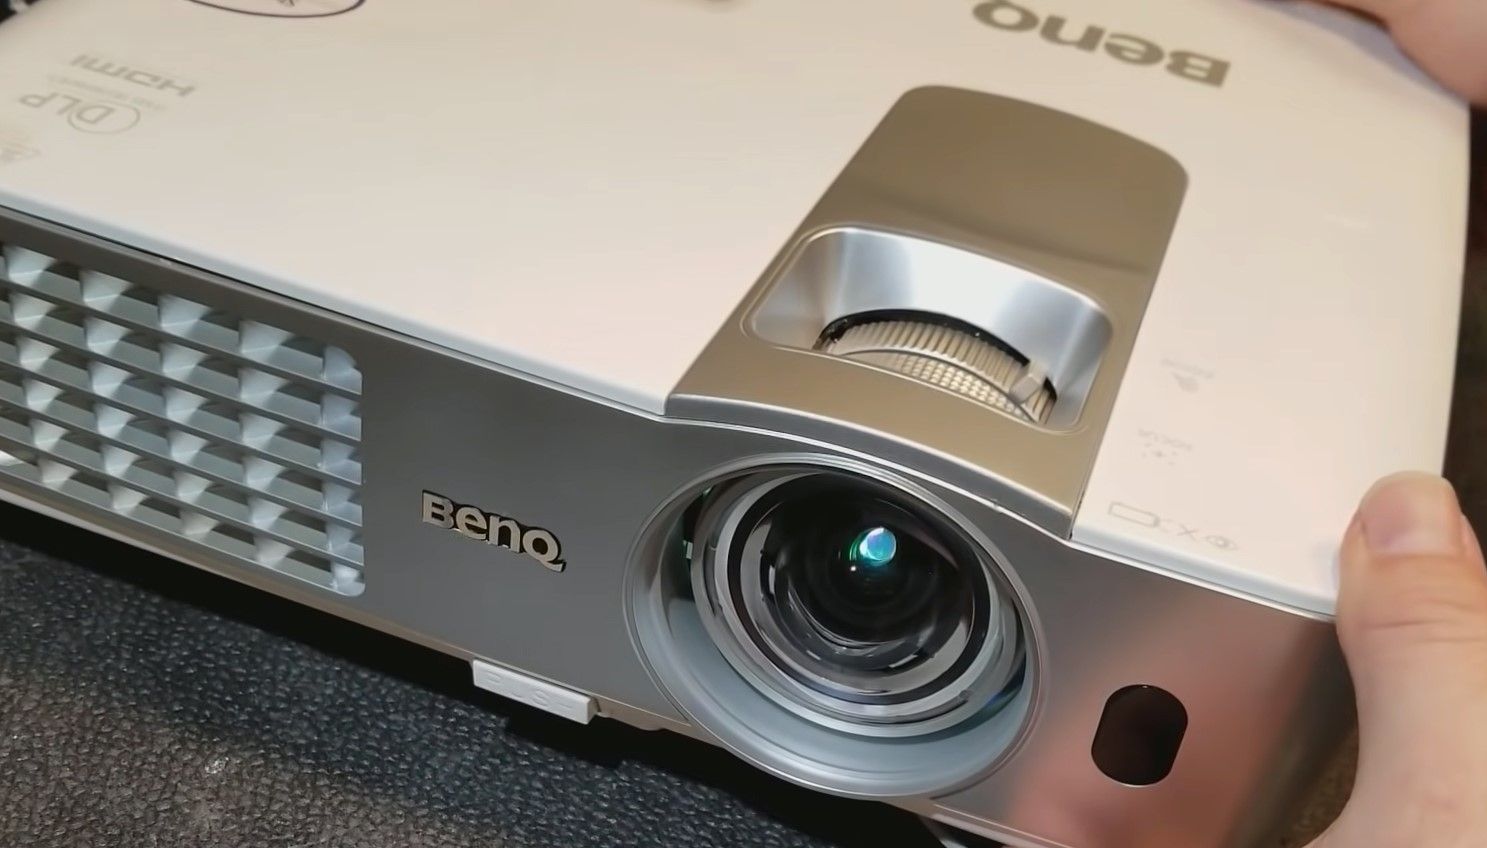
A projector lens works by focusing and directing light onto the projector screen to produce clear and bright images. It is also responsible for controlling the shape and intensity of the beam of light emitted by the projector. A projector lens distributes light evenly over the entire surface of a projected image for optimal quality.
Various lens elements include standard glass lenses, mirrors, prisms and other optical devices. What sets a projector lens apart from other lenses, such as those found in cameras or microscopes, is the size and precision of the optics. They capture light from various sources and then project it onto a specific location with great accuracy. (You can also look at how a projector works).
What you need to clean a projector lens
Cleaning a projector lens isn’t difficult, but there are a few things you need to do to get it right. Here are the six of them:
- A soft, clean cloth: Use this to wipe dust or dirt off the lens. Make sure the fabric is free of lint and other debris that could scratch the surface of the lens.
- Lens cleaning solution: This will help remove fingerprints or smudges from the lens. Many solutions are available, so choose one that is specifically designed for lens cleaning.
- A can of compressed air: You can use it to blow off dust stuck to the surface of the lens. Do not use your mouth to blow on the lens as this can introduce moisture into the system.
- A lens cleaning brush: To reach dust that is difficult to remove with a cloth or compressed air. Make sure the bristles are soft and will not scratch the lens.
- Cotton swab: These can be used in place of a lens cleaning brush if needed. Dip the cotton swab into the cleaning solution and use it to gently wipe away any dirt or stains on the surface of the lens.
- A clean, dry environment: You need a clean workspace to clean your projector lens. Make sure there is no dust or dirt flying around that could contaminate the lens while you work.
Instead of buying the items individually, you can get them all in one professional camera cleaning kit.
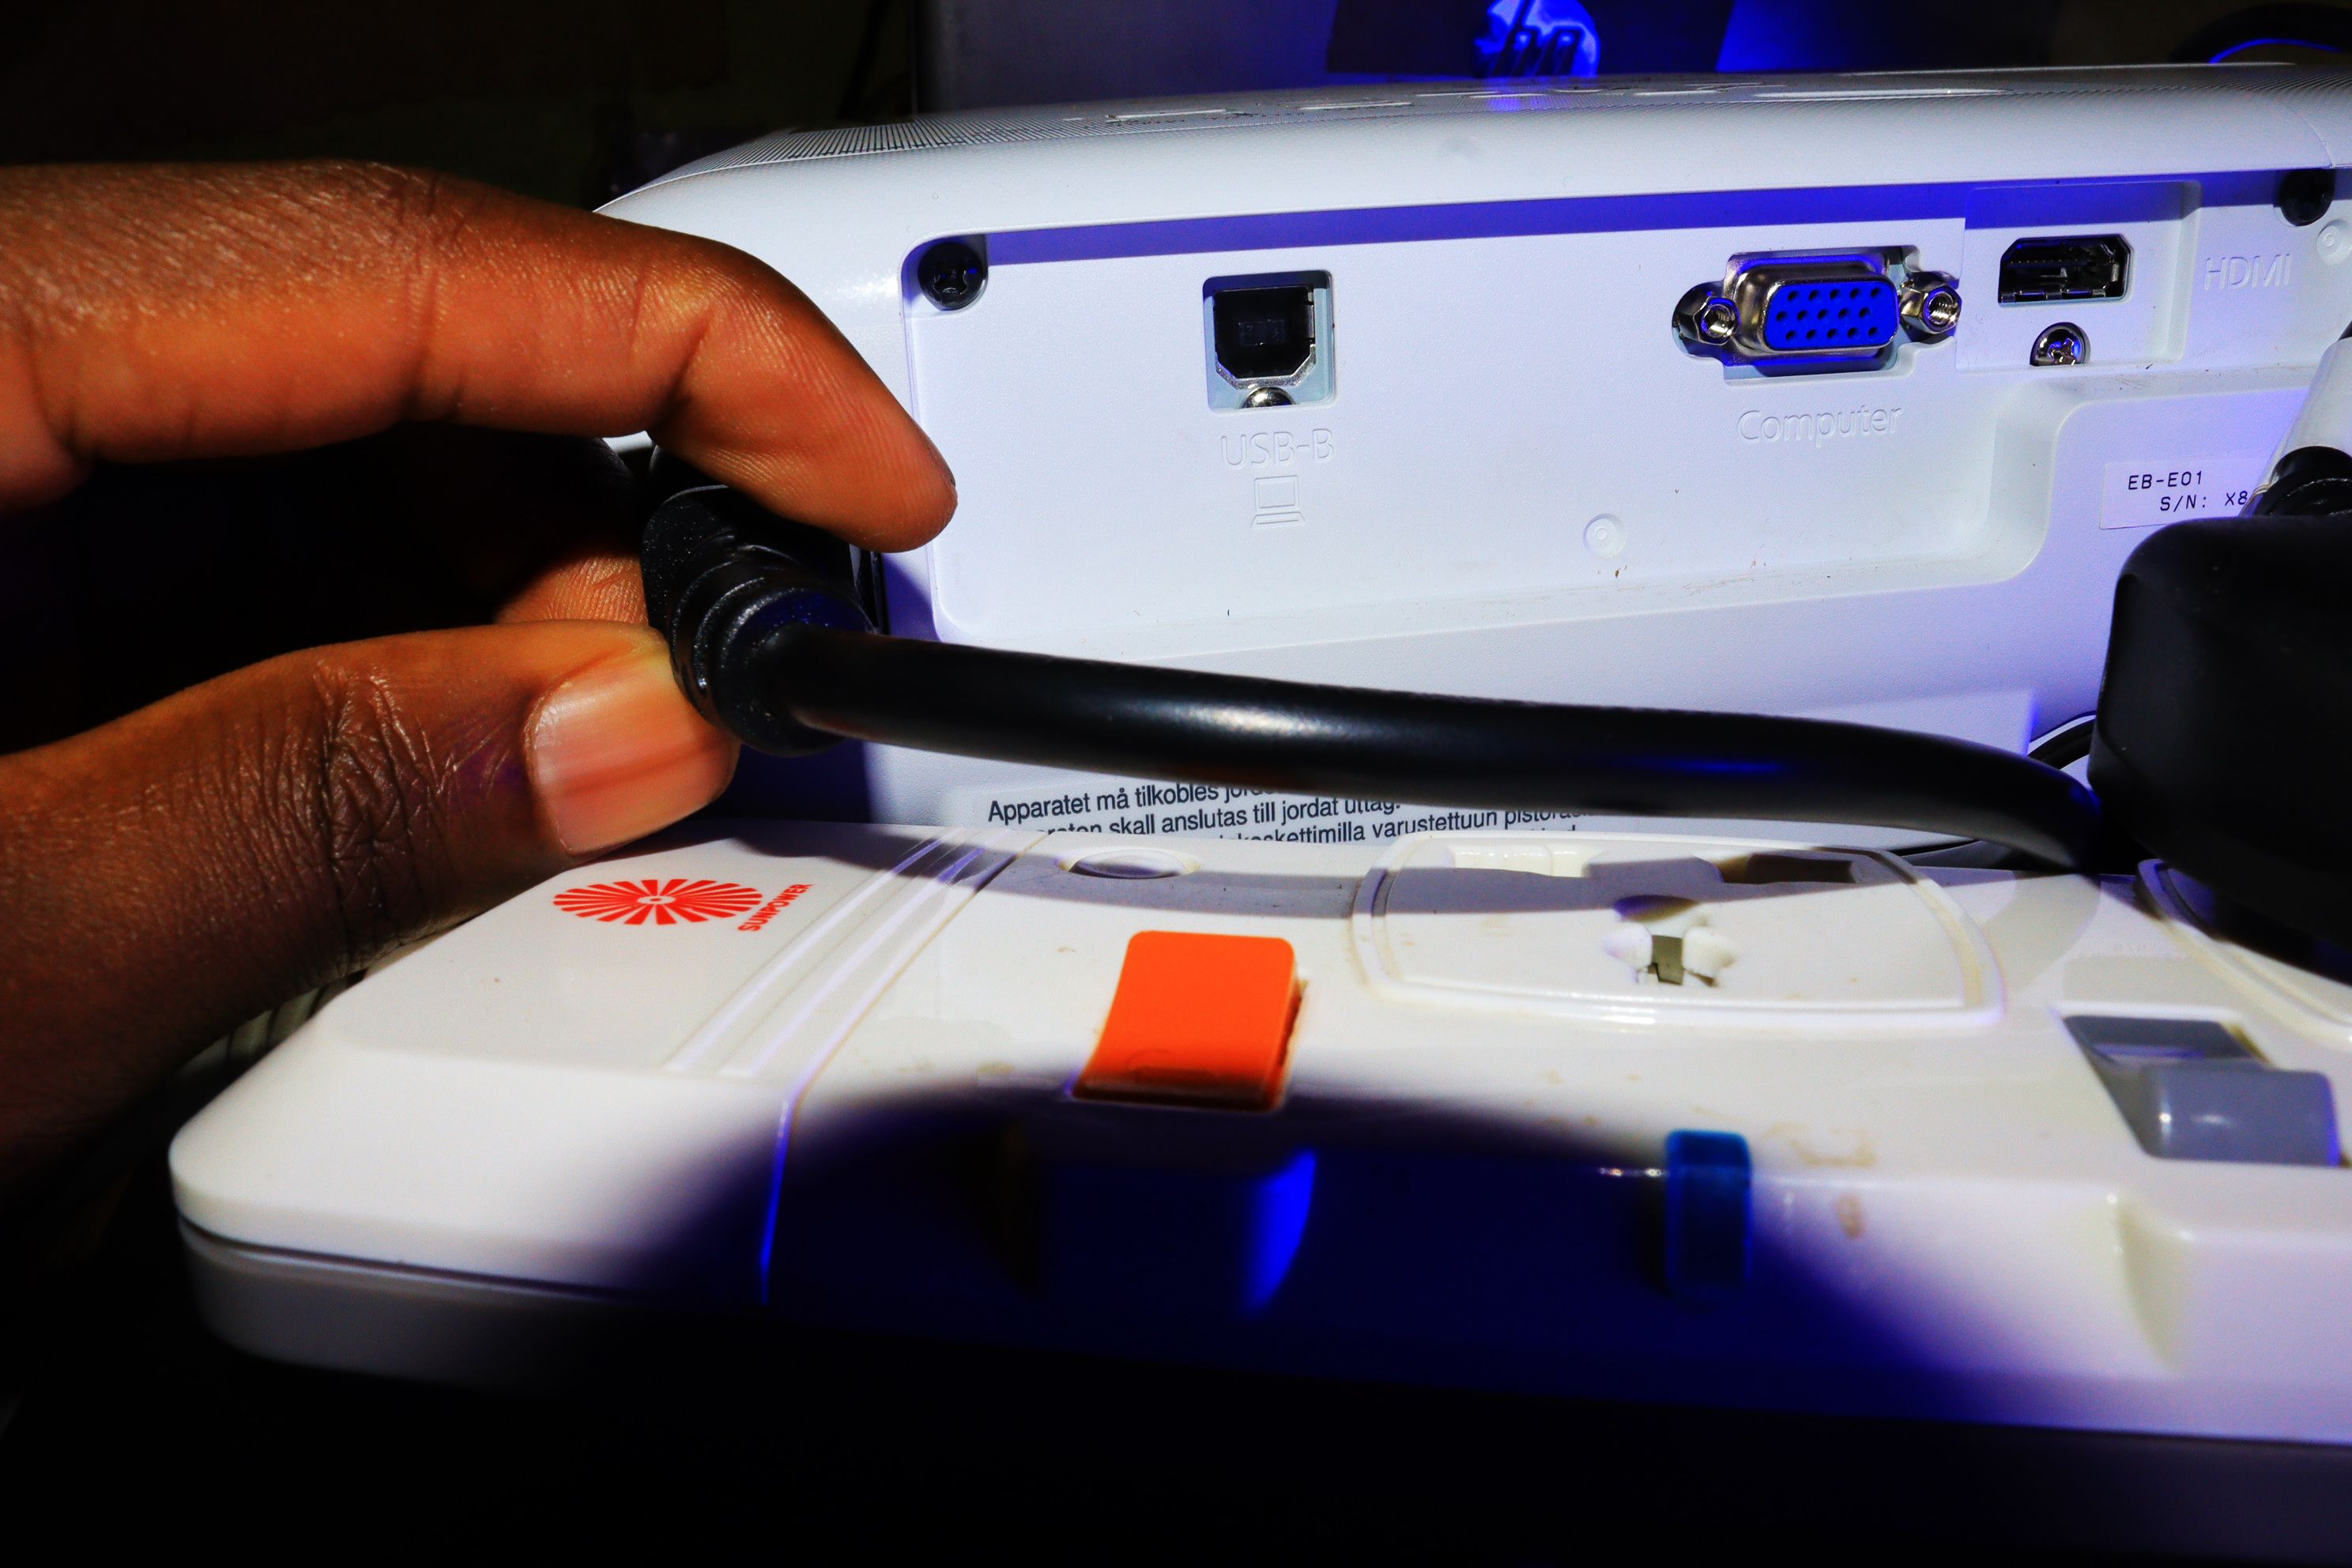
Step 1: Turn off and unplug the projector
Before cleaning your projector, be sure to turn it off and unplug it from the power source to avoid damage or injury if the power turns on unexpectedly during cleaning. Also make sure the projector is unplugged to reduce the risk of electric shock and you can safely handle any parts that may get wet or damaged by harsh detergents.
Not unplugging it beforehand can increase the time it takes for a thorough cleaning. Also, you should let it cool down for a few minutes before you start cleaning.
Step 2: Remove any dust or dirt on the lens
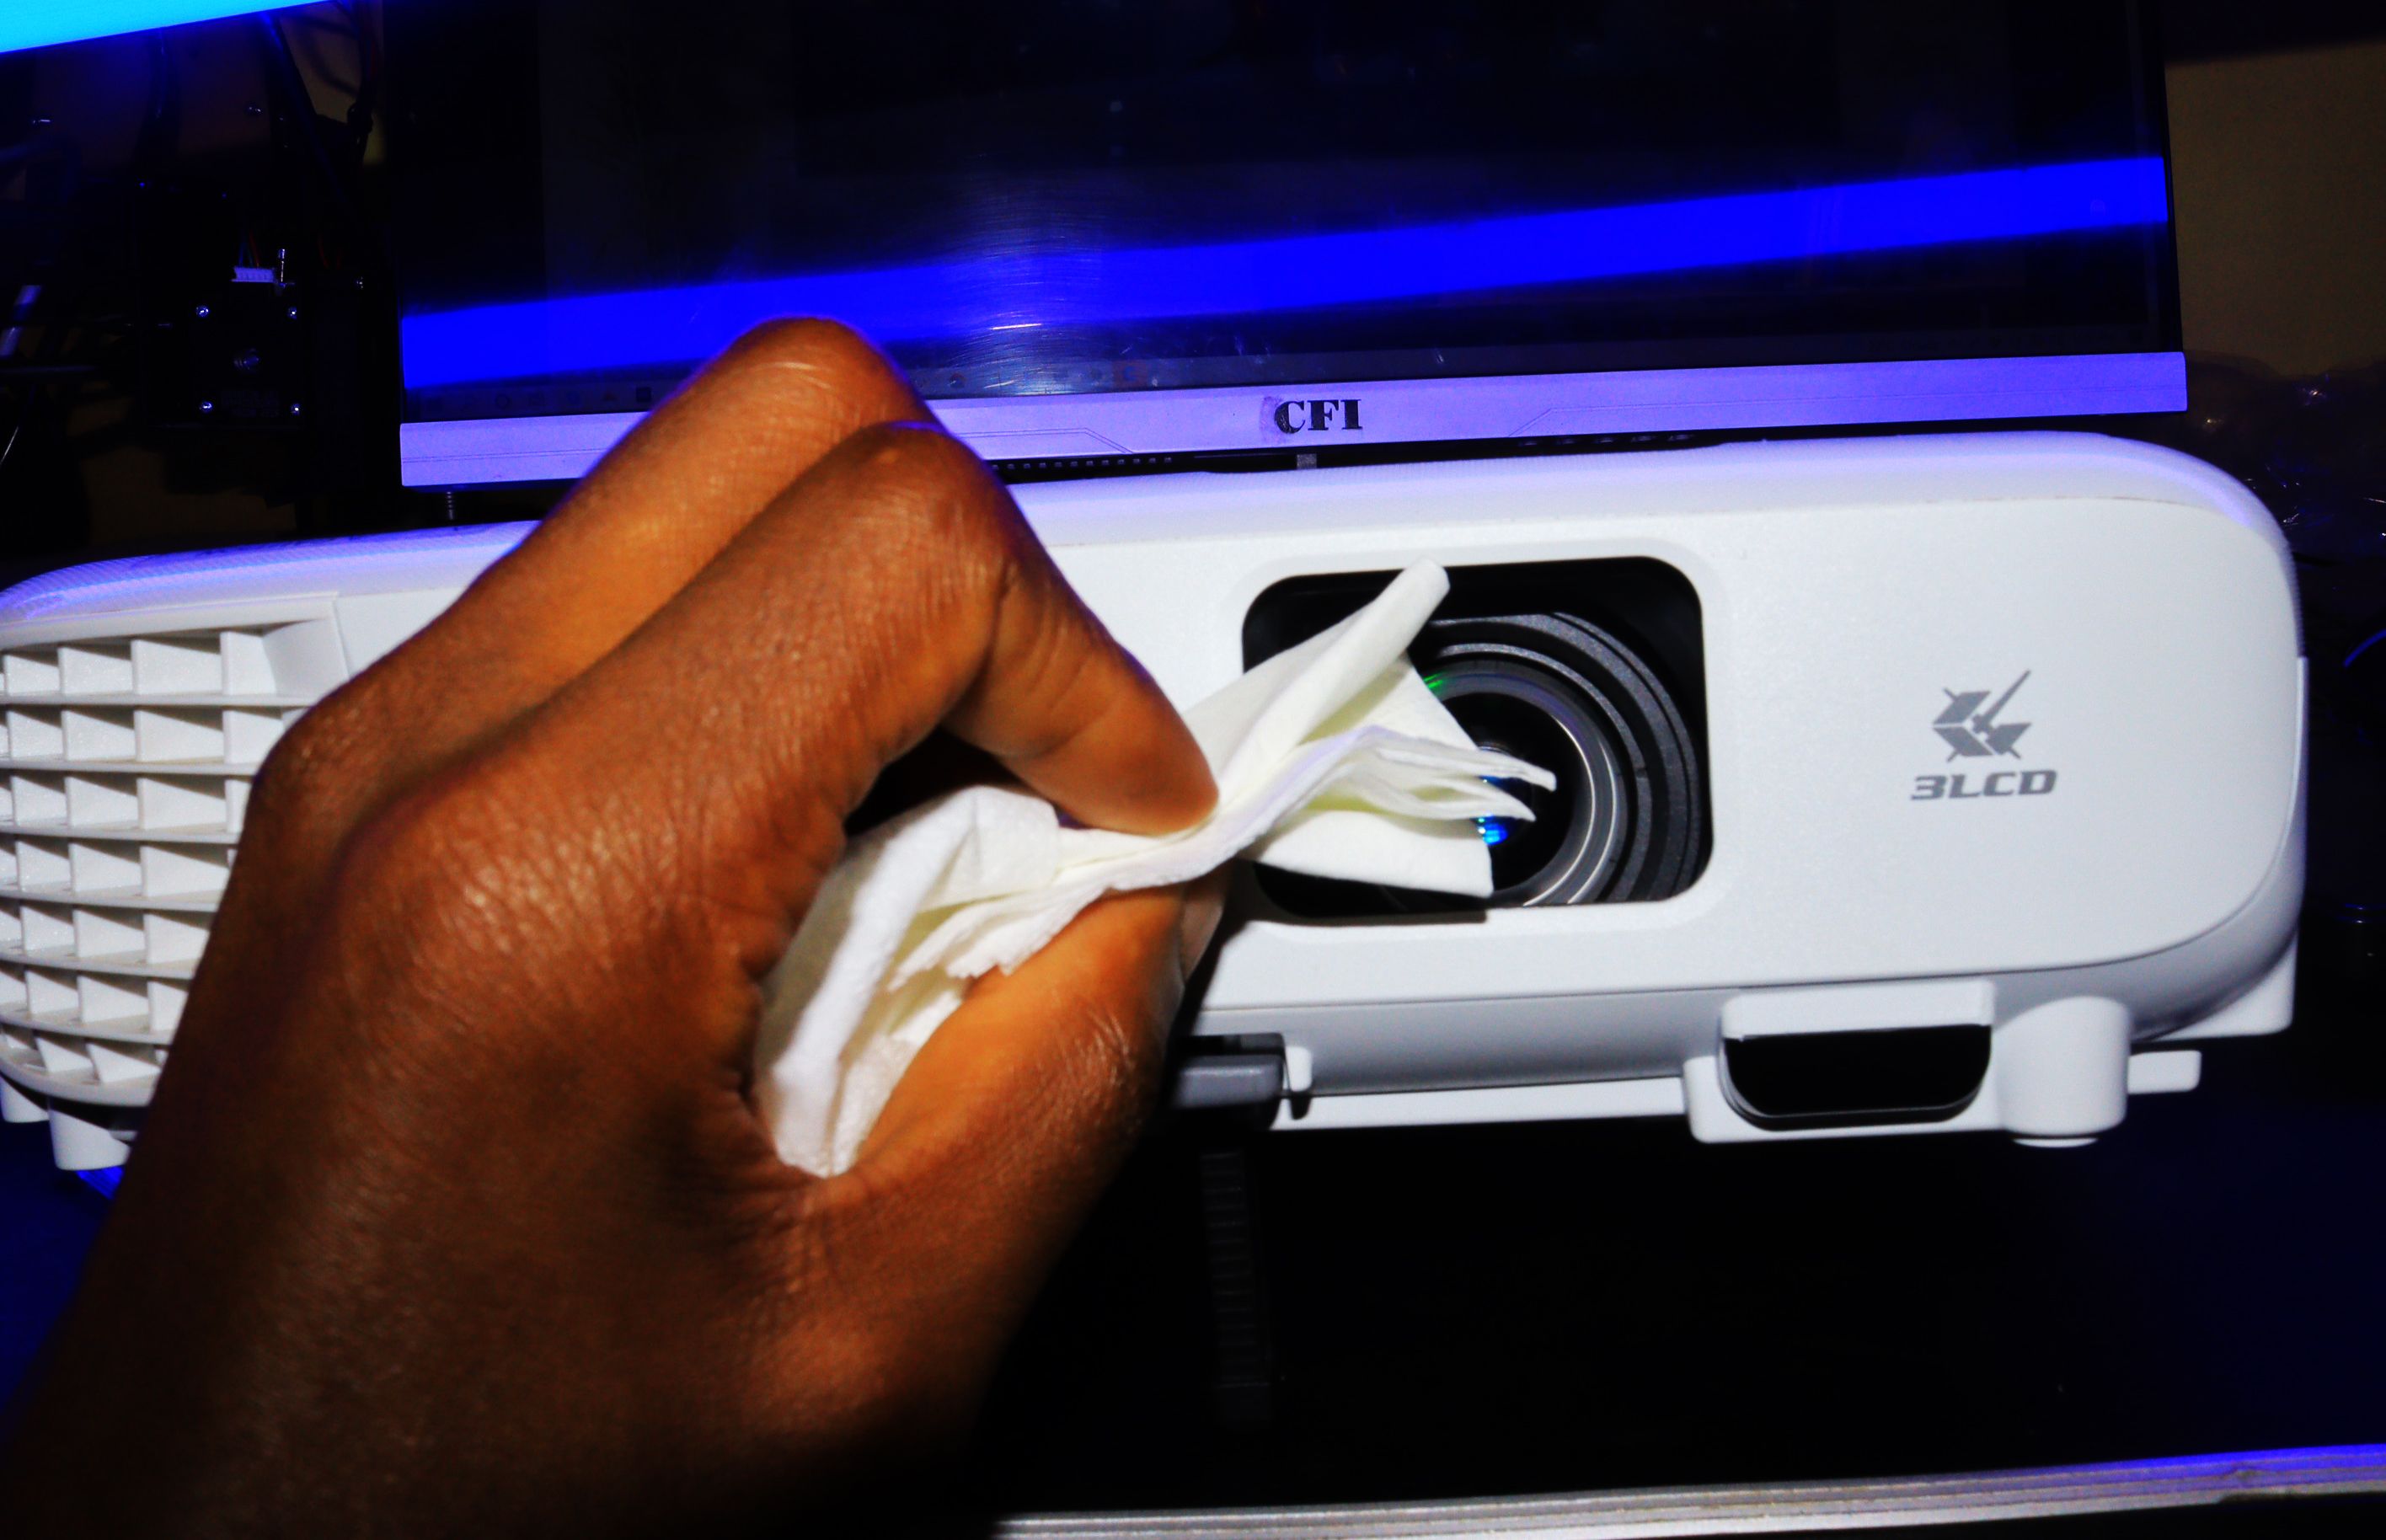
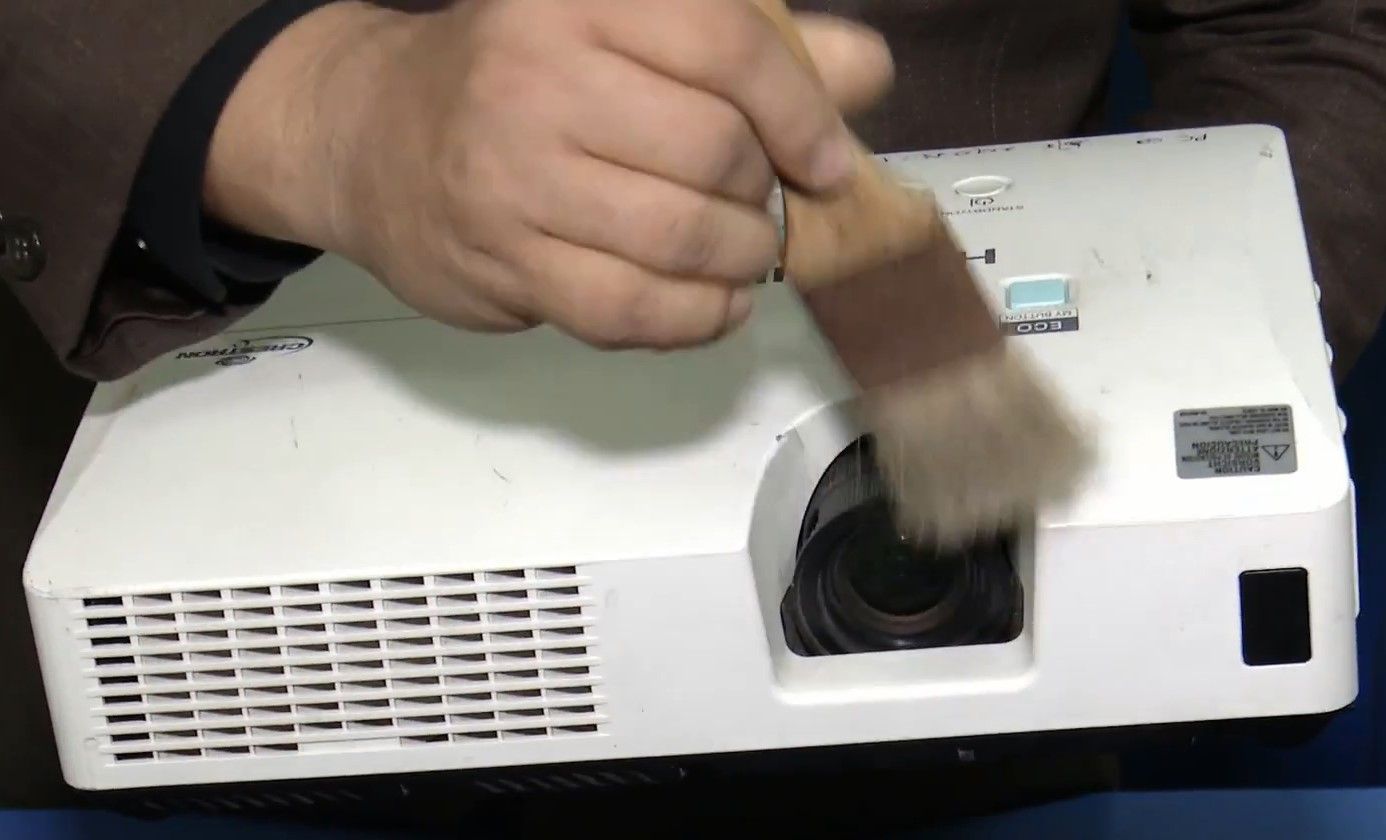
Wipe dust or dirt off the lens surface with a soft, dry cloth. Gently wipe the lens in a circular motion until you have removed all traces of dirt. Be careful not to scratch the lens. In addition to a soft cloth to remove dirt, you can also use a cleaning brush.
The brush will help remove any loose particles that may be stuck to the surface of your lens. A can of compressed air is also helpful for blowing light particles and dirt off your lens.
Step 3: Apply cleaning solution to the cloth
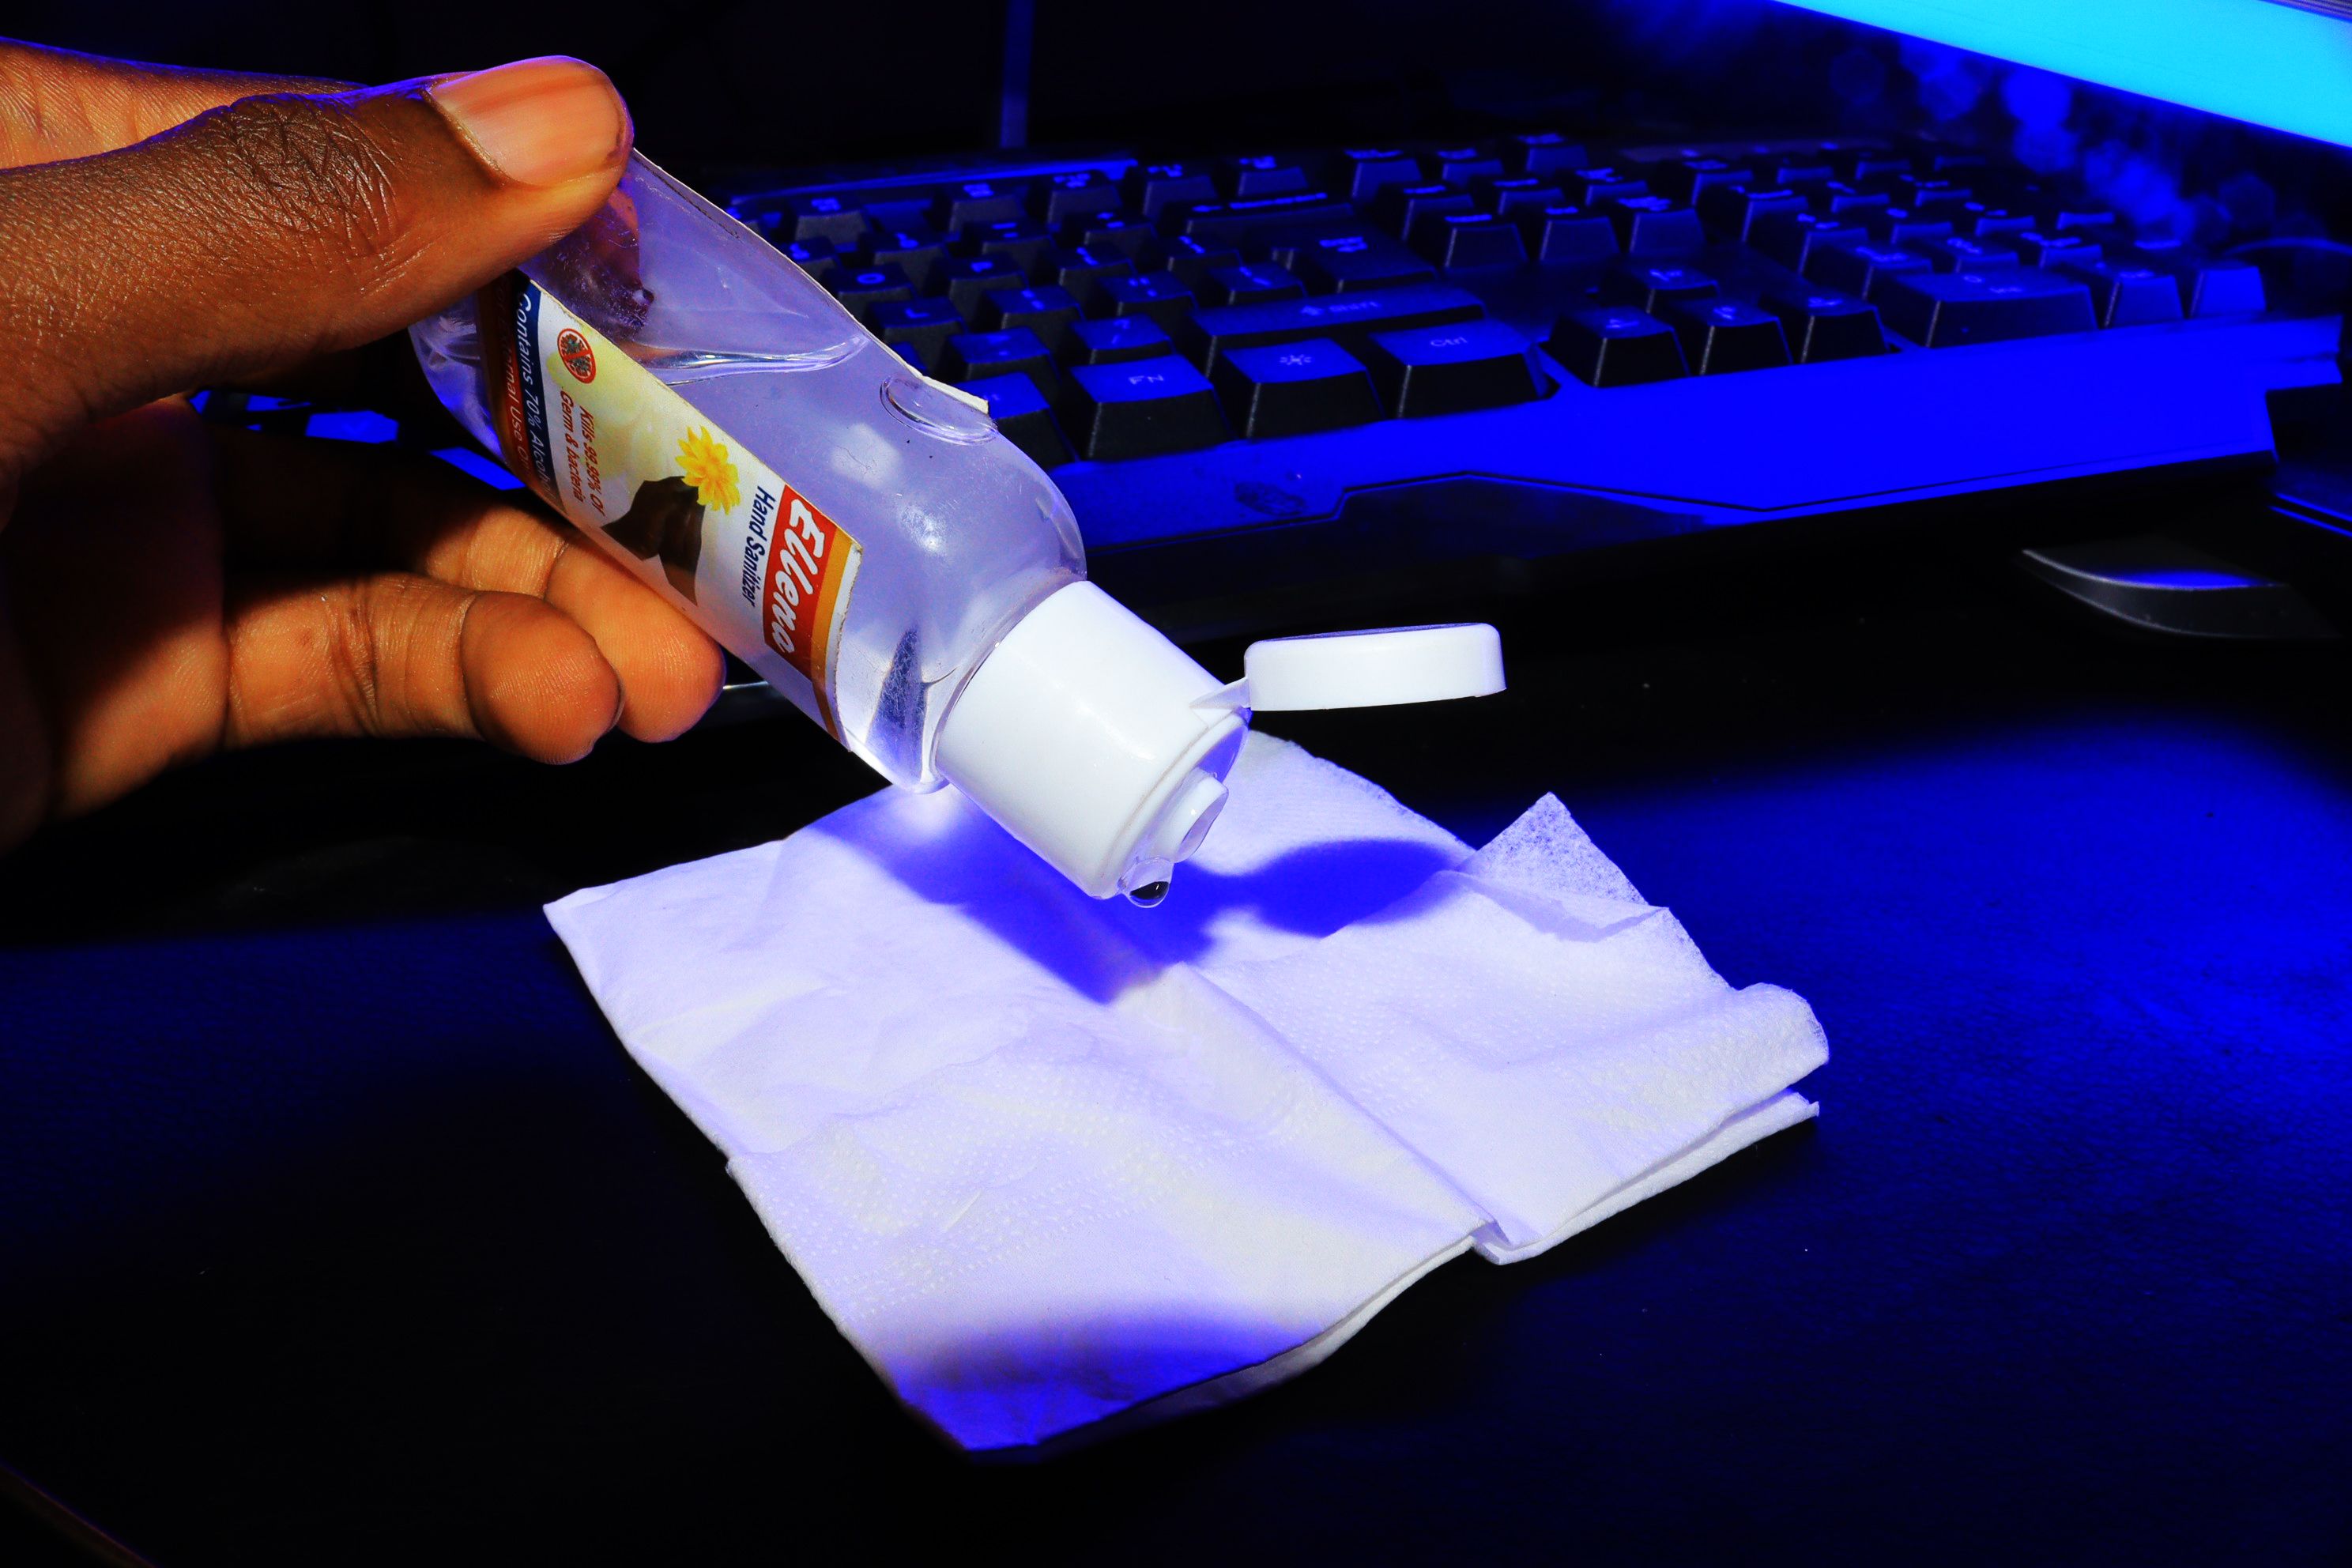
After removing the dust, apply a small amount of lens cleaning solution to another soft, dry cloth or cotton swab. A soft, clean cloth or cotton swab is suitable as it will ensure no scratches are left. Gently wipe the solution over the surface of the lens in a circular motion. You can start from the center of the lens and then move to the outer parts.
Step 4: Cleaning Stubborn Dirt
For difficult stains that are proving stubborn, you may need to use a quality cleaning solution specially formulated for lenses. These products are typically formulated with a milder surfactant base than traditional cleaning products to avoid damaging the delicate finish of your projector lens.
It is also important to carefully follow the instructions on the product and to observe not only the general guidelines for use, but also all precautions regarding storage and disposal.
Step 5: Give the lens time to dry
After thoroughly cleaning the lens, it’s important to allow it to air dry completely before replacing your projector’s cover. Giving it time to dry will prevent harmful bacteria or microorganisms from building up on the surface of the lens, which could lead to deterioration or discoloration over time. In addition, it gives the surface time to restore its hydrophobic properties and resist water more effectively in the future.
Important tips to keep in mind
When cleaning your projector lens, there are a few key points to keep in mind:
- Check your projector model’s manual for specific instructions on cleaning the lens.
- If possible, remove the lens from the projector before cleaning it for easier access and proper cleaning.
- Avoid harsh chemicals or detergents as they can damage the lens coating.
- If there are stubborn stains or stains on the lens, you can try to gently remove them with a mild soapy water solution. Be sure to dry the lens thoroughly afterwards to avoid water stains.
- Once the lens is clean, you can optionally apply a dust repellent solution to keep it cleaner longer.
- If your projector has an automatic or manual zoom function, clean the inside and outside of the lens barrel to prevent dirt build-up.
- When not in use, store your projector in a cool, dry place with the lens cap on to protect it from dust and dirt.
Enjoy a clear and concise display with a clean projector lens
Following these steps can go a long way in ensuring you get bright, clear images every time. Whether you’re giving a presentation in class or showing content at a conference, a clean projector lens is essential to ensure clear, sharp images. A dirty lens can cause problems like poor contrast and blurred lines. Also, dust and dirt on the lens can interfere with light projection and result in foggy, unclear images.
