How to Calibrate Your 3D Printer Accurately
The accuracy of a 3D printer is critical to the success of your 3D prints. It determines how well it can lay down layers, especially the first layer. Several factors can affect the accuracy of a 3D printer; Calibration is one of them.
What is calibration in 3D printing and its benefits?
Calibration in 3D printing involves making minor adjustments to the machine to create prints that meet the desired specifications. Several components of a 3D printer need to be calibrated. This includes the stepper motors, extruder, and filament type of the 3D printer.
Calibrating your printer has many benefits, including the following:
- Improved print quality: If you take the time to ensure your device is properly calibrated, you will see a significant improvement in the quality of your printouts. Not only will they be more accurate, but they will also have a smoother surface.
- Reduced waste: If you print without calibration, the printer cannot adequately control the material flow, resulting in overuse or leakage. By calibrating your machine, every drop of filament is used efficiently and there is no waste.
- Increased efficiency: When your device is properly calibrated, it can print faster and more accurately. You can finish your prints in less time, freeing you to turn to other projects.
- Greater control over the printing process: You can fine-tune the settings to get the perfect print every time.
- A better understanding of your 3D printer: Calibrating your printer can also help you better understand your device. By learning how to calibrate it properly, you’ll develop a deeper knowledge of how it works and how to get the most out of it.
How to calibrate your 3D printer
To calibrate your 3D printer, you need to calibrate the X, Y, and Z motors, the extruder, and the filament. Each of these processes is described below: We start by calibrating the X, Y and Z axes.
The goal of calibrating X, Y, and Z is to ensure that the printhead is moving exactly according to the increments set by the firmware. You can use a ruler, dial indicator or vernier calipers. Here we use a dial indicator.
Important tip: Most users have used a test cube to calibrate the X, Y, and Z axes. That works too, but for accurate results you should use a dial indicator.
Step 1: Get the current Steps configuration
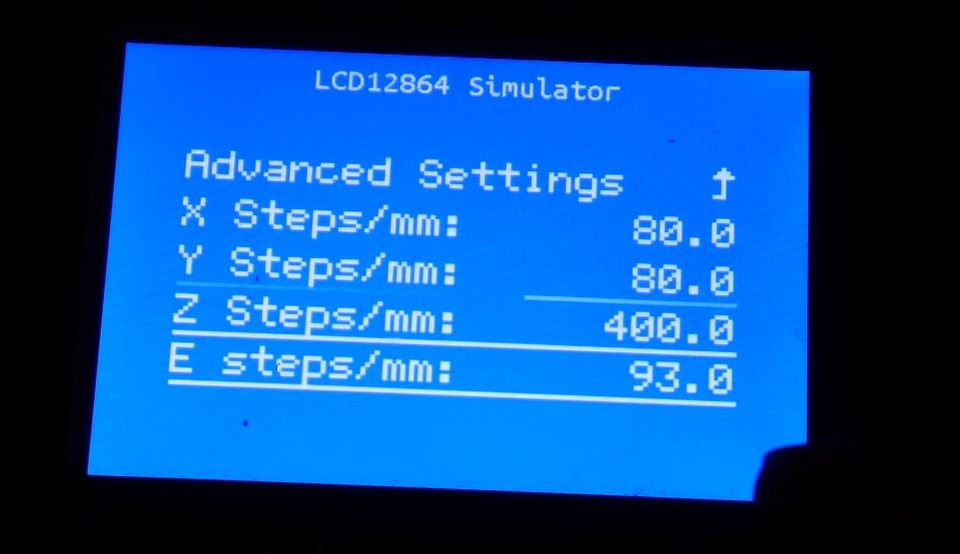
The configuration of the current steps is important because you will use them later when calculating the E-steps. E-steps are the steps the motors have to take to extrude one millimeter of filament. Every 3D printer comes calibrated from the factory. The image below shows a default E-Step setting of 93. While these settings are accurate, there may be some variation during assembly of the 3D printer and calibration will ensure it is set correctly.
To get the current step setting, you can go to Construction Settings of your 3D printer and then select Steps per mmand you can see your current settings.
The settings for accessing the steps may vary depending on the type of your 3D printer.
Step 2: Mount your dial indicator on the print head
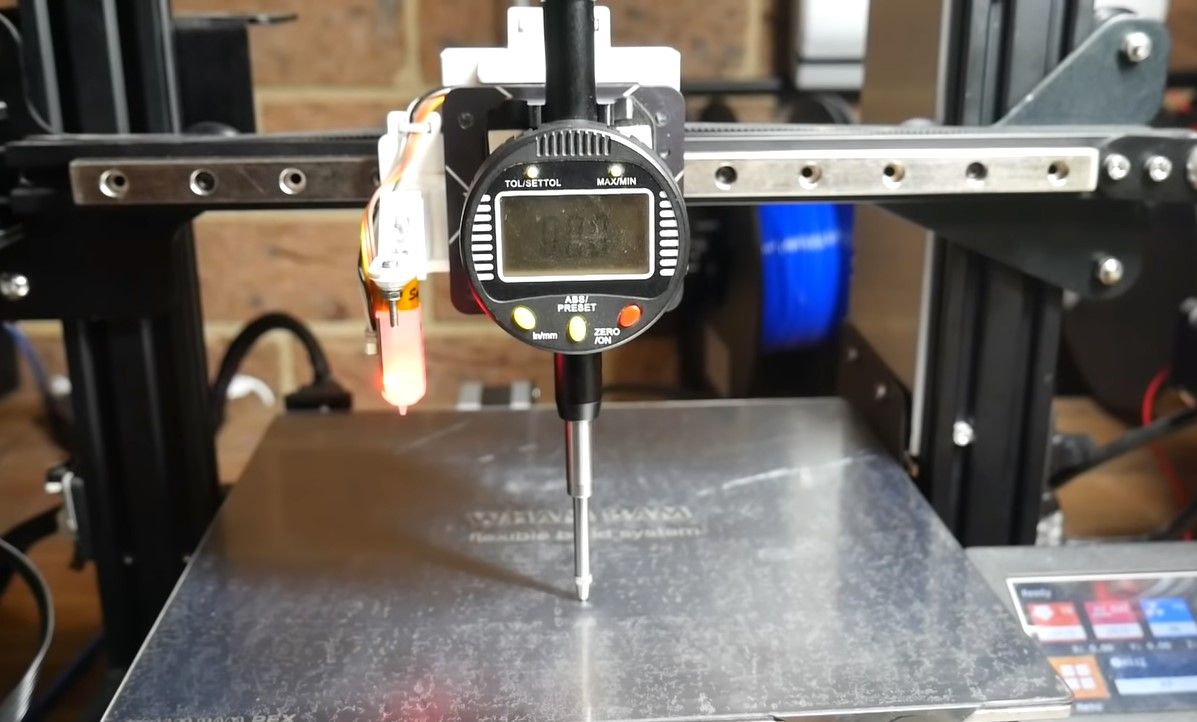
We need to mount the dial gauge on the printhead to take measurements. You can get 3D printable dial indicator holders for your particular 3D printer, such as: B. the one from 1bipig on Thingiverse. Once your dial gauge is mounted to the bracket, level your 3D printer so the firmware can manually move the machine; Next, mount the dial gauge with the bracket on the print head and make sure it touches the bed.
Step 3: Move the axis 10mm at a time
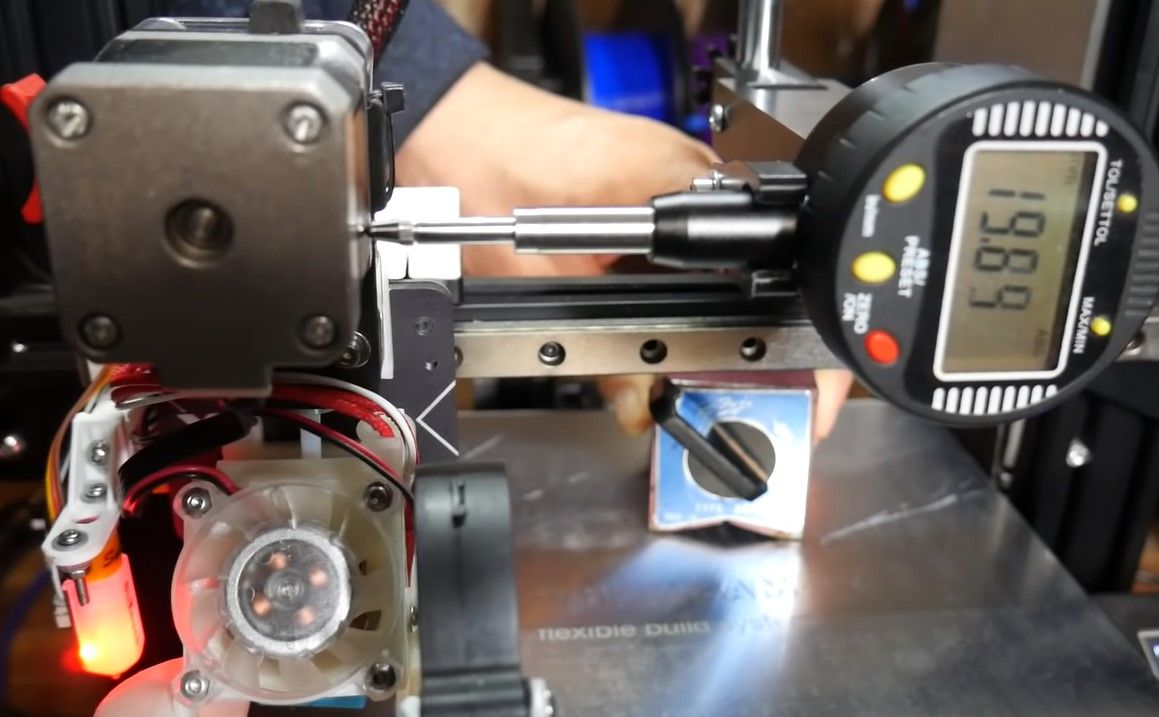
You can use the LCD screen and controls (depending on your 3D printer) to move the axis back and forth 10mm. The goal is to make sure the dial gauge reads as close to 10mm as possible. You can do this with the X, Y and Z axis.
Step 4: Tighten the screws and strap
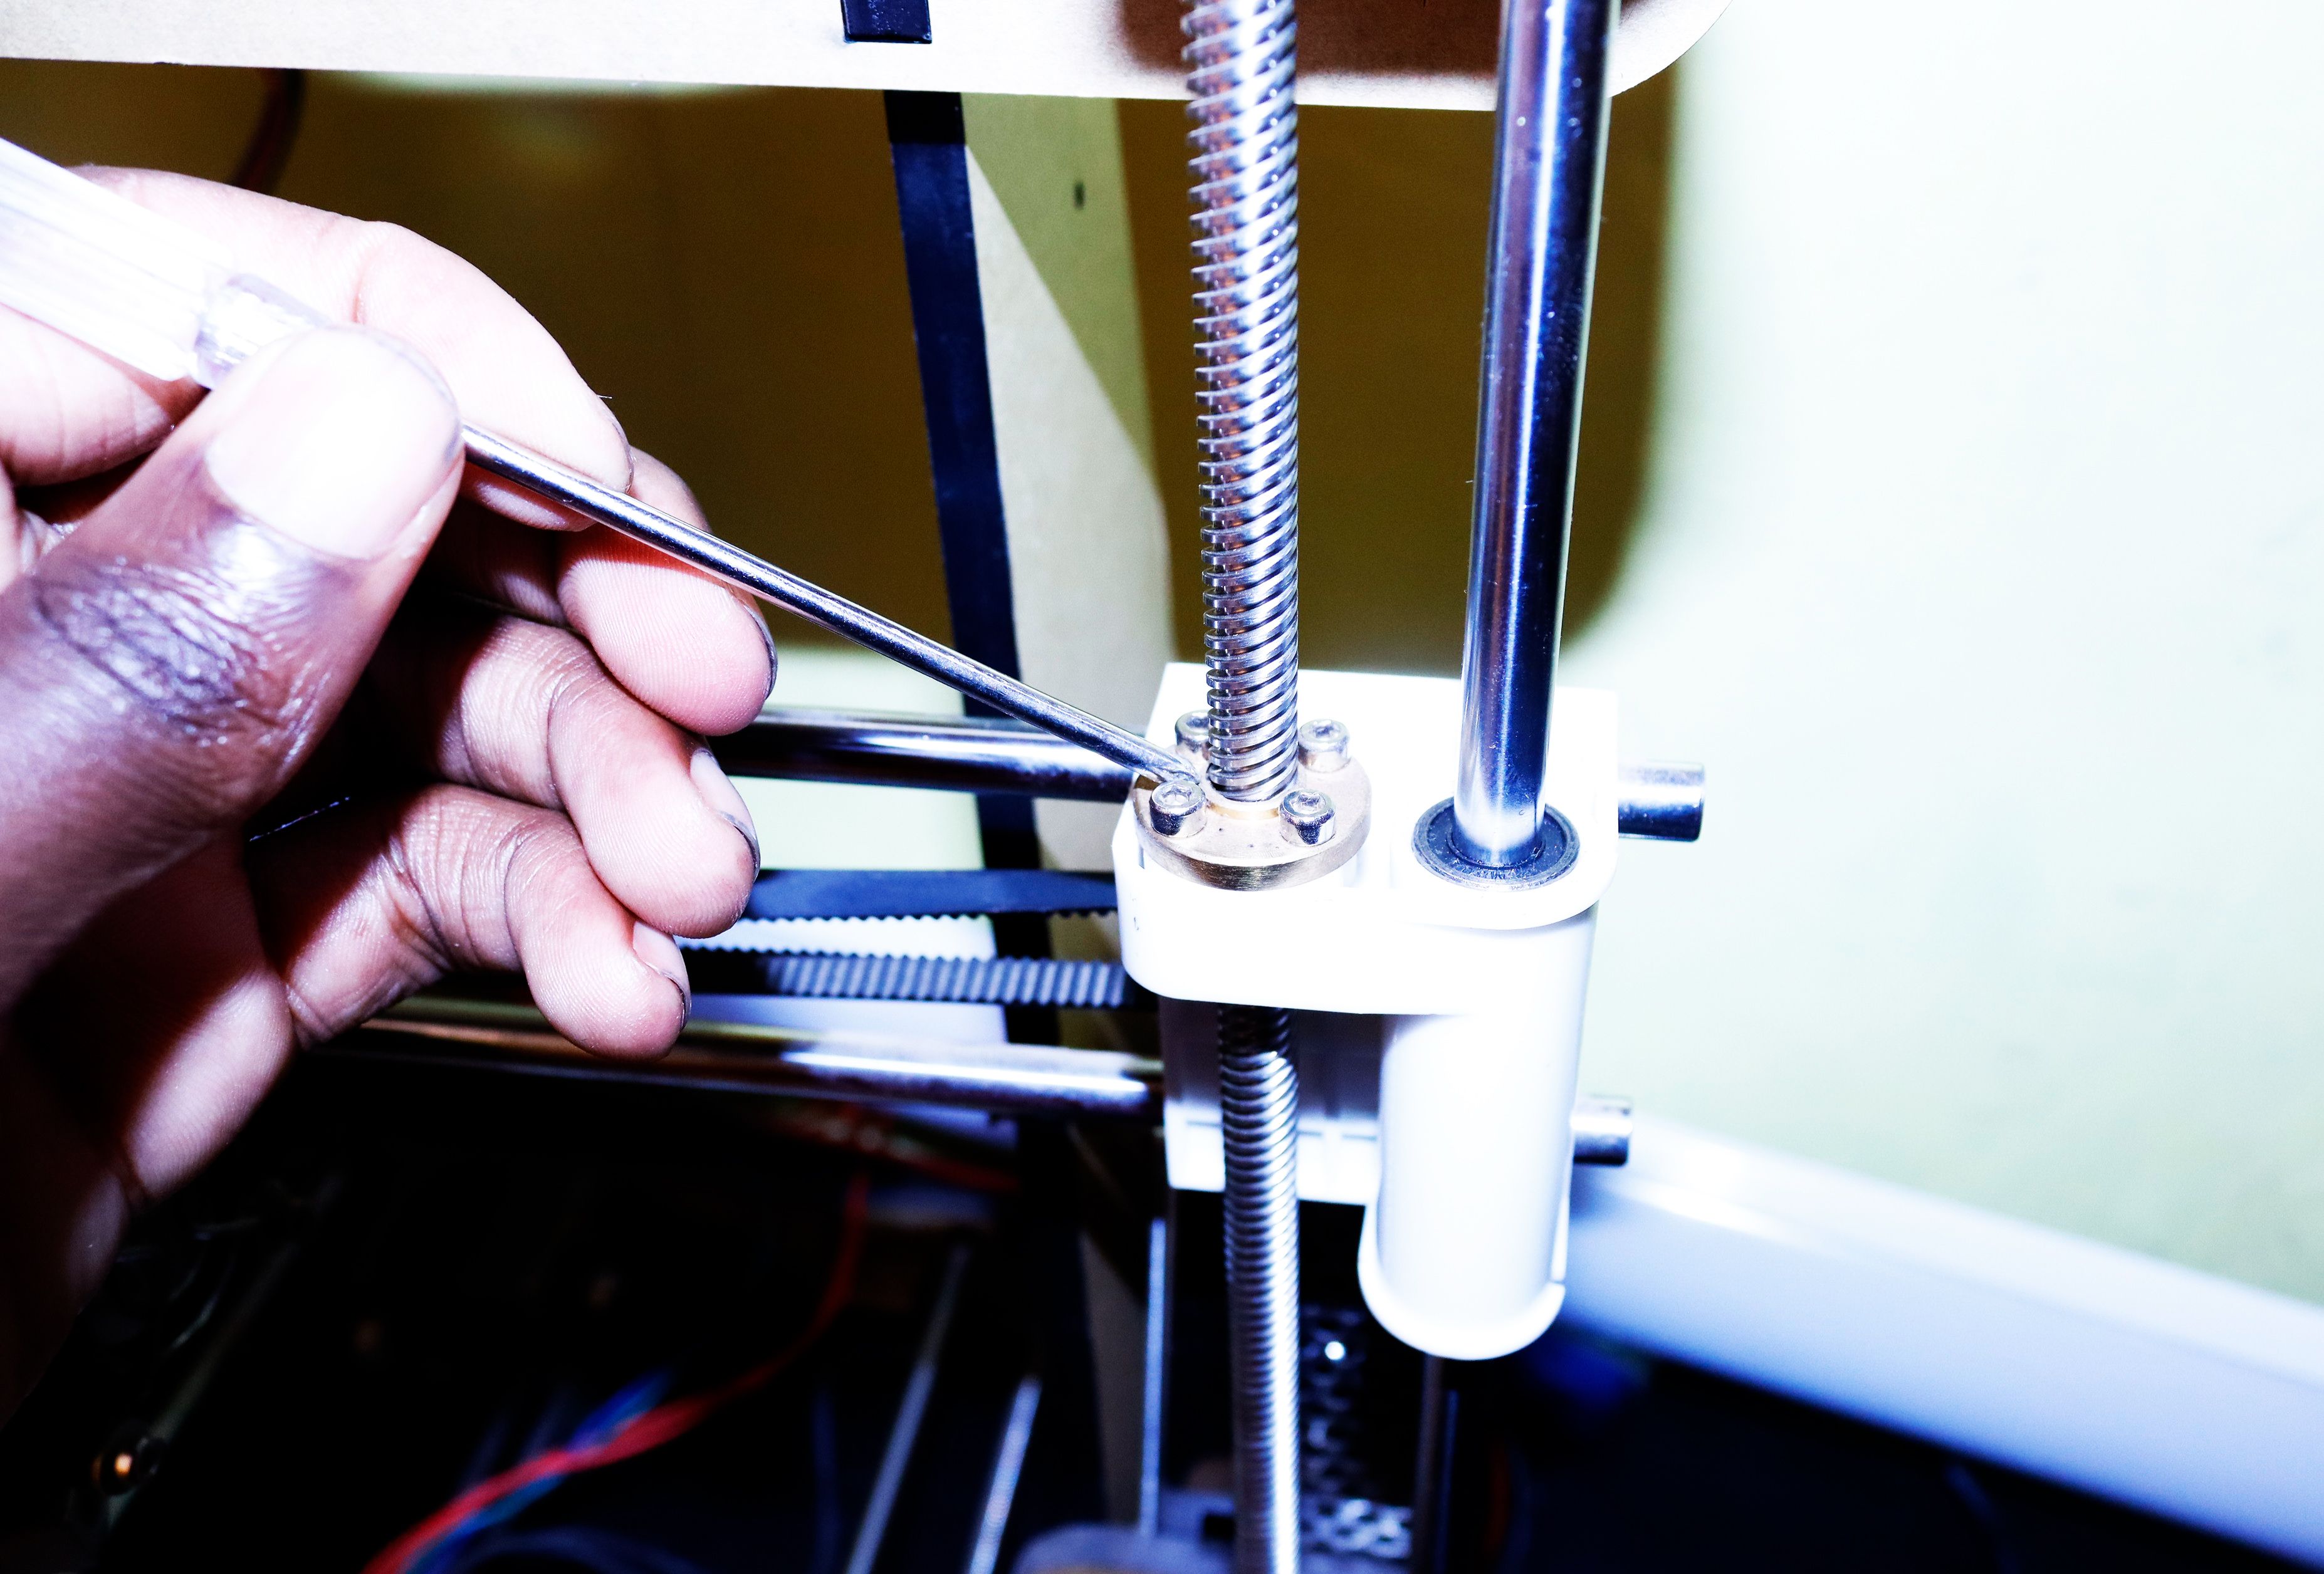
Once you get the measurements you can tighten the screws and strap so they don’t move. This prevents the measurement that has already been generated from being falsified.
Step 5: Adjust the steps in the firmware
We need to get the E-Step value to adjust the firmware steps setting. This is obtained by dividing the desired amount (in our case it was 10mm) by the actual amount and multiplying by the value of the current increment obtained with a dial indicator. Once you get the value you can set it in your firmware.
Calibrating your 3D printer’s extruder
Heat up your extruder and send a command to extrude 100mm of filament. Once that’s done, measure how much filament has been extruded. If it’s less than 100mm, you’ll need to increase your E levels. If it’s more than 100mm you need to lower your E levels. Keep adjusting until you get it right.
Next you need to calibrate your Z axis offset. This setting is crucial as it determines the height of your layer. You can calibrate the Z-axis offset on your 3D printer in a number of ways. The first is to use a piece of paper or a thickness gauge.
Place the paper or gauge on the build plate and slowly lower the extruder until it barely touches the paper. Then measure the distance from the top of the paper to the tip of the extruder. This measurement is your Z-axis offset. For more details, see our in-depth guide on how to calibrate your 3D printer extruder.
Calibrating the filament
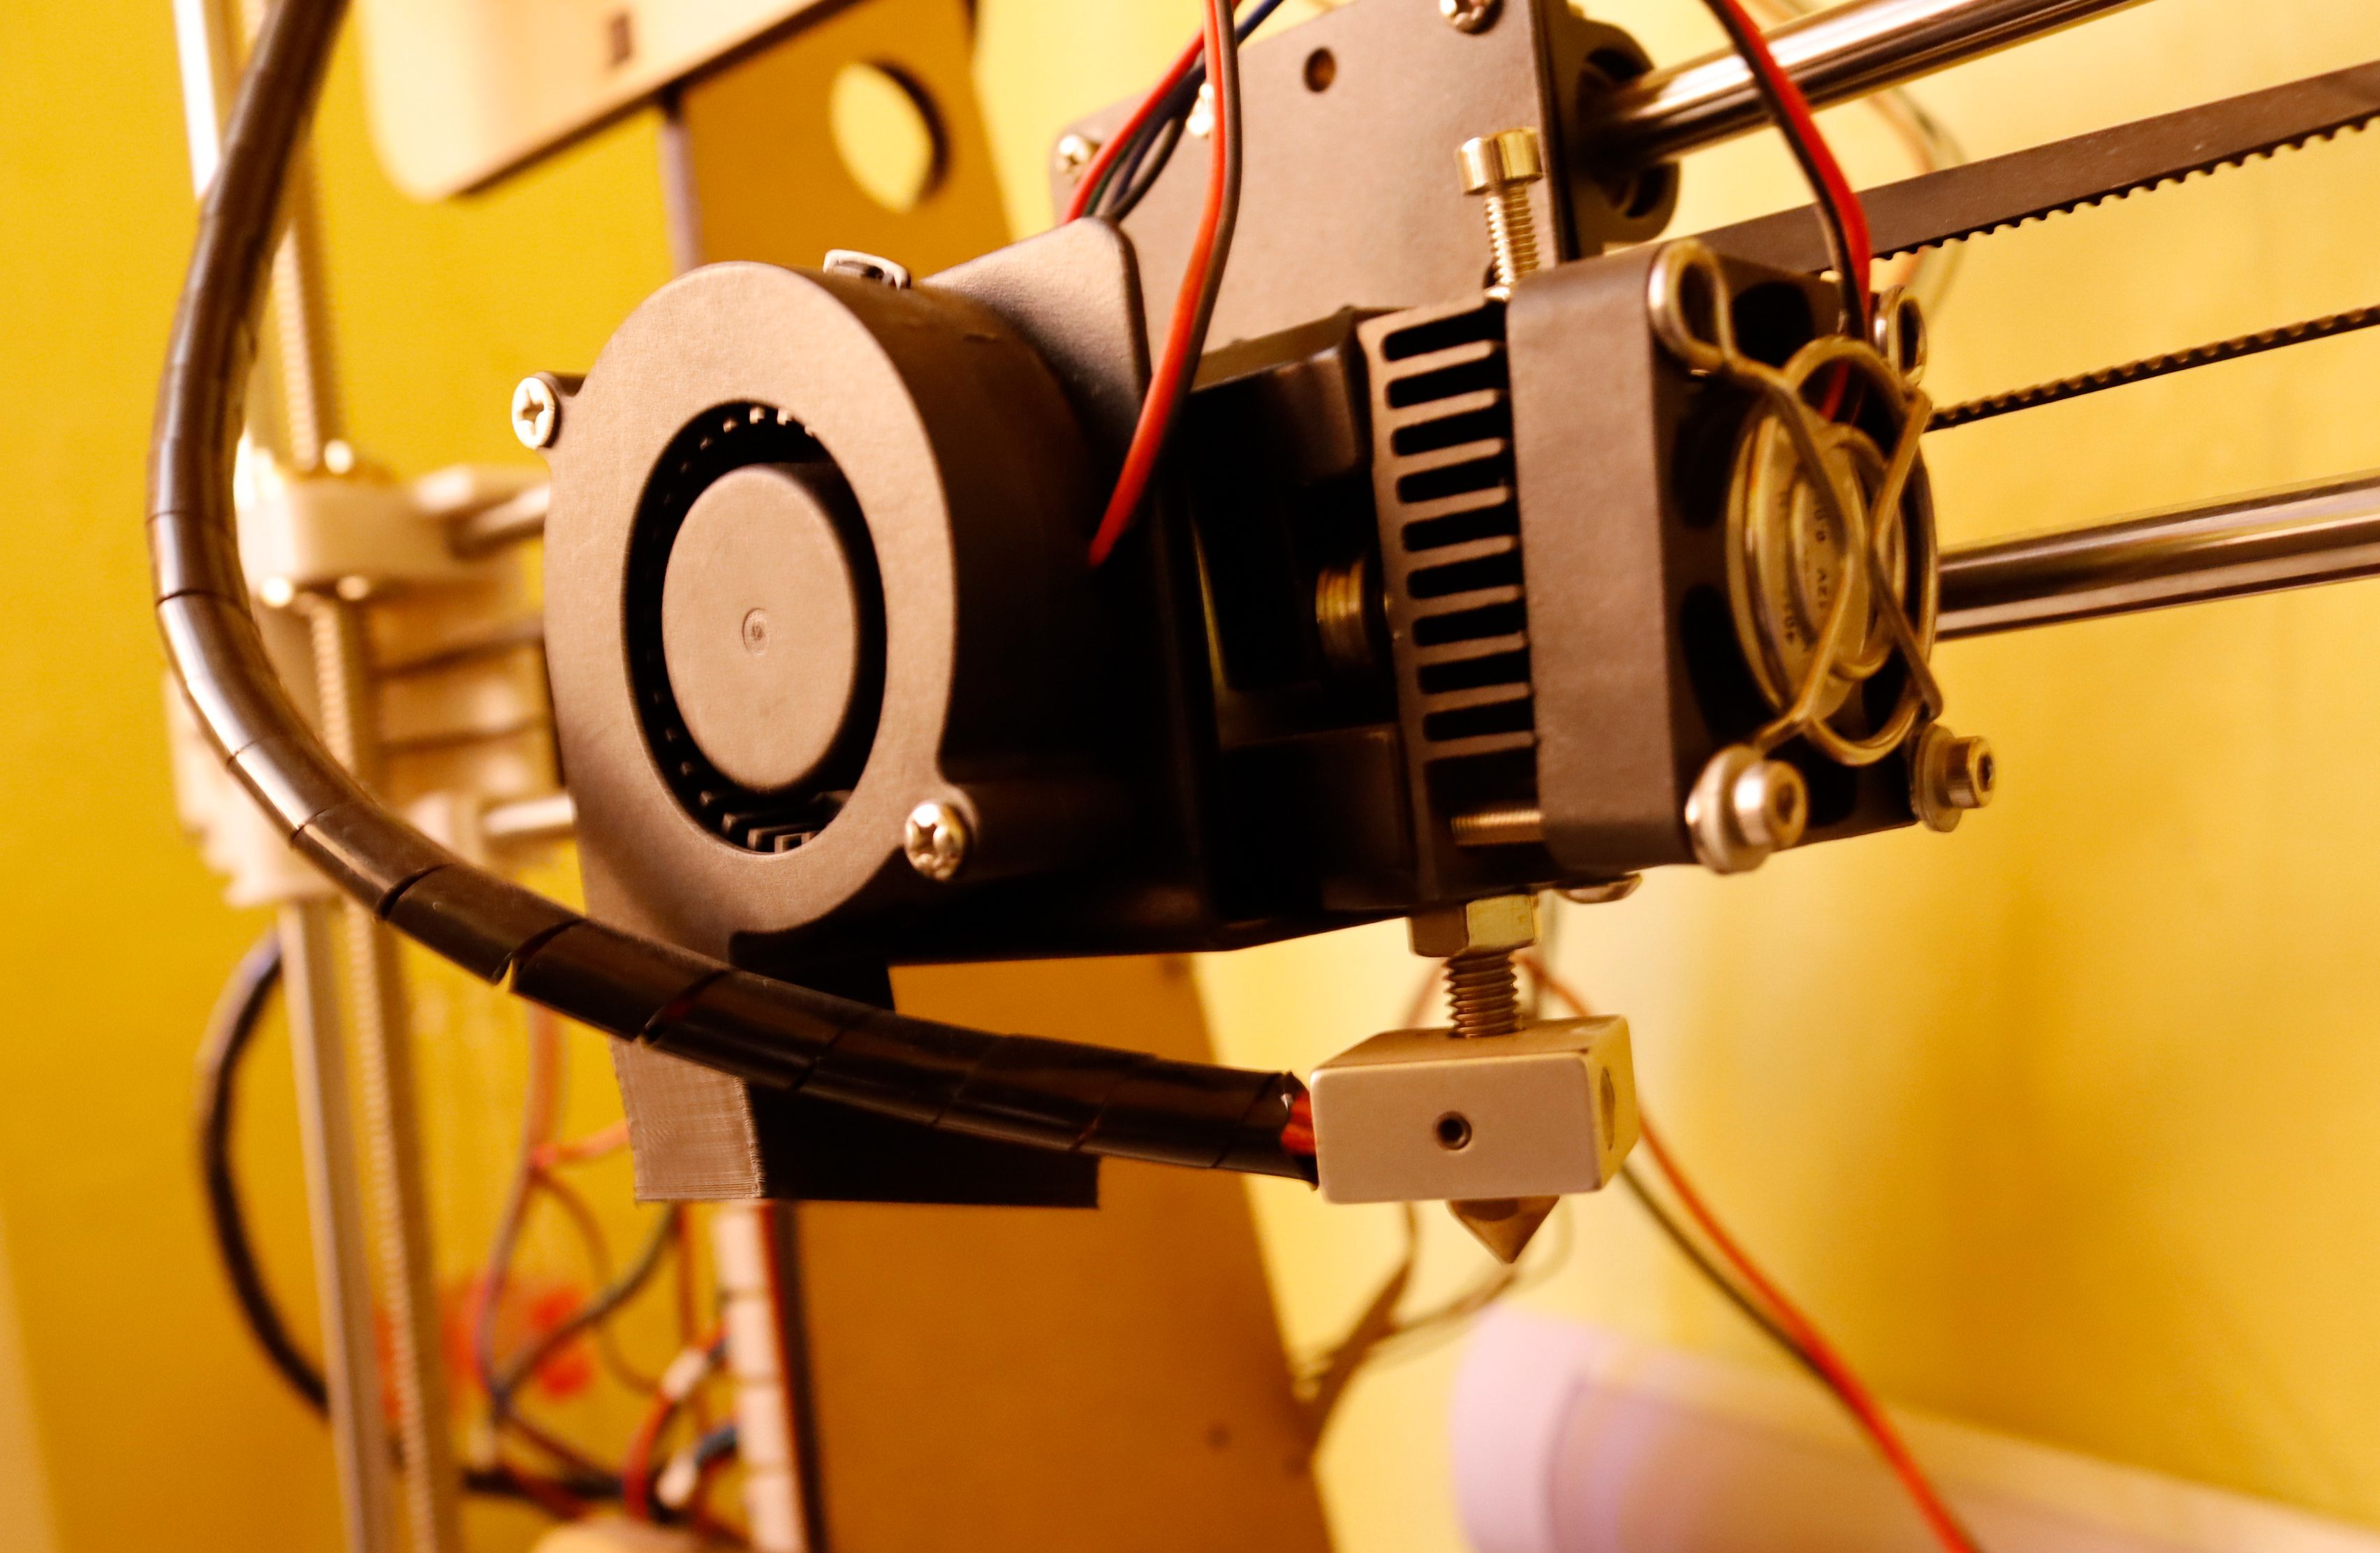
If you’re seeing your prints not coming out as expected or filament not extruding properly, your printer’s nozzle is probably clogged. You can start by removing and disassembling the hot end to clean the nozzle. Once the hot end is removed, you can use a needle or sharp object to remove debris from the nozzle.
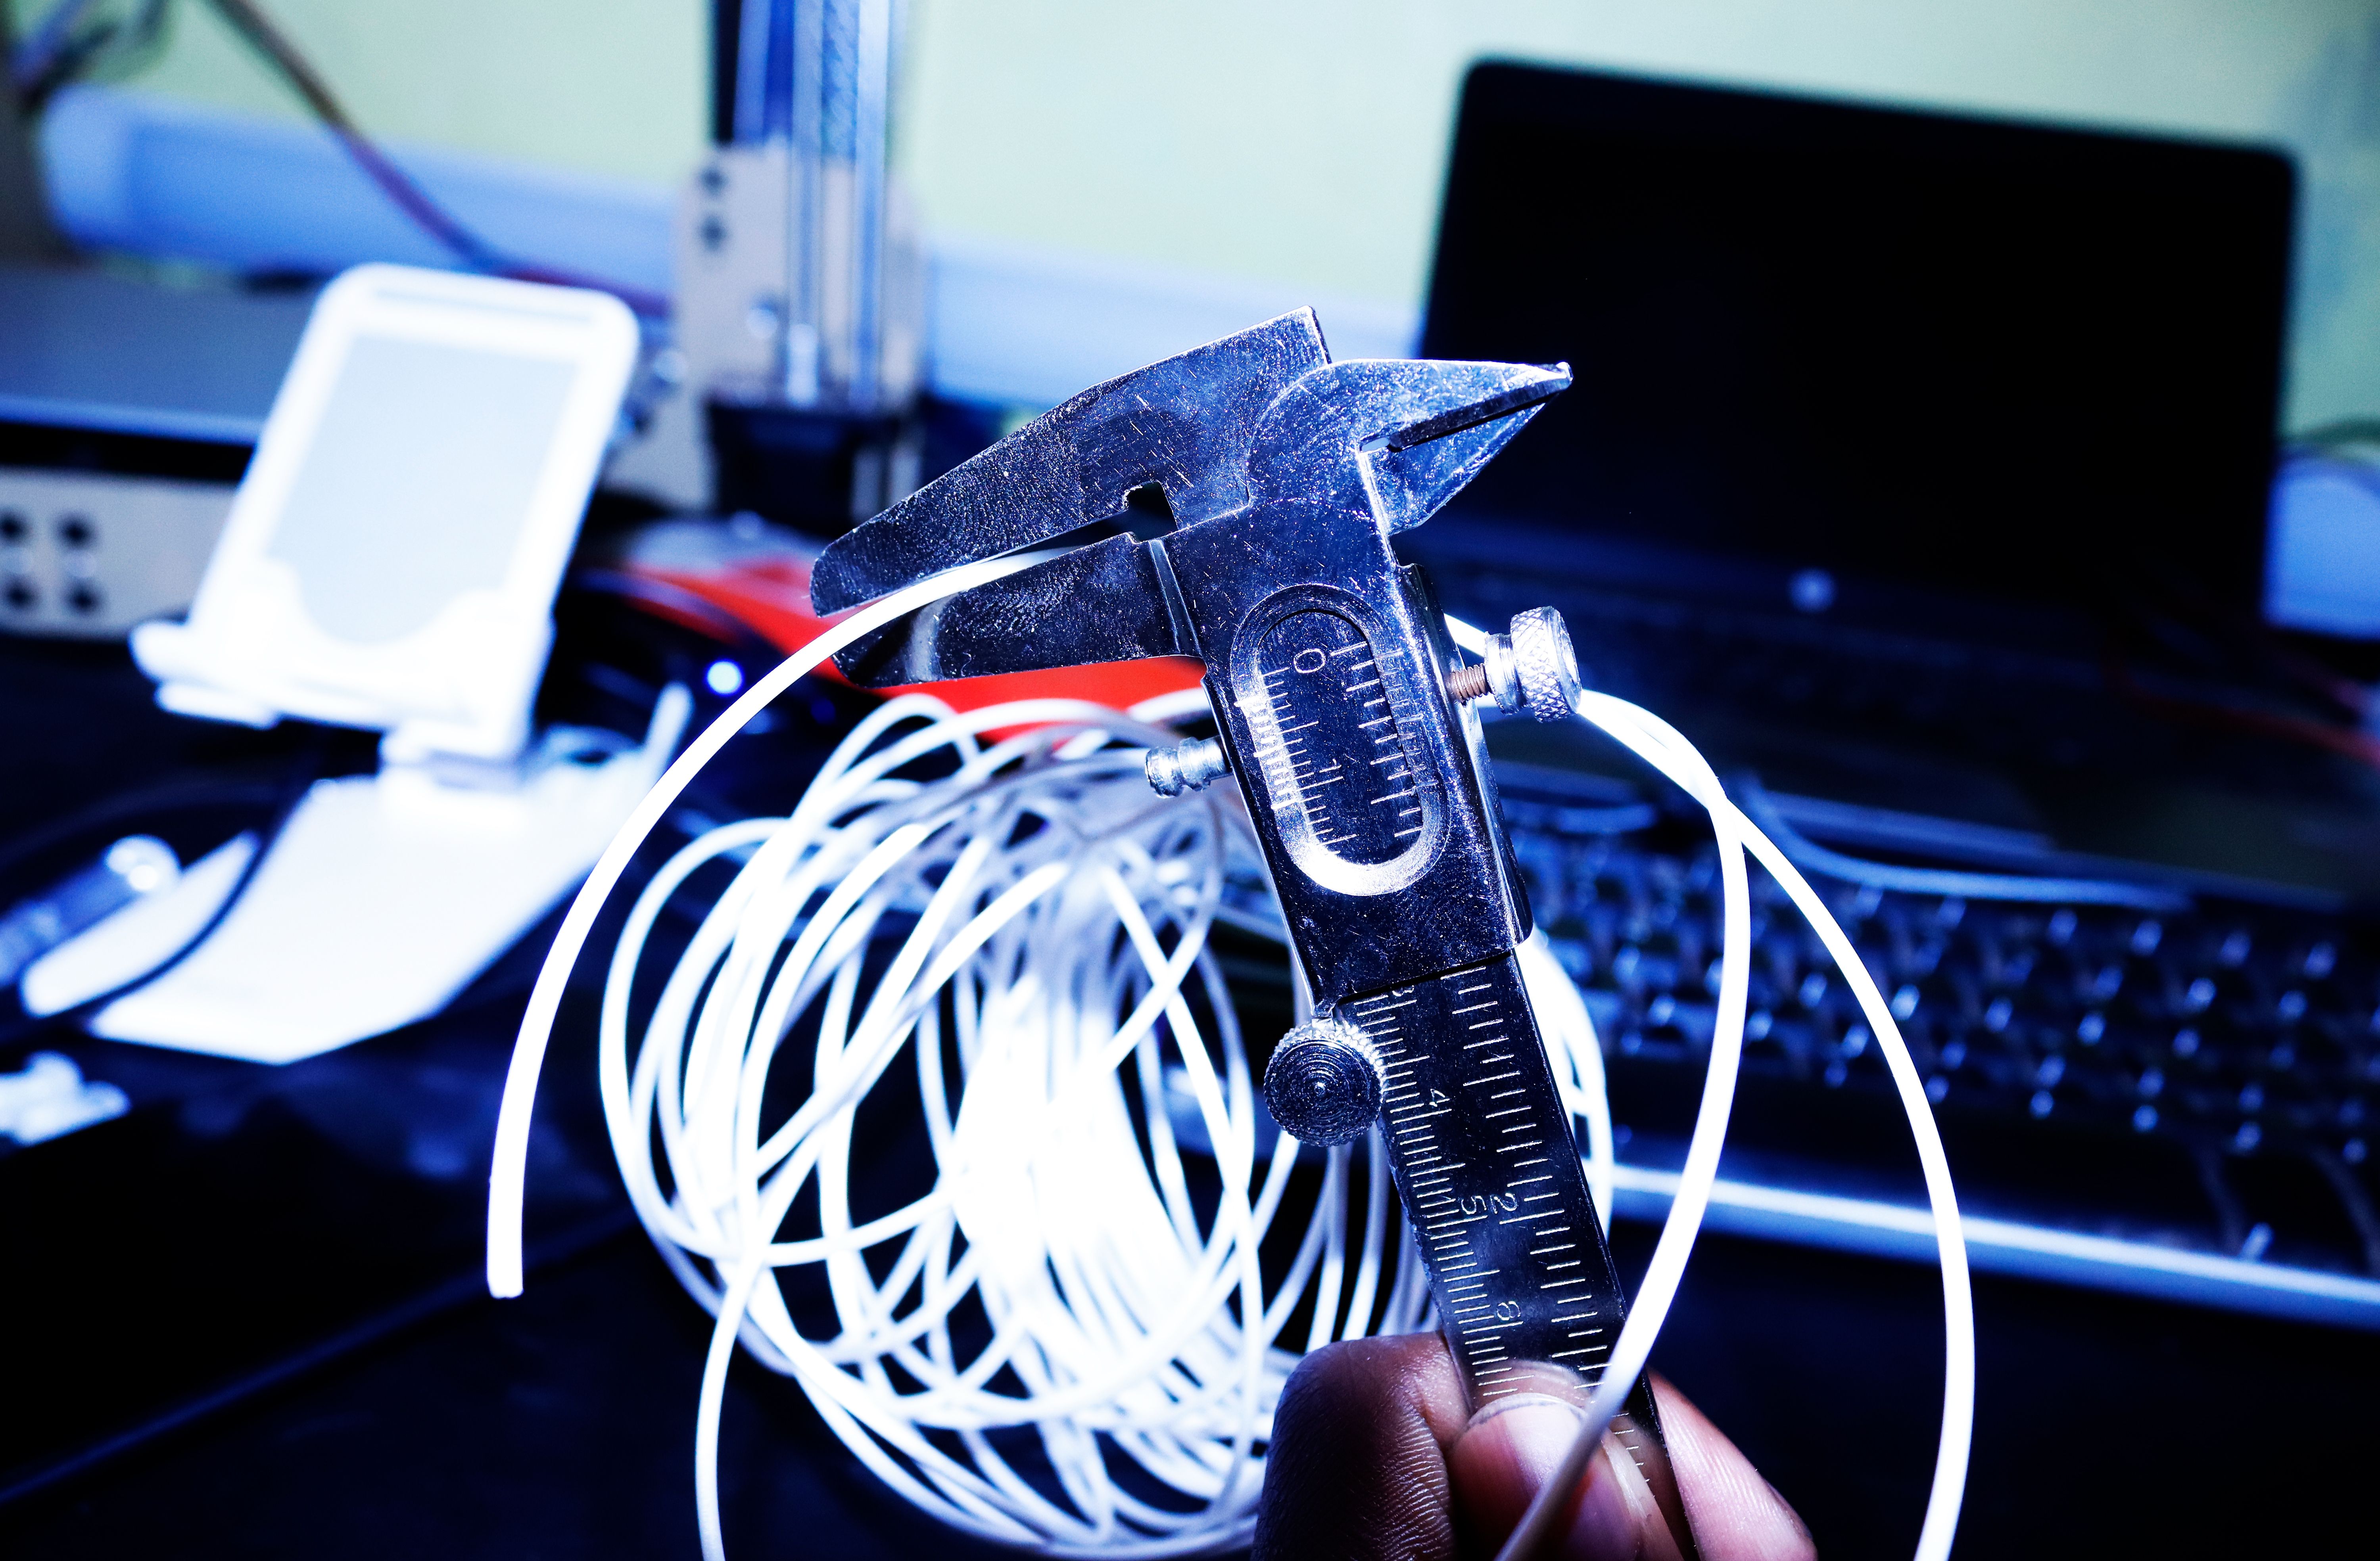
Once the nozzle is clear, you need to calibrate the filament diameter. To do this, you need to measure the diameter of the filament at several points along its length. The easiest way to do this is with a caliper, as shown in the picture above.
Adjust the flow rate
After measuring the diameter of the filament, you need to adjust the flow rate accordingly. It is also important to ensure that the filament is properly aligned with the hot end. If the filament is misaligned, it can cause problems in the extrusion process.
To align the filament, you need to loosen the set screw at the top of the hot end and then adjust the position of the filament until it is centered in the nozzle. Once the filament is properly aligned, you can tighten the set screw and continue printing.
address problems
If you’ve done the above but are having issues like stringing, it may mean filament errors have been made or your printer’s settings are probably wrong. If the extrusion speed is too high, stringing may occur. You can adjust it in your printer’s software.
Another setting that can cause stringing is the retract distance. If your pullback distance is too large, it may cause the filament to be pulled out of the nozzle during travel movements. You can also increase the temperature of your hot end, as stringing can also be caused by a lack of heat, which can cause the filament to cool and solidify before it’s extruded from the nozzle.
3D printing with fewer errors
By calibrating your 3D printer, you can help ensure that it works properly and that all prints appear as intended. While the calibration process requires a lot of trial and error to get it just right, it’s a necessary process that every 3D printer user must learn to achieve great results.
