
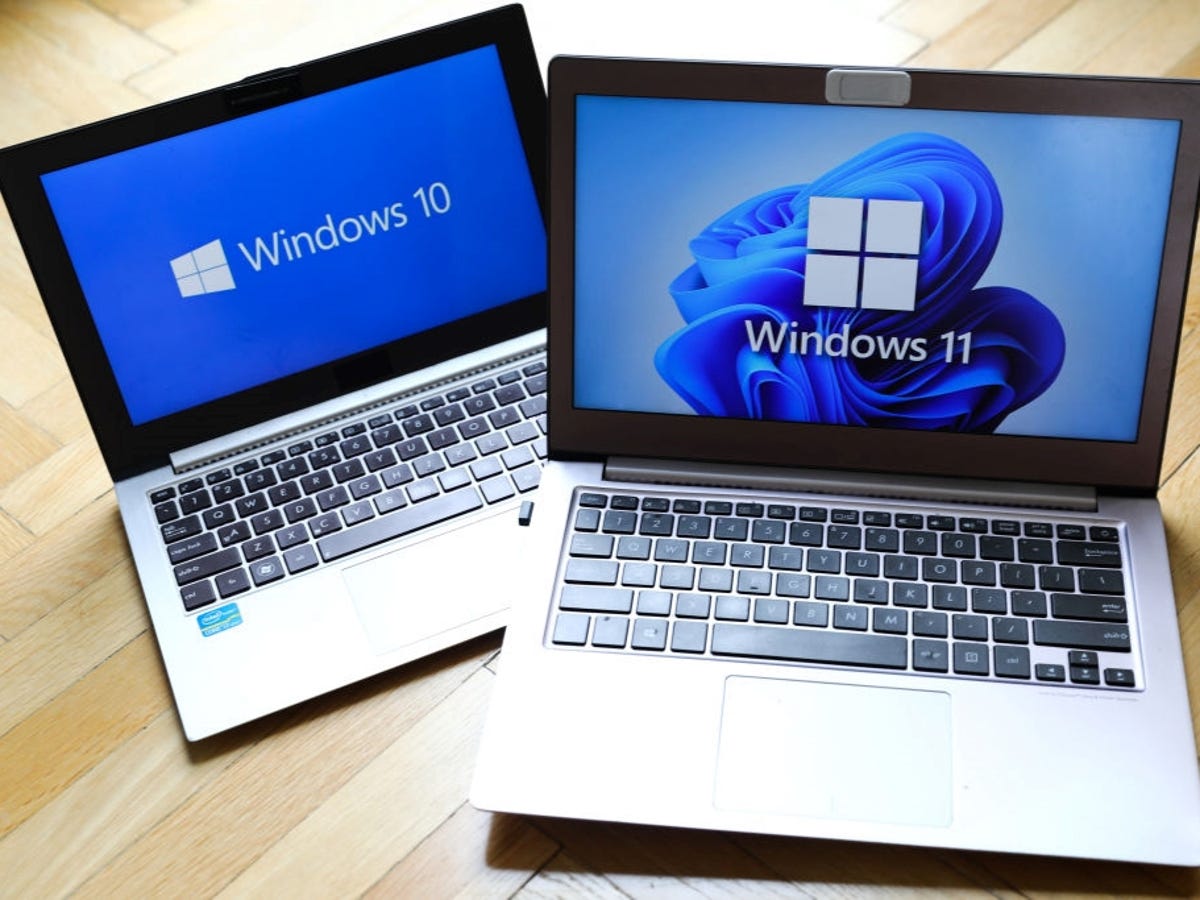
How to ‘downgrade’ a Windows 11 PC to Windows 10
Most new PCs these days come with Windows 11 pre-installed. The hardware was designed to work with Microsoft’s latest operating system, and most models designed for the consumer market don’t offer the option to install the older Windows 10. (PCs made for the business market sometimes offer this option, but these business-class PCs are usually priced higher.)
If you really don’t like Windows 11, can you buy one of these new PCs and downgrade to Windows 10? Well, something like that.
While you can easily upgrade a Windows 10 PC to Windows 11 while keeping installed apps, settings, and data files, the opposite is not possible. If you want to “downgrade” from Windows 11 to Windows 10, you’ll need to perform a clean install that requires backing up and restoring your data files and reinstalling all of your apps. But your Windows 11 license is enough to activate Windows 10 (and vice versa), which means you’ll still have the option to upgrade to Windows 11 later, after Microsoft (hopefully) fixes things you’re about to do disturb .
If this is a new PC that comes pre-installed with Windows 11, you should think twice if you really want to do this. It’s possible that you’ll encounter glitches and hardware incompatibilities while installing Windows 10, and these problems could be even more annoying than any problems you’re having with Windows 11.
On the other hand, if the PC was originally designed to run Windows 10, your chances of successfully installing Windows 10 are much better. In any case, you should create a full backup of your system before proceeding. (See Best Backup Software (2022) for third-party software recommendations, including some excellent free options.)
The ideal way to do a fresh install is to download a Windows 10 recovery image made specifically for your PC model. See this article for instructions on how to find out if this solution is available for your PC: “How to get a free Windows (or Linux) recovery image for your OEM PC.”
If you cannot find a recovery image, you need to download and install Windows 10 manually. To create bootable installation media, you need a USB stick with at least 8 GB capacity. Microsoft’s Media Creation Tool will erase and format the drive, so make sure it doesn’t contain any important files.
Caveats aside, here’s how to proceed.
- Insert the USB flash drive into your Windows 11 PC and disconnect any other non-essential USB devices; Then go to https://aka.ms/downloadwindows10.
- Under the Create Windows 10 Installation Media heading, click Download tool now.
- Run the Media Creation Tool installer and follow the prompts to create bootable Windows 10 installation media using your USB flash drive. Leave the drive connected to your Windows 11 PC.
- Go to Settings > System > Recovery and under the Advanced startup heading, click Restart now.
- From the Windows 11 recovery menu, choose Use A Device and select your USB drive. When prompted to boot from the USB drive, tap the spacebar to start Windows Setup.
- Follow the instructions to install Windows 10. When you reach the step that asks you to enter a product key, click I don’t have a product key and then make sure you select the edition (Home or Pro) you’re using “Downgrade” off.
When the installation is complete, you should boot into Windows 10 and the operating system should activate automatically. You will need to install the latest updates and may need to download some drivers from the PC manufacturer’s website. Once you’ve recovered your data files and reinstalled all the apps, you can get back to work.