How to Install Python on Mac and Run Your First Script
While older Macs come with a built-in version of Python, it is outdated and no longer compatible with the latest applications. In order to run Python scripts on your Mac, you need to manually install the latest version of Python on your system.
So here’s a complete guide to installing Python on your Mac and getting started running your first script.
Is Python still preinstalled on Macs?
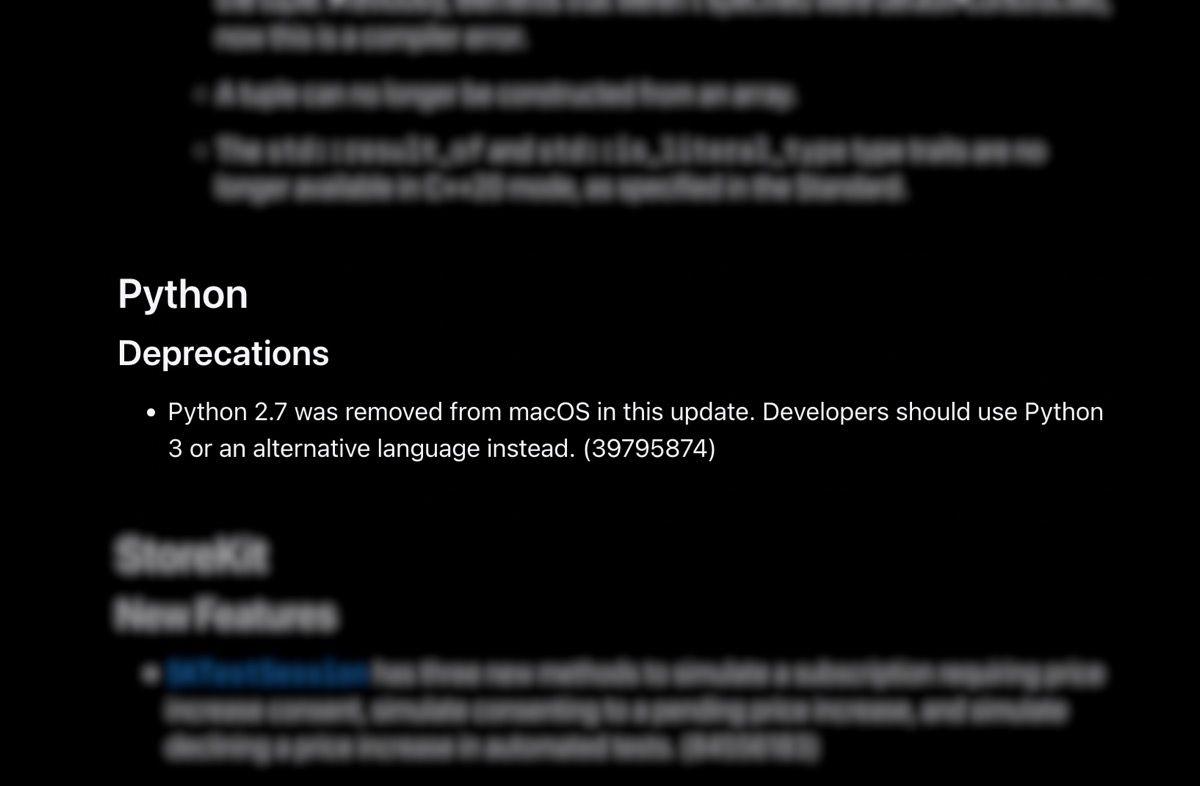
For many years, Macs came with Python 2.7 preinstalled. However, this is no longer the case. While you can still download and install Python on a Mac like any other software, Apple no longer includes it by default as Python 2.7 is no longer maintained.
Apple announced early in 2019’s macOS Catalina release notes that it would be removing it from its operating system before finally pulling the plug in macOS Monterey.
If your Mac’s version is between 10.8 and 12.3, there’s a good chance Python 2.7 is still preinstalled on your Mac. The best way to verify this is to simply try running Python from the Terminal app in macOS.
How to check the pre-installed version of Python on your Mac
If you are using an older version of macOS, you can check which version of Python is available on your Mac by following the steps below:
- Launch the Terminal app on your Mac. To do this, go to your Mac’s Launchpad and type terminal in the search field. Alternatively, you can use Spotlight search to find them.
- Type the following command to check the Python 2.7 version and press Enter:
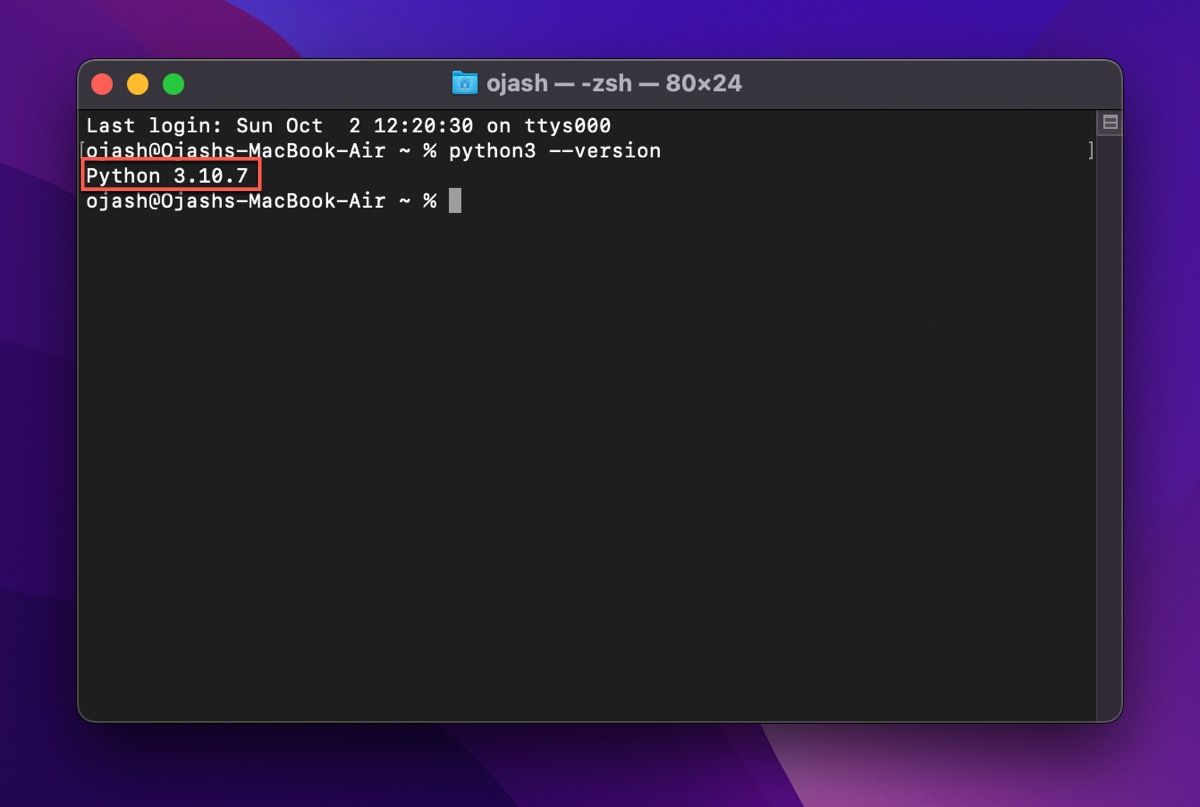
PythonIf Python is preinstalled, you will get a response with version details.
- If your Mac has multiple versions of Python, you can enter a command that specifies the Python version. To check the Python 2.7 version, you can use the python –version Command. And for Python 3 you can use the following command:
python3
Here’s how to install Python using the official installer
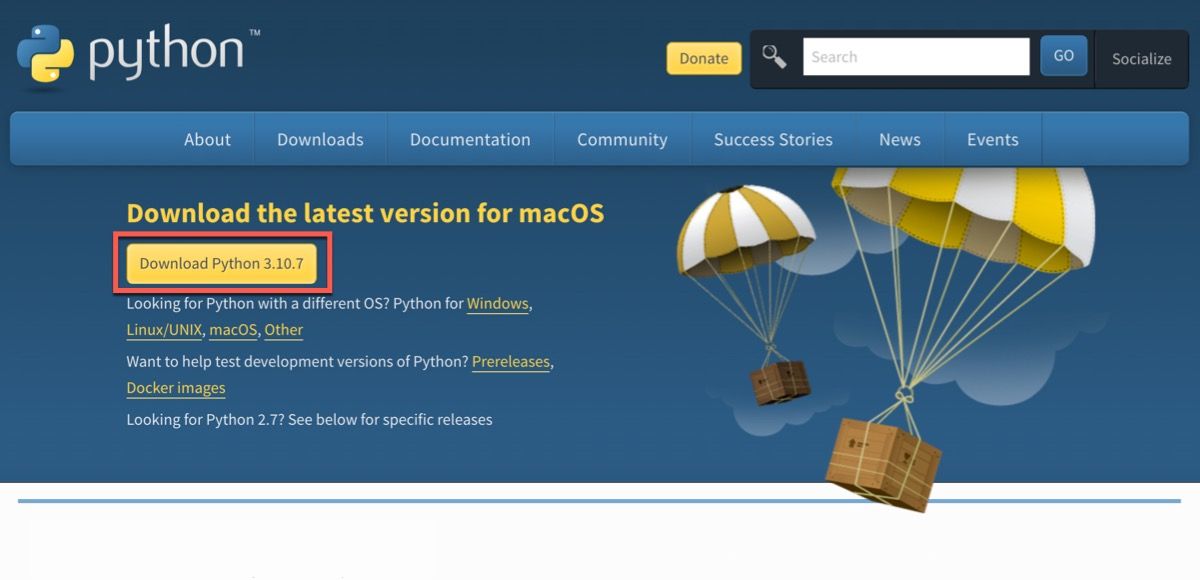
The easiest way to download the latest version of Python is through the official website. Here’s what you need to do to get started:
- Download the installation package from Python’s official website.
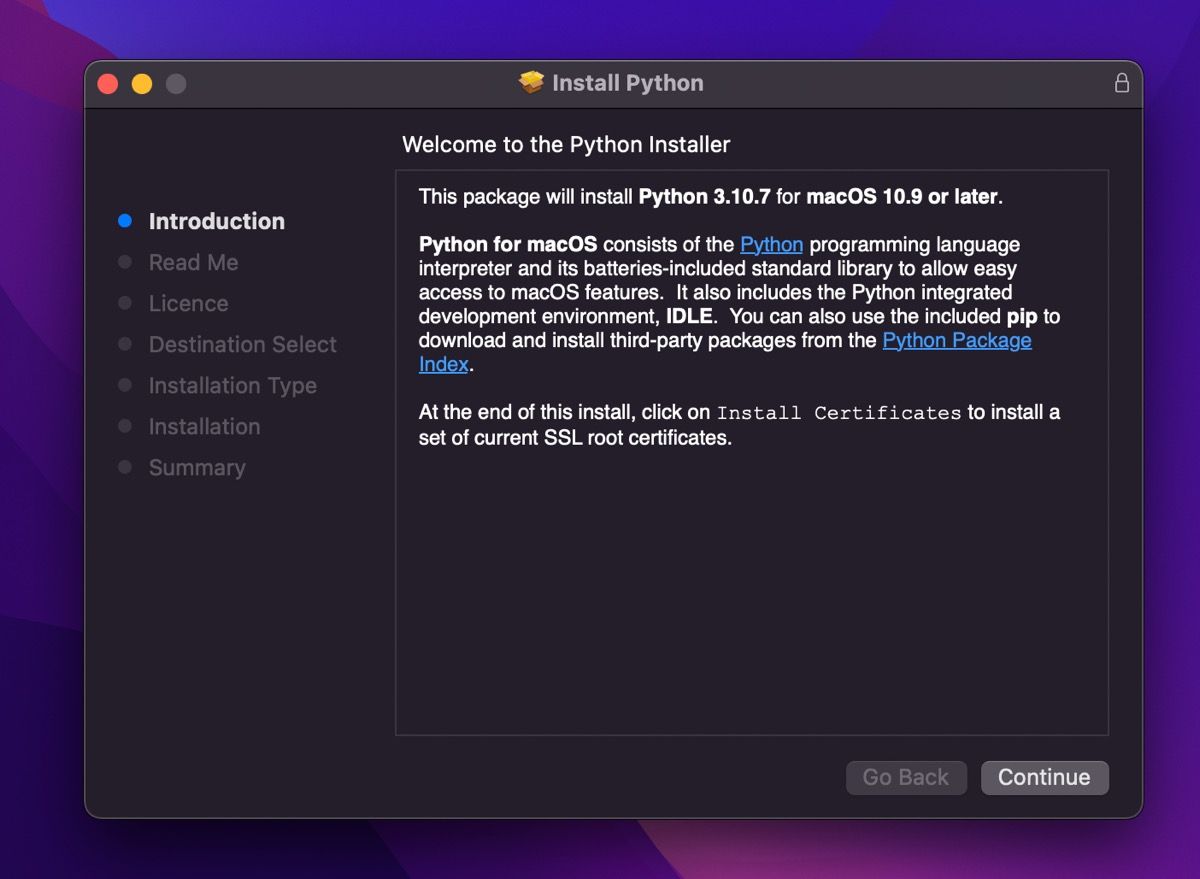
- Wait for the download to complete. When it’s done, double-click the package to start the installation process. You can follow the on-screen instructions in the Python installer for this step.
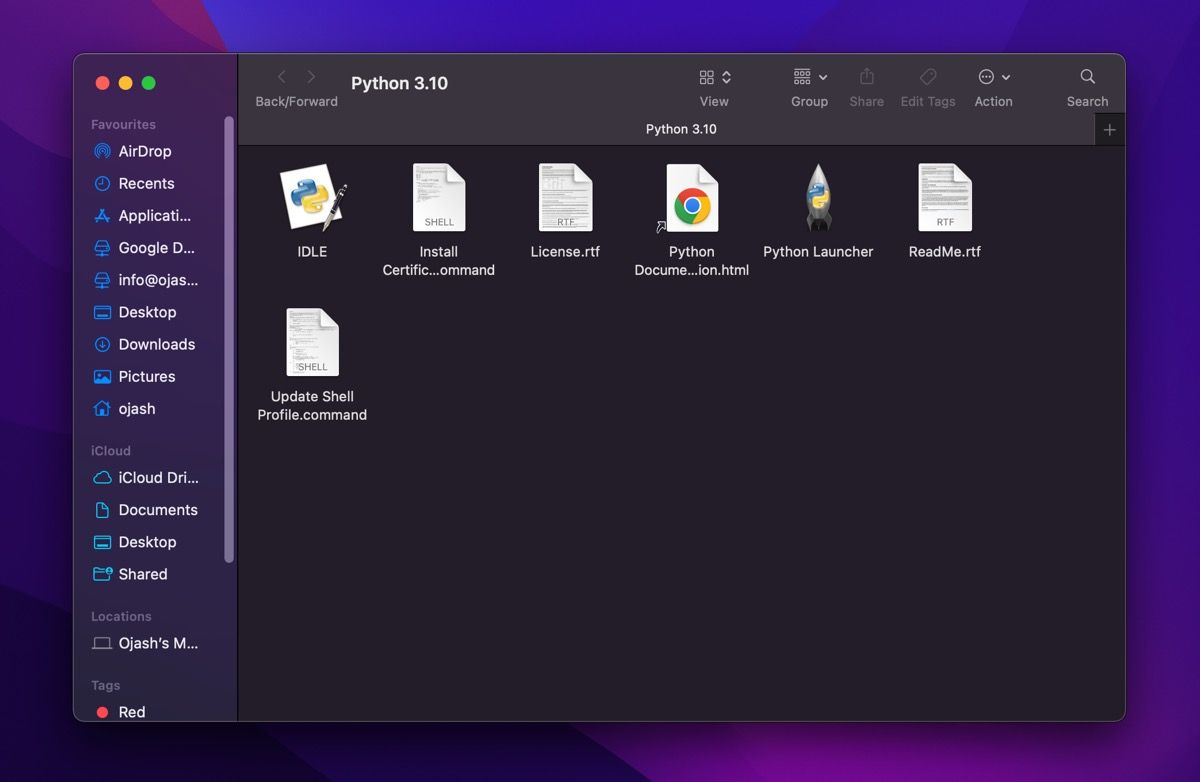
- Once the installation is complete, the installer will automatically open the Python installation directory in a new Finder window.
Confirming your Python installation
You must confirm that you have correctly installed Python and IDLE, the integrated development environment that comes with Python – just one of many essential tools for Python developers.
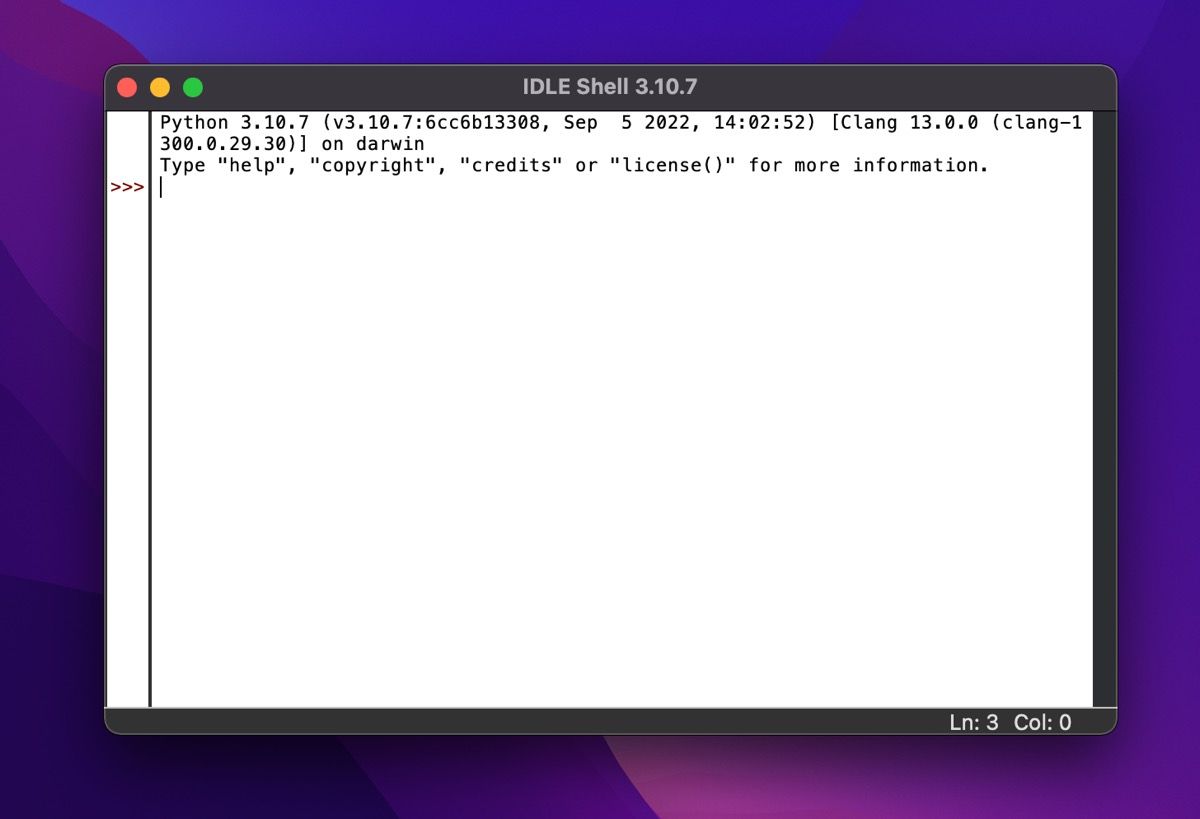
- In the Python installation directory you will find a file called IDLE. Double-click it to launch it, and if the installation is successful, IDLE will open a Python shell.
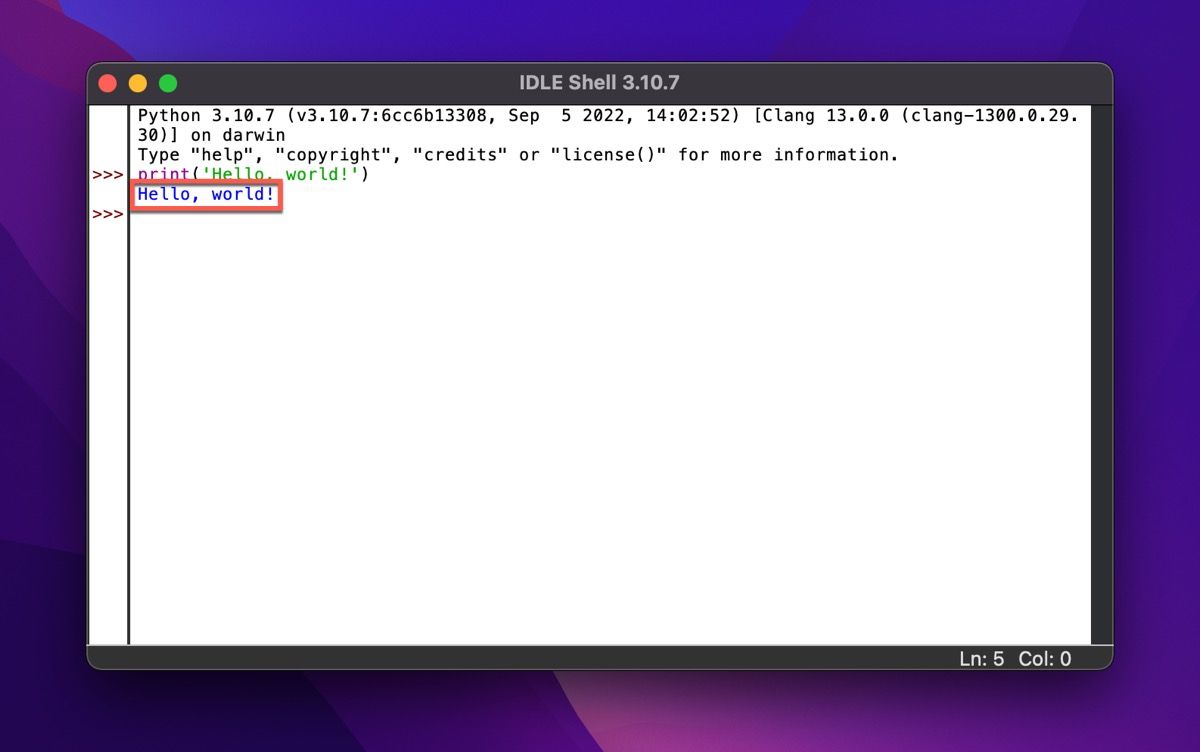
- To make sure everything runs smoothly, enter a simple Python print command and run it while idle.
print('Hello, world!') - Press Enter (or Enter) and you should print your message on the UI if everything is working correctly.
Install a source code editor on your Mac
After installing Python on your Mac, you need to install a free code editor that can help you to make coding faster and easier. Although IDLE, which is part of the Python package, is also a source code editor and you can use it to get started, some better editors provide a much more efficient coding environment.
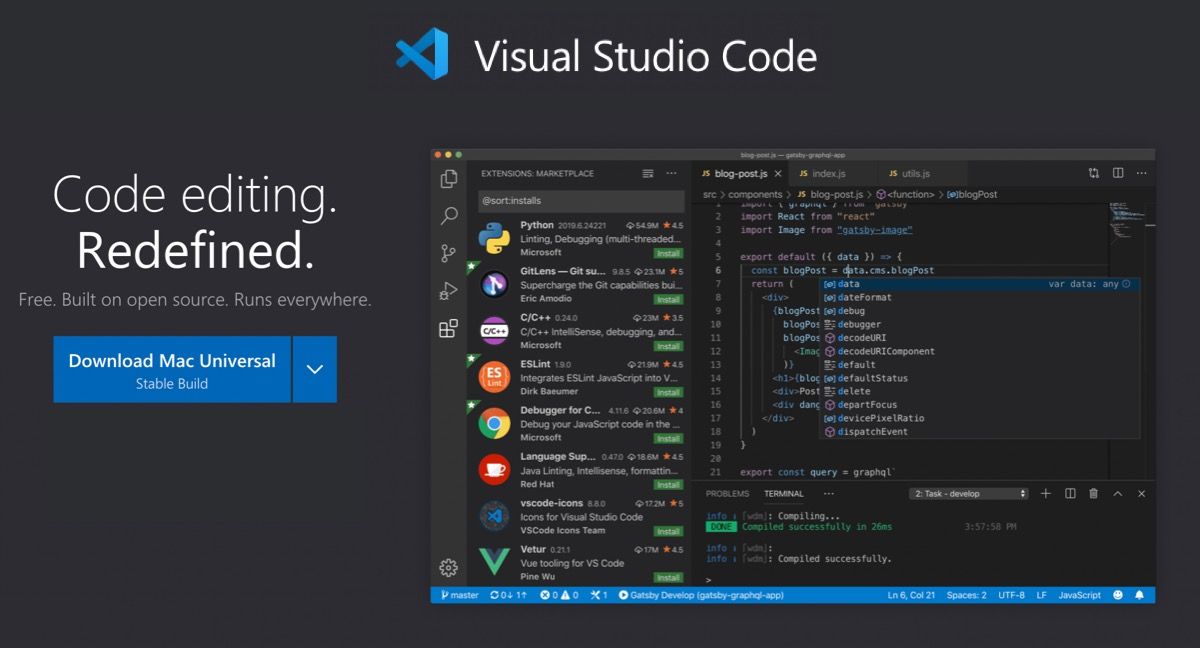
So if you want a lightweight and powerful code editor, you need something like Visual Studio Code. And this is how you can install it:
- You can download Visual Studio Code for free from the official website.
- When finished, click on the downloaded file and extract the archived content.
- Move VSCode to the Applications folder. This makes it available in the macOS launchpad for easy access.
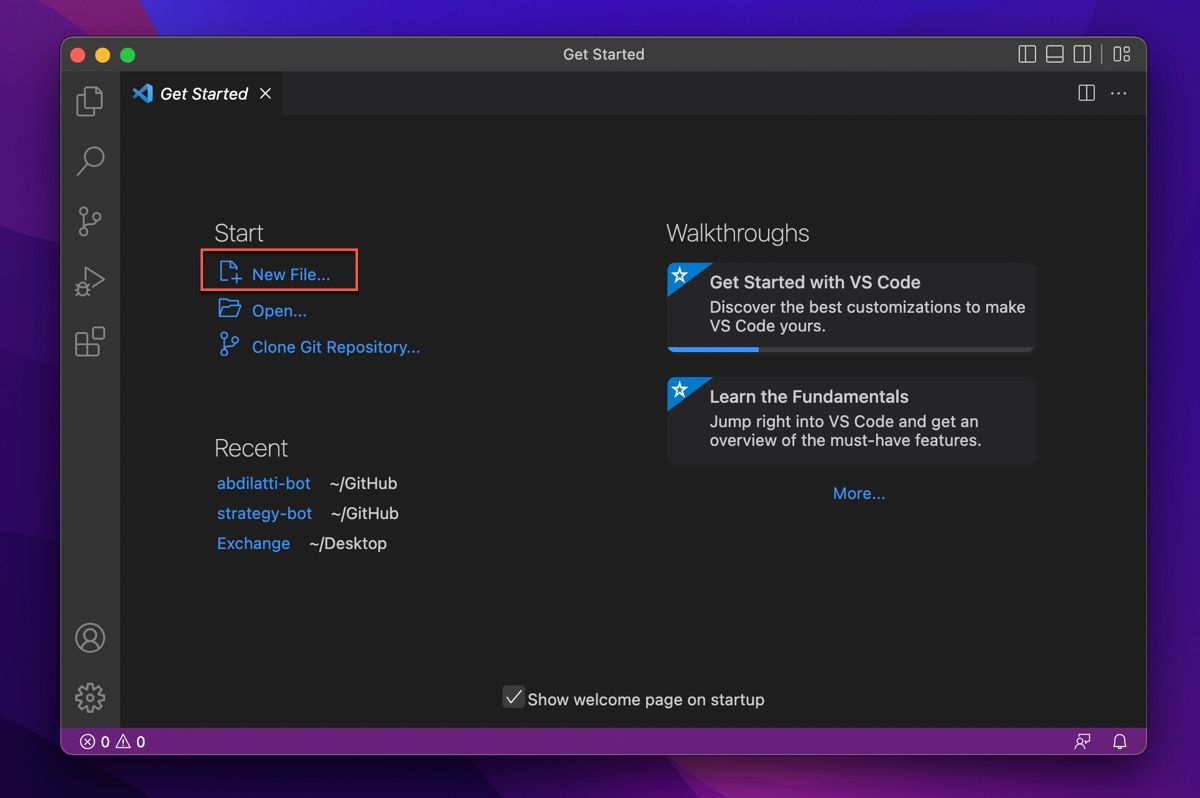
- Now launch VSCode and create a new file by clicking New file…
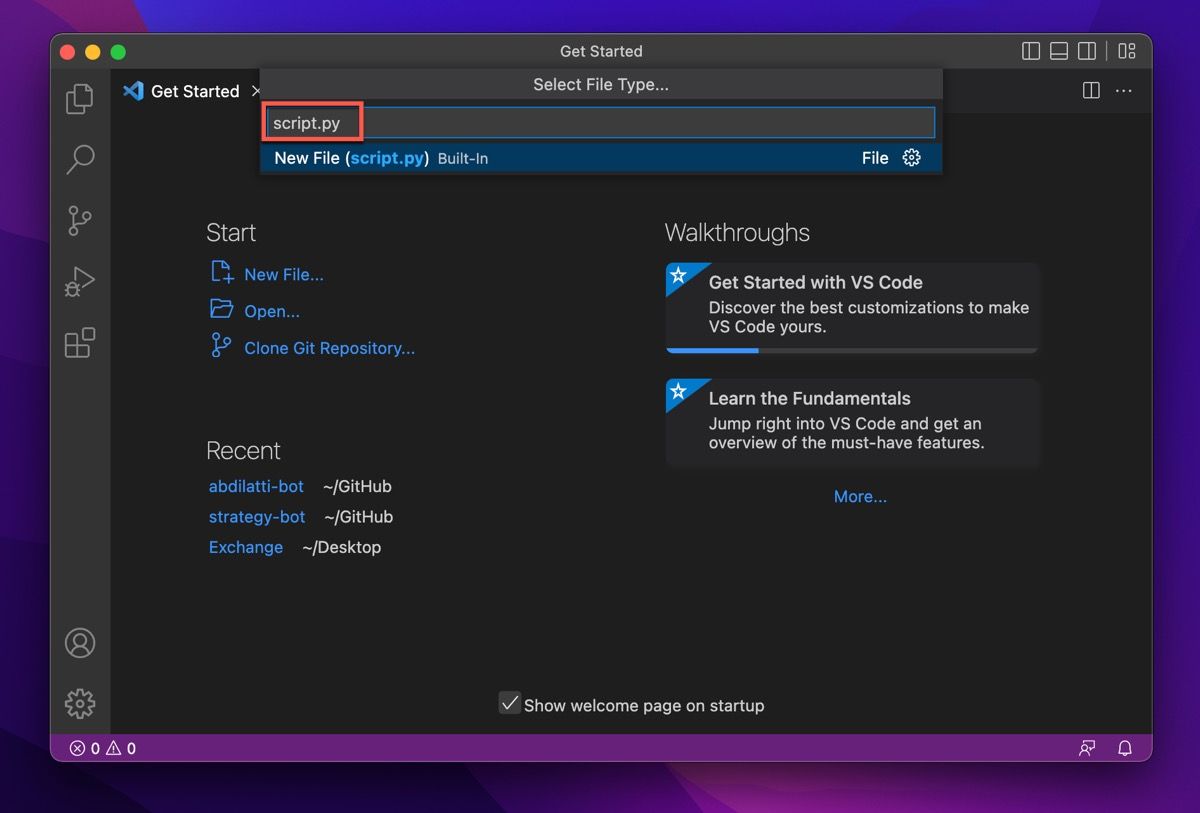
- In order for Visual Studio Code to read your file as a Python script, you must create one with a .py Renewal.
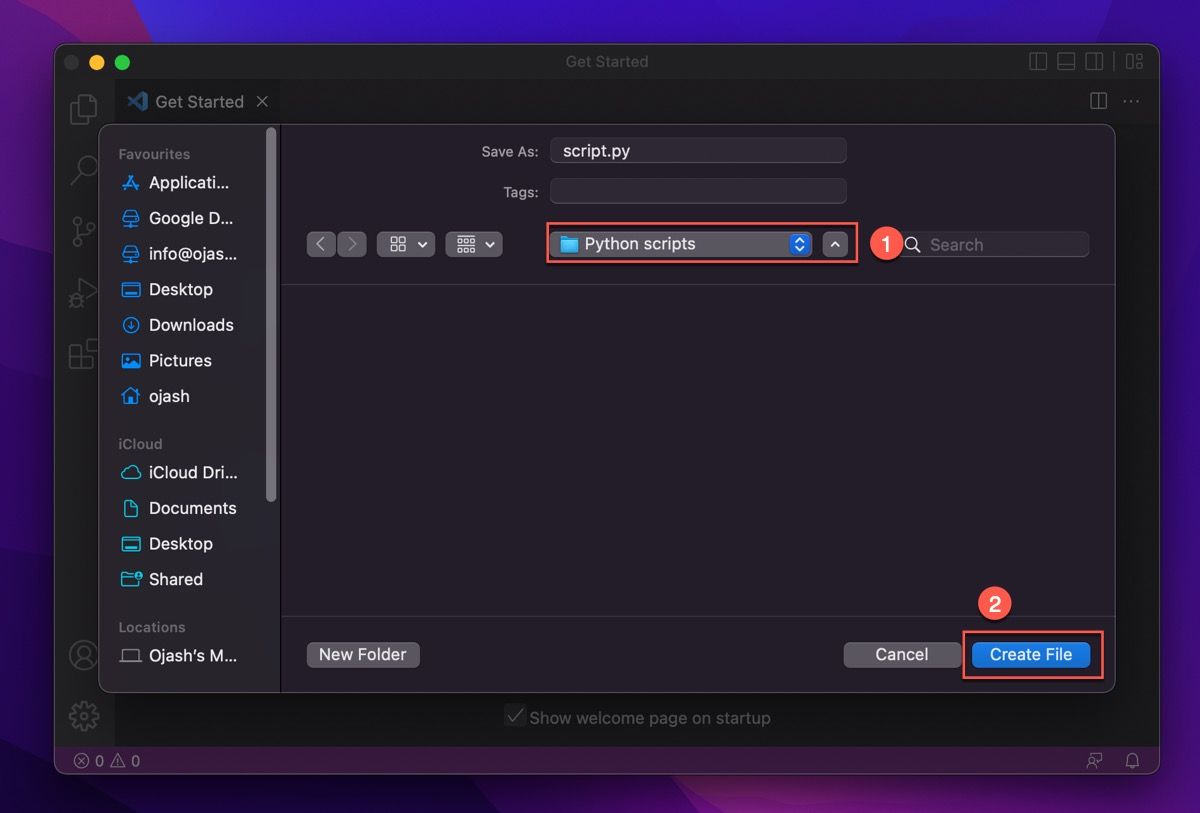
- Now choose a location to save your new Python script and click on it Create file.
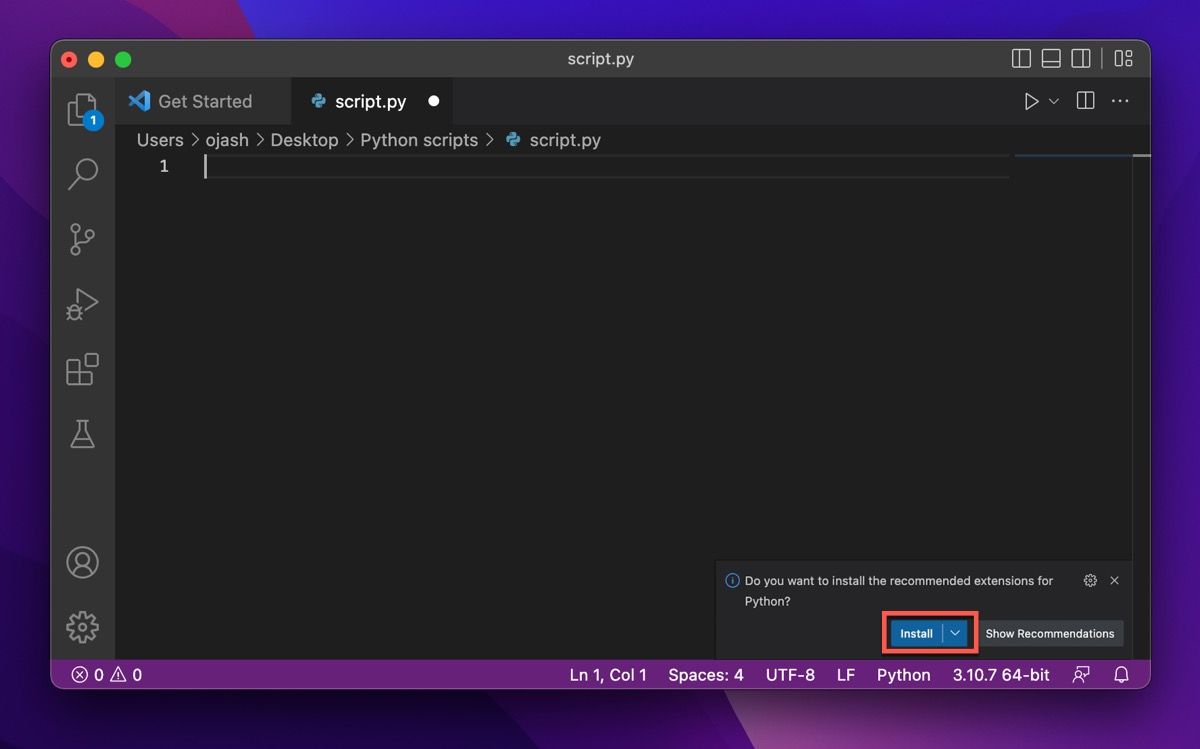
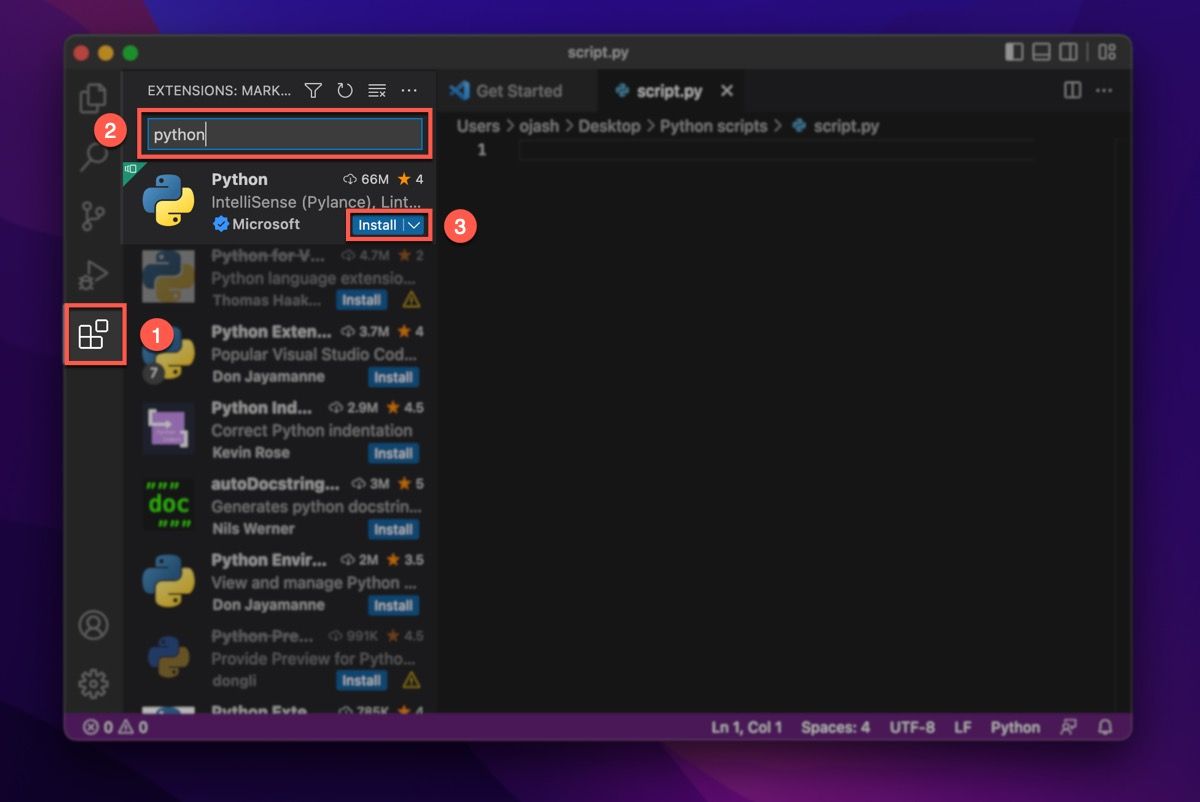
- VSCode will now prompt you to install a Python extension. You can do this by clicking To install Button.
However, if you missed clicking the pop-up asking you to install the extension, or if you accidentally closed it, you can still install the Python extension manually. You can do this by clicking extensions Icon (four boxes) on the left side of Visual Studio Code. This will bring you a list of the most popular Python extensions in the Visual Studio Marketplace. Then search for Python and install the first extension that appears in the search results.
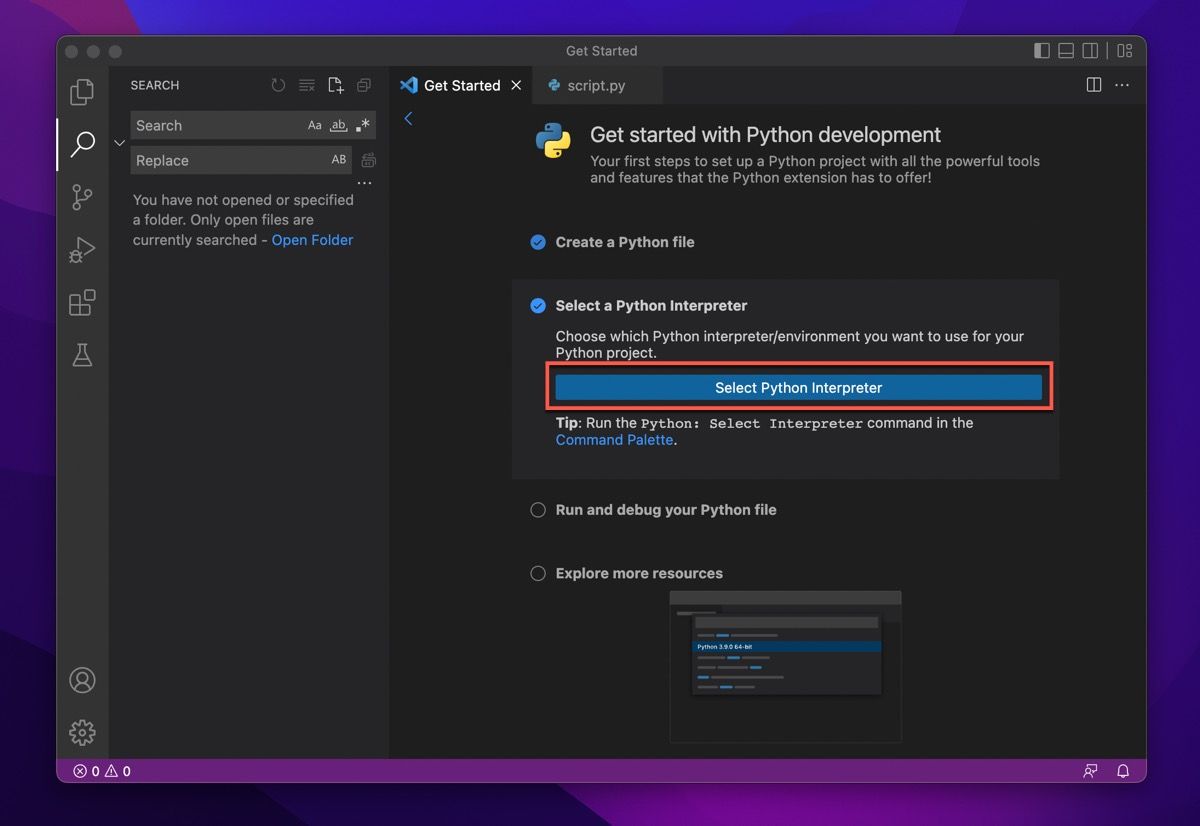
- After installing the Python extension, select a Python interpreter by clicking Select Python interpreter click and select the recommended one from the list.
Running your first Python script on a Mac
If you’re this far into the process, you’ve successfully installed Python on your Mac and managed to set up a code editor. Now it’s time to run your first Python script on macOS. To do this, follow these instructions:
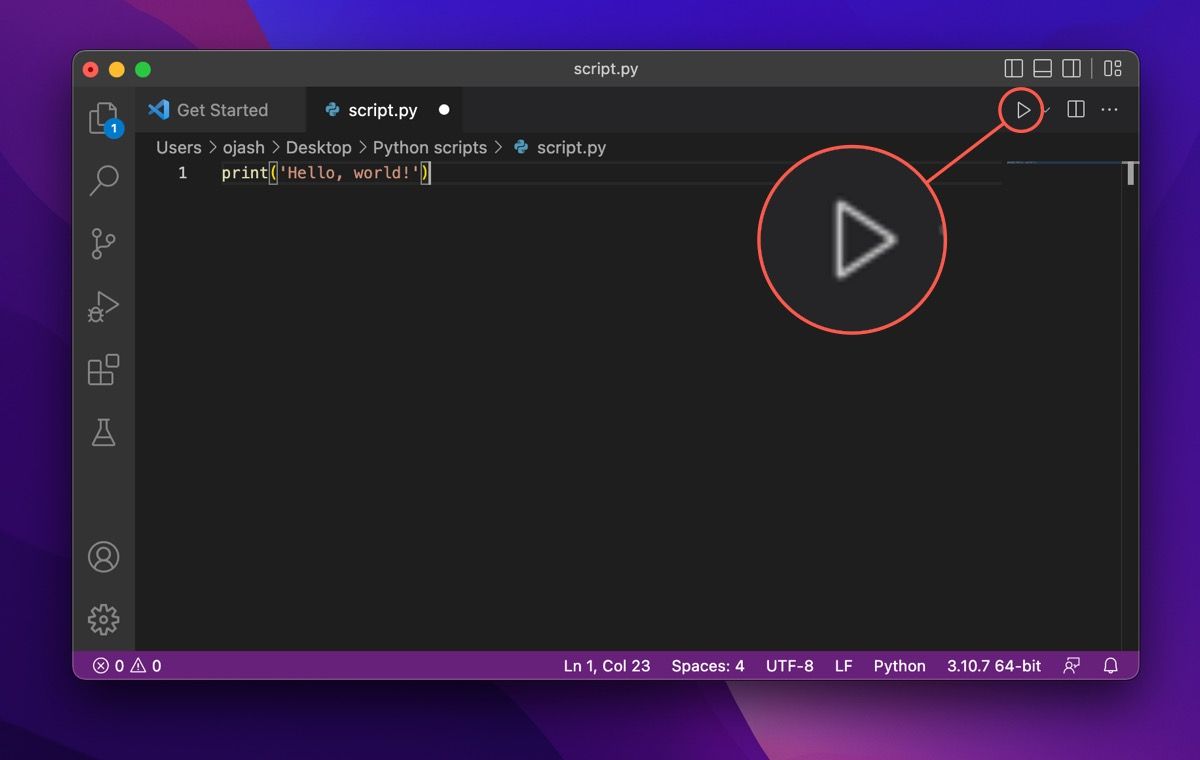
- Go back to the python file you just created and type any basic python command like:
print('Hello, world!') - You can compile and run your code by clicking the play button in the top right corner of Visual Studio Code.
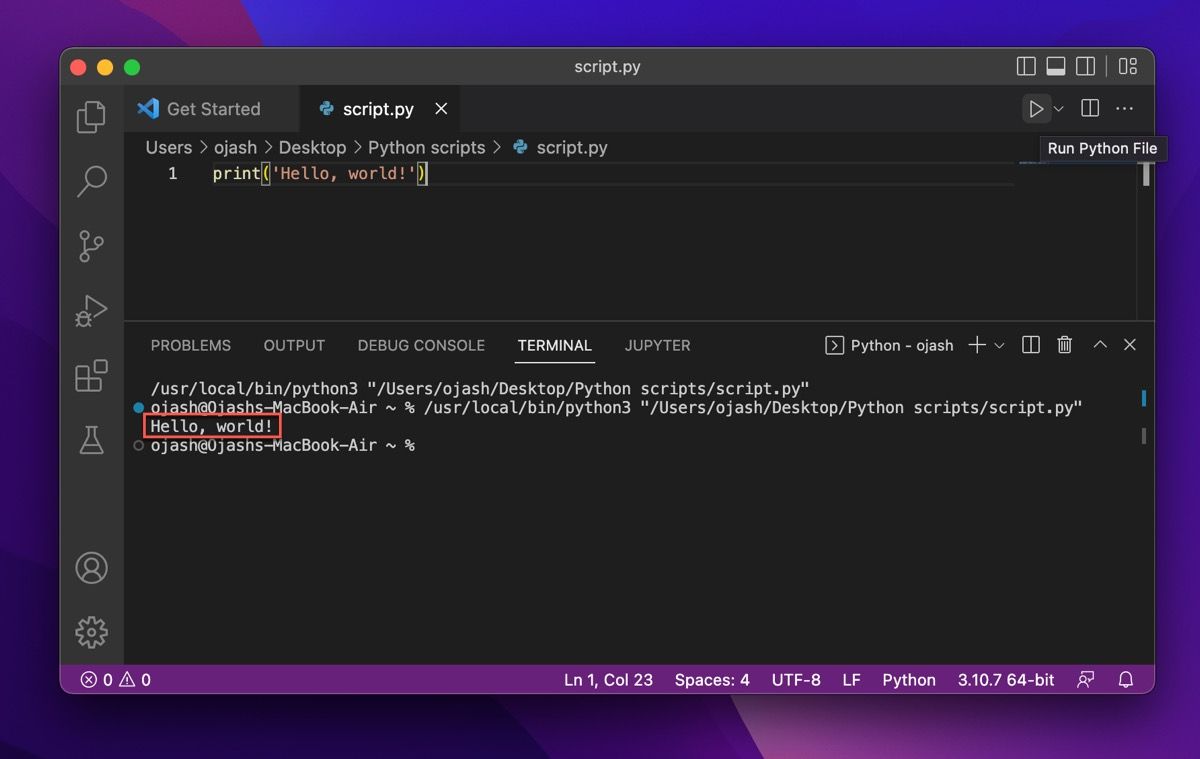
- If your code is written correctly, you will see the output in the built-in terminal, which means you’ve successfully run your first Python script.
How to uninstall Python from your Mac
If you ever change your mind about using Python on your Mac and plan to switch to a different programming language, you can follow the steps below to remove Python from macOS.
Uninstalling Python from the Applications folder
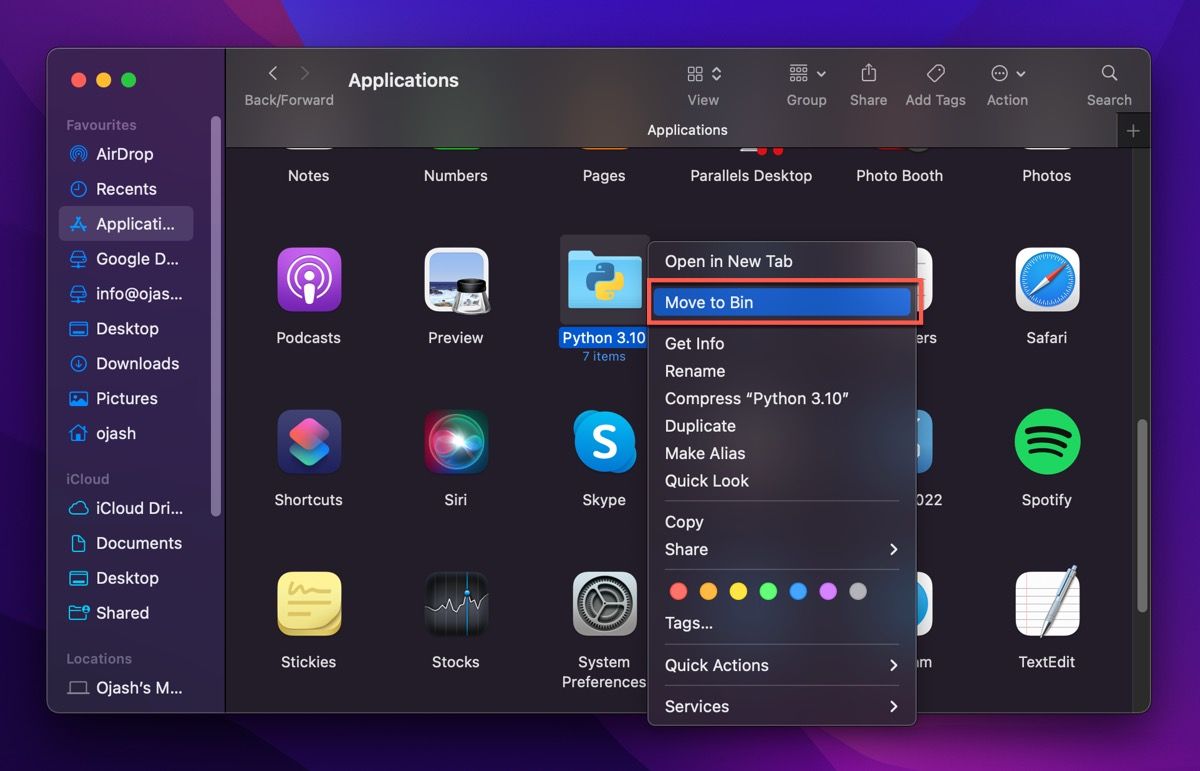
- Go to Finder and click on the Applications folder.
- Move all your installed Python folders to the trash. To remove a single version, make sure you move only that specific version’s files to the Trash.
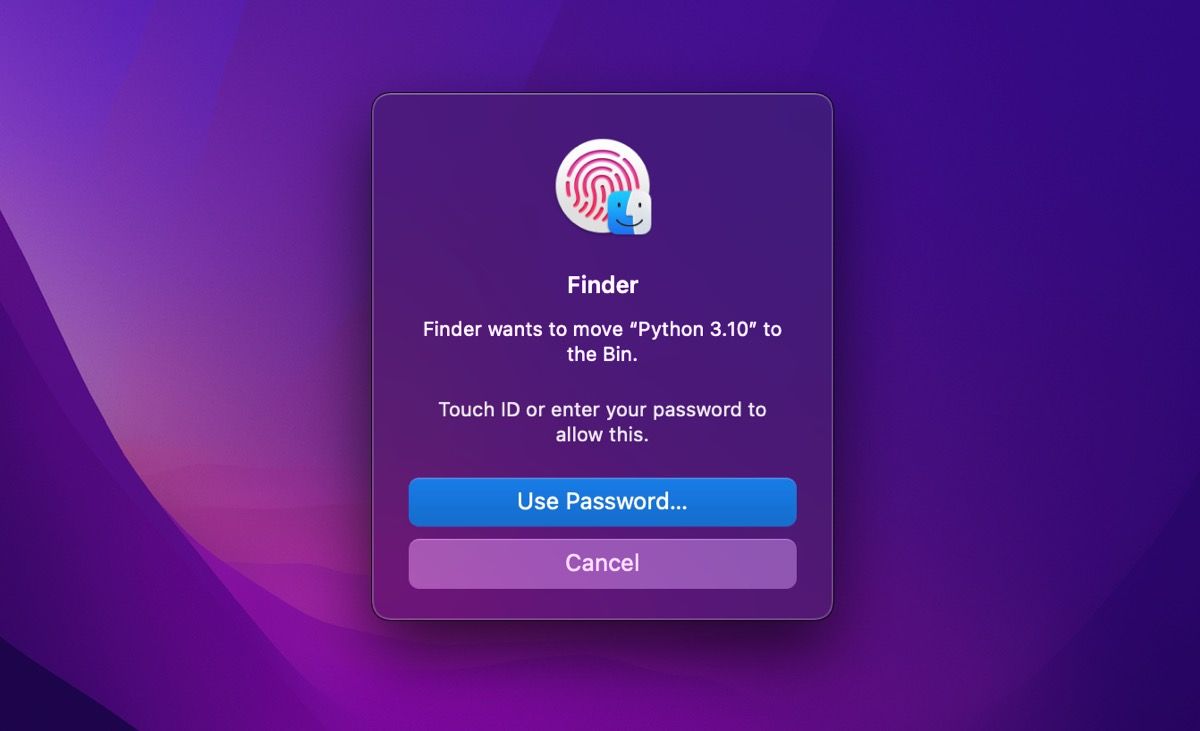
- A dialog box may appear asking for permission to perform the delete operation. Enter your Mac’s password to give Terminal permission to remove these files.
Uninstall Python Framework from the /Library directory
If you want to completely uninstall Python from your system, you must also remove the Python framework from the /Library directory. The Python framework includes the Python interpreter, standard library, and site-packages folder.
Removing the Python framework will remove all of these files from your system. So if you don’t remove these files, Python will still be installed on your Mac, but you won’t be able to use it.
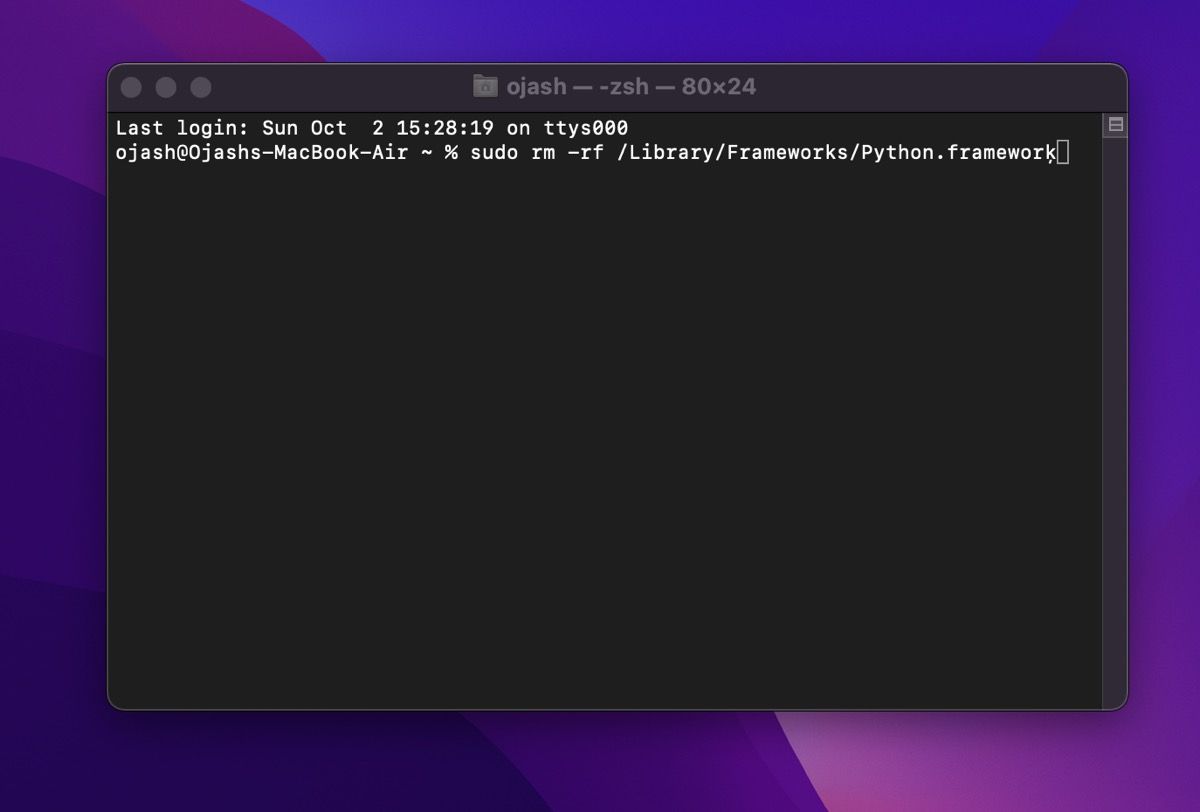
- Beat those Command + Spacebar Keys to enter Spotlight search. Here you are looking for terminal and start it.
- Type the following command in the terminal and press Enter (or Enter).
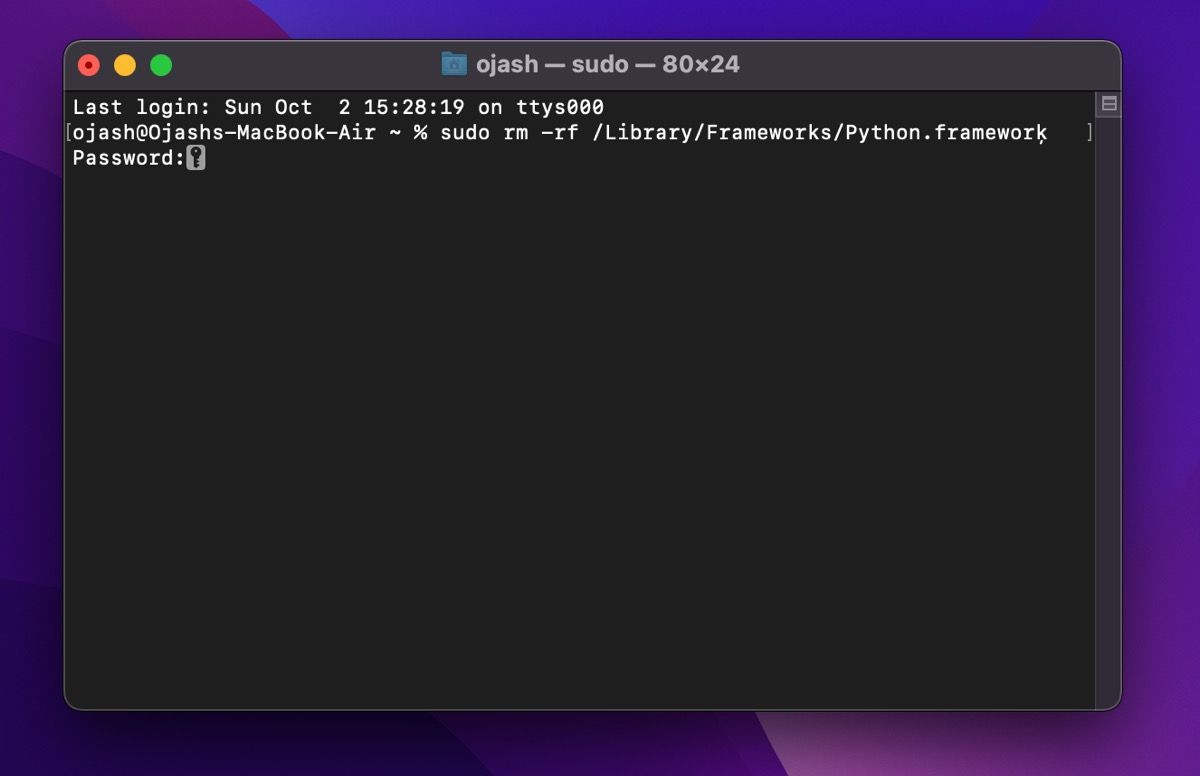
sudo rm -rf /Library/Frameworks/Python.framework - Enter your Mac’s password to grant permission to delete the files.
This will erase the framework of all Python versions installed on your Mac. However, if you only want to delete the framework of a specific version (e.g. version 3.8), you can use the following command:
sudo rm -rf /Library/Frameworks/Python.framework/Versions/3.8This will delete the framework of the specified version of Python from your Mac.
Getting started with Python on your Mac is easy
Although there are many ways to install Python on macOS, the safest way is to use the official installer. However, you can also use a package manager for macOS like Homebrew – an application that makes it easy to install and manage software, dependencies, and other scripts on your computer.
The best part is that not only can you install any version of Python with Homebrew, you can install many other apps as well.
