
How to Live Monitor YouTube Views and Google Analytics With a Raspberry Pi
People who create YouTube videos or produce web content often set up special displays to monitor performance statistics live, e.g. B. YouTube Analytics and Google Analytics. The live analytics data can provide insight into trending content, while the statistics can be used to quickly optimize and optimize related content.
In an ideal world, live monitoring should begin with the flick of a power switch or pressing a power button on the TV remote control. A Raspberry Pi connected to a TV or monitor is ideal for this.

Using a Raspberry Pi for live analysis saves energy
Compared to regular computers that use a 230V, 110V, 19V, or a 12V power supply, the Pi can be powered from the TV’s 5V USB port. So turning on and off with the TV remote starts the Pi and turns it off along with the TV, resulting in power savings.
This implementation works with both the Pi4 and the Pi3. Many Pi3s are being shelved for an upgrade to the much more powerful Pi4. This use case will find a purpose for these Pi3s as they have enough processing power to drive this activity.
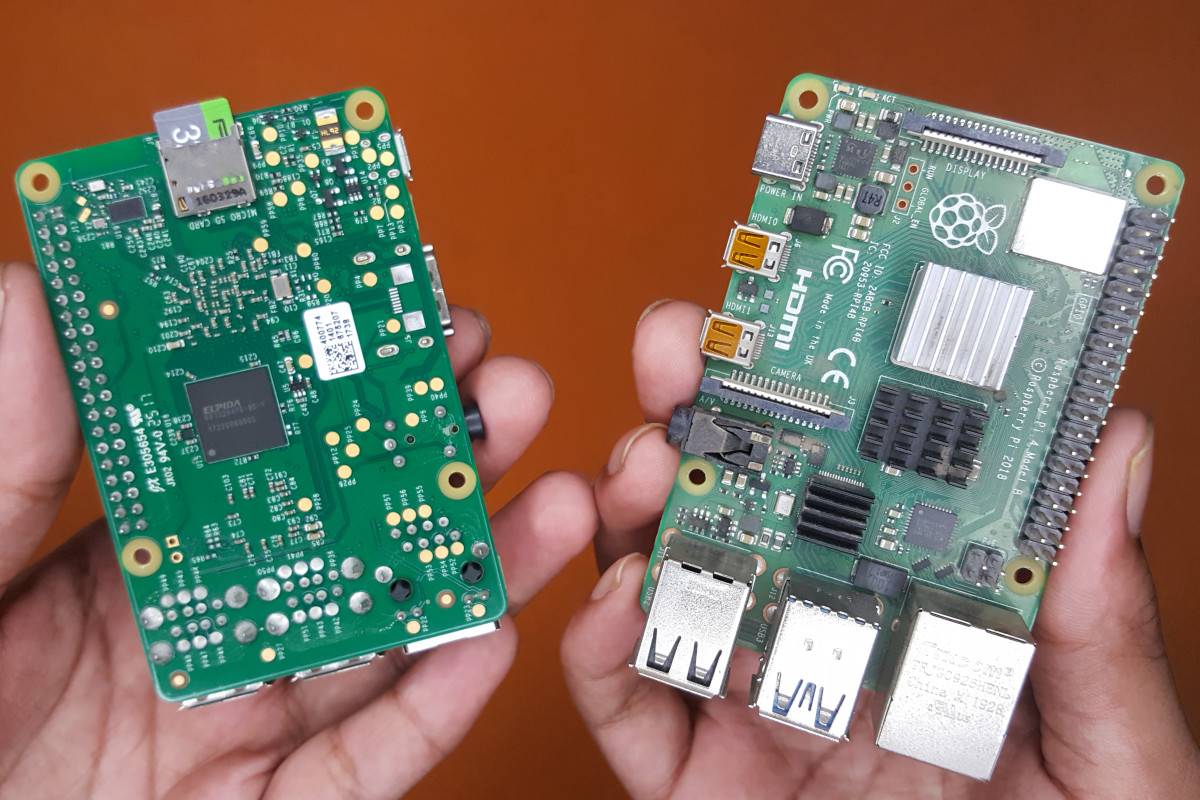
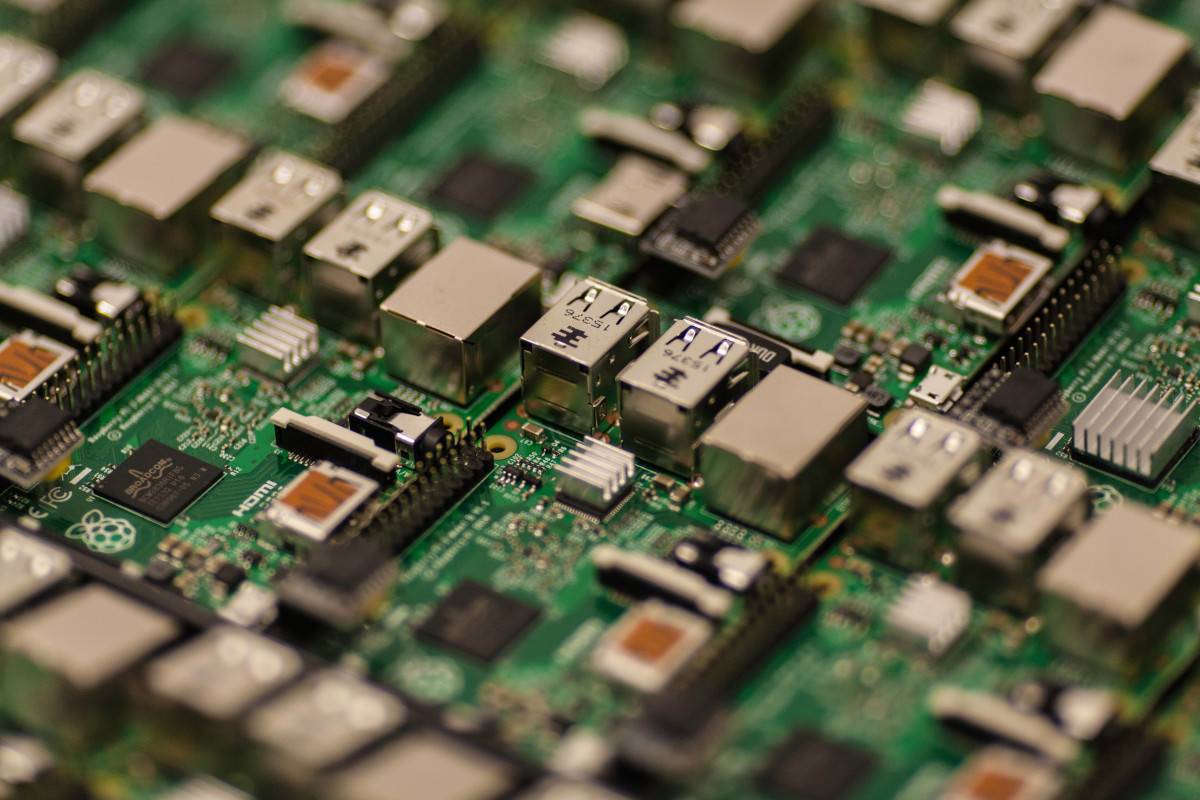
Energy consumption of a Raspberry Pi
A stock Pi4 uses six watts of power and an overclocked Pi4 uses 8 watts.
Total energy consumption in one year (12 hours of daily use):
8 (watts) x 12 (hours) x 365 (days) = approx. 35 KWh
Compared to the Pi4, PCs use a lot more power. A mini PC, which falls on the lower end of the power consumption spectrum, has a processor that is typically rated at around 15 watts. Balance that with the power consumption of the motherboard, and it’s in the 25 watt range.
25 (watts) x 12 (hours) x 365 (days) = approx. 110 KWh
The calculation shows that the Pi can save around 75 units of electricity per year. Mini PCs can have the extra processing power, but you wouldn’t use the excess for live monitoring anyway.
All of this suggests that the Pi is the right device for the purpose. It has just the right amount of processing power and consumes little power. It has a small footprint and can be powered from the host USB with a single cable (less clutter).
Live monitoring on various Raspberry Pi operating systems
Among the browsers, Firefox is well suited for this purpose as it has the right extensions.
How to start Firefox at startup on Raspberry Pi OS
Since Firefox is not installed by default on Raspberry Pi OS, you can install it by typing this command in the terminal:
sudo apt install firefox-esr -yTo run Firefox at startup, edit a file:
sudo nano /etc/xdg/lxsession/LXDE-pi/autostartAdd line:
@firefox-esr
On Ubuntu Flavors
Ubuntu Desktop and Ubuntu Mate come with Firefox pre-installed.
To start Firefox at startup on Ubuntu OS:
Navigate to Menu > Control Center > Startup Applications and add an entry:
firefox %u
How to disable screen blanking on the Raspberry Pi
To prevent the screen from blanking, power management must be configured for the display.
On Raspberry Pi OS
In the terminal:
sudo apt install xscreensaver -yRestart the Pi and open the screen saver. Set the screensaver to disabled, click on power management and set all values to zero.

On the Ubuntu desktop
Navigate to Menu > Control Center > Power Management
And turn off the display blanking

From here, the instructions apply to all operating systems.
How to set up YouTube Analytics URLs for live monitoring
In addition to live analytics, YouTube Studio has many built-in features. Open Firefox and sign in to Youtube Studio.
Navigate to Analytics > Show More
Switch to full screen mode by pressing F11 and adjust the zoom to perfectly fit the live analytics content.
You can also turn on dark mode, it’s easy on the eyes.

How to set up Google Analytics URLs for live monitoring
Google Analytics is a great way to measure website performance. Open Firefox and sign in to Google Analytics.
Extend realtime, contents shows you the currently visited pages:

To see what part of the world is visiting your web pages, use Locations.

Remember that you can adjust the zoom for the world map to fit your viewing window well.
How to view Google Analytics in dark mode
Google Analytics does not have a dark mode like YouTube Analytics.
However, this can be achieved with the Dark Reader Renewal.

Although Dark Reader works well, it has a processor overhead. It will also work well with the Pi3 at the cost of slightly higher power consumption.
Automatically open Analytics URL when Firefox starts
In Firefox, navigate to Home > Settings. Select Custom URLs and paste the Analysis URL.

Dealing with Firefox recovery pages
The set URL Settings > Home only opens automatically when Firefox is shut down cleanly. But you would just turn the Pi on and off with a switch, and this isn’t a clean shutdown. Firefox will show the recovery page in this case:
To disable recovery, enter the following in Firefox’s URL bar:
about:configAccept the risk, look for:
browser.sessionstore.resume_from_crashSet it to false
Protect the Pi’s microSD card from damage
You will simply turn off the power to the Pi during everyday use (e.g. with the TV remote). This is not a clean shutdown and there is a tiny possibility that the microSD card will become write protected.

The corruption does not occur when data is read from the microSD card, it may occur when data is written to it. To prevent this, you can stop Firefox from using the microSD card for disk cache.
Type this into Firefox’s URL bar:
about:configSearch for:
browser.cache.disk.enableSet it to false and Firefox will just use the memory cache instead.
How to run Firefox in full screen mode on startup
There are several ways to run Firefox in full screen, such as: B. as a kiosk. However, the easiest way is to use an extension called Automatic full screen mode.
Open Addons and Themes Search for AutoFullscreen in the Firefox menu and install it. It’s a small piece of code with no processor overhead. Once installed, Firefox will run in full-screen mode on startup. Unlike kiosk mode, you can switch back to windowed mode with F11.

Make the Pi update itself to maintain security
Since this is an unmanaged Pi, not updating it at all makes it a potential security risk. Unattended upgrades are a seamless way to automatically patch security vulnerabilities. Open terminal and install with:
sudo apt update
sudo apt install unattended-upgrades -y
Switch automatically between YouTube Analytics and Google Analytics
A Pi3 has enough processing power and RAM to run a single live analytics monitor. If you want to run both YouTube and Google Live analytics intermittently, you’ll need to use a Pi4.

Sign in to both YouTube and Google Analytics on different tabs in Firefox. Set the URLs Settings > Home > Custom URLs to open both sides at startup.

Install a Firefox extension called tab rotator, it rotates the tabs at predetermined intervals. Go to the extension’s settings and set the rotation time in seconds. Assuming you want to show YouTube Analytics for ten minutes and Google Analytics for five minutes, you would set it like this:
600;300
Prevent or minimize screen burn-in on TVs and monitors
Modern monitors and televisions have built-in features like “pixel shifting” to minimize image retention, which usually happens when the same screen elements are displayed for long periods of time. This burn-in effect is much lower on LCD displays than on OLED displays. If you’re using an expensive display, showing a blank screen intermittently can reduce image retention to some extent. A few minutes every hour should do the trick. If you already rotate YouTube and Google Analytics screens, this step is not necessary.
Install the Tab Rotator extension described above. Set the second URL as:
about:blankAnd set the times:
3540;60
If you set this, Analytics will be shown for 59 minutes every hour and a blank screen for 1 minute. This minimizes image retention.
Once set up and the Pi will serve you well for many years to come
This is a near-perfect setup for monitoring live analytics with a Raspberry Pi. It should work just fine to meet your needs. You can tweak the URLs, adjust the zoom level and toggle the extensions to suit your needs for other live monitoring services as well.
What would you do if you want to manage your Pi or remotely change one of the URLs? Connecting to your Pi via SSH or using VNC to view your Pi’s screen are the options to explore.