
How to Make Your Own Concrete Tiles (and Why You Might Want To)
Concrete tiles can be an affordable option for constructing patios, stepping stones or pathways – and some ambitious DIYers even make their own indoor floor tiles. When you make your own concrete tiles, you can give your design a lot of freedom. You can use a pre-made mold or make your own sand mold from any tile you like. You can choose the shape, size, color, texture and design of your tiles to suit your style and needs – and you can save money by doing it yourself.
Materials you will need to make concrete tiles
To make concrete tiles you will need:
Start by finding a flat area to set up your forms and spread out your tarp so you don’t get concrete anywhere you don’t want it. Once your area is prepped, make sure you have some fresh water or a hose to deal with any spills.
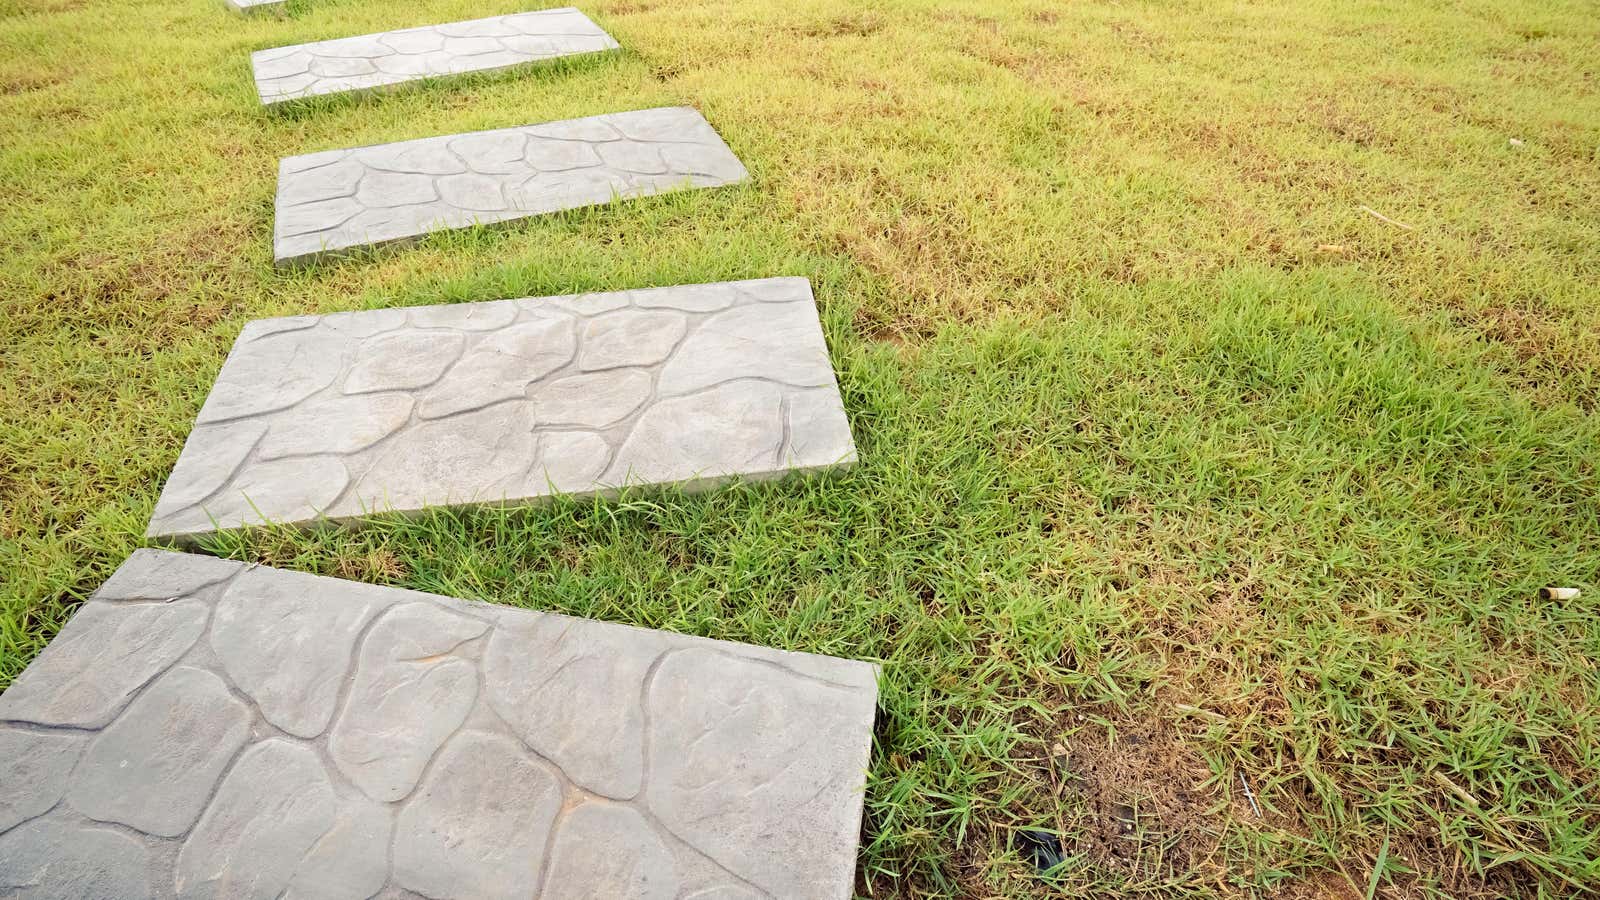
How to add color and texture to concrete tiles
If you want to add a special texture to your tile, you can add aggregate, or different sized and colored stones on the inner surface of your mold. There are also a variety of Colours You can add concrete to make it look like terracotta or stone. For the best results, you should do a test run with just one tile to make sure it comes out of the mold and looks the way you want before wasting a lot of time and concrete.
G/O Media may receive a commission
How to cast pre-made molds
For prefabricated forms, mix the concrete with water according to the manufacturer’s instructions and stir well. Once you have the right mix, spray the insides of your molds with mold release agent. This allows the tiles to be easily removed from the mold without damaging the mold and the tile. Concrete molds are usually made from silicone, which is malleable and stretchable, so make sure you place them on a stable surface for pouring. Once the mold is filled to the brim, shake it back and forth a little to remove any trapped bubbles and allow the concrete to set overnight.
How to pour homemade molds
If you choose to craft your own mold, you’ll need to get your crate and play sand. Fill the box with enough play sand to hold the tile and pack the sand so it’s firm. Once you have the object you want to make a shape out of, make a loop of tape on the back to use as a handle. Then press the tile face down into the sand and remove. Pour the concrete into the imprint left and allow the concrete to cure overnight. It’s important to do this step carefully to avoid accidentally changing the shape of your mold.
Turn your tiles out
Once your concrete has set, you can release it from the mold. Turn pre-made shapes upside down with your hand underneath for support. For trickier shapes that don’t come loose right away, you can gently turn them onto your tarp-lined surface and tap lightly to loosen them. For homemade shapes, remove the tile from the sand and brush away any loose grains. If you plan to create the same tile multiple times, you should always start with the original tile to get the clearest possible impression.