
How to Paint Your Kitchen Cabinets
This story is part of Home TipsCNET’s collection of practical advice for getting the most out of your home, inside and out.
One of the most dramatic ways you can update an outdated kitchen is with new cabinets, but buying a complete set and installing it will cost you a pretty penny. A far more affordable way to give those drab or run-down closets a makeover is to paint them. It’ll take some time (yes, you’ll have to take the doors off), but it’s a straightforward process that doesn’t require any special carpentry skills.
Here I have outlined how to paint your kitchen cabinets and add a fresh look and a bit of sparkle to the heart of the house. You can also check out our tips how to build DIY pipe shelves and how to make custom poster hangers for only $1.
Continue reading: Best Cookware Sets for 2022
Step 1: Choose a paint type and color
Acrylic latex paint is a popular choice because it’s hearty and easy to clean. Semi Gloss, Glossy and Satin finishes tend to show less staining over time. Avoid matte, flat and high gloss surfaces that are more difficult to clean.
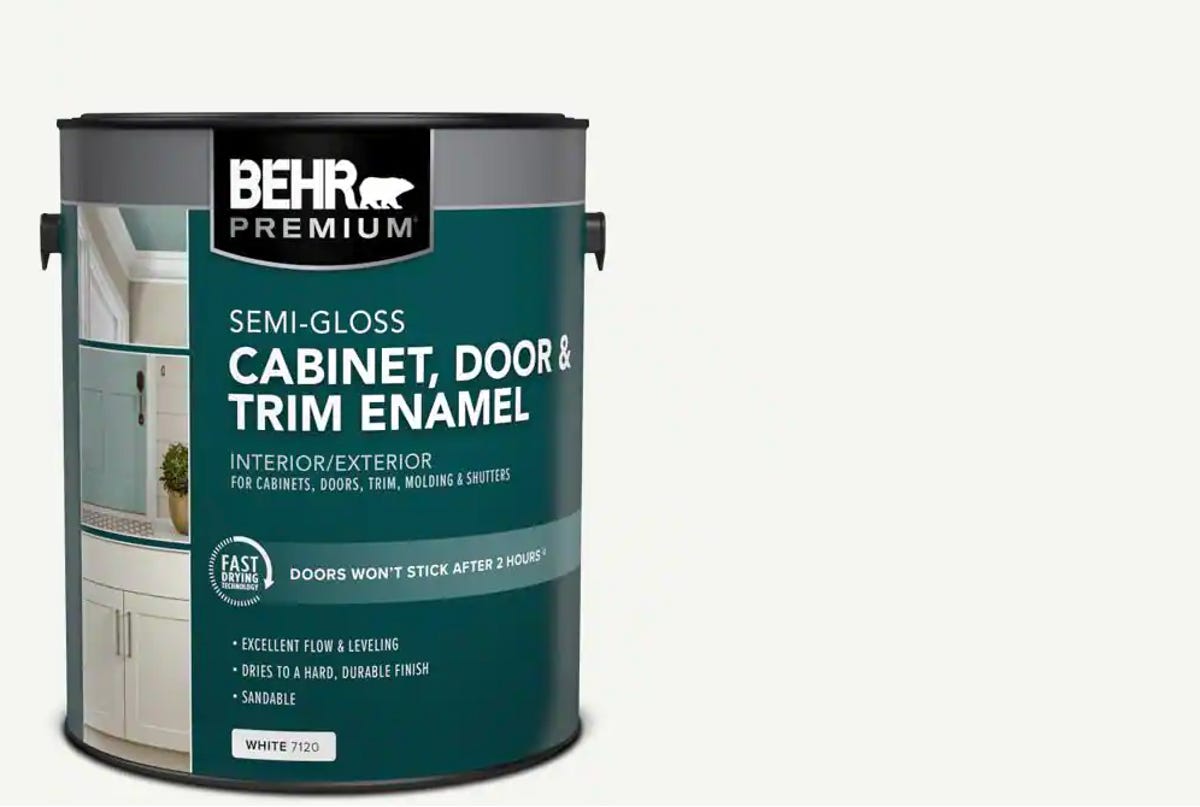
Semi-gloss paint is a popular choice for kitchen cabinets.
behr
You also want to buy one and apply it binding primer to the cabinets before you paint, so get some while you’re in the shop.
Step 3: Remove painted cabinets or wash if not
If the cabinets are already painted, you need to strip them. This is a tedious and labor intensive step. So if you’re not sure whether to replace or remove something, knowing that it’s a fair bit of work can help you decide.
If they aren’t painted, simply wipe them down with an all-purpose cleaner such as TSP cleaner. Make sure they are as clean as possible, including any oil or grease stains as these can affect the end result.
Step 4: Remove all doors and hardware
Unscrew and remove all cabinet doors and pull out all drawers to set aside. You can empty the shelves if you want, but unless you want to paint the inside or give the area a good clean, you can get away with just removing items at the front so they don’t get splattered with paint. Another option is to cover them with a small drop cloth.
Helpful tip: Keep all your hardware organized so you know which cabinet it belongs to, as some hinges and fasteners are specific to certain cabinets.
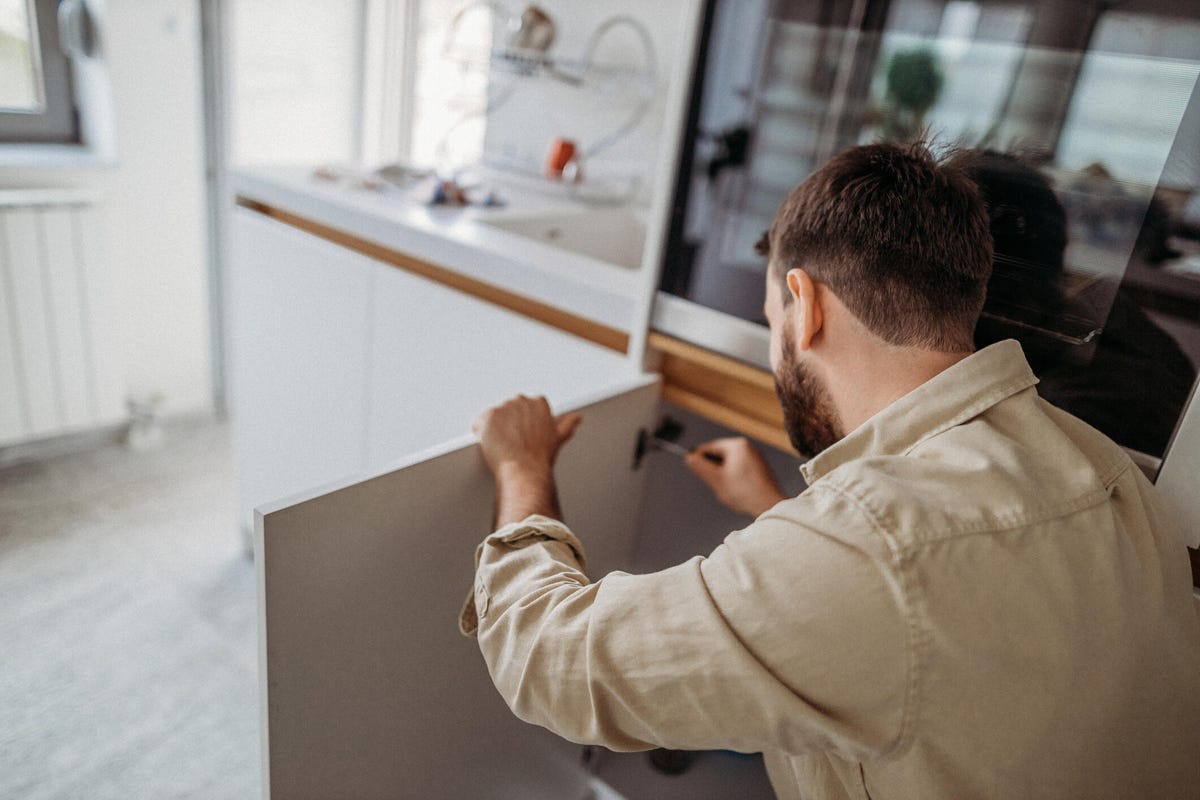
Carefully remove all doors, drawers and hardware with a manual screwdriver.
milan2099/Getty Images
Step 5: Fill in all the holes
Use a wood filler and smoothing knives to fill holes or large chips to get the smoothest possible surfaces to paint on. Don’t worry about the inside of the cabinets as you probably won’t be painting these panels.
Helpful tip: Be careful not to fill your screw holes as this will make attaching the hardware very difficult.
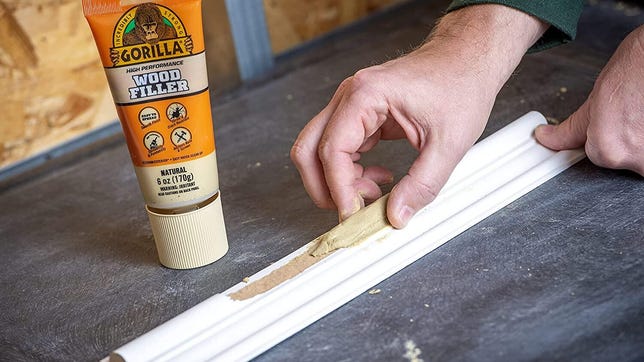
gorilla
Step 6: Sand the surfaces
Use a block of sandpaper, sand down the paint or laminate the cabinet surfaces including the frames, doors and drawers. Sand as much as possible with the grit. Remove as much varnish as possible, but be careful not to sand too hard or you will damage the wood underneath.
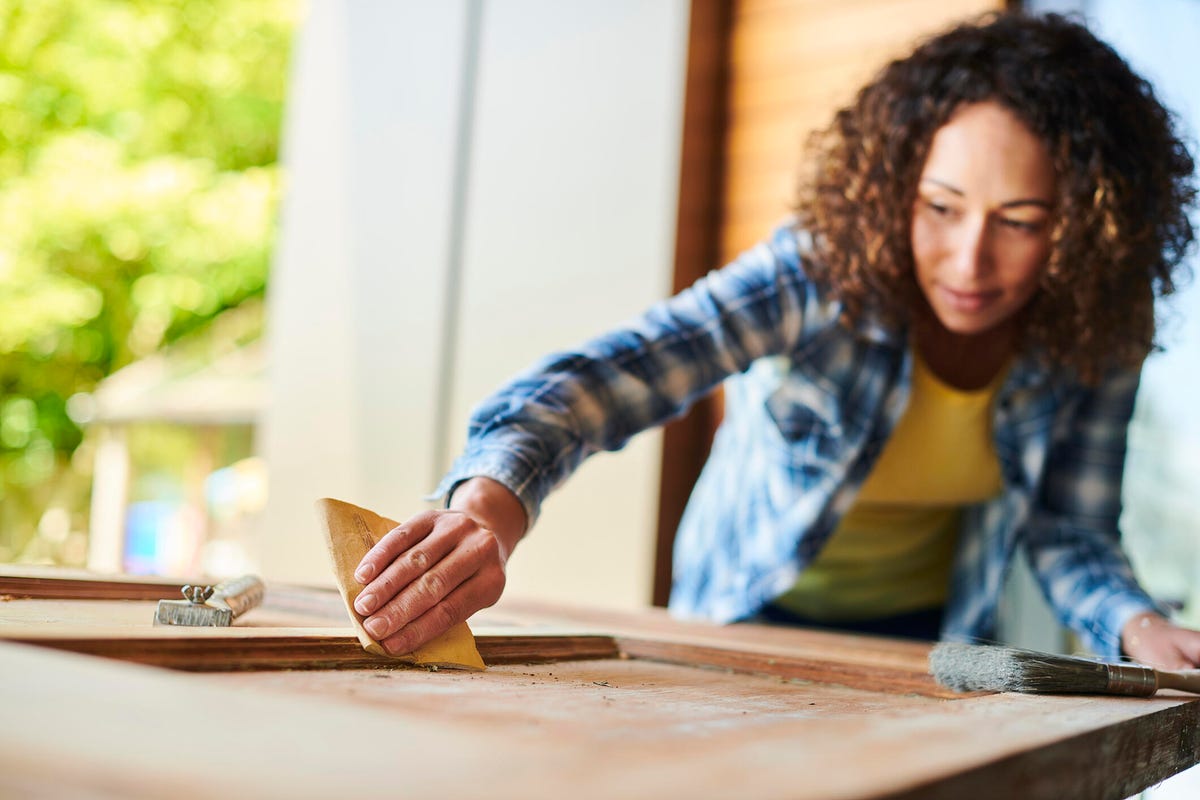
Sand off as much of the paint as possible without damaging the wood underneath.
sturti/Getty Images
Step 7: Tape off the edges
Use masking tape to protect edges where you don’t want paint. This includes the interior walls where they meet the frame and any walls where the cabinets abut.
Step 8: Prime the cabinet frame and doors
Using a small brush or mini foam roller, cover the surface with primer but do not apply too thickly. It’s okay if some weak wood shows through from this thin coat of primer. Again, paint as much as possible with the grain.
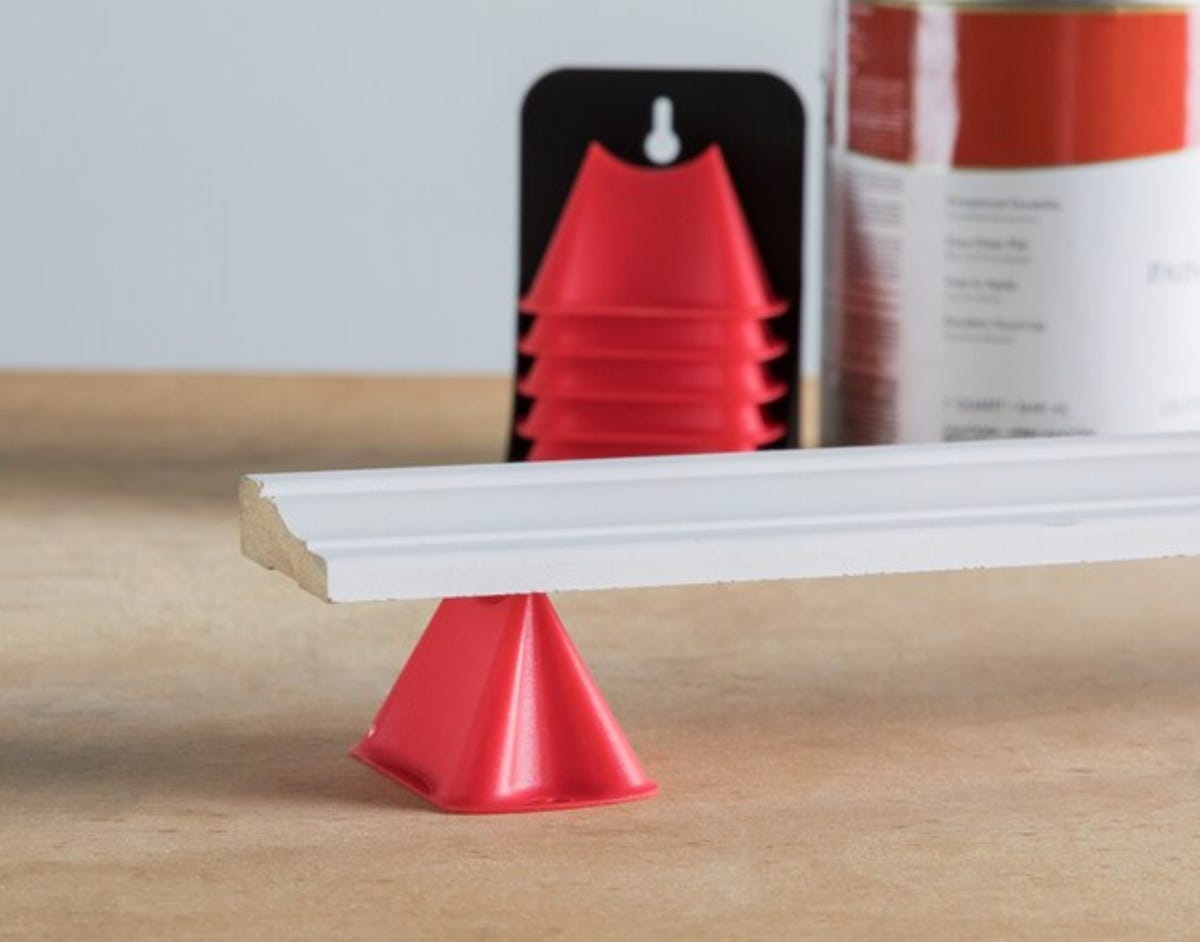
These $6 painting tripods make priming and painting the doors and drawers easier and less messy.
lowes
For not fastened doors you can use Paint tripods or lifters to lift them up so you can easily brush the sides and avoid a big color mess. Apply a thin coat of primer to the doors and frames and paint with the grain.
Wait for the first side to dry completely before turning it over to paint the other side.
Step 9: Paint
In a manner similar to applying primer, paint each cabinet frame, door, and drawer, continuing with the grain. Use smaller brushes to paint details, nooks and crannies or embellishments if the cabinets have them. A small foam roller is best for the broadsides as it gives you the cleanest, most even results. Plus it’s faster.
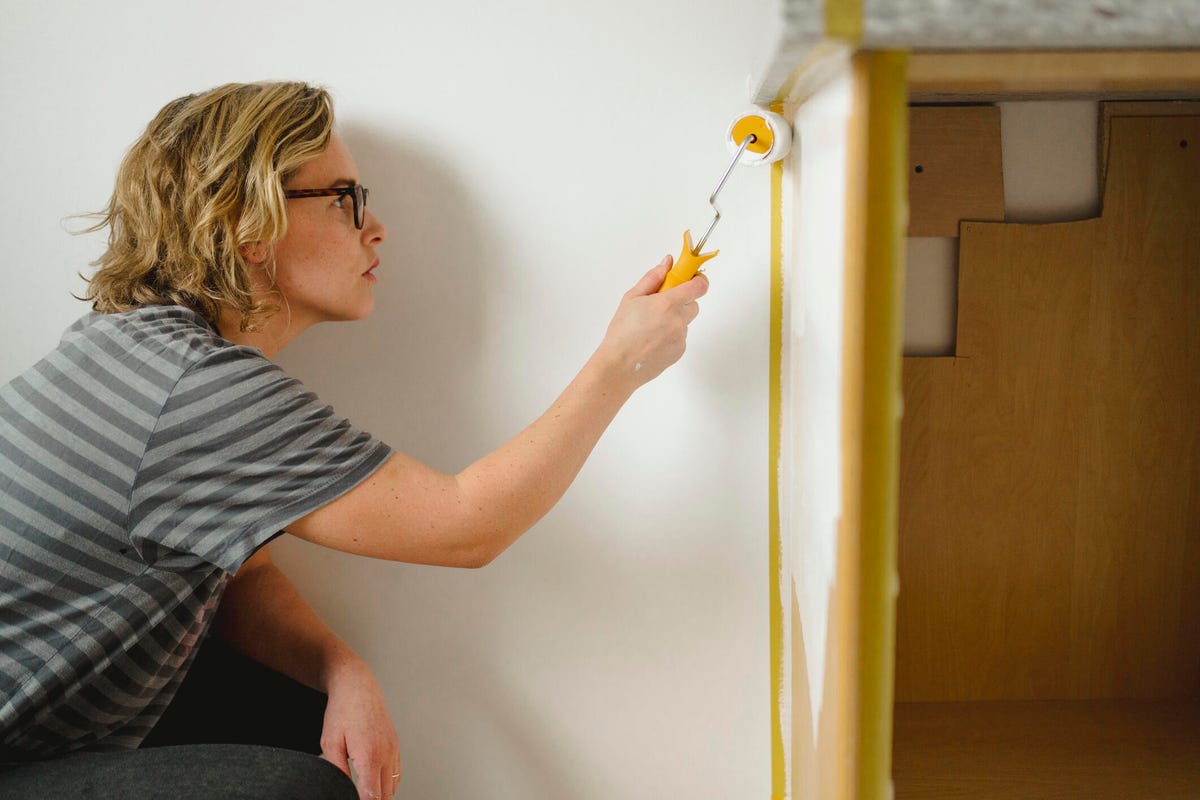
For more even results, use a foam roller.
Johner Pictures/Getty Pictures
Step 10: Let the paint dry and reattach the cabinets
You might be tempted to screw those beautiful new closet doors back into their frames asap appear dry, but if you let your paint dry completely, make sure you don’t accidentally dent or smudge the surface. You can add a coat of polyurethane for extra protection, but it shouldn’t be necessary if you’ve opted for quality paint.
Once everything is dry, simply attach all of the cabinet drawers and cabinet doors using the same matching hardware. Consider using a manual screwdriver to avoid unwanted stripping.
For more information, see what color you should paint your front door to increase the value of your homeand How to choose the right color for your home office.

Amazon