
How to Photograph Your Own Cookbook
It’s one thing to plan a restaurant shoot or client brief for a specific project, but how do you plan and shoot a much longer project like a cookbook? In this post, I share my tips for photographing a self-published cookbook, but the advice also applies to a longer project like an e-book.
Be clear about your aesthetic
Once you’ve chosen your cookbook theme, you may already have an idea of what kind of look and feel you want your book to create. If you’re not so sure, start gathering visual inspiration from Pinterest, magazines, or other cookbooks to get inspired and sift through what resonates with you and what doesn’t. A few questions you might ask yourself:
- How should the cookbook feel and what mood should it evoke?
- How do I want people to feel when they flip through the book?
- Does the aesthetic match the seasons?
- Do I want to shoot with hard light, soft light, or a mix of both?
- How much movement do I want to build in?
- Do I want to focus on food portraits or include wider tablescapes as well?
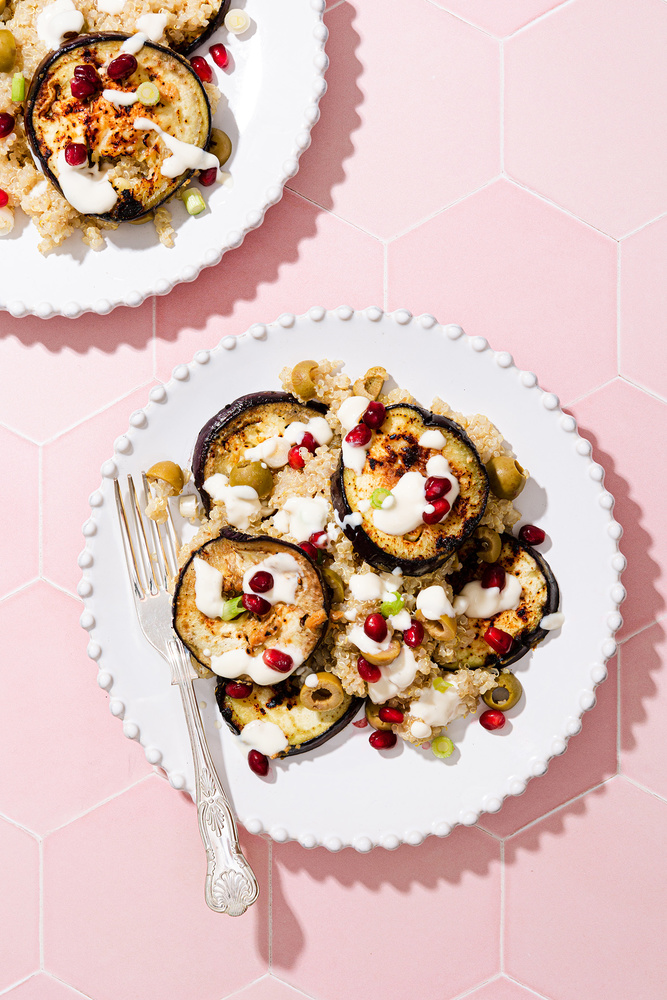
When I created my cookbook, I knew I wanted the entire book to feel colorful, fun, bold, and dynamic. Naturally, this lent itself to hard light, pops of color, and a mix of macro and food portraits.
Choose a color palette
Once you have a clear idea of the mood and feel of your cookbook, you should decide on your primary color palette. If it’s a book of soups or stews, perhaps the tones and colors will be set in an autumnal palette of browns, burnt oranges, and mossy greens. The subject of your book might lead you to a specific color palette. Working within the confines of a specific palette can create a book that feels cohesive and consistent. Obviously there aren’t any hard and fast rules, but I found it useful to choose six or seven main colors that I would weave throughout the book, mostly through my choice of colored finishes. Then I added a sense of variety through complementary props, styling and composition.
procurement of props
You may have a huge collection of props that match the aesthetic you’ve set for your cookbook. In that case, you’re good to go! However, you’re more likely to have a few existing pieces that will do, but you’ll need to expand your collection to provide enough visual variety for an entire cookbook. If you have the budget to buy more, that’s awesome, but if you’re on a budget there are a few ways to get creative.
I reached out to a local home goods store in my town that stocked many pieces that I knew would fit the aesthetic I was aiming for with my book. Every time I had a shoot scheduled in my schedule, I would email the store a list of what I wanted and rent the items for 20% off retail. This meant I had the flexibility to bring in new pieces for each cookbook section while maintaining a sense of consistency across the different recordings. I was also able to save pieces that would work perfectly for a particular recipe but weren’t something I was keen on using again and again in my own prop collection.
Another option might be to reach out to local food or prop stylists in your area and set up a similar loan deal where you can choose from their collection and return it when you’re done.
timelines
Once you have an idea of the direction you’re going to take your cookbook, it’s time to start planning your days of shooting. You can use software like Asana to keep up to date, or just use your phone or computer’s built-in calendar. It is important to know how you prefer to work. Personally, I didn’t want to shoot multiple days a week for seven or eight weeks to tackle the entire cookbook in one heroic burst, although I know that could work really well for others.
Instead, I approached the photography section by section, blocking out a week for photography at a time. This worked particularly well because I did everything myself, from cooking and serving to styling, photography and washing up. This method gave me enough room on the fringes of my schedule to keep up the momentum, focus on the images I’d captured, and see if I was enjoying the direction and what changes I wanted to make to move forward.
Try to keep some flexibility in your approach. While most of my cookbook was shot section by section, sometimes I hadn’t completed all the tests for each recipe, so some weeks of filming were a mix of recipes from different sections depending on where I got into my exam.
Print your pictures
Once you’ve photographed an entire section, either use your home printer or take the files to a print shop and have the images presented to you in real life. You can pin them on a wall in the order you envisioned them, and this will not only help you get a sense of how the book flows visually, but will also give you a chance to see all the details that may require your attention when retouching, such as stray crumbs or dirt on the rim of a bowl that you may have missed on screen. You can swap out the images and see where you might need more white space, variation, a new angle, or some movement. The luxury of self-publishing a cookbook is that you can work on your own schedule and re-shoot anything that doesn’t work for you.
Conclusion
If you’ve embarked on a lengthy project like self-publishing a cookbook or creating your own e-book, I’d love to hear your tips on how you’ve approached it, maintained momentum, or implemented a process that allows you to to be as happy as possible with the result possible.