
How to restore macOS settings and startup items on a new Mac
Apple has improved the macOS upgrade process tremendously over the years. With recent versions, it’s rare for something to go wrong and prevent an upgrade from completing. However, as one reader noted, you can sometimes end up in an in-between state. Your accounts have been migrated with all their data, but every time you restart macOS loses changes to startup items, system settings, and even app registrations. The startup disk passes all tests with flying colors: Safe Mode, First Aid in Disk Utility, reinstalling the operating system from macOS Recovery, and more.
At this stage you have only two options:
- Use Migration Assistant to essentially reinstall your main user or all affected macOS users.
- Erase the drive and perform a new migration, skipping network and other settings.
- Erase macOS, reinstall, create a new user, migrate apps, and manually copy your user files.
In all cases, do not modify any of your files or make any deletions. The problem seems to lie in how macOS keeps track of what it should consult at startup.
Reinstall your user via Migration Assistant
Typically, you use Migration Assistant to move a previous startup disk to a new Mac or similar transfer. However, you can use Migration Assistant to install specific users from a backup volume. Warning: The following steps sign out of your account to complete the migration.
- Create a new Time Machine backup if one hasn’t been created since you last made changes to the account’s files. (You can also use a cloning app like Carbon Copy Cloner or SuperDuper!)
- begin applications > Utilities > migration assistant.
- click Continue and authenticate. This will sign you out of your current account in Migration Assistant mode.
- Select your Time Machine drive or other backup and click Continue.
- Select the specific backup if there are multiple and click on it Continue.
- In the Select information to transfer window, highlight the account or accounts you are having trouble with and click Continue. (Note: You need at least as much free space on your startup disk as listed next to each account.)
- You will be prompted to rename the accounts, otherwise they will overlap with existing accounts on this Mac.
- Follow the prompts to complete the restore.
- When you’re done, log into the “new” version of your faulty account.
Try to make changes that previously failed. If they work now, you can delete the older account:
- in the system settings > Users & Groupsclick on the lock icon and authenticate yourself.
- Select the legacy user account and click the minus sign at the bottom of the accounts list.
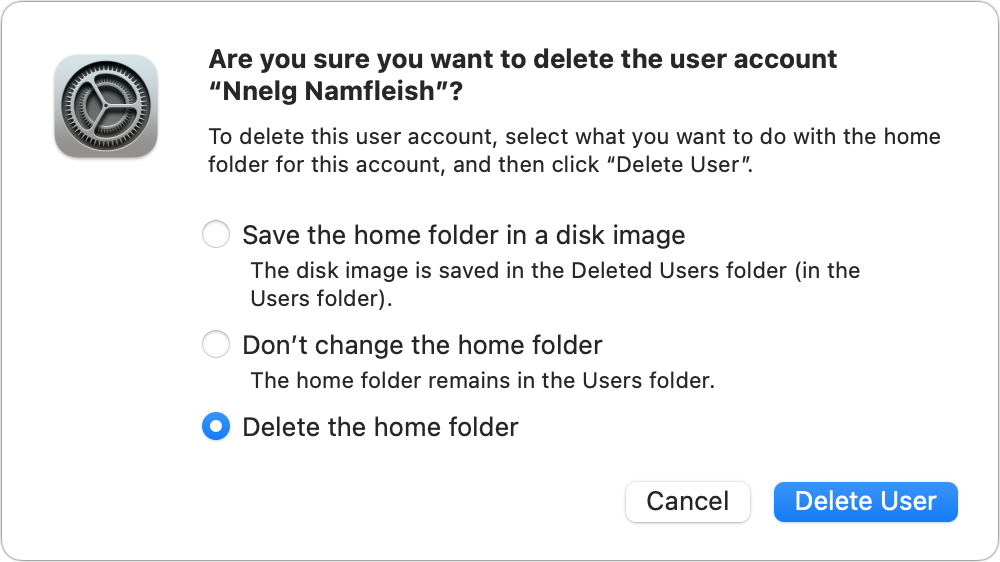
- Select “Delete Home Folder” and click delete user. confirm deletion. (Since you have a backup of that account and a copy on your drive, you should have enough backups. You can also opt for “save the home folder to a disk image” but you’ll need enough disk space to save that copy to create. )
If the above steps didn’t bring you back to your previous working state, try the next two solutions.
Perform a full reinstall and restore
You can take more drastic measures at this point if the above didn’t work:
- After making sure you backed up and backed up two distinct copies of your files, restart your Mac into macOS Recovery.
- Choose Disk Utility and click Continue.
- Select your boot drive, erase it, and then partition it as described in this article.
- Quit Disk Utility, select reinstall macOSclick Continueand follow the instructions.
- Reboot into macOS and select your backed up volume for use with Migration Assistant. Follow the instructions, though do not check System & Network-Despite the innocent-sounding name, disabling it has been the solution to some tricky migrations I’ve had in the past.
If you’re done, does your account now keep the changes? If so, stop here and create a fresh backup.
If not, there is still something to try.
Migrate to a new account manually
Since you reinstalled macOS in the previous step and migrated all your applications from backup, you can avoid these two operations.
Instead, create a new account and move your files there. Go to system settings > Users & Groups and create a new account: click the + sign, name the account and give it administrative privileges.
Since Apple doesn’t typically allow you to copy directly from account to account without messing around with permissions, you can use the user > Divided Folder as an intermediate step.
First, copy everything you need to the shared folder while logged into your broken user account. Most of your personal files are probably in Documents and Photos: Hold down the Option key and drag them to the shared folder. Do the same for other files. (You can hold down the Command key instead of the Option key to move these folders to Shared if you’re short on disk space, and rely on a backup of your main user account if you need to fall back on it.)
Next, sign out of that faulty account and the new one you created:
- Follow the setup steps, e.g. B. Signing in to iCloud and other Apple ID accounts.
- Command-drag files from the shared folder to the new account location.
- Start the apps you need to use and reconnect libraries and reenter registrations.
It can be difficult or time-consuming to set up some apps, especially those with sophisticated permissions. Use the app developer’s website to find out if the company offers instructions for locating the preferences files – often deep within ~/Library/ in various subfolders such as Application Support and Preferences. Also, turn to a search engine for help from others who have gone through the same restoration.
This Mac 911 article answers a question from Macworld reader Michael.
Ask Mac 911
We’ve compiled a list of the questions we get asked most frequently, along with answers and links to columns: Check out our Super FAQ to see if your question is covered. If not, we are always looking for new problems to solve! Email yours to [email protected], including screenshots if necessary and whether to use your full name. Not every question will be answered, we do not respond to emails, and we cannot provide direct troubleshooting advice.