
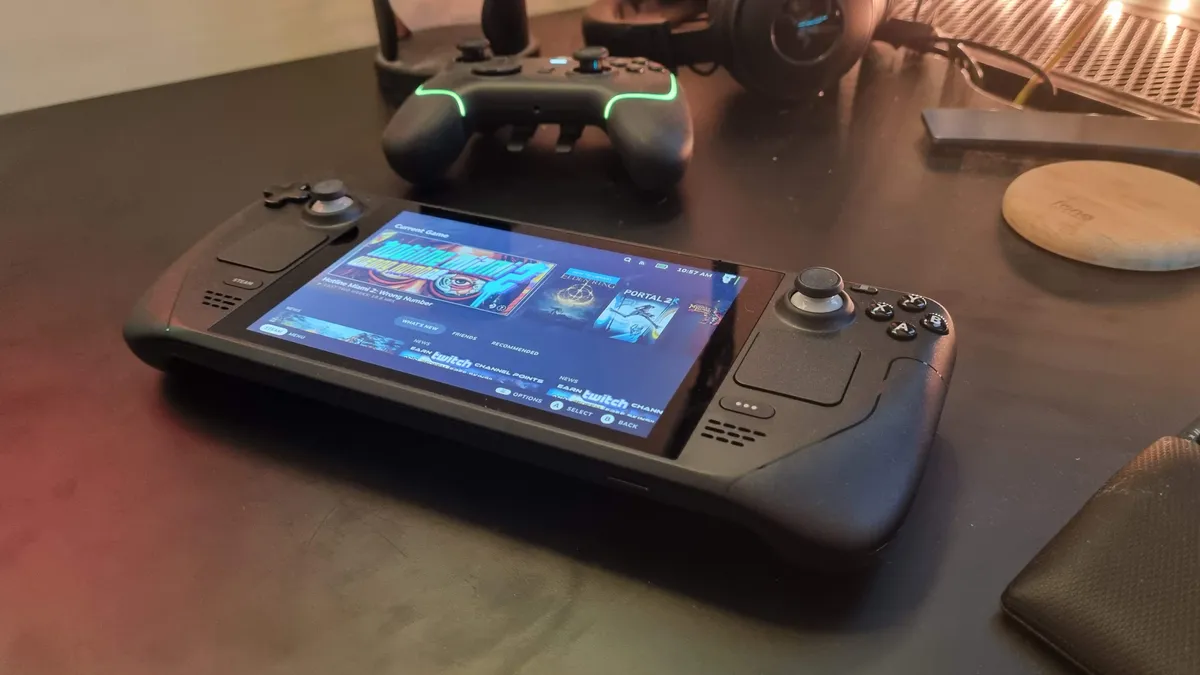
How to set up your new Steam Deck
Now that Valve has finally gotten around to shipping all current Steam Deck orders through the end of 2022, many more patient gamers will finally get their hands on the impressive portable system.
However, the first challenge will be how to set this up steam deck first of all. Unlike most other portable devices from Nintendo or even earlier Sony devices, the Steam Deck looks more like the best gaming laptops or the best gaming PCs. Therefore, you need to prepare it to play games since the operating system is more open to customization.
But that’s what this guide is for, to walk you through the process of setting up your Steam Deck and equipping it with some useful tools. It’s all about optimizing your brand new portable PC to get the most out of it.
Step one: Turn it on and check the basics
Before doing anything else, you must first charge your Steam Deck and then check the basic settings. By either pressing the Wi-Fi button on the top bar or hitting the steam button on the left side of the deck, you can bring up the settings menu and change options like volume, microphone, screen brightness (tip: disable Adaptive Brightness), and controller button mapping , and the regional language. Also, download any software updates before installing other programs.
There are other options you can configure such as: B. Connecting your Steam deck to a monitor or TV using a USB-C to HDMI adapter and enabling Bluetooth connectivity to connect the deck to wireless peripherals like a controller or keyboard and mouse.
Step two: Choose your operating system

The Steam Deck runs on the Linux operating system out of the box and uses Proton to run Windows games on it. However, there is a mode called Desktop Mode, which you can access by holding down the power button, that turns the deck into a full-fledged PC. In this mode you can also install programs and even an operating system like Windows 10 or 11.
First, you need an SD card and an SD card reader, as well as a micro SD card. Once you’ve acquired these components, use this detailed how-to guide Install Windows 10 and 11. And if you ever want to go back to SteamOS gaming, it’s as simple as a quick swap of your Micro SD.
Step Three: Upgrade your storage
There are three types of Steam decks: the cheapest is $399 and comes with 64GB of eMMC storage, the second option is $529 with 256GB NVMe SSD, and the third is $649 with 512 GB NVMe SSD. Make sure you get the second or third option as eMMC is terrible for gaming due to its much slower transfer rates.
From there you can use and swap out micro SD cards for extra storage and then enable the option to save games directly to the micro SD instead of the internal storage. While you can upgrade the internal storage yourself, simply using micro SD cards instead is a difficult process and far more advisable.
When you buy and use a card for the first time, you must reformat it. Press the Steam button on the left, then check the system settings and choose the format, which will erase all other data on that card to prepare it for the Steam deck.
Step Four: Advanced Options
One of the best aspects of the Steam deck is the customization that even approaches PC levels. Once you start learning the basics of this portable device, there are many other features and options that you can take advantage of.
Since you can install a Windows operating system on the deck, you can also install an office suite on your deck by using the Discover Software Center option to download one, e.g. B.LibreOffice.
If a game is running sluggishly on your Steam deck because it’s too powerful or resource intensive, you can use Remote Play by streaming it with your gaming PC. When selecting a title from the Steam library, click the arrow button instead of “Play” or “Install” and then select your PC.
Customizing your deck can go further than the Face and Shoulder buttons. The settings are incredibly robust, allowing the rear buttons to be configured however you like. In the Controller Settings menu, you can assign the L4, R4, L5, R5 buttons to any other gamepad function, as well as keyboard/mouse controls and even system settings.
Step Five: Install Emulators
Of course, the Steam Deck is an absolute emulation beast for its portability and customization options. Many gamers will most likely want to use their computer not only to play the latest PC titles, but also to run many retro games. And that’s where the EmuDeck app come in.
EmuDeck is an incredibly robust application for emulation as it configures aspect ratios and hotkeys, downloads the appropriate box art for the ROMs and integrates all of these functions into the Steam library.
There are some configurations that you need to do on your part, like downloading the standalone emulators from the Steam Deck Market, as well as getting your own retro BIOS files and ROMs. Otherwise, the amount of work that EmuDeck does for you is quite large.