
How to Start a Vegetable Garden – September
The September Vegetable Garden; what to do and when to do it. For example crying in the potato patch. Practical tips like this for your garden at the end of summer. Also, methods for storing most of your veggies over the winter.
Whenever someone says “Oh it’s September, I guess you have more time now that gardening season is over.” My first thought is to push her in a puddle.
Not particularly deep, but still a puddle. Maybe one with a worm swimming in it. I never act on that thought, but I think about it. I shouldn’t get so upset because obviously this person isn’t a vegetable gardener or you know September? Yes, this is the busiest vegetable gardening season of all.
WHAT TO EXPECT FROM SEPTEMBER
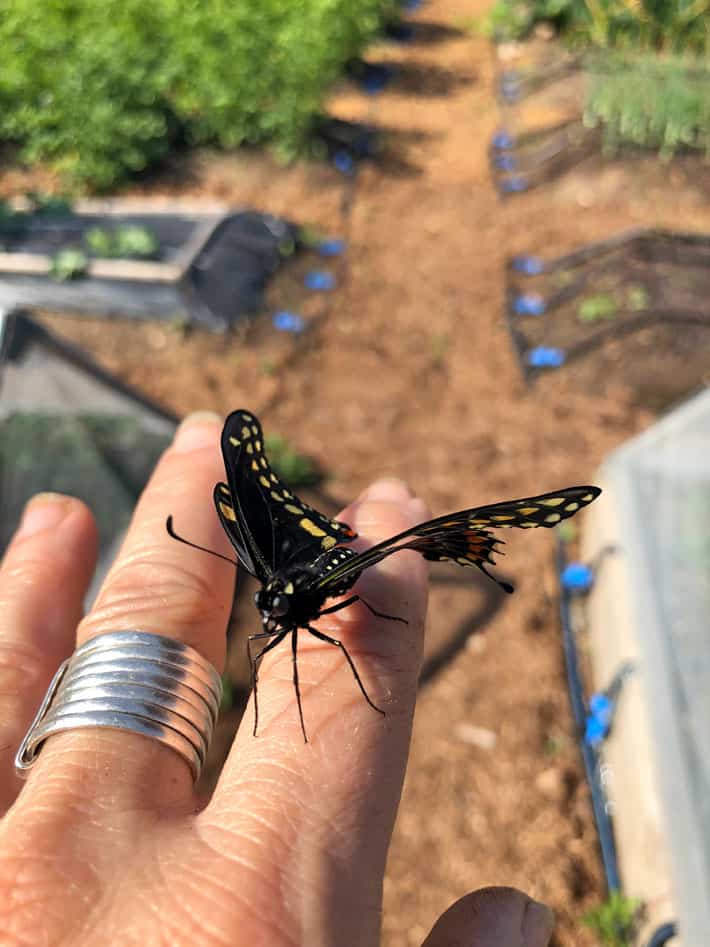
I’m going to assume at this point, whether you’re a new gardener or an experienced one, you’ve stood in the middle of your garden and cried at least once this year.
It could have been bacterial wilt or cucumber beetles or raccoons that got you bubbling in the middle of your rot-riddled tomato plants. But whatever it was, you’ve got to put those tissues down and get your act together.
It’s harvest time.
TASKS
maintenance
- Obviously, your plants might still be alive, so keep trying to keep them as long as possible. If a frost comes that damages your tomato plants, COVER them if you want more tomatoes! Just cover a sheet to keep the frost away. Why? Because in zones 5 or 6 there is sometimes a single frost in September, but not another one until October! October might actually have a heatwave! That’s a whole month when you could have had your tomatoes (or other tender veggies) longer. So if you love it, cover it.
- Make sure you tidy up any beds that are already made up for the season. Rake them out so they’re smooth, remove any debris if they’re harboring disease, and lay an inch or two of compost on the bed so it’s ready next spring.
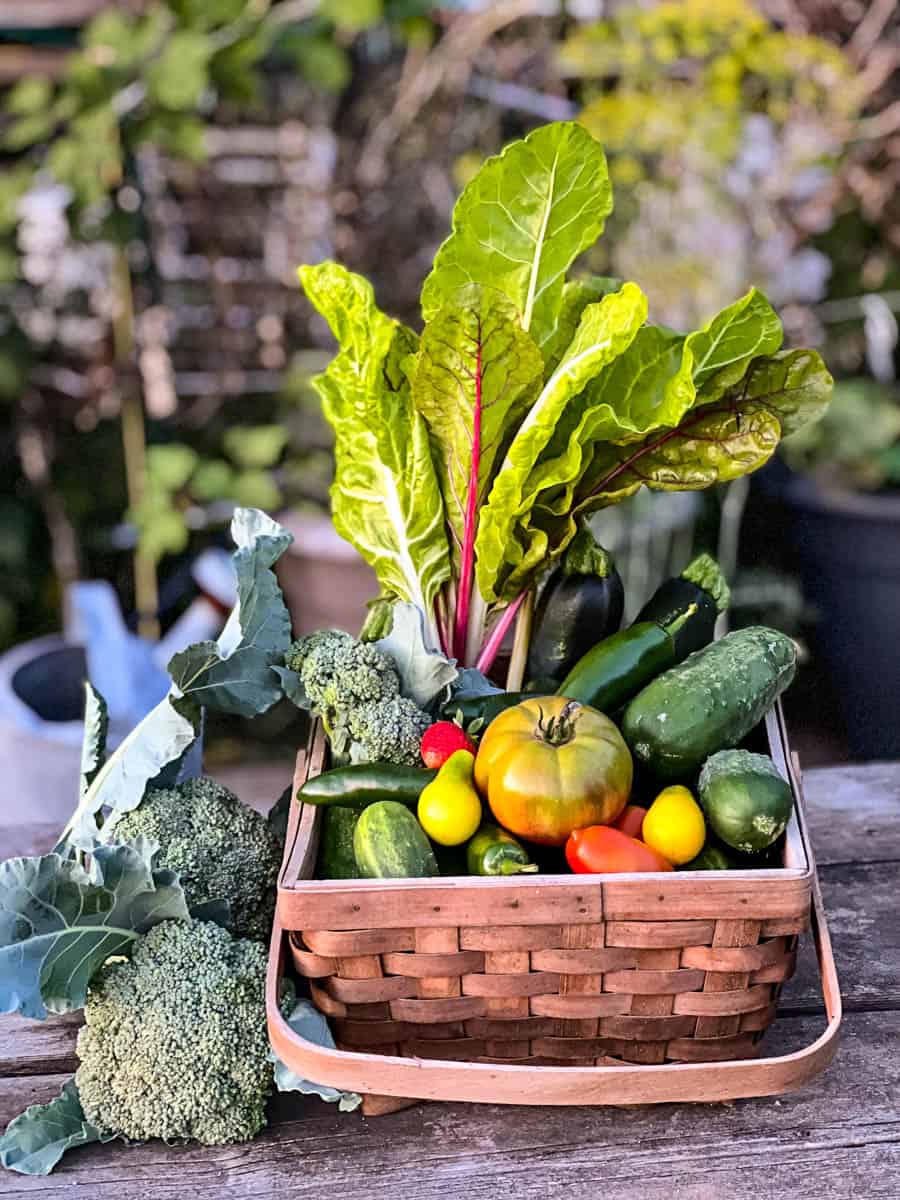
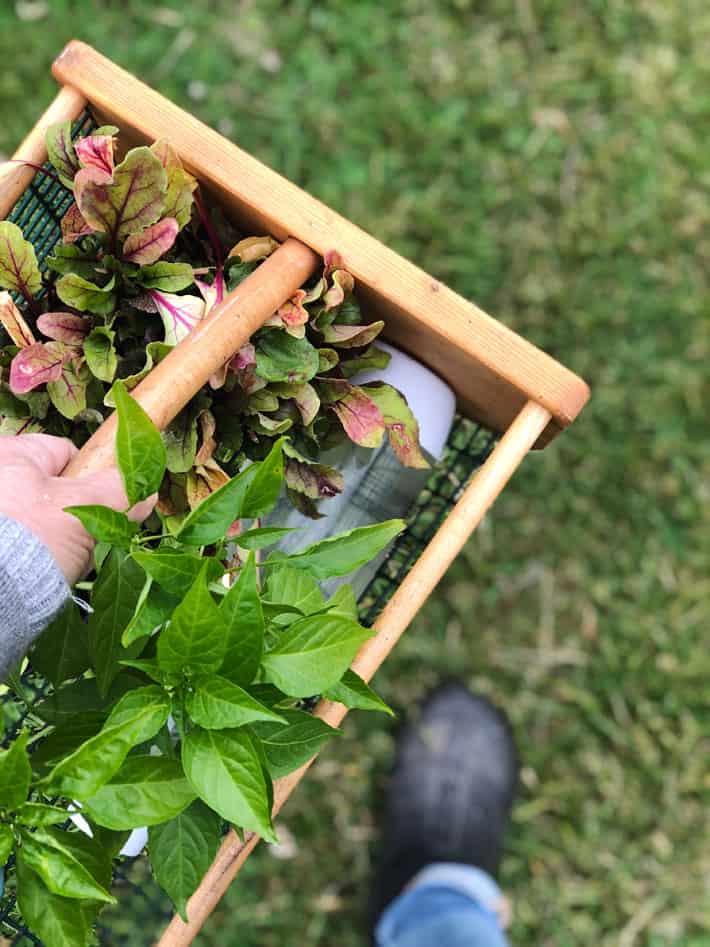
- Harvest, preserve, harvest, preserve.
This in-depth post will show you how to store vegetables for the long term
(via Winter)
But here’s a rundown of how to harvest and preserve some of the most popular garden vegetables:
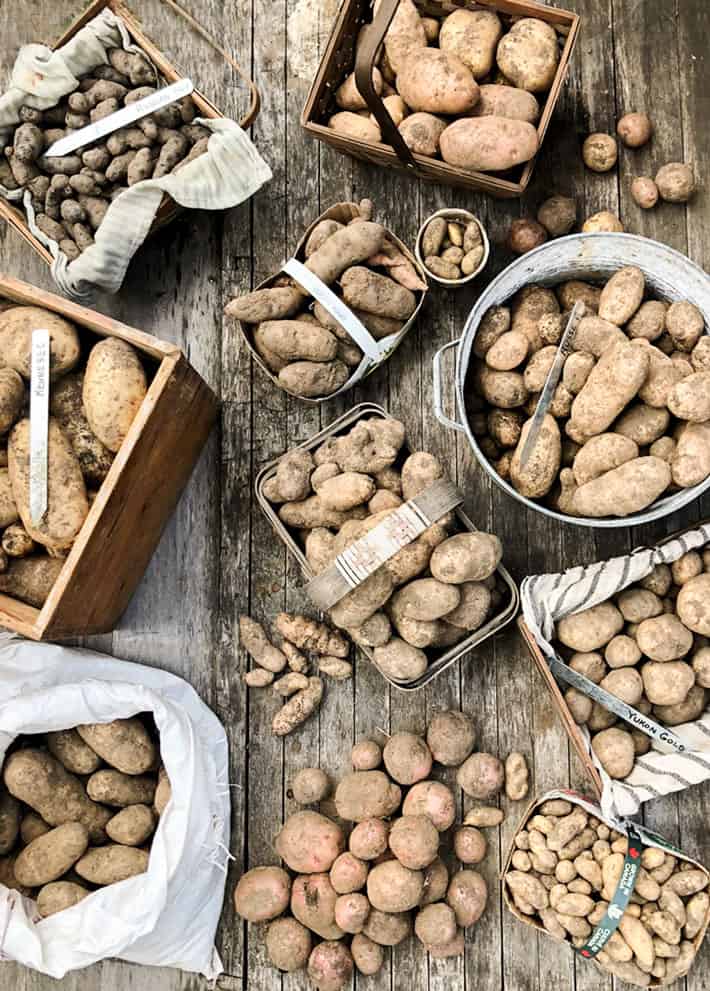
POTATOES – Dig up your potatoes by loosening the soil around the potato plant with a garden fork. Pull the plant straight up while simultaneously using your garden fork in the ground to push the plant up. Pull potatoes from the runners, then dig around with your hands to look for more in the soil. They’re hiding. They hide well.
Salt potatoes before storing them. Just put them in a humid area around 60 degrees. A basement is often the best place.
Store POTATOES in a cool, dark room. The ideal temperature for storing potatoes is between 35 and 40 degrees F . These are optimal conditions. Storing them at a higher temperature just means they don’t store as long. Storing them at a cooler temperature will turn their starches into sugars and change their taste and texture in a bad way.
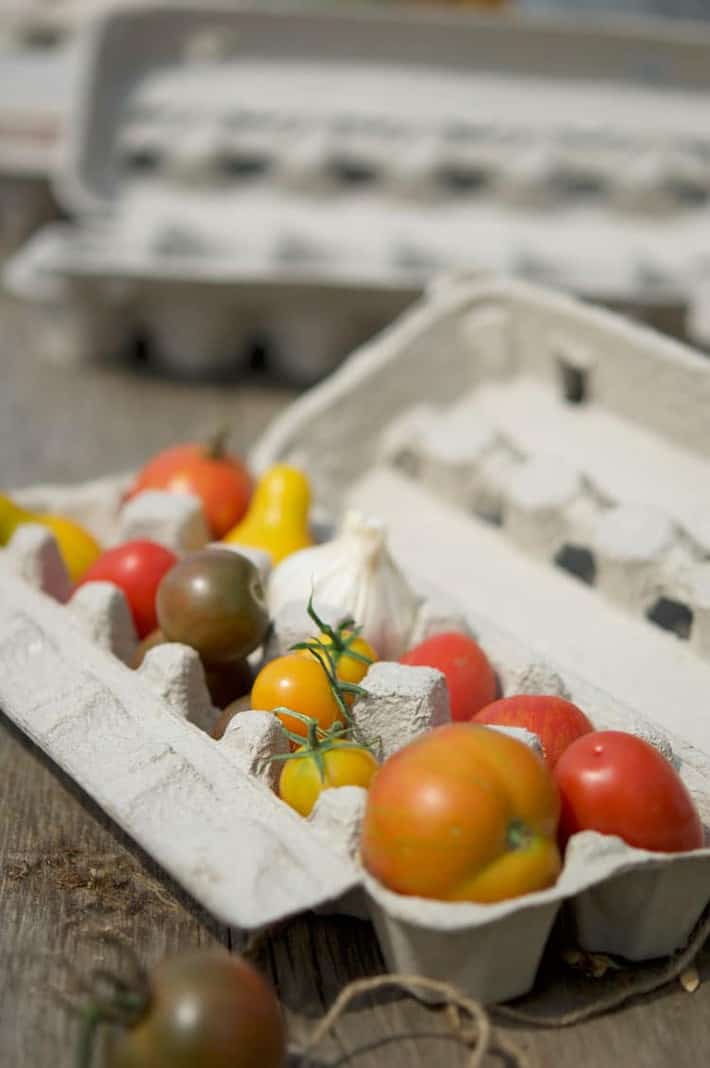
During and at the end of the season I sometimes give away egg cartons filled with groceries.
TOMATOES – If you don’t want to cover your tomato plants with a cloth, make sure you harvest ALL the tomatoes on your vines the day before the predicted frost. Unripe green tomatoes ripen on the counter with surprisingly good results and quality. The only exception is when the green tomato is shiny. If the tomato is so young that its skin is still shiny, it will not ripen.
PRESERVE TOMATOES by freezing them whole, pressing and canning them, or roasting and freezing them. Here you can find out how to press and preserve tomatoes and how you can quickly and easily make a roasted tomato sauce for freezing.
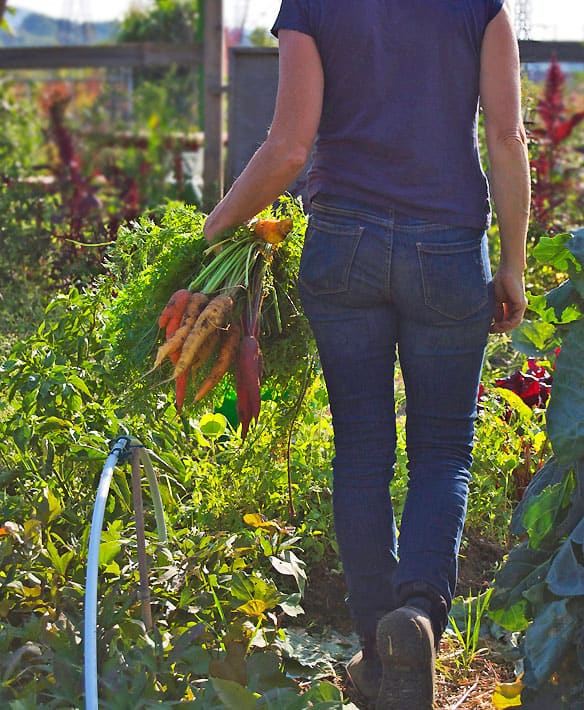
CARROTS/BEETS – Both carrots and beets can be left in the ground and harvested straight from the garden until December or until the soil is so firm that you cannot pull them out. Carrots that are touched by frost will sweeten (just like potatoes will sweeten if kept too cold). But with carrots, that’s a good thing.
Store carrots in either sand or (very slightly damp) peat moss in a breathable container such as a cardboard box with holes in the sides or a wooden crate. Line the container with plastic in which holes are punched for ventilation. The plastic helps retain moisture and prevents sand or peat from spilling out of the cardboard or wooden box.
Store them like this, with something slightly covering the top of the box. The ideal temperature for storing carrots is 38 F. By storing carrots this way, I have been able to keep my carrot crop viable for almost a full year. In June I ate carrots that I had harvested in September of the previous year. I choose peat over sand because it’s easier to lug around. Coco coir is also a viable option.
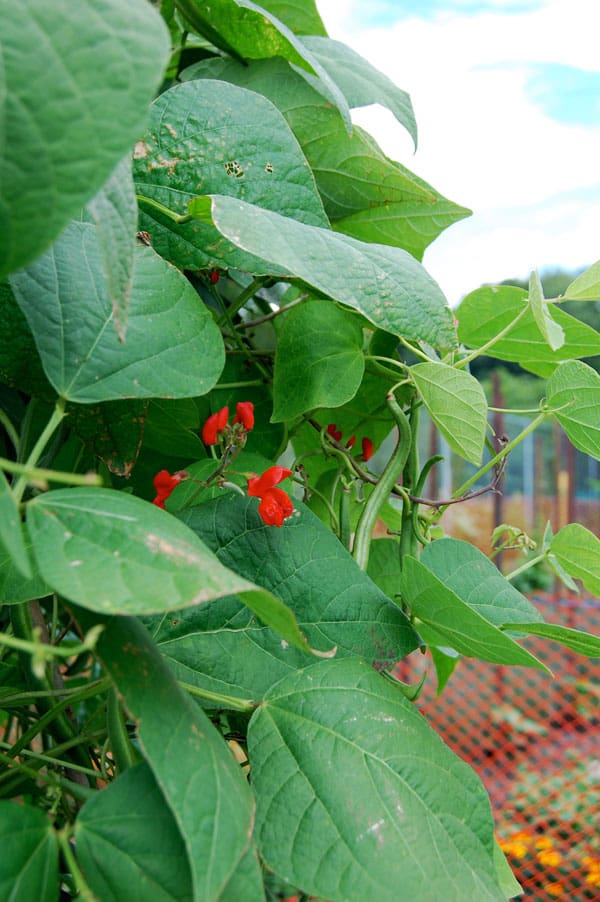
GREEN BEANS – Green beans are the most refined of all vegetables. They’re not a vegetable you want to challenge to a game of hide and seek because the bean will win every time. If you have fresh green beans left on the bush, pick them! If you have beans that are starting to dry on the bush, leave them. They can become the seed source for next year once they have dried (as long as they are not a hybrid bean).
You can also check if you can use that particular bean as a dried bean. Most beans can be dried in the pod and then used as a dried bean.
PRESERVE BEANS by blanching them for 3 minutes and then freezing. Green beans are also probably the easiest vegetable to preserve. You just put them in a jar, add boiling water and salt and process them. You can find the full guide here. You can finally make dilly beans! Or any kind of pickled beans. This year I added them to the brine of my fermented dill pickles. They turned out a lot crunchier than the pickles and were also a lot quicker to prepare.
PESTS AND SOLUTIONS
Don’t worry. Serious. At this point, just keep harvesting and canning, and if frost is a problem in your area, make sure you have row coverage to protect the plants from a surprise frost.
TOOL
- Baskets and containers for transporting your harvest home.
- Garden fork and shovel for digging up anything you’ve planted that’s growing underground like potatoes.
- Working gloves.
- A good hand scrubber.
WHAT CAN BE PLANTED THIS MONTH
Wheat. That’s correct. If you want to grow wheat but didn’t plant it in the spring, you can plant it in the fall (it needs to grow 6-8 weeks before severe frosts and consistently cold temperatures). Your wheat will be ready for harvest in early summer next year.
I even have some turnips on my kitchen windowsill that I will try to plant and harvest using various greenhouse techniques. I’ll let you know how to do that.
You can also throw in some radishes and hope for the best.
Next time, in the final part of this series, I’ll show you inventive ways to use your classic fall staples like squash, carrots, and beets for your Thanksgiving celebrations.
Until then, I promise not to throw anyone in a puddle.