
How to tag files in Windows 10
Everyone who uses Windows 10 relies on the search function on a daily basis, but if you can’t find a particular file, there’s a way to make sure it always appears in the results – tags. One of the most effective ways to streamline your Windows 10 experience is to take advantage of the tag system.
Sorting the contents of your system with tags ultimately helps you identify your files with an added level of precision and structure, saving you time and effort. Let’s take a look at how files are tagged in Windows 10.
Adding tags via a file’s property settings
Step 1: Select a file by right-clicking it, and then choose the Characteristics set up.

Step 2: open that details Section.
Step 3: Open the tags editing panel by selecting the box next to its name, where you can then type your desired tags.
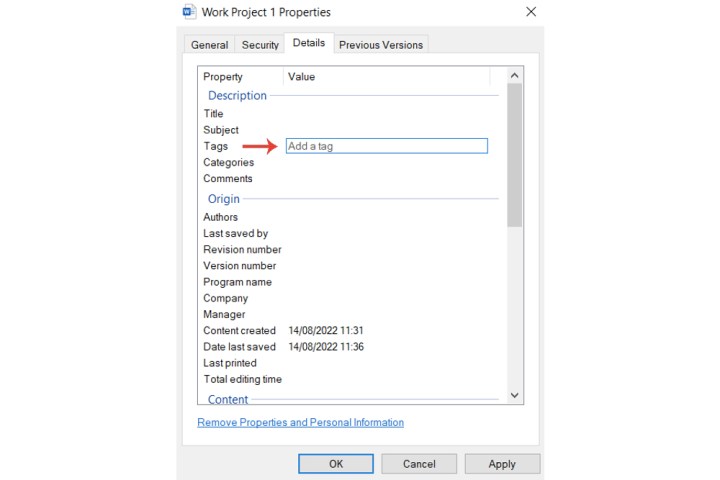
Step 4: Enter a tag appropriate for that particular file. For example, let’s attach a “work” tag to a document for demonstration purposes.
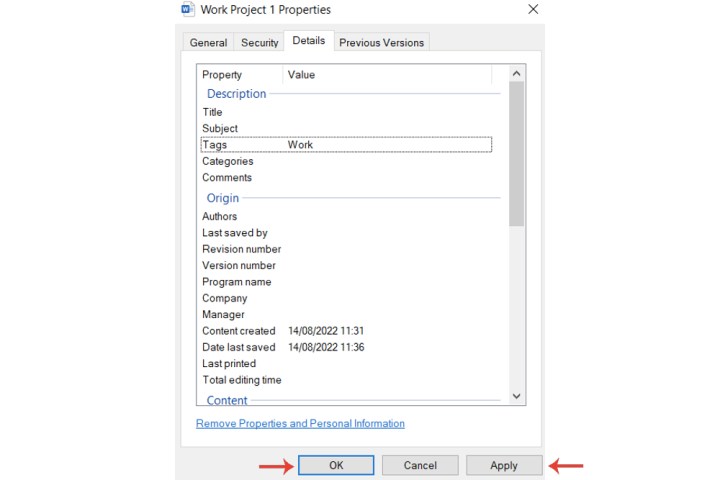
Step 5: Select the Apply key to confirm the tags and then press OK.
Search for files with tags
Now that you’ve added tags to your files, let’s look at how you can search for them. Typing just the keywords into a search box in Windows will not return results for the files you just selected. You need to type the word “tag” followed by a colon, after which you type the keyword you are looking for.
Adding multiple tags
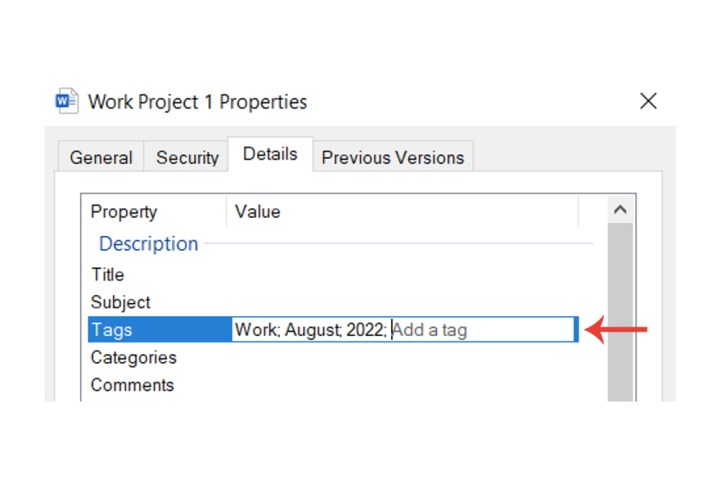
In some cases, you may want to include multiple tags to organize files even better. Simply enter a semicolon after each tag. This can come in handy when adding extra details like a time period etc. Some systems automatically set the semicolon after entering a tag.
For example, if we add a tag “August” and “2022” after “work”, searching for your work files for the month of August will return all relevant files for that month (as long as the additional tags were added).
Add tags to multiple files at once
For example, if you have numerous files in folders for a work project or in a folder that contains various images and you want to add a tag to each one, you don’t have to do the process for all of them manually. Just select them ctrl button and click on the relevant files. Then right click on one of them, select the one Characteristics and details Options and paste them.
Why can’t I add tags for certain file types?
Microsoft has limited its tag system to certain file types. So when opening the Characteristics and details for a specific file type, such as For example, PDFs and image extensions other than JPG (e.g. you cannot tag PNG images) then the Tags section may not appear at all.
If you have a Mac and want to organize your files with a tag system, see our guide to adding and using tags for Apple PCs.
Editor’s Recommendations