How to Turn a Raspberry Pi Into a Wi-Fi Access Point
That Raspberry Pi is a truly versatile piece of technology. With a Pi, we can learn to code, build robots, work with complex sensor data, and even rotate an old one printer to a web-enabled device. If you have an older Raspberry Pi that’s gathering dust, we have a quick and easy project to add extra Wi-Fi connectivity at no extra cost.
That latest Raspberry Pi OS version saw a beta version of Network Manager, a new tool for the Raspberry Pi that replaces dhcpcd as the means of managing networks on the Pi. This new tool offers us a simple, GUI-based means to configure a spare Raspberry Pi as a wireless access point. If you need to expand a network setup, add Wi-Fi in hard-to-reach places, then this is for you.
We will walk through the steps required to configure a Raspberry Pi as a wireless access point and have the access point start up when the Pi boots. Best of all, this project works with the Raspberry Pi 3B, 3B+ and the latest Raspberry Pi 4.
Set up Network Manager for Wi-Fi Access Point
The Network Manager application is a new addition to the Raspberry Pi OS, at the time of writing this is still a beta version which requires some additional steps to switch from the older dhcpcd application to Network Manager.
In this section we describe the steps required to configure your Pi to use the new network tool.
1. Set up a Raspberry Pi if you don’t have one yet Check out our guide how to set up a Raspberry Pi.
2. Connect your Raspberry Pi to an Ethernet connection. Our Pi becomes a wireless access point, but our connection to a router is via Ethernet. This provides the strongest connection and ensures the highest possible speed.
3. Open a terminal window on the Pi or an SSH connection to the Raspberry Pi.
4. Make sure your Raspberry Pi is up to date, by running the latest update commands. This is not strictly necessary as the latest version of Raspberry Pi OS is already quite up to date. Consider this a best practice.
sudo apt update
sudo apt upgrade -y
5. Use raspi-config to edit the configuration of your Raspberry Pi. The network manager option is currently only available via raspi-config and not via the GUI editor.
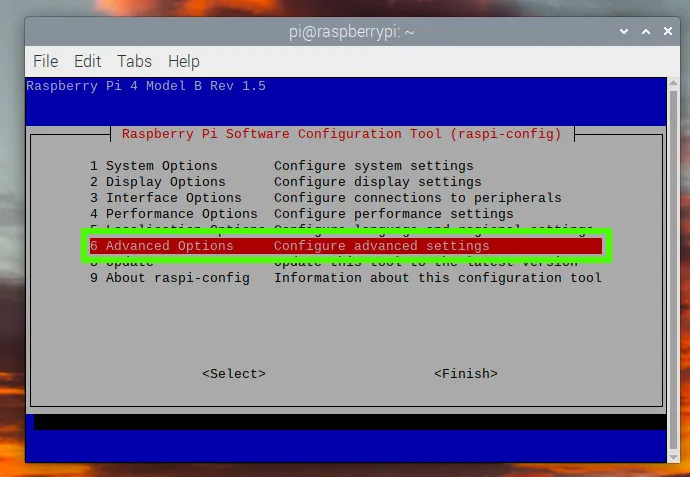
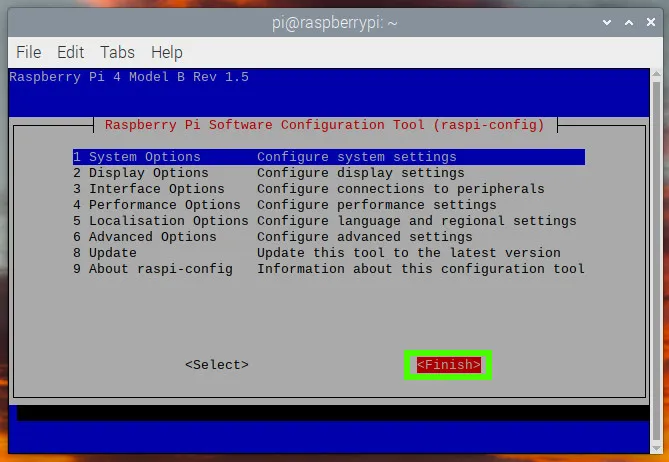
sudo raspi-config6. Use the cursor keys to navigate to Advanced Options and press Enter.
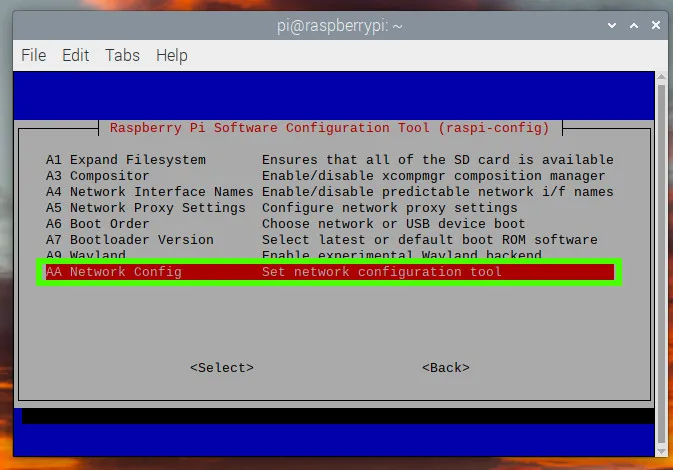
7. Navigate to Network Configuration and press Enter.
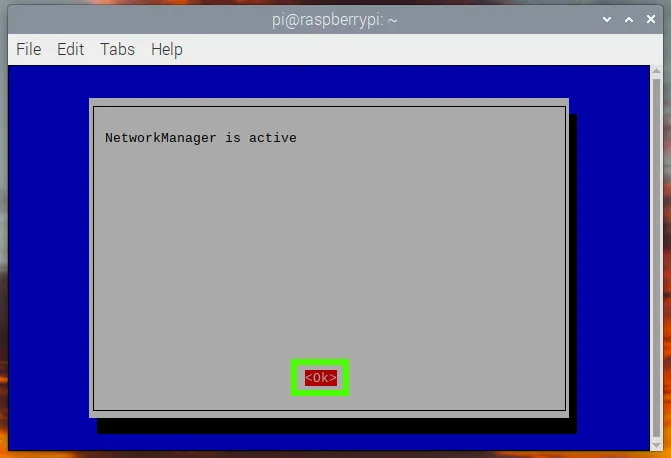
8th. Select Network Manager and then click OK.
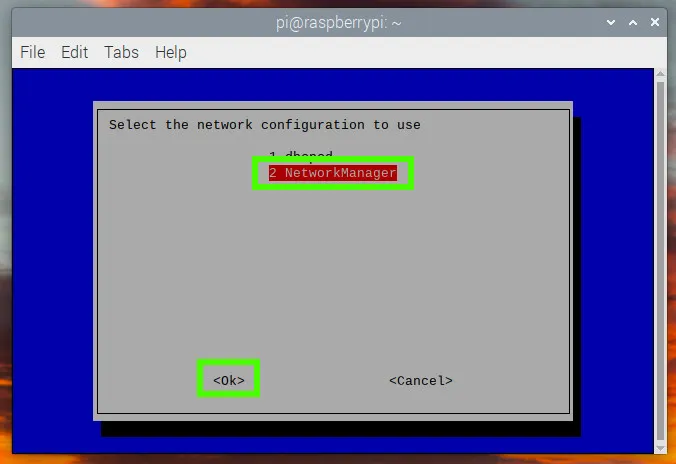
9. Click OK.
10 Click Finish.
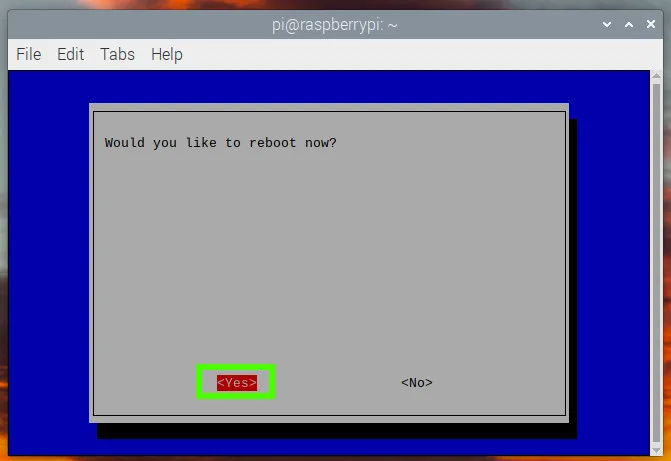
11. Choose Yes to restart.
Set up Access Point on Raspberry Pi
Our access point provides Wi-Fi access via the Raspberry Pi’s onboard Wi-Fi chip. In this section, we’ll set up the name and security for the access point. Note that our Raspberry Pi must be connected to our home internet connection via Ethernet. So we have the best possible connection.
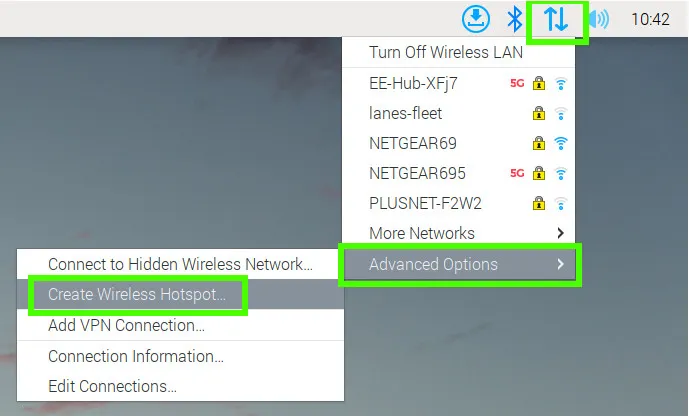
1. Left-click the network icon, select Advanced options, and then select Create wireless hotspot.
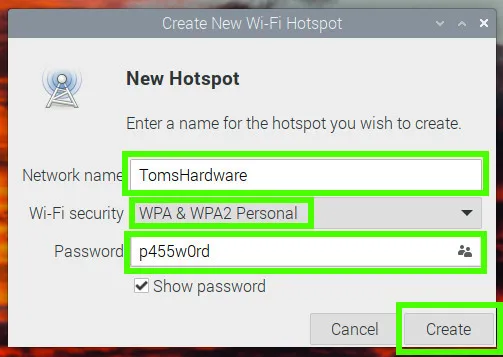
2. Set the network name of the access point, set the Wi-Fi security to WPA2, and Then set the password for the AP. Click Create to save.
3. Reboot the Raspberry Pi.
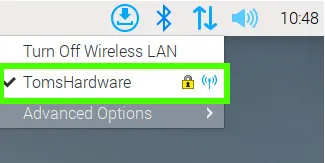
4. Click on the network icon to check if the access point is active.
Set the Raspberry Pi Access Point to start at boot
We want to turn this project into a device, a device that turns on and just works. To do this, we need to adjust the access point’s settings so that it starts when our Raspberry Pi boots up. Luckily, this only takes a few steps.
1. Click on the network icon and Click Advanced Options >> Edit Connections. This allows us to make changes to the access point configuration.

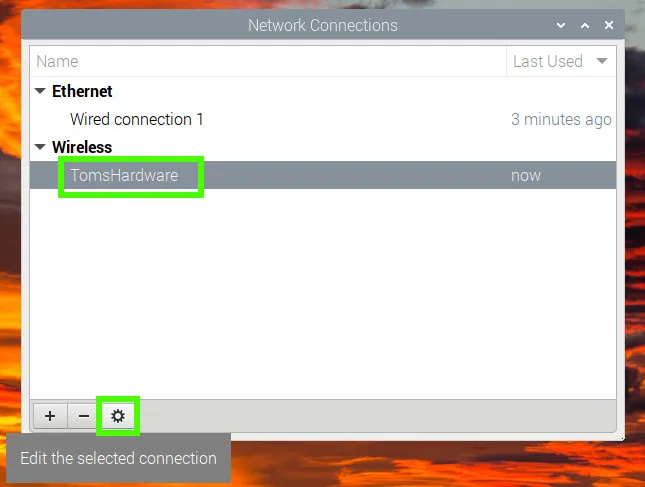
2, Choose the name of the wireless access point, and Click the settings cog to make changes.
3. Under the “General” tab Check the Automatically connect to priority box and set the priority to 0. Click Save. to make the change. This will set our access point to start whenever the Pi starts.

Connect to the Raspberry Pi Access Point
The access point works like any other Wi-Fi router / access point.
1. Connect your computer/mobile device to the new access point. It appears under the name we gave it.
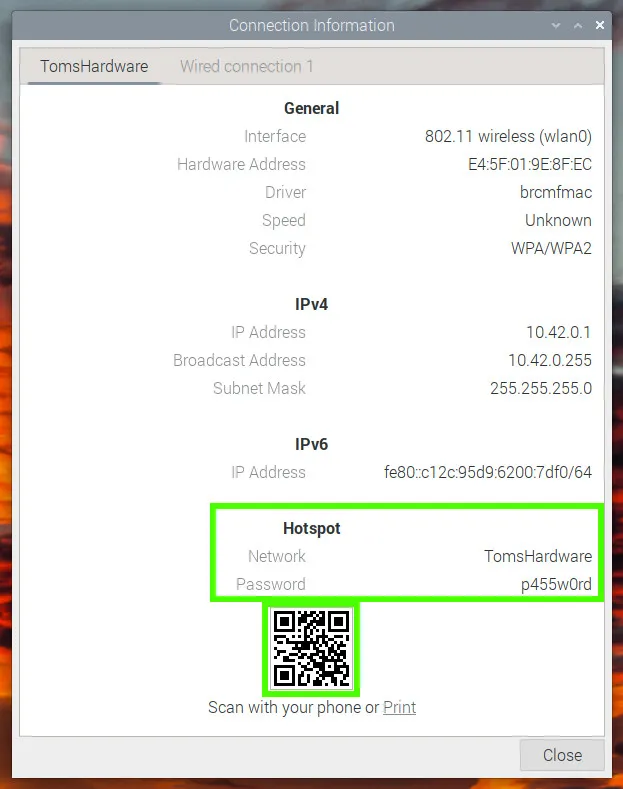
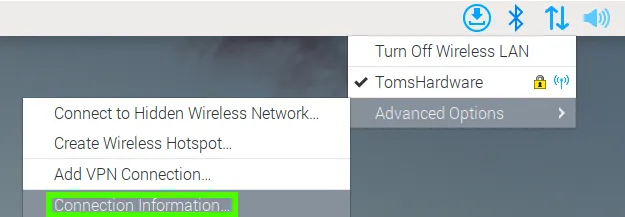
2. Alternatively, click the network icon on the Raspberry Pi and select Advanced Options >> Connection Information.
3. Scan the QR code with a compatible device to automatically connect to the access point. The information dialog contains all the information necessary for our access point.