
How to Use Adobe Illustrator’s Shape Builder Tool
With Adobe Illustrator’s Shape Builder tool, even a beginner can combine simple shapes to create complex shapes. In this simple Illustrator tutorial, we’ll show you how to merge and subtract basic shapes to create a new shape.
The Shape Builder tool was added to Illustrator in version CS5, and all versions since have included it. We used Adobe Illustrator CC, but as long as you’re using Illustrator CS5 or later, these instructions should work.
How to merge shapes using the shape builder tool
We’ll start by merging vector shapes. All of the shape tools in Illustrator create vector shapes. This means they can be scaled to any size.
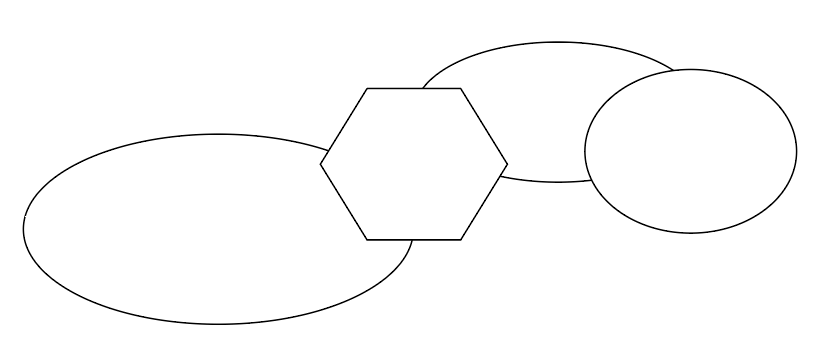
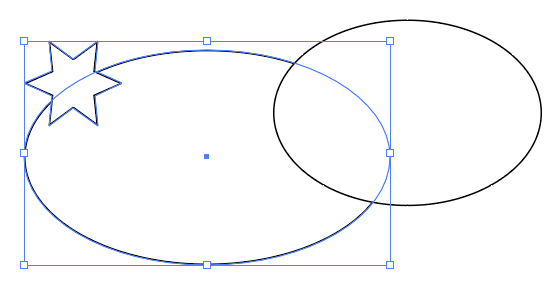
- Add some shapes to the artboard. You can use any shape tool like rectangle tool, ellipse tool, polygon tool or pen tool.

- We use the merge mode of shape builder Tool Click on overlapping shapes and move the shapes so they overlap.
- Use the selection Tool to select two or more overlapping shapes. hold down change to select multiple shapes.
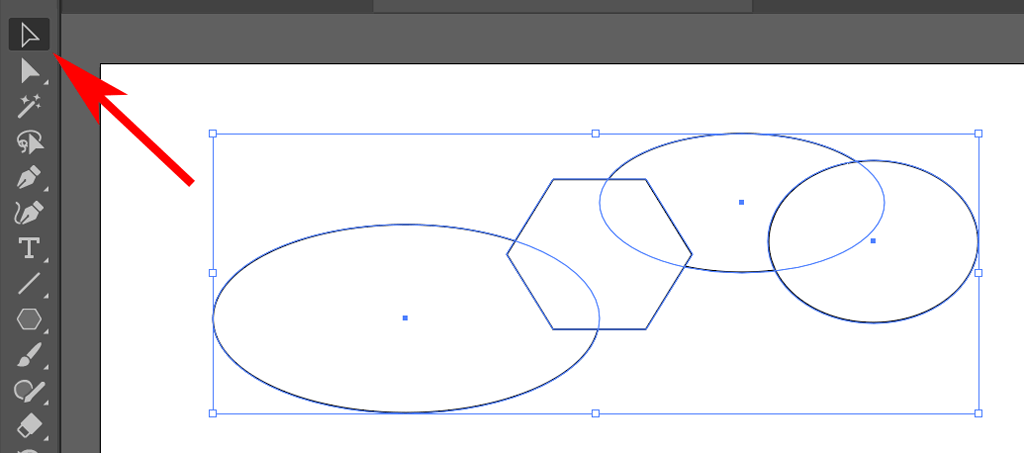
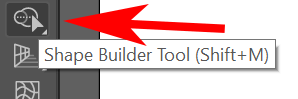
- Choose shape builder from the tool window or use the keyboard shortcut change + M.
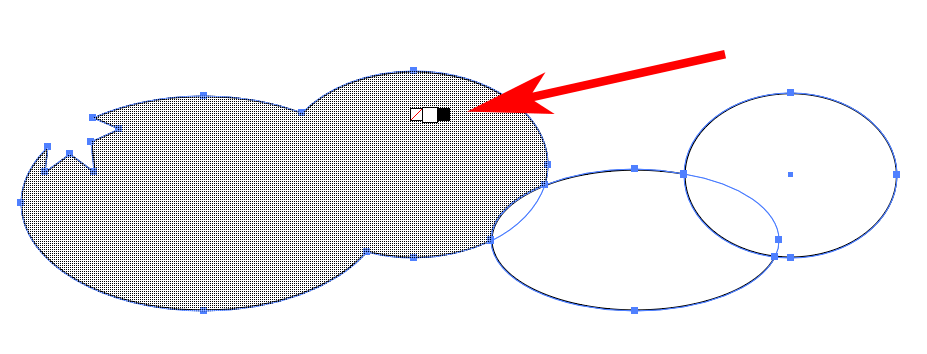
- Drag the shape builder tool over the selected shapes. Each part of the new shape will highlight as you drag over it. When you release the mouse button, the shapes will merge. You’ll see a small plus sign next to the cursor to remind you that you’re adding one shape to another.
TIP: To avoid accidentally missing some overlapping areas of multiple shapes, press change while dragging the Shape Builder marquee around all the shapes you want to merge.
How to delete shapes using Shape Builder Tool
Sometimes a graphic design project requires you to subtract one shape from another. Shape builder has an erase mode that makes it easy.
- Start using selection Tool to select two overlapping shapes. We subtract one shape from the other.
- Choose Shape builder tool and hold down Old or possibility (Mac) while dragging from one shape to the part of that shape that overlaps the other shape. As you can see, pressing the alt or option key puts the shape builder tool into delete mode, so one shape is subtracted from the other. You’ll know you’ve enabled delete mode because you’ll see a small minus sign next to the cursor.
TIP: Notice that extra anchor points are added to your new shape where the two shapes used to intersect. If you want, you can use these anchor points to reshape the path.
If you’ve ever used Illustrator’s Pathfinder tool to create complex shapes, you’ll be amazed at how much faster and easier it is to use the Shape Builder tool instead.
How to set options for the shape builder tool
Now that you have a good idea of how the shape builder tool works in Adobe Illustrator, take a minute to learn about the options you can customize.
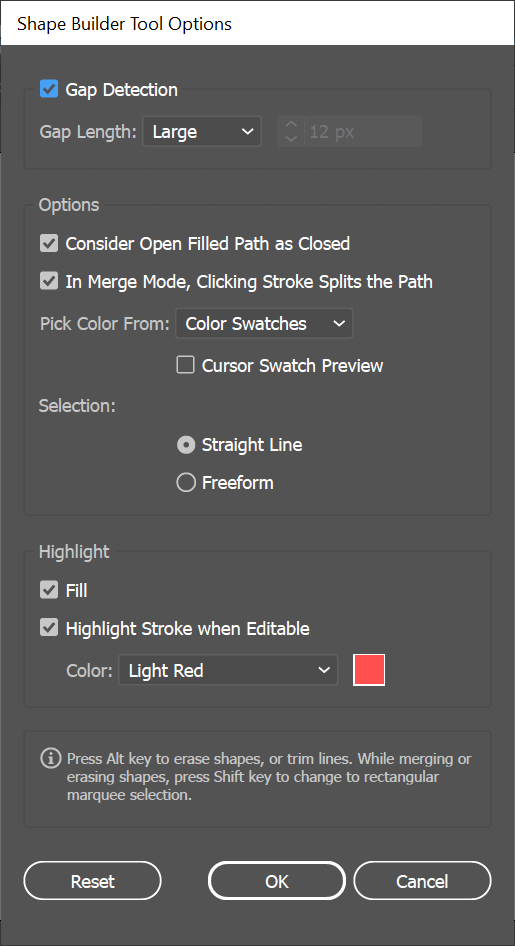
Access the Shape Builder Tool options by double-clicking Shape Builder on the toolbar.
gap detection
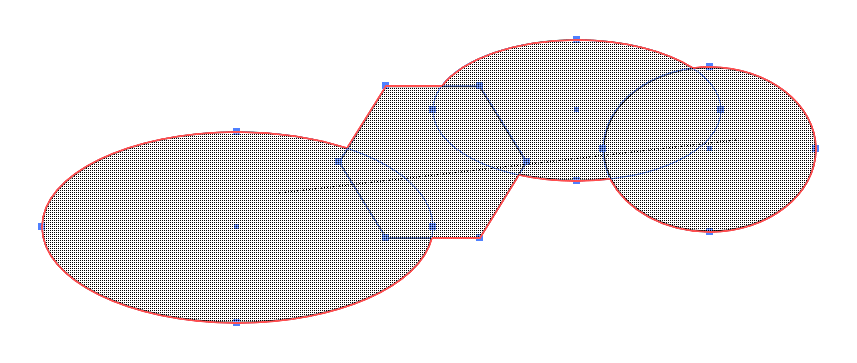
Imagine you have three overlapping ellipses with a gap in the middle.
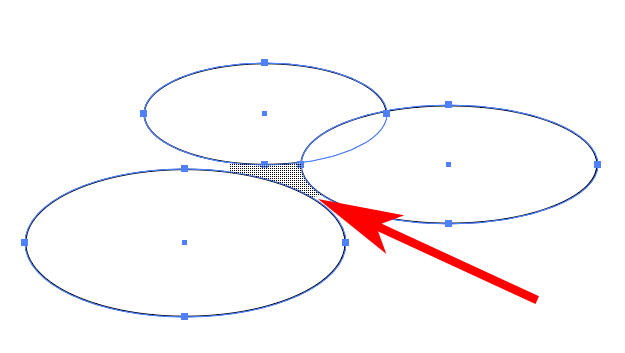
By enabling gap detection in the shape builder options, you can instruct shape builder to include this gap area when merging shapes.
It may take some experimentation to get the gap length right so that the shape builder includes as much of the gap as you want.
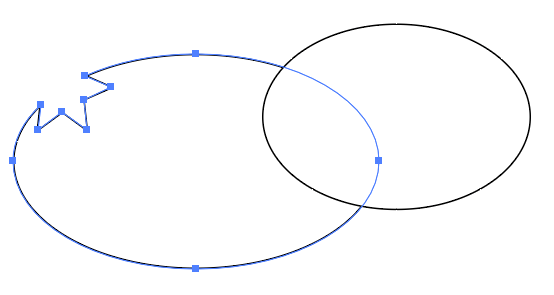
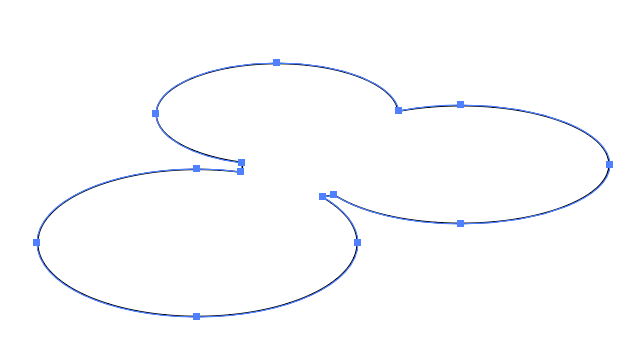
Consider open filled paths as closed
If you have created an open path with the pen tool and check that Consider open filled paths as closed box in shape builder options, shape builder creates an invisible edge where the path is open so it can create an area.
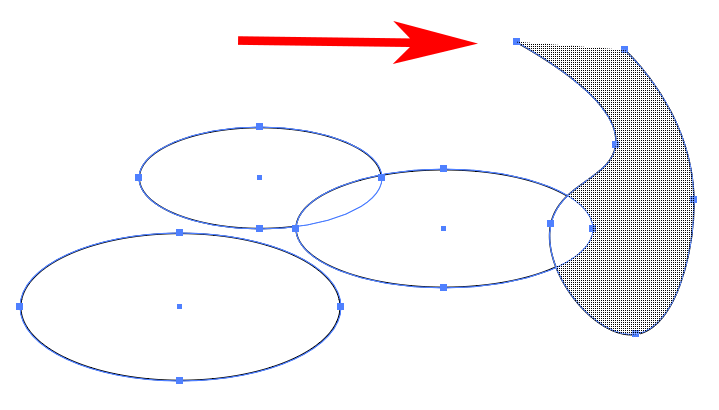
In merge mode, clicking the stroke splits the path
If the In merge mode, clicking the stroke splits the path is on, you can select part of a path.
Choose color
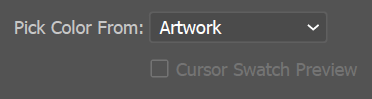
Here you select how the newly created shape should be colored.
- Choose artwork if you want the styling of the new shape to match that of the first object you touch with the shape builder tool.
- Choose color pattern if you want to fill the new shape with the pattern of the last selected object.
Check the box for Cursor pattern preview a floating color picker will appear. Use the left and right arrows to scroll through the options.
selection

The selection option you choose determines how the Shape Builder selection behaves when you drag it over objects. if you choose freeformyou can move options and regions that you don’t want to include.
To mark
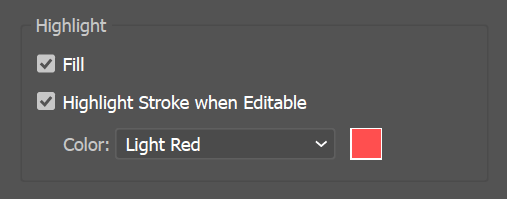
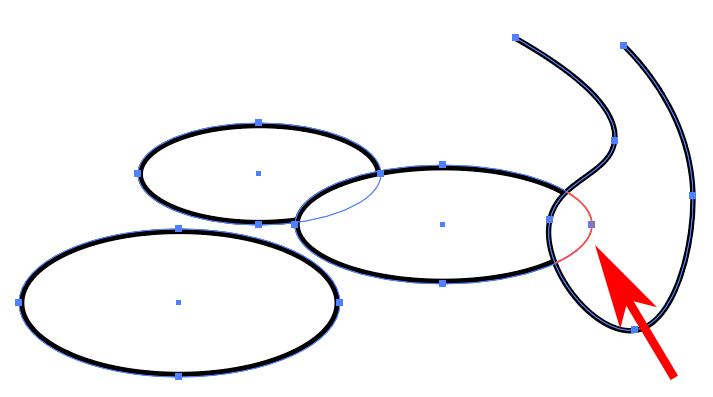
The Highlight option helps you see what you’ve selected with the shape builder tool. That To fill Option causes Shape Builder to fill the areas you dragged over with a mesh pattern. You can see the stitch pattern in the screenshots above.
if Highlight the stroke if it is editable is on, parts of a path that can be edited are drawn in the selected color. Must have too In merge mode, clicking stroke splits the path selected above. Otherwise, the path segments are not editable and are therefore not highlighted.
Keep it up
Once you’ve become familiar with Adobe Illustrator’s Shape Builder tool, you may want to try your hand at 3D modeling. It works the same way – by adding and subtracting shapes. The only difference is that in Illustrator you work with two-dimensional shapes and 3D modeling by definition means working with three-dimensional objects.