
How to combine Spaces & Stage Manager in macOS Ventura
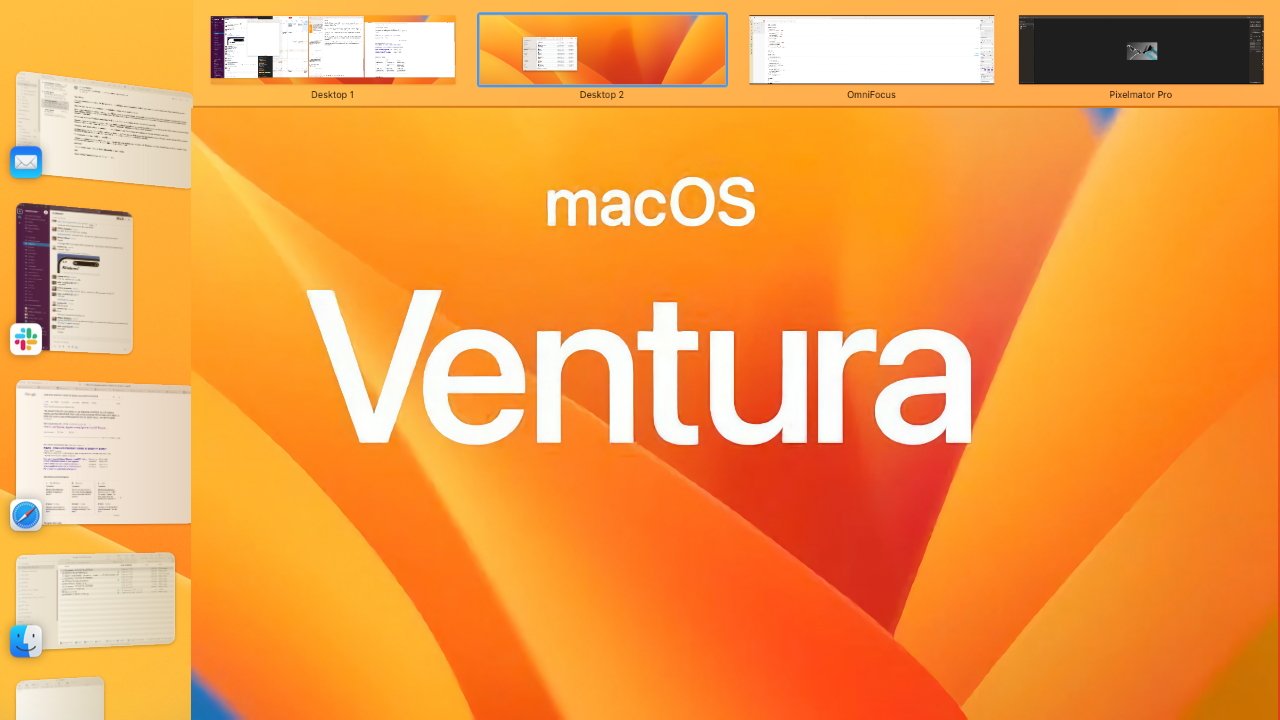
Stage Manager and Spaces in macOS Ventura
AppleInsider may receive an affiliate commission for purchases made through links on our site.
It’s so common to be overloaded with windows and documents in macOS that Apple offers us two different ways to deal with it – but nothing prevents you from combining the new Stage Manager with the old Spaces to great effect. Here’s how.
When Apple introduced Stage Manager at WWDC 2022, it was like someone, for the first time, gave us a way to keep track of all the overlapping documents we end up with. It’s perhaps not surprising that Apple failed to mention all third-party window apps, but it also ignored how much of what was said now was what Steve Jobs said when Spaces launched in 2006 said.
After going through nearly a dozen iterations in beta testing, Stage Manager and the entirety of macOS Ventura has seen significant improvements to the feature. Spaces is mature, or at least Apple doesn’t seem to want to continue working on it.
Neither feature is required reading. You don’t have to study or use either of them before you can proceed with your work, so there’s a chance they’ll both be forgotten.
However, when you use them in combination, the whole is greater than the sum of the parts.
How to combine Spaces and Stage Manager
This isn’t about how to use spaces in the broadest sense, because there’s a lot to do and it’s all already been covered. Likewise, it’s not a deep dive into Stage Manager, as that’s already been done – and it’s still subject to change with the release of macOS Ventura.
Instead, it’s about how to use them together. To see the benefits, however, you need to know what each is for.
Spaces are used to separate jobs
If you haven’t come across it yet – and Apple isn’t even pointing it in your face – then you’ll need to see Spaces in action to get it. Swipe up with three fingers on the trackpad or mouse, and then there’s a plus sign in an expanded menu bar in the top-right corner.
Click on it and you have created a new space. Switch between these rooms by:
- Open Mission Control, then click on a Space thumbnail
- Hold down the Ctrl key and tap the left or right arrow
- Swipe left or right with three fingers
- Drag a document or Finder window to the edge of the screen
- If you enable it in System Preferences, you can switch spaces with a keystroke

Even with an ultrawide monitor, you can use different spaces (above) to switch between jobs
The need to enable the keypress option – so you can press Control-1, Control-2, etc. to switch to different Spaces – is another sign that this isn’t meant for everyone. While Stage Manager is publicly available and comparatively high profile, Spaces on its own is rather opaque.
However, to set up these keystrokes for Spaces on macOS Monterey or earlier, you must first set up at least one Space.
- Open Mission Control and click on the plus sign on the far right
- Close Mission Control
- Open settings, keyboard
- Choose abbreviations
- From the list on the left, click mission control
- From the options that appear on the right, scroll down to mission control
- Click the disclosure triangle for more options
- Where is Switch to desktop 1click in the field on the right and type a new keystroke
- Repeat for every other space you have
Spaces is difficult to explain to new users, and its limitations don’t help that. For example, you can’t name rooms, and it’s awkward to arrange apps or documents in different positions but then remember those positions.
Stage Manager is used to handle many windows in one task
Stage Manager is also now Apple’s main window organizing feature, and it’s also more visual than Spaces. Moving to a new space might be visual, but you need to know you can do it first. In comparison, Stage Manager is right in the Control Center.
Turn it on there and Stage Manager will rearrange all your open windows in the current Space. It also hides all desktop icons to get rid of annoying clutter and initially separates apps so it feels like you’re focusing on one at a time.
When you’re done with that app or document, you can click the vertical row of icons on the far left of the screen and switch to an application there. Switching means swapping in this case. and Stage Manager has a particularly fast and responsive animation when switching.
Not only does this animation look great, it makes it clear what’s happening – you’re parking one app and bringing another to the front. You mentally switch between jobs.
You can extend Stage Manager to not just check in and check out a single app or document, but to have a group of them. Let two or three apps jump forward and fall back when you need them.
Apple is loudly touting this as a solution for people who use a lot of different apps. What Apple doesn’t mention is that you can use Stage Manager right alongside Spaces.
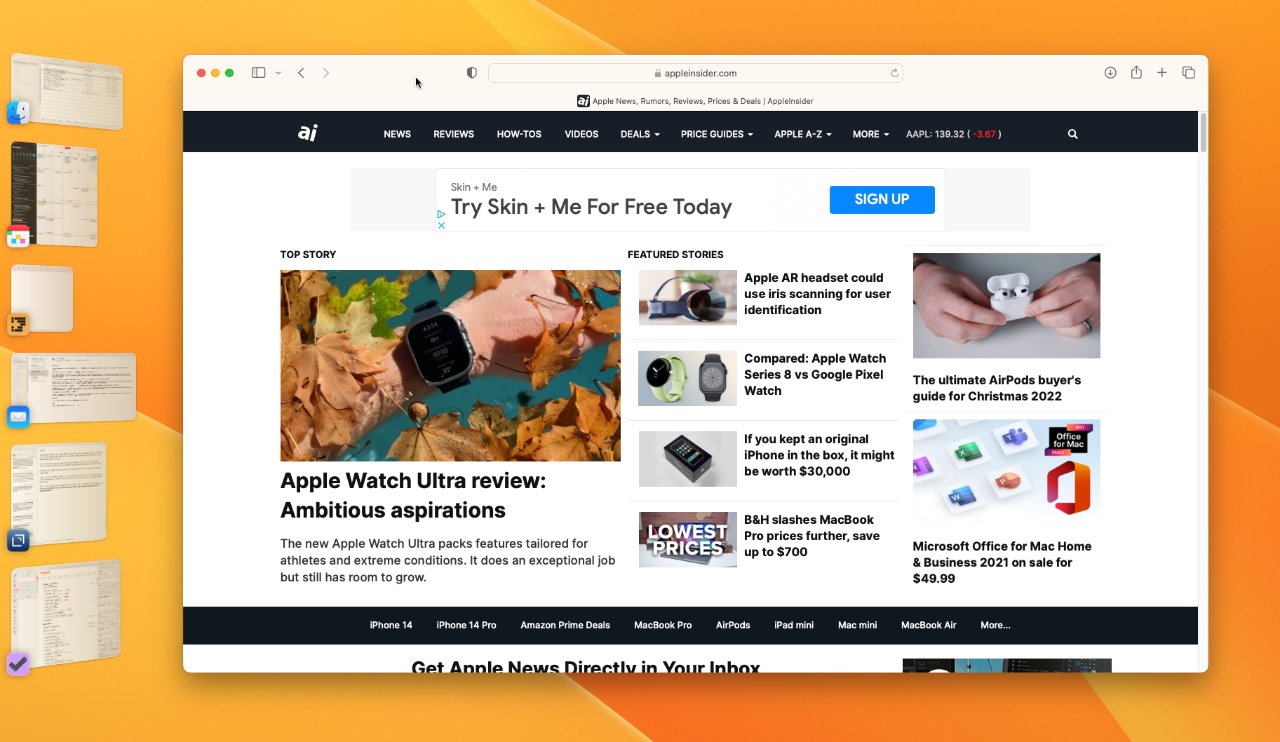
Stage Manager moves quickly between apps, but you’re limited to just six slots in that column on the left
Sharing Spaces and Stage Manager
The fact that they’re working together is probably less a conscious plan on Apple’s part and more because Spaces is so deeply embedded in macOS that it works with everything.
It might work too well with Stage Manager though. It would be nice if you could use Stage Manager in one Space and have your regular desktop in another, but that’s not possible.
When you enable Stage Manager for one Space, you enable it for all. No matter how many Spaces you set up, Stage Manager works in all of them – and shows you different collections of apps.
This is potentially very useful as both Stage Managers and Spaces have certain limitations. In the case of Spaces, it’s a generous limit – you can have up to 16 different Spaces.
The Stage Manager is more about how much you can reasonably see at once. Besides the current app in the middle of your screen, you can have up to six slots in the Stage Manager column on the left.
Each slot is initially an app, but you can group apps together and you can group documents together. However, there comes a point when you have so many that you spend more time clicking through to find what you’re looking for than you would have before Stage Manager.
So by combining these two Apple features, you have the advantage of being able to quickly access a great many apps while clearly seeing what they all are. You could stick with just one app per slot and then, in combination with the maximum of 16 spaces, you would have 112 apps in front of you.
It’s not very likely you’ll ever need that many, but it’s a lot better than just having seven or juggling so many in Stage Manager that it becomes a chore.
And the purpose of both functions is to help you concentrate better. Combine the two and you have quick access to one set of tools, and then quick access to a completely separate set of tools, just a swipe or keypress away.