How to Create a Ballet Bun
The perfect ballet bun is hard to come by. Whether you’re a dancer or a casual fan of the elegant look, a good ballet bun tutorial is key to creating this classic style. And with balletcore trending on social media right now, it makes sense that this bun style is in demand now more than ever. Below we have the perfect ballet bun tutorial and the best products to buy to help you create the look!

(Image source: Getty)
How to make a ballet bun
Creating a ballet bun at home looks a little different for every hair type. In general, starting with hair that’s as straight as possible will help you achieve the classic sleek ballet knot. However, if you like or are open to a slightly tousled, more natural version, then a little frizz or curls never hurt anyone.
Before you begin, get the tools you need. We recommend having the following items ready:
- hairbrush
- Comb, fine to medium teeth
- hair ties
- Hairspray and/or styling gel, depending on the level of hold your hair normally needs
- Hairpins (U-shaped pins) and bobby pins
- Hair net or accessories of your choice
Step 1: Brush out your hair.
It’s always good to start the ballet bun process by brushing out your hair. If smoothness is your end goal, focus on brushing your hair back and away from the face as smooth as possible. If you’re struggling with frizz or an unruly hairline, a little gel applied to those areas can help smooth and hold unwanted flyaways.
Step 2: Fasten into a ponytail.
A properly secured ponytail is the foundation of a good ballet bun. Pull your hair back into a ponytail at the height of your choice as smoothly as possible and secure with an elastic band. At this point, use the comb to smooth down any areas on the top that may have shed or are starting to stick out. It is best to do so before Go in the bun portion so you don’t have to start over.
Step 3: Twist the hair into a rope and wrap it.
Next, twist the length of your ponytail into as tight a rope as possible. Hold the base of your ponytail with one hand and twist the length with the other hand. The tighter the twist, the more secure the bun will feel. If you have thick or unruly hair, running water and some gel in your ends can help you twist and secure your length.
Once the hair is twisted, wrap the “rope” around the base of your ponytail in a circular motion and secure with bobby pins. U-shaped bobby pins will help secure the bun before using bobby pins to secure additional sections. Press the U pins down into the bun so the ends of the pins are pointing toward your scalp.
Step 4: Secure the remaining ends with bobby pins.
After securing the bun with U-pins, bobby pins come in handy for added security. Tuck any stray hair under the bun and secure it underneath the bun, uneven side down. If you have a thicker or thicker hair type, sometimes an extra elastic around the bun can add extra security.
Step 5: Spray and you’re done.
Once you feel the bun is secure and will not fall off, do a shake test. Just wiggle your head like you normally would (no headbanging required) to see if the bun feels secure. When you’re happy, give your hair a good spritz of strong-hold hairspray, then top off your bun with a ballet-style hair net or accessory of your choice (or none at all). Voila! Bought ballet rolls.
Best ballet bun hair products
It’s no secret that some products are better than others when it comes to styling sleek looks and upstyles. Here are some of our favorite ballet bun hair products to guide you through the process at home.
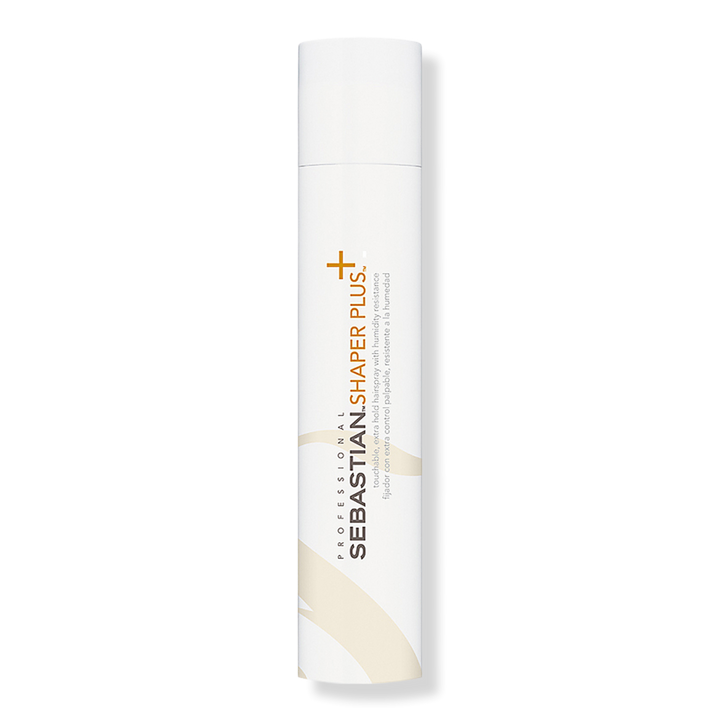
$22.50 at Ulta.com
More often than not, heavy-hold hairsprays tend to be flaky or crunchy. Not a good look for a slick ballet bun. But this powerful hairspray from Sebastian Professional is an exception. Preferred by professional stylists, this high-hold spray holds your look all day without leaving you feeling crusty or stiff.

(Image source: Ulta.com)
Eco style gel
$3.32 at Ulta.com
Who doesn’t love Eco Style Gel? Everyone’s favorite tub of gel has been helping us style our hair for… forever. Eco Style Gel comes in many different styles, but its affordable price and flake-free formula make it perfect for creating ballet buns on almost any hair type.

(Image source: Ulta.com)
U-shaped hairpins
$6.99 at Amazon.com
There’s a difference between bobby pins and bobby pins (see below), and bobby pins are an absolute must-have to secure your style. While bobby pins alone won’t hold your ballet knot on their own, they are essential when it comes to placing and holding hair while securing it with bobby pins. At $6.99 for 80 pins, you should probably snag them.

(Image source: Amazon.com)
Bun hairnets
$4.99 at Amazon.com
While the bun mesh isn’t necessary, it’s a big help when you’re aiming for the traditional ballet bun look. Also, it prevents flying hair and stray strands from escaping.

(Image source: Amazon.com)
High quality hair ties from Burly Bands
$10.16 at Amazon.com
A good, tight hair tie is easier to come by for heads with fine to medium hair. But for those with thick to ultra-thick textures, it’s not that easy. Get to know Burly Bands. Burly bands are the perfect accessory for those with thick hair trying to create a ballet bun hairstyle. Believe it or not, these bands are not only wider, they’re so much larger that they can be wrapped around your hair up to three times without hurting your scalp. Talk about security!
