
How to Improve the Quality of Your Smartphone Camera
If you’re like most people, you use your smartphone as your main camera, and there’s no shame in that. Many smartphones today take better photos than entry-level digital cameras did just a few years ago.
Still, there is a lot of room for improvement when it comes to the picture quality of your phone, especially if you plan to share photos with family and friends or post them on your social media accounts.
Here are 11 ways to ensure the photos you take with your smartphone camera come out clean, clear, and sharp.
1. Clean your lens
One of the most common causes of blurry or distorted images is taking photos with a smartphone with dirty lenses. When dust and other debris builds up on the lens, some of the light entering the lens is blocked, affecting the quality of your shots.
If you don’t clean your phone’s lens regularly, your shots will suffer in terms of clarity and color accuracy. An easy way to clean your camera lens is to use a dry microfiber cloth to remove any visible dust or dirt from the surface of the lens.
2. Adjust focus and exposure
The smartphone camera has many features that allow you to adjust focus and exposure on the fly. If your camera doesn’t have these features built in, try using a photo editing app like Snapseed, Lightroom for mobile, or Photoshop Express to make these adjustments.
The typical method of adjusting focus and exposure is to use a bar or slider at the bottom of the screen. Alternatively, you can zoom in or out and tap where you want that point to focus. Once you have focused on an object, take the picture.
3. Get better lighting
It’s much easier for a smartphone camera to take good photos in a well-lit area than in a dark environment. When shooting indoors, try setting up artificial lighting with a ring light, lamps, or incandescent bulbs.
If you are outside during the day, try to avoid direct sunlight. Direct sunlight can cause light from the camera lens to reflect back onto your photo (lens flare), causing glare or sparkles in the image.
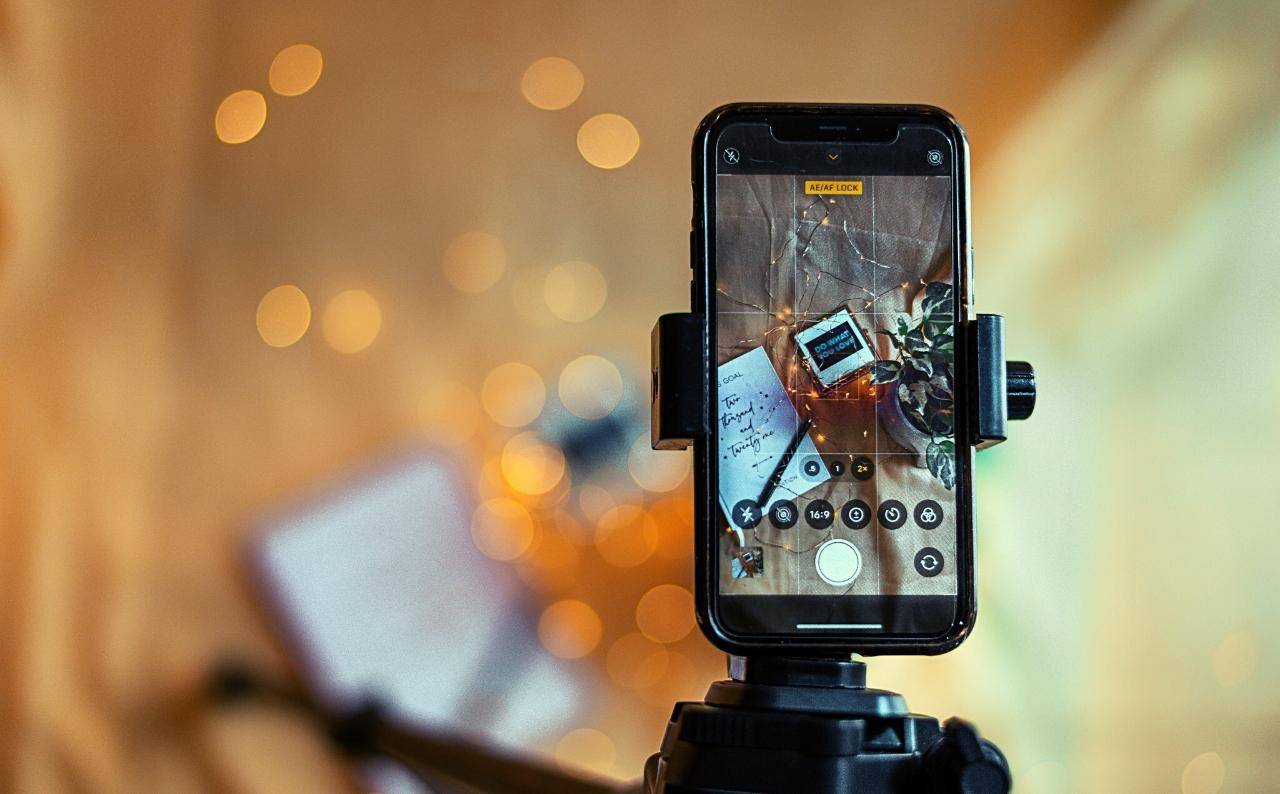
4. Stabilize your shot

A surefire way to take better photos is to keep your hands steady and avoid camera shake while shooting. If you’re trying to take a group photo, one person should be responsible for pressing the shutter while another person holds the phone as still as possible.
You can also use a tripod to keep things even more stable. If you don’t have a tripod, try something else like a wall, book, or table to steady your phone.
5. Don’t use the digital zoom
Smartphones typically have smaller resolutions than some of the more professional cameras available on the market. When you try to enlarge an image using the digital zoom, your photos may appear grainy, blurry, or pixelated. If you want to take a close-up shot with your iPhone or Android phone, get closer to the subject instead of using digital zoom.
6. Use the right camera lens

Most modern smartphones have multiple camera lenses, including a front-facing camera for selfies and video calls, an ultra-wide-angle lens for capturing landscapes, and a secondary rear camera for blurring the background in pictures. Knowing how and when to use these can help you capture great photos in a variety of indoor and outdoor environments.
7. Try shooting in RAW
JPEG is the most common digital image format. While it’s handy because it reduces file size and offers relatively good image quality when you’re shooting in less than ideal lighting conditions, shooting in RAW format means you get more data of the original photo.
This is beneficial for almost any type of editing that takes place in post-processing, such as: B. the color correction of an overexposed picture.
8. Install a third-party camera app
A third-party camera app can improve the quality of photos taken with the smartphone camera. For example, apps like Camera+ and Google Camera can provide features that a standard camera app doesn’t have. Installing Google Camera on your Android phone gives you access to features like Night Sight and Portrait Mode.
9. Apply the rule of thirds

The rule of thirds is a simple concept to help you compose your images. It’s based on the idea that dividing an image into nine equal parts forming a three-by-three grid creates visual interest.
You should place the main subject of your photo at these intersections or along the lines, ideally in the left or right third of the picture.
10. Get to know the functions of your camera
Knowing how your camera works is one of the first steps to improving any camera. Try to learn not only where the camera features are located, but also what each feature does.
One of the best ways to learn how to use your smartphone camera is to experiment with different settings. Understanding how shutter speed, ISO, and aperture can help you capture amazing photos that truly reflect your personal style is a good place to start.
11. Edit your recordings
You can improve the quality of your photos by editing them in any free or paid editing app. Editing apps let you adjust exposure, color saturation, sharpness and more to get the best shots.
If you’re looking for a free editing app, try Snapseed. This app can help you make dramatic changes and adjustments in just a few minutes.
You can use Snapseed to create a double exposure effect, remove red-eye, and add artistic effects to your photos. You can also correct wide angle distortions with the app’s perspective tool and sharpen your photo with the detail tool.
Take your smartphone photography to the next level
Smartphones have become part of our lives; In addition to communication, you can also use it to take photos. However, their camera quality is not perfect; Many people are unhappy with the results of their smartphone cameras.
This post describes how to improve the quality of your smartphone camera. From shooting in RAW to using a tripod, these tips should help you get better results from your smartphone camera. If all else fails, consider getting a digital camera.