How to install a dash cam: my first attempt, and what I learnt along the way
Dash cams. Not so long ago you’d only find one inside a truck or commercial vehicle, but with prices becoming ever more accessible, these days there’s little reason not to fit one in your car. And when you see the kind of crashes and near-misses captured on dashcam footage and uploaded to social media, it’s easy to see why having a video camera constantly recording what’s going on around you as you drive could be invaluable should the worst ever happen.
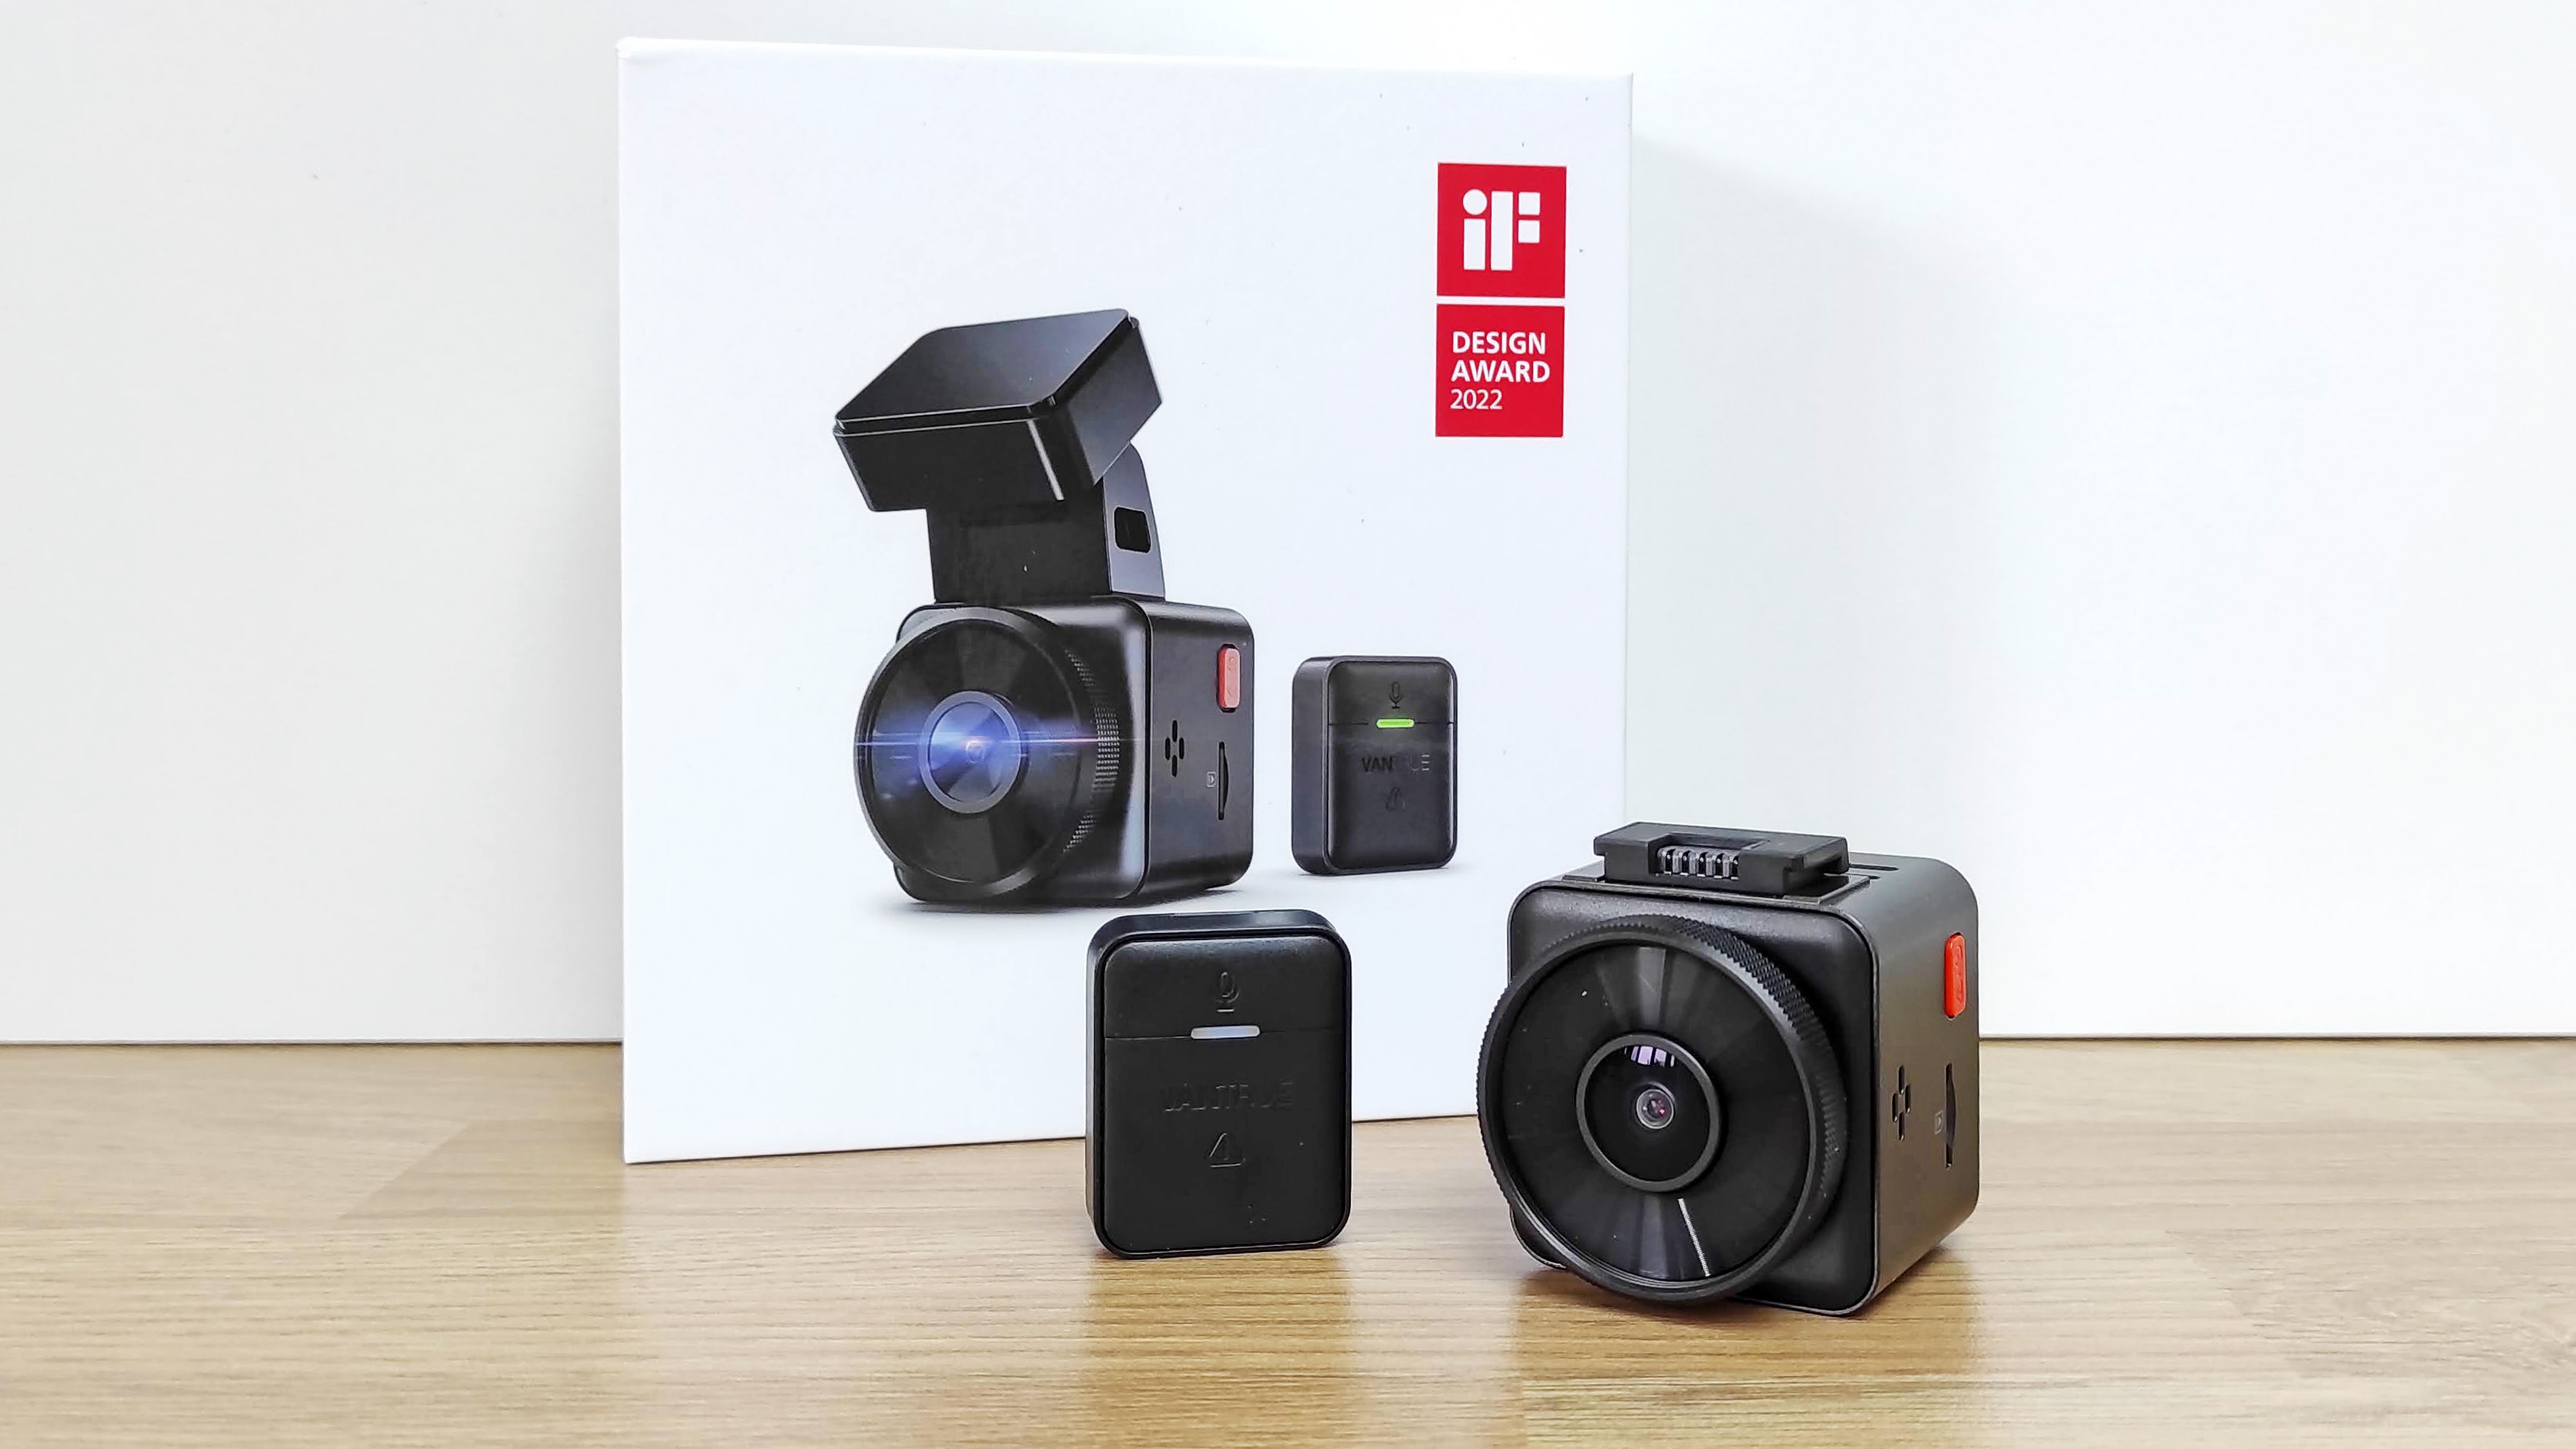
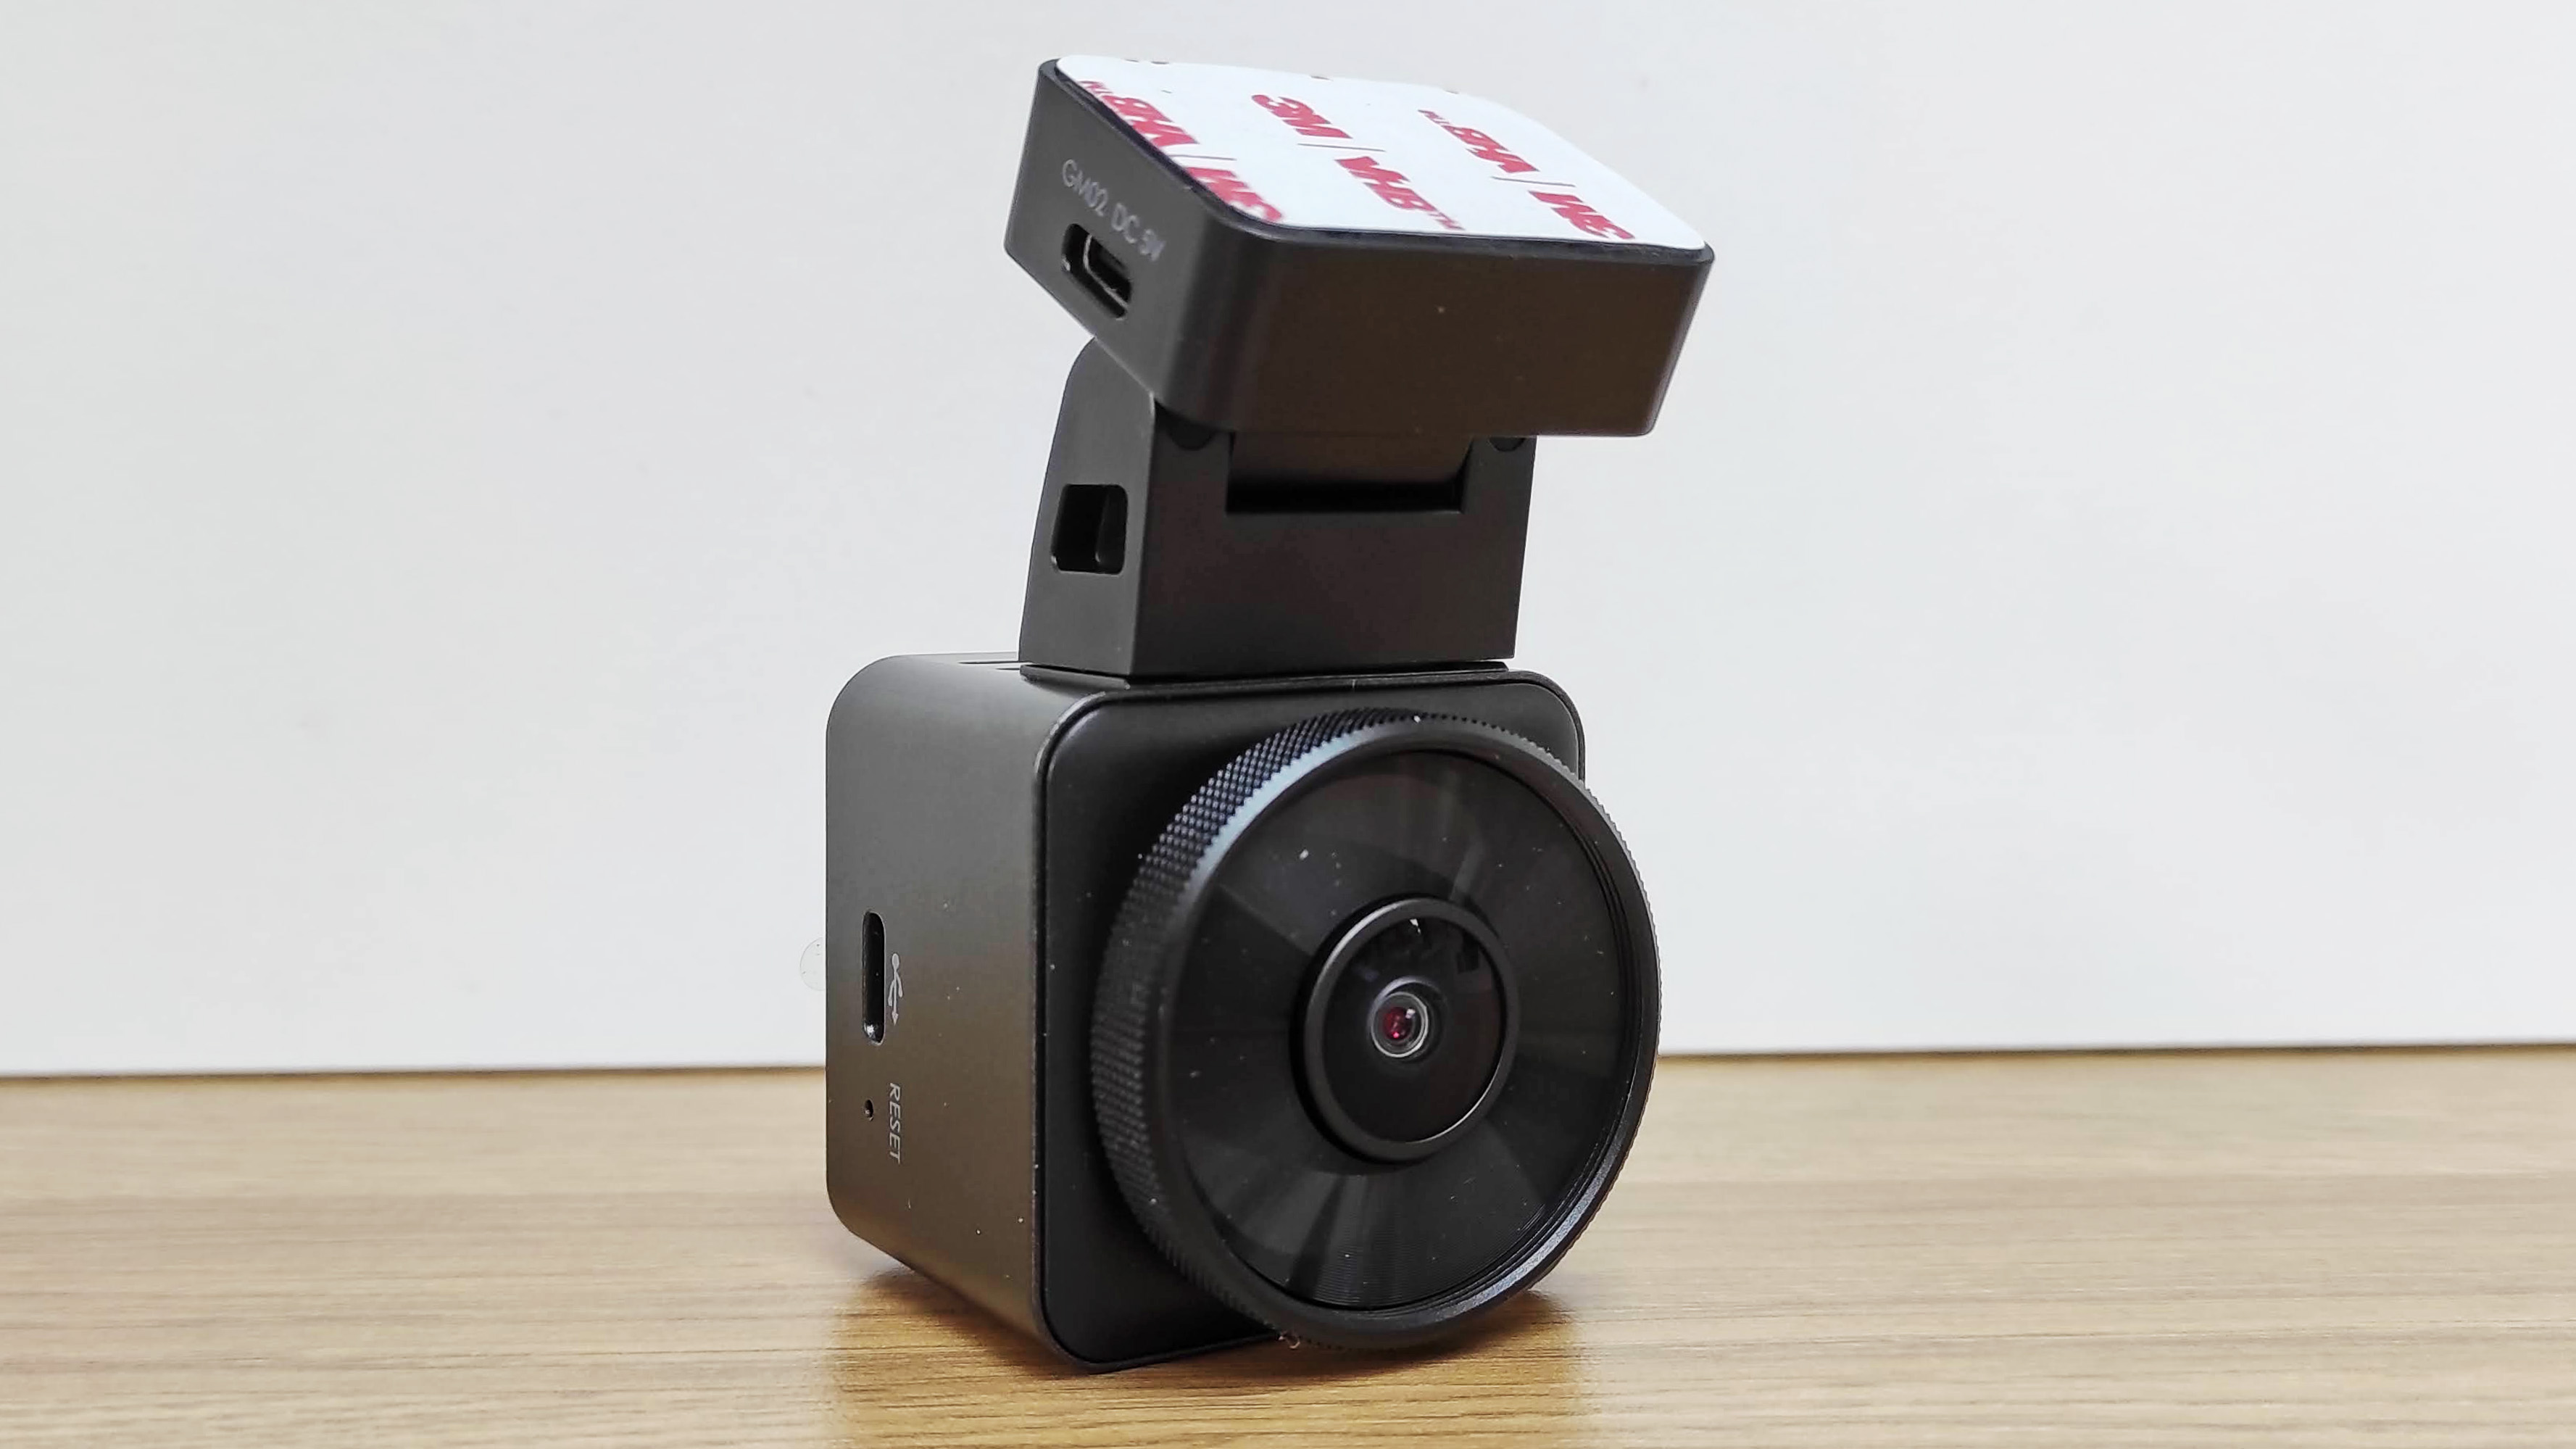
So when I was asked to review Vantrue’s latest dash cam, the E1, I jumped at the chance. Slight problem though: while I’m no stranger to DSLRs, mirrorless, compact and phone cameras; I’m a newcomer to dash cams. So let me share with you my first-hand experience installing and using a dash cam for the first time.

(opens in new tab)
1: Choose your dash cam
In my case this was easy – I was sent a dash cam to review, so that’s what I had to work with. In your case, you’d be best off checking out our tailor-made dash cam buyer’s guides to find the right model for your requirements and budget:
The best dash cams (opens in new tab)
The best budget dash cams (opens in new tab)
The best front and rear dash cams (opens in new tab)
(opens in new tab)
(opens in new tab)

(opens in new tab)
(opens in new tab)
With your dashcam chosen, don’t forget to order a microSD card if you need one. Even if yo do already have a card, it might not be fast enough to ensure smooth dash cam recording at high video resolutions and/or frame rates. Generally a card with a U3/V30 speed rating is preferable, in as large a capacity as you can afford. I went for a 256GB card, as this was a good price/capacity sweet spot.
The best microSD cards right now (opens in new tab)
2: Positioning the camera

(opens in new tab)
Choosing the right place to mount the dash cam is crucial. With some mounting systems, you may only get one shot at this, due to the extreme adhesion of their sticky pads. The camera obviously needs as good a view of the road ahead as possible, so mounting it high on the windscreen to get an elevated viewpoint is ideal, with the usual position of choice being somewhere close to the rear view mirror.
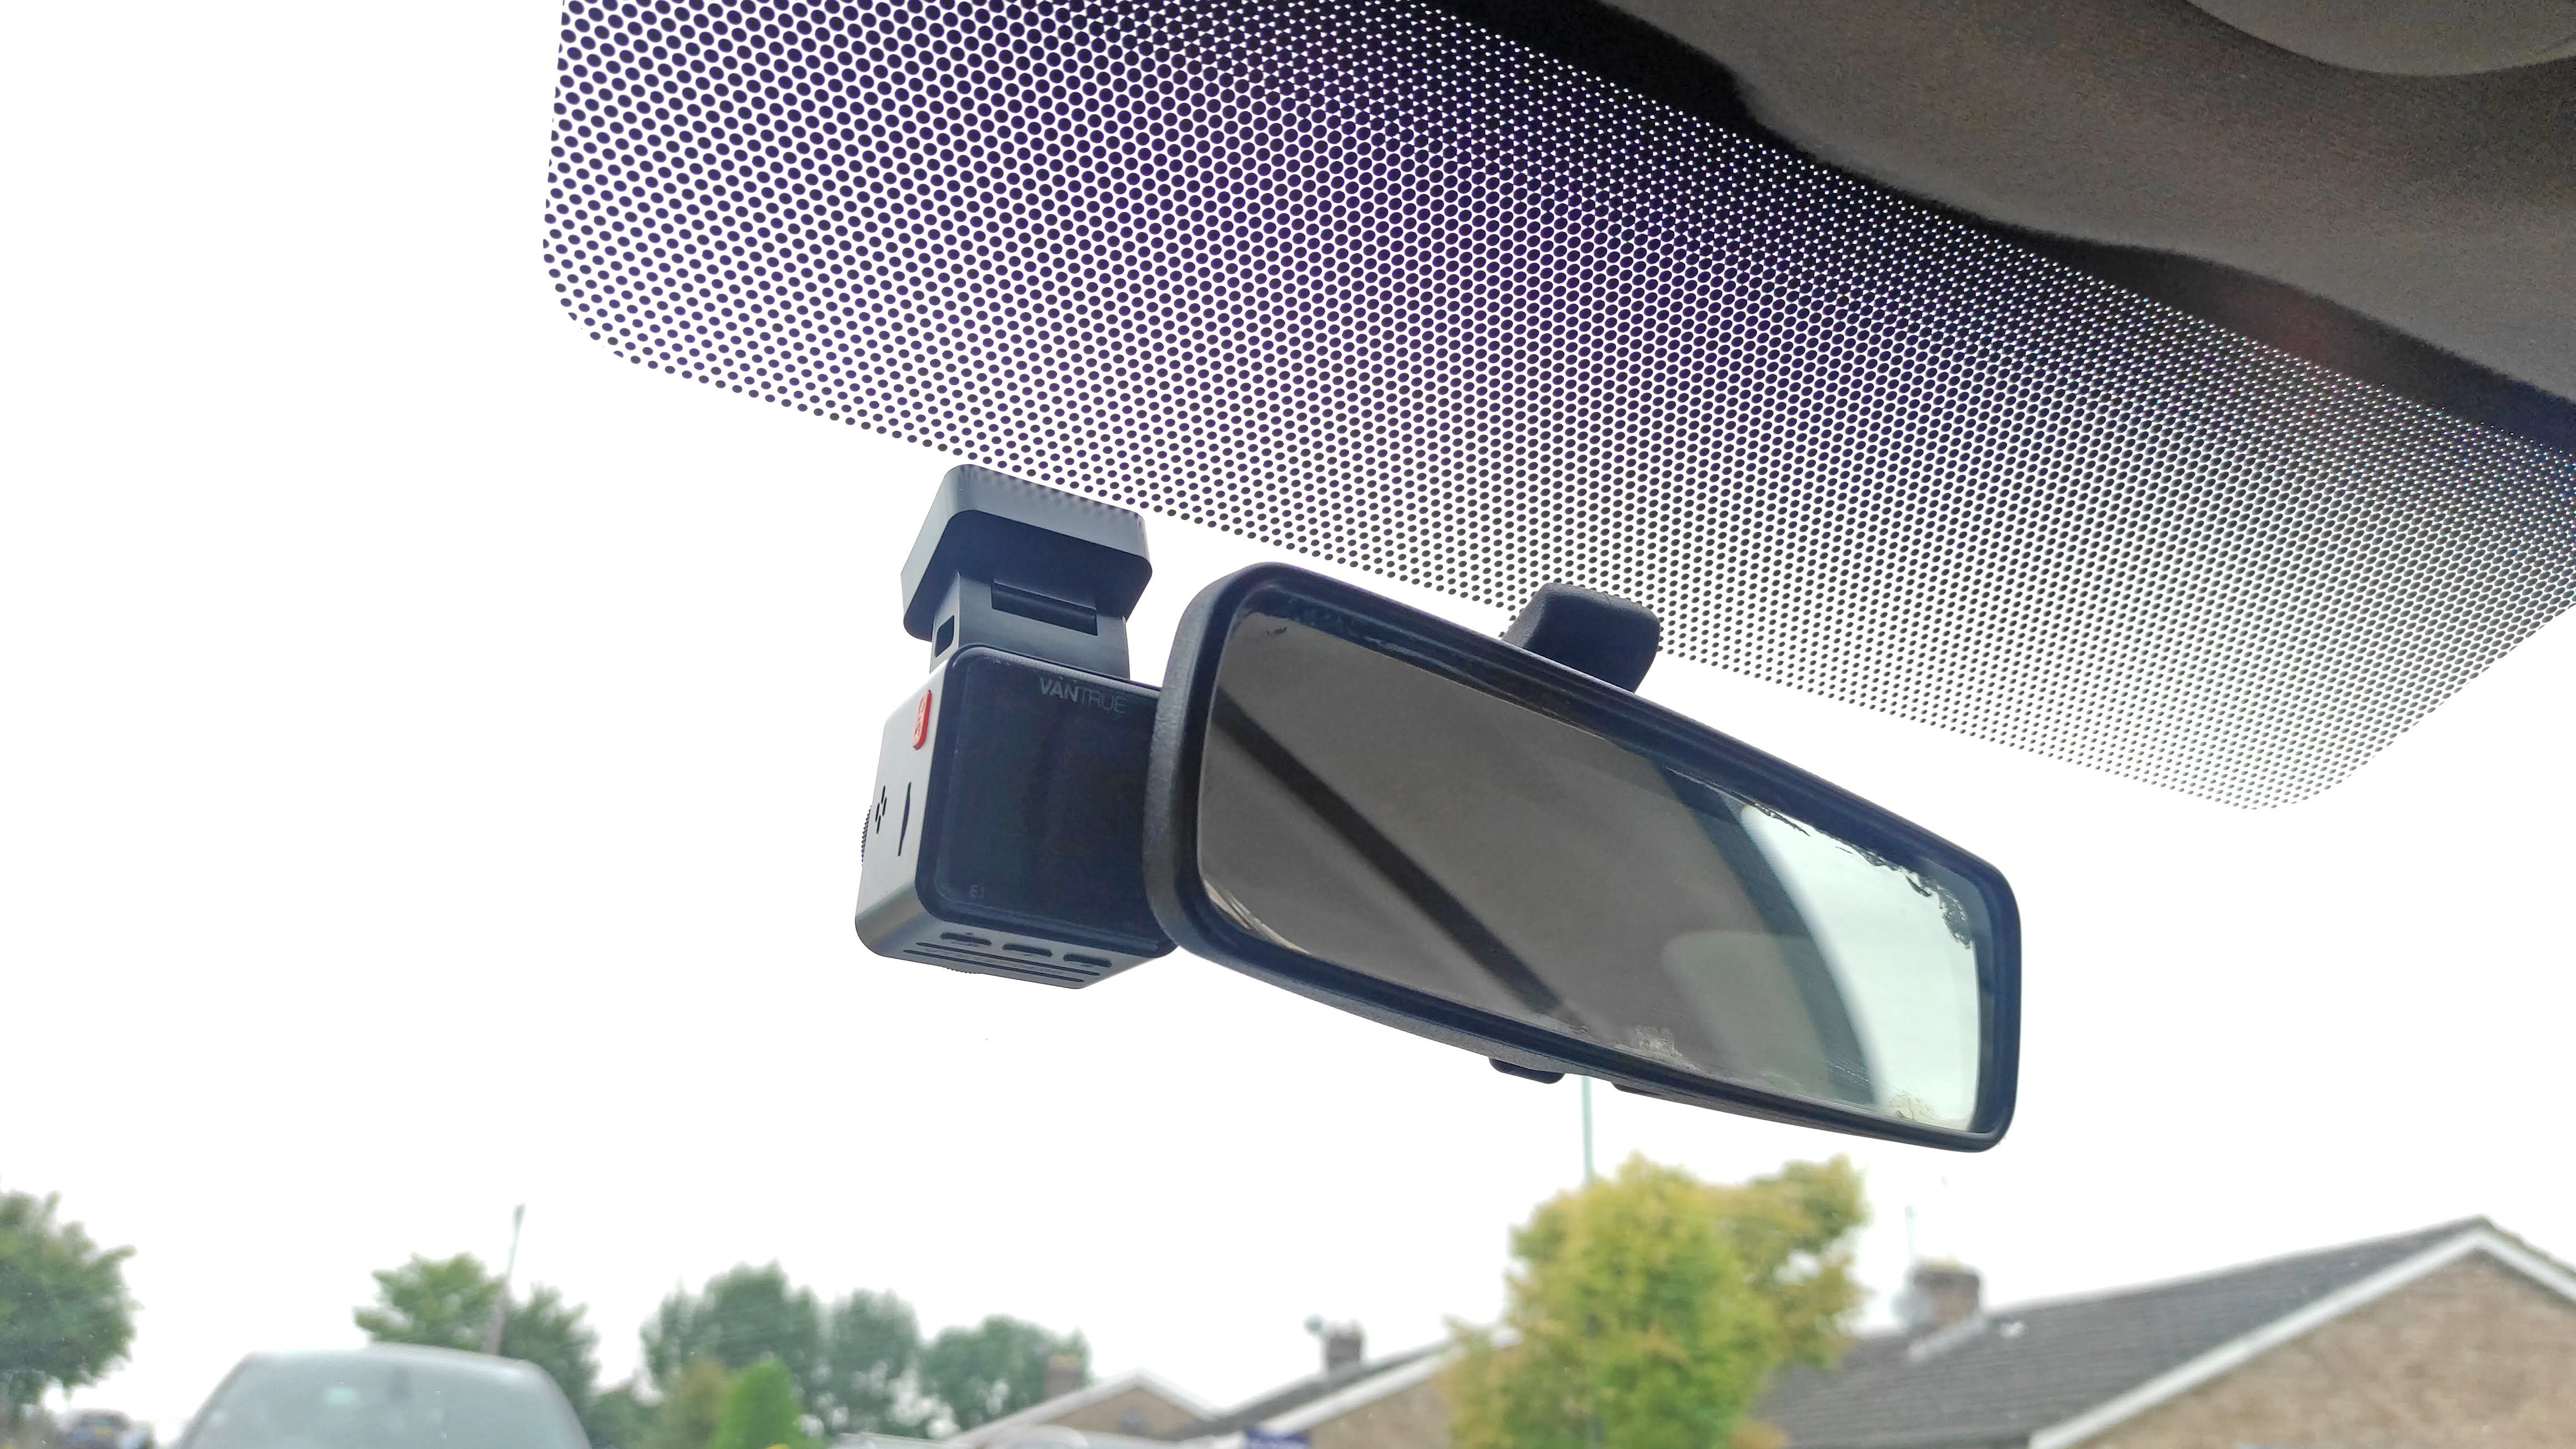
In my case, Vantrue’s installation instructions show the camera positioned alongside the rear view mirror, on the driver’s side. However, I felt this obscured my vision a little too much and could also be distracting. I instead opted to mount the camera on the passenger side of the mirror (I have a right-hand-drive car). From my driving position the camera is almost completely hidden by the mirror, and though that means I can’t see the camera’s rear screen without leaning across, I’m fine with that. Once set up, I want to leave the dash cam alone and just let it run in the background.
Whatever position you go with, I’d really recommend temporarily plugging in the dash cam’s power adaptor and firing up the camera itself. That way you can see exactly the field of view the dash cam will record, and adjust its positioning before it’s permanently stuck to your windscreen.
3: Attaching camera to windscreen
The procedure here will vary depending on your dash cam. The likely fixing methods will be a super-sticky adhesive pad, or a suction mount. Whatever the method, cleaning the area of the windscreen where the dash cam will mounted is essential. I used some isopropyl alcohol on a cloth, but any window cleaner would likely be fine.

(opens in new tab)
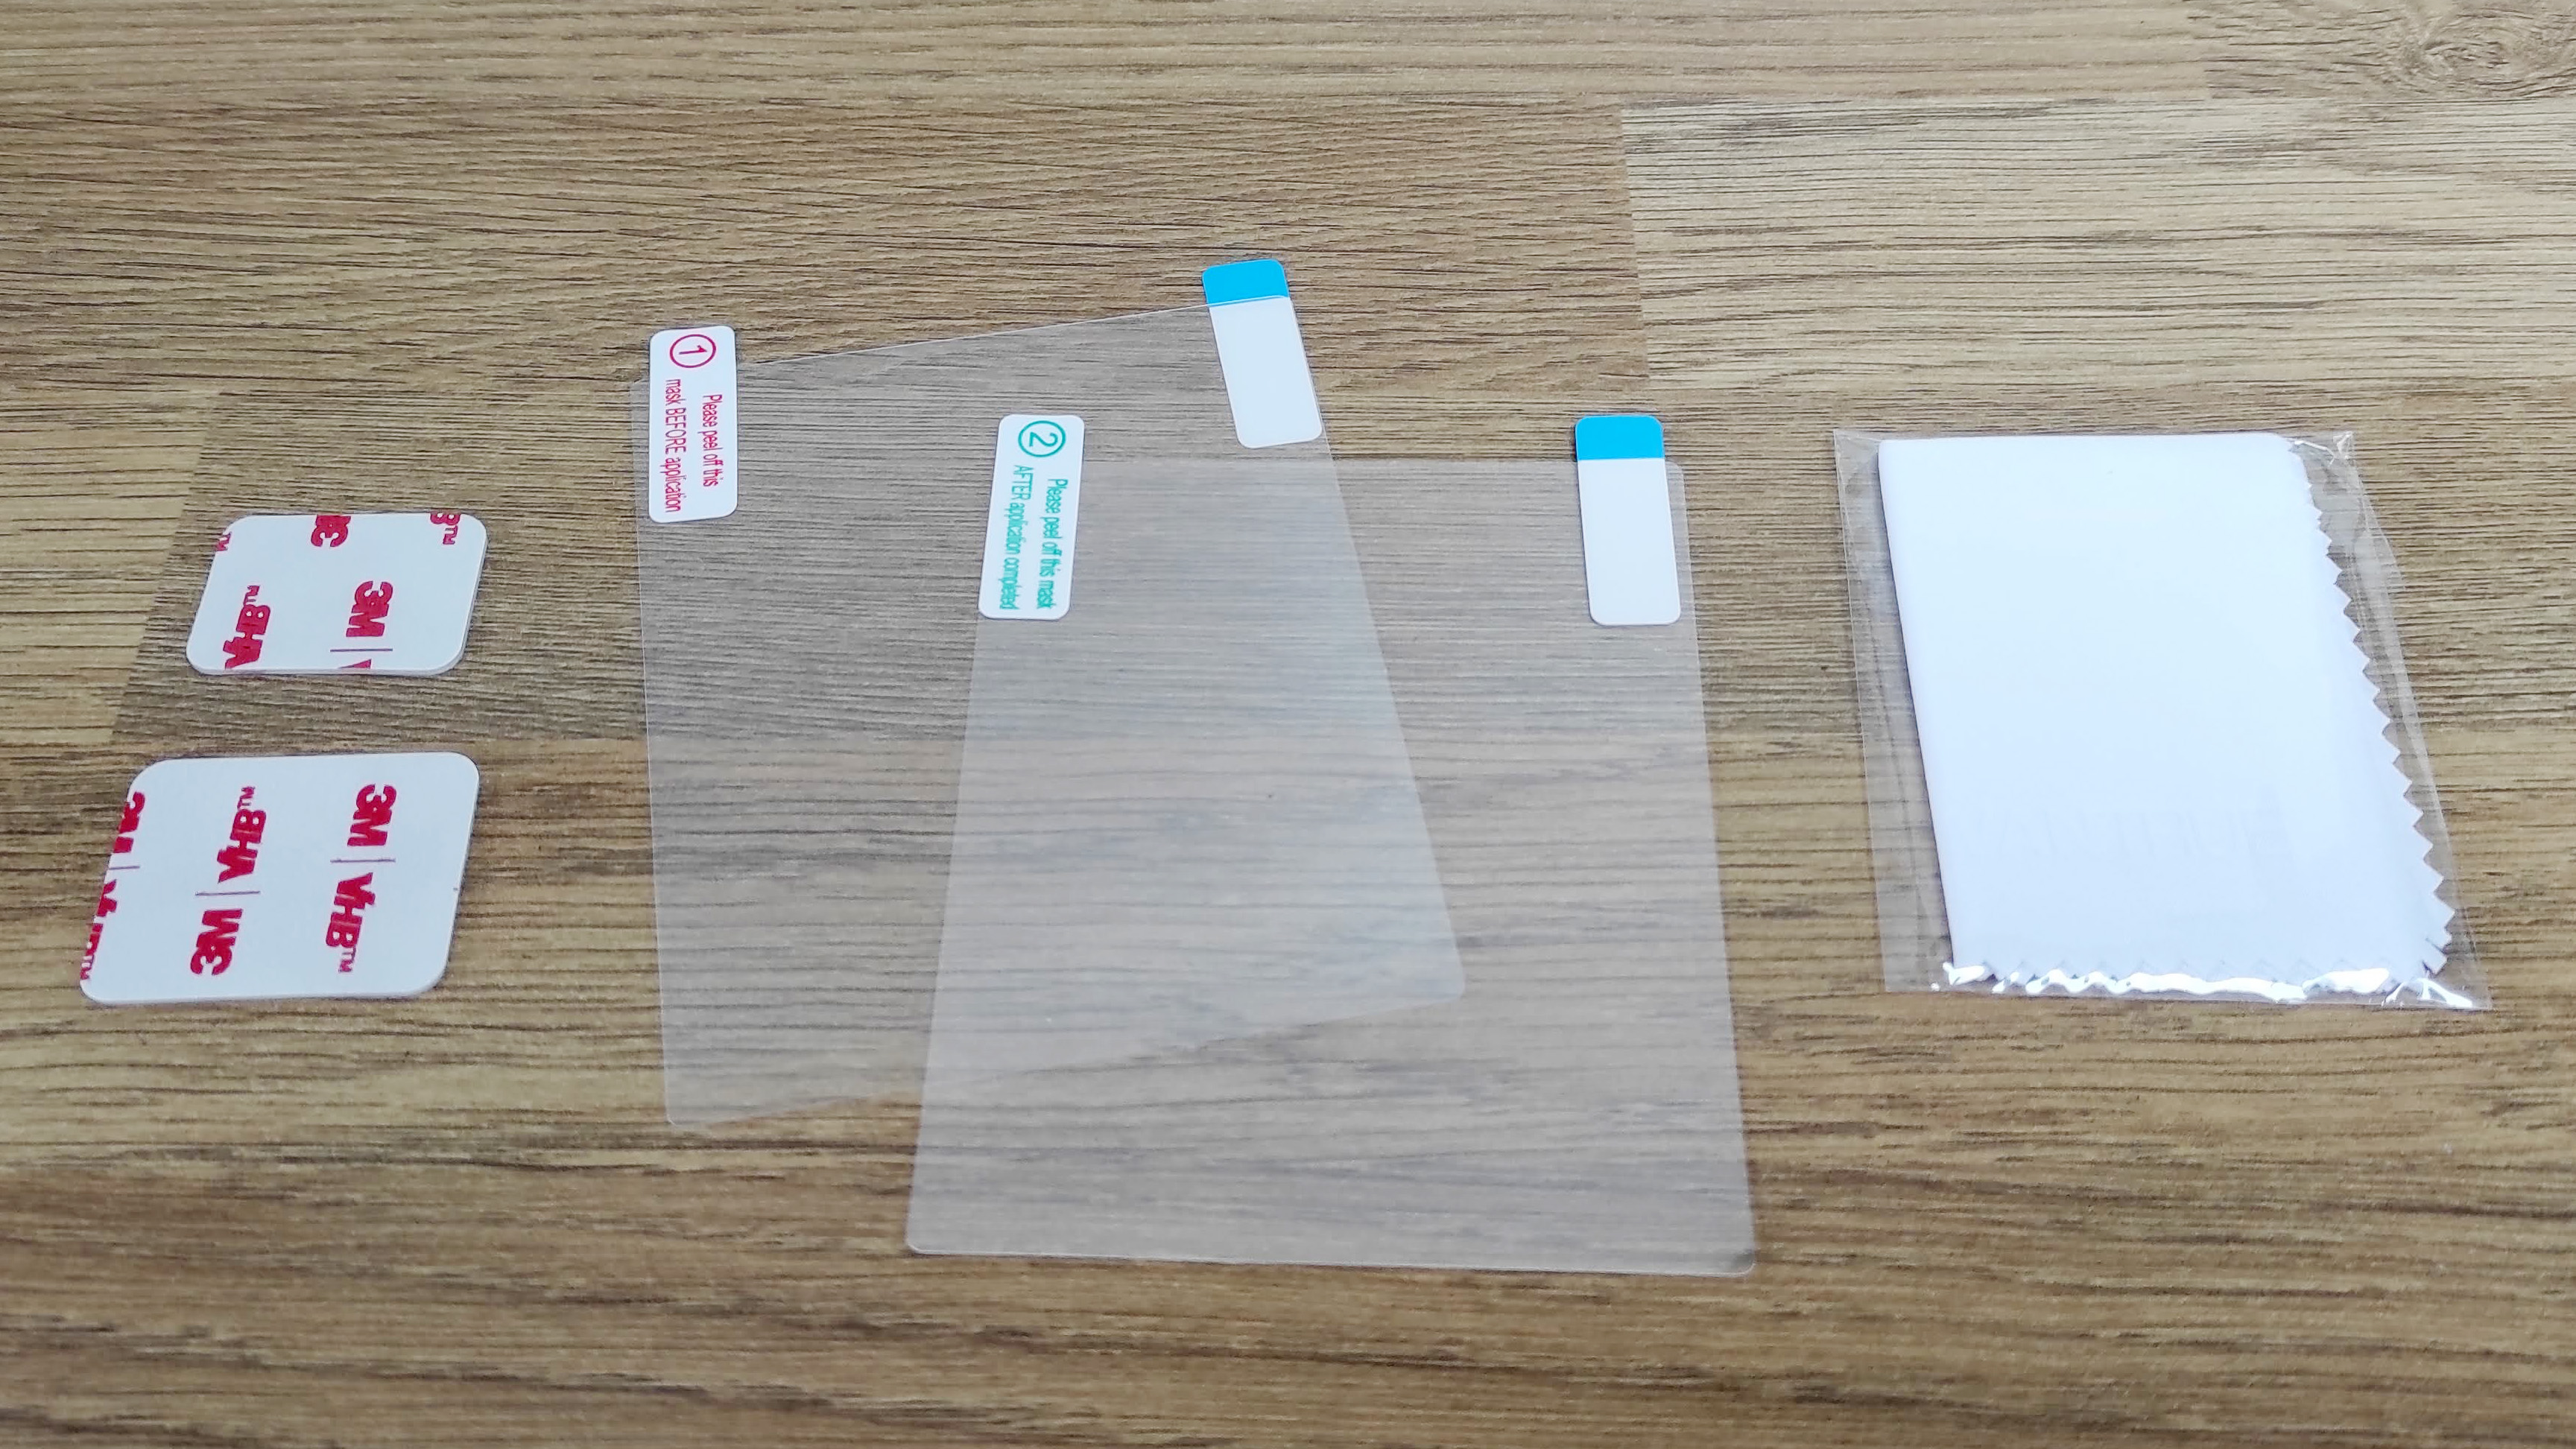
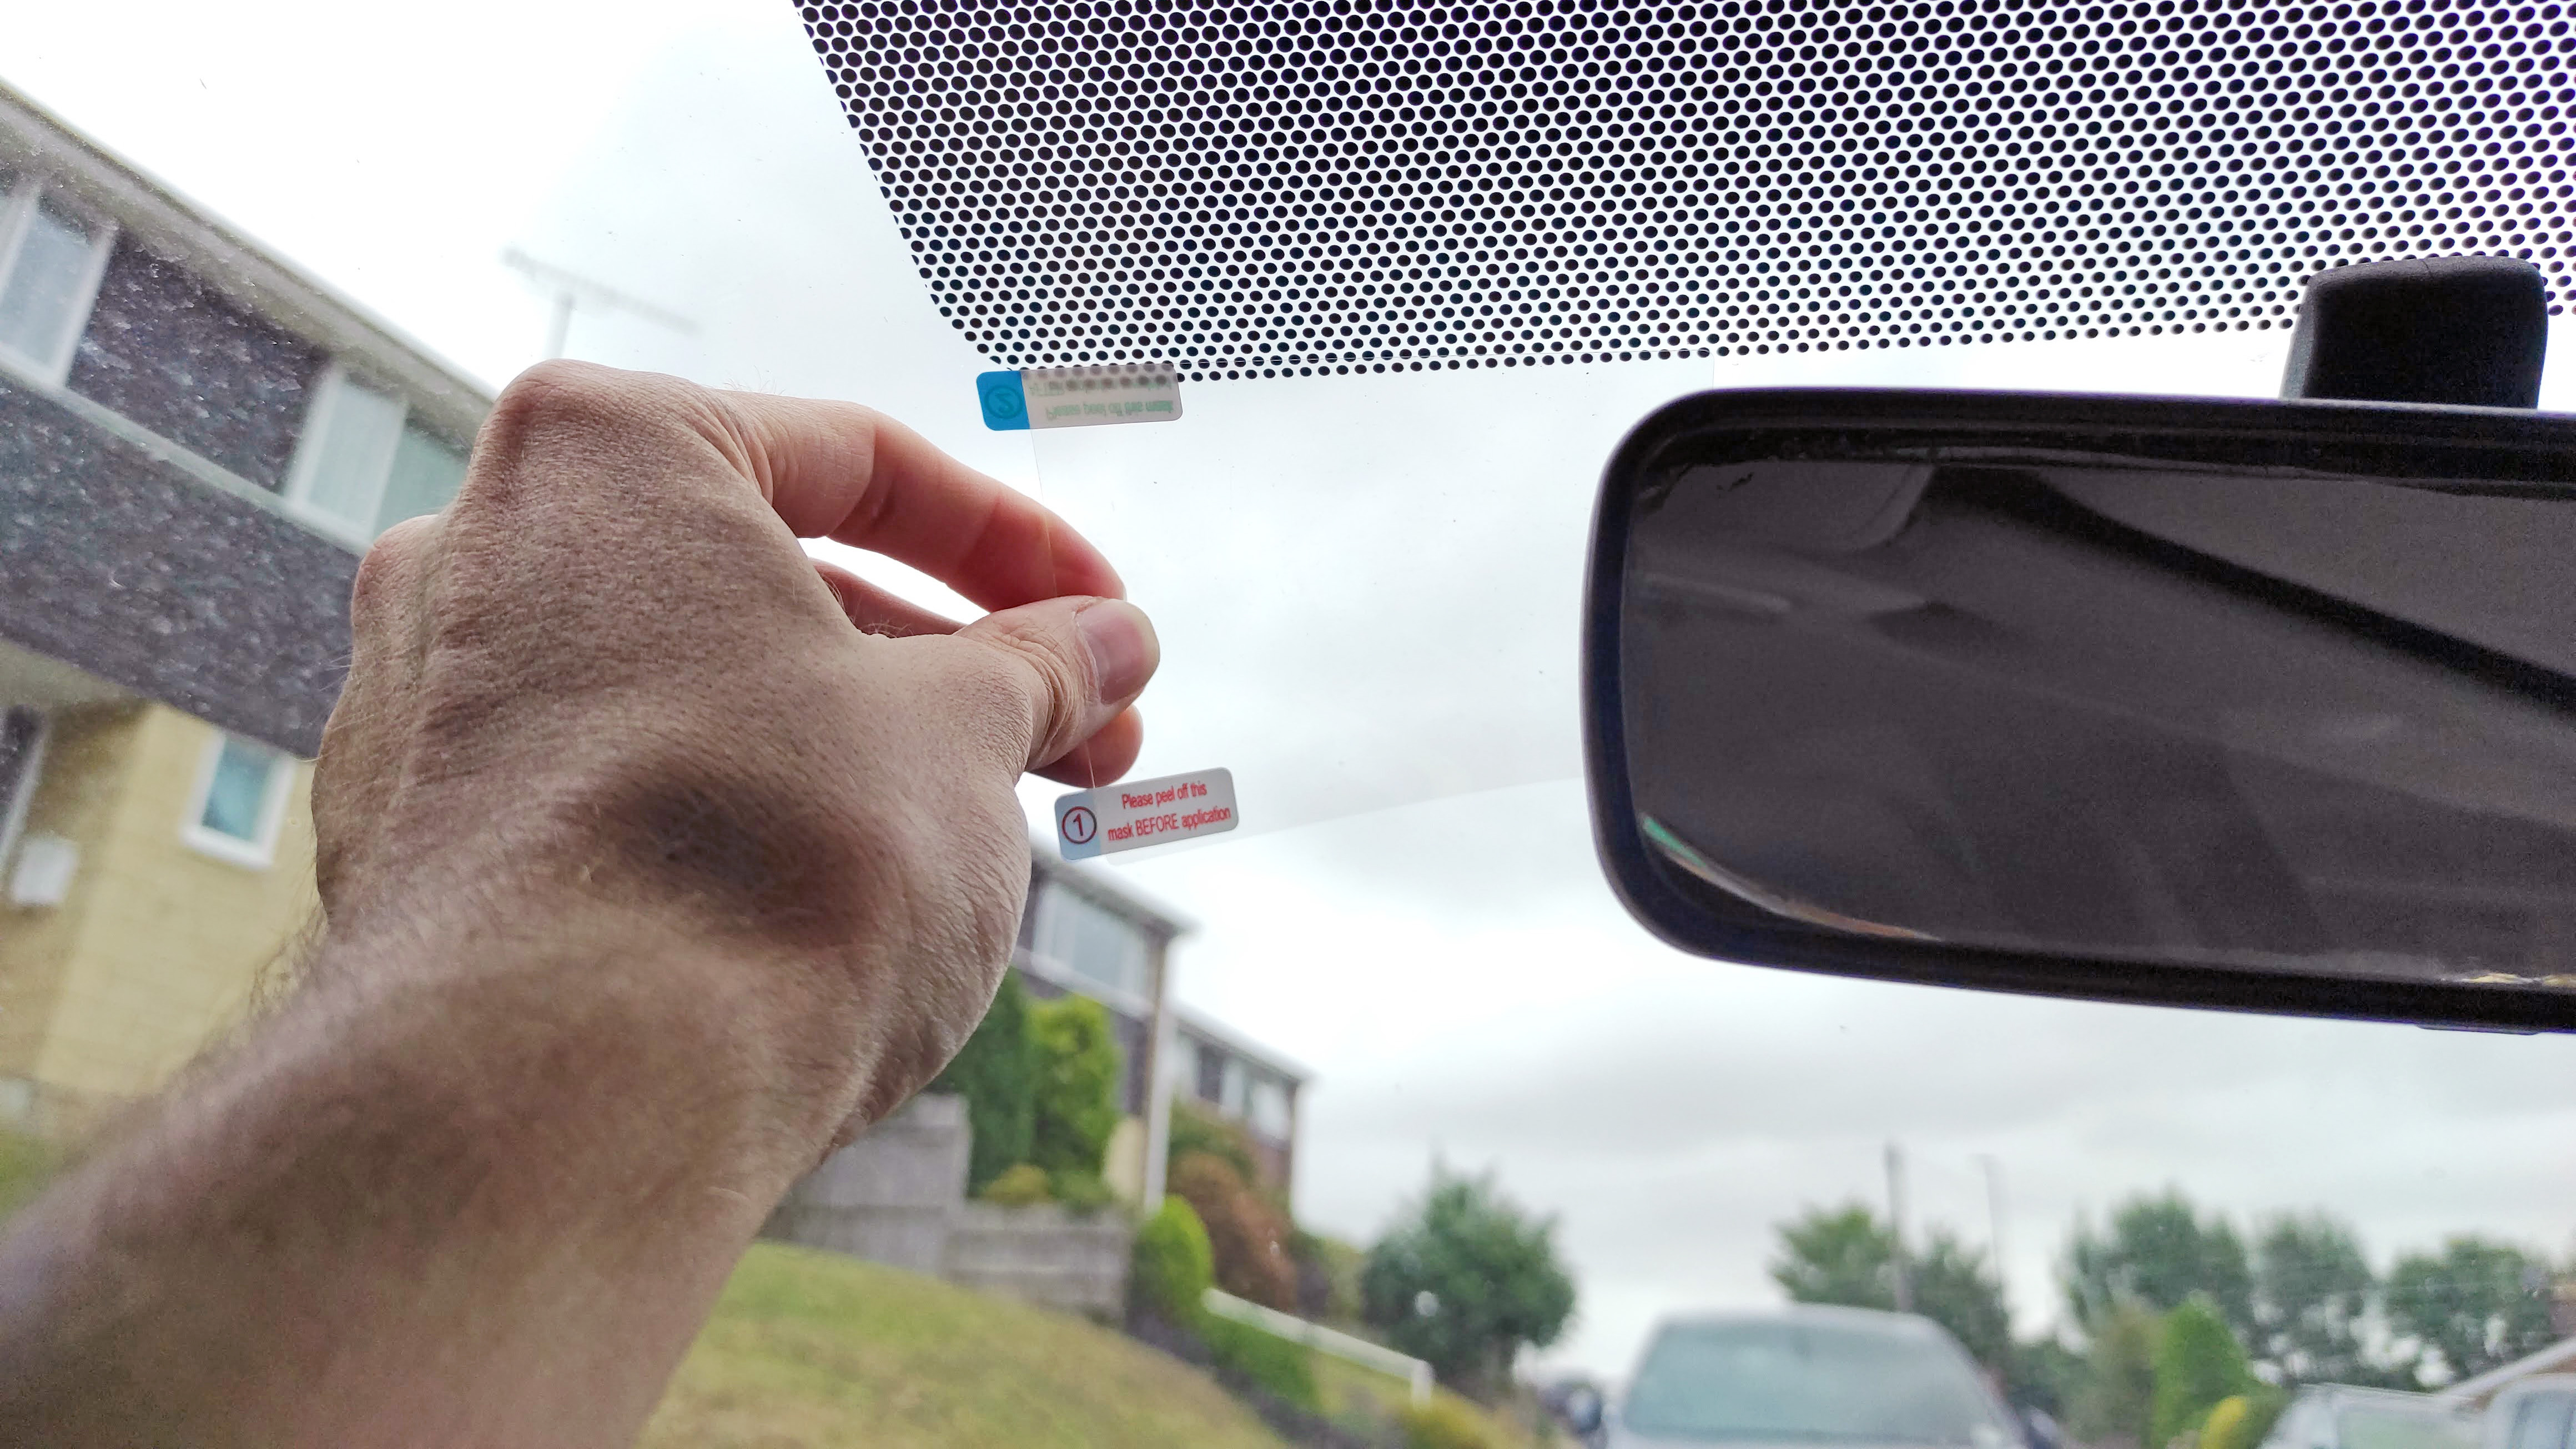
The Vantrue E1 dashcam attaches to the windscreen using a sticky pad, but Vantrue also provides what it calls an ‘electrostatic sticker’ for you to stick on the windscreen, with the dash cam mount then attaching to that sticker. The theory being that the special surface of the sticker allows the mount to be removed and repositioned, should you need to adjust the camera’s viewing angle in future.
(opens in new tab)
Applying this electrostatic sticker uses the same procedure as a traditional phone screen protector: remove the protective film from the sticky side, apply the sticker carefully so as to avoid air bubbles, then peel off the protective film from outward-facing side.

(opens in new tab)
So there you have it: one dashcam, stuck to a windscreen. But now the camera needs a power source…
(opens in new tab)
3: Route the power cable
Whatever your dash cam, it’s going to need a power source. Some dash cams can be hard wired so they draw power straight from your car’s electrical system without needing to plug into a USB or 12v outlet. But the easiest – and most common – way is to plug the camera’s power adaptor into your car’s 12v/cigarette lighter socket.
However, even with this easily accessible power outlet, routing the cable neatly around the windscreen and across/through your dashboard will inevitably be the most time-consuming part of the entire dash cam installation.
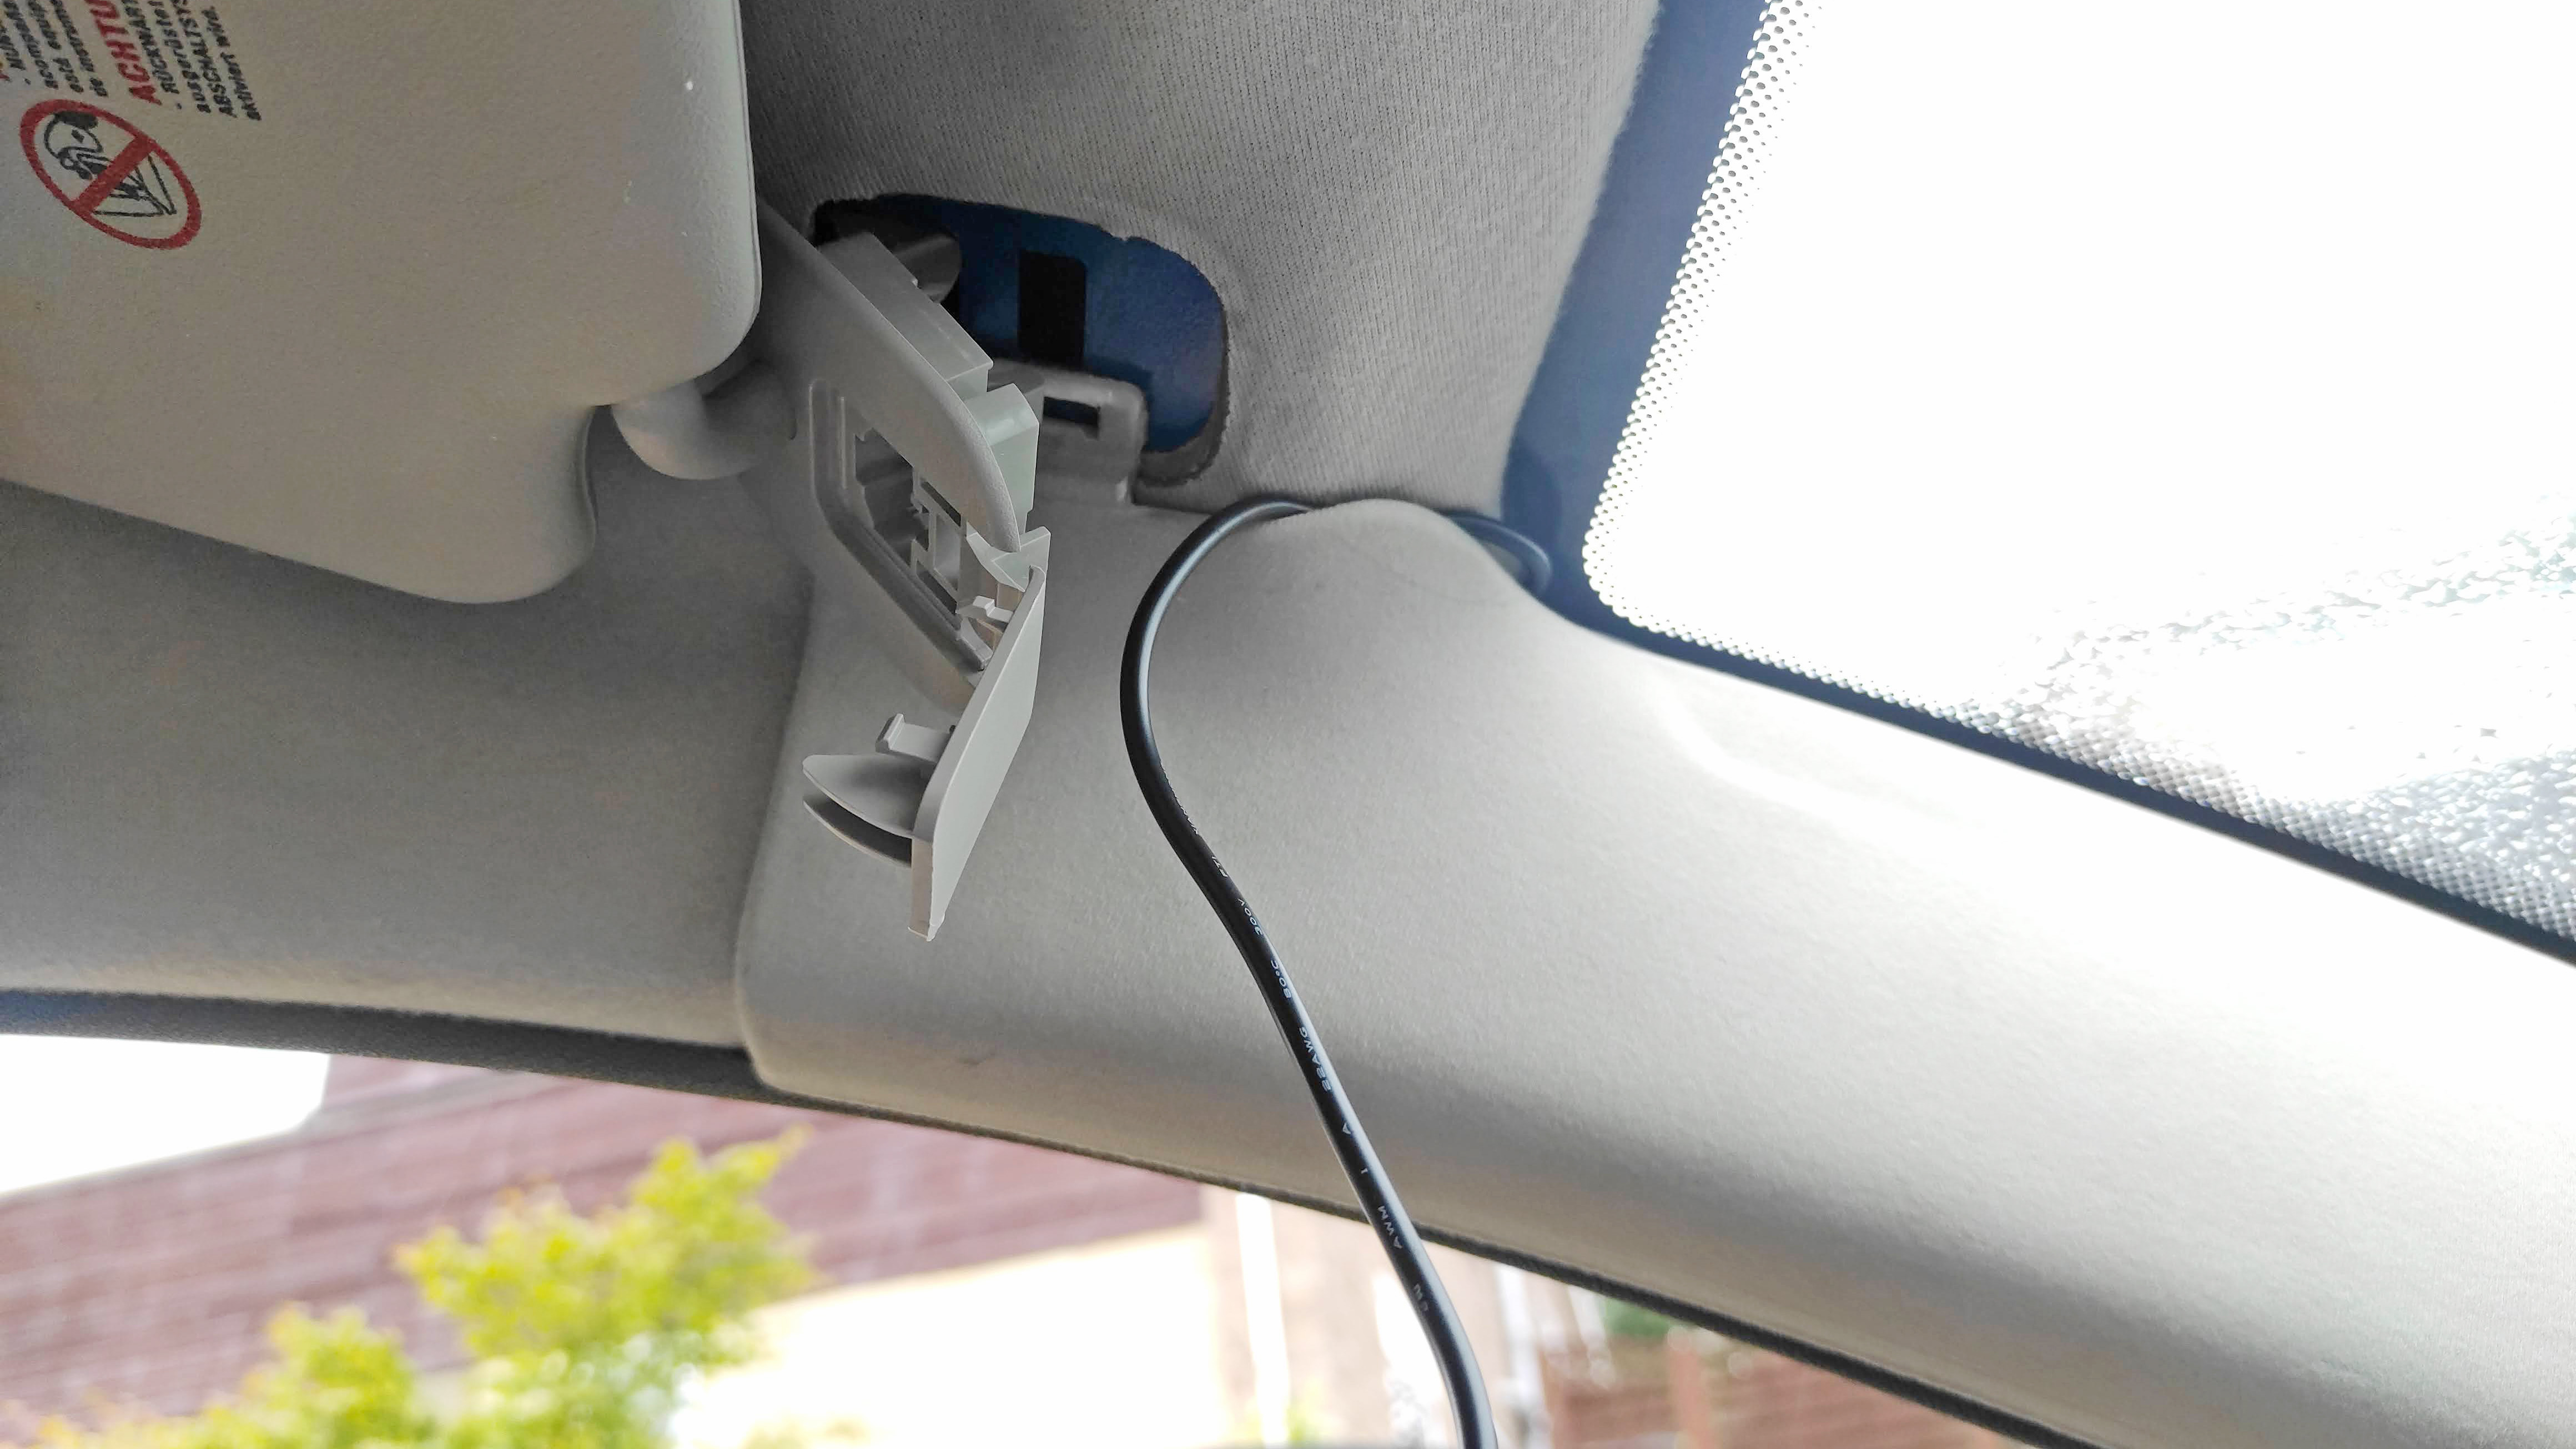
How time-consuming depends largely on how well you want to conceal the cable. Routing it around the windscreen really requires it to be tucked behind the headliner and A-pillar trim, as you don’t want the cable to hang down and obscure your vision. However, I also wanted to hide the cable for its route between the base of the A-pillar and the 12v socket, located just ahead of the gear shifter on my car. This meant removing some interior trim panels from the dashboard in order to conceal the cable behind them. A few zip ties secured the cable in place.

(opens in new tab)
Having just attached the dash cam itself, the temptation is to plug the power cable into the camera and route the cable down to the power outlet. DONT!
If like me you want to hide the cable as much as possible, it’ll invariably need to be threaded through various small gaps and holes within the dashboard. It’s at this point I found out that bulky 12v power adaptor plug permanently fixed to the end of the cable was far too big to route through the dashboard as planned.
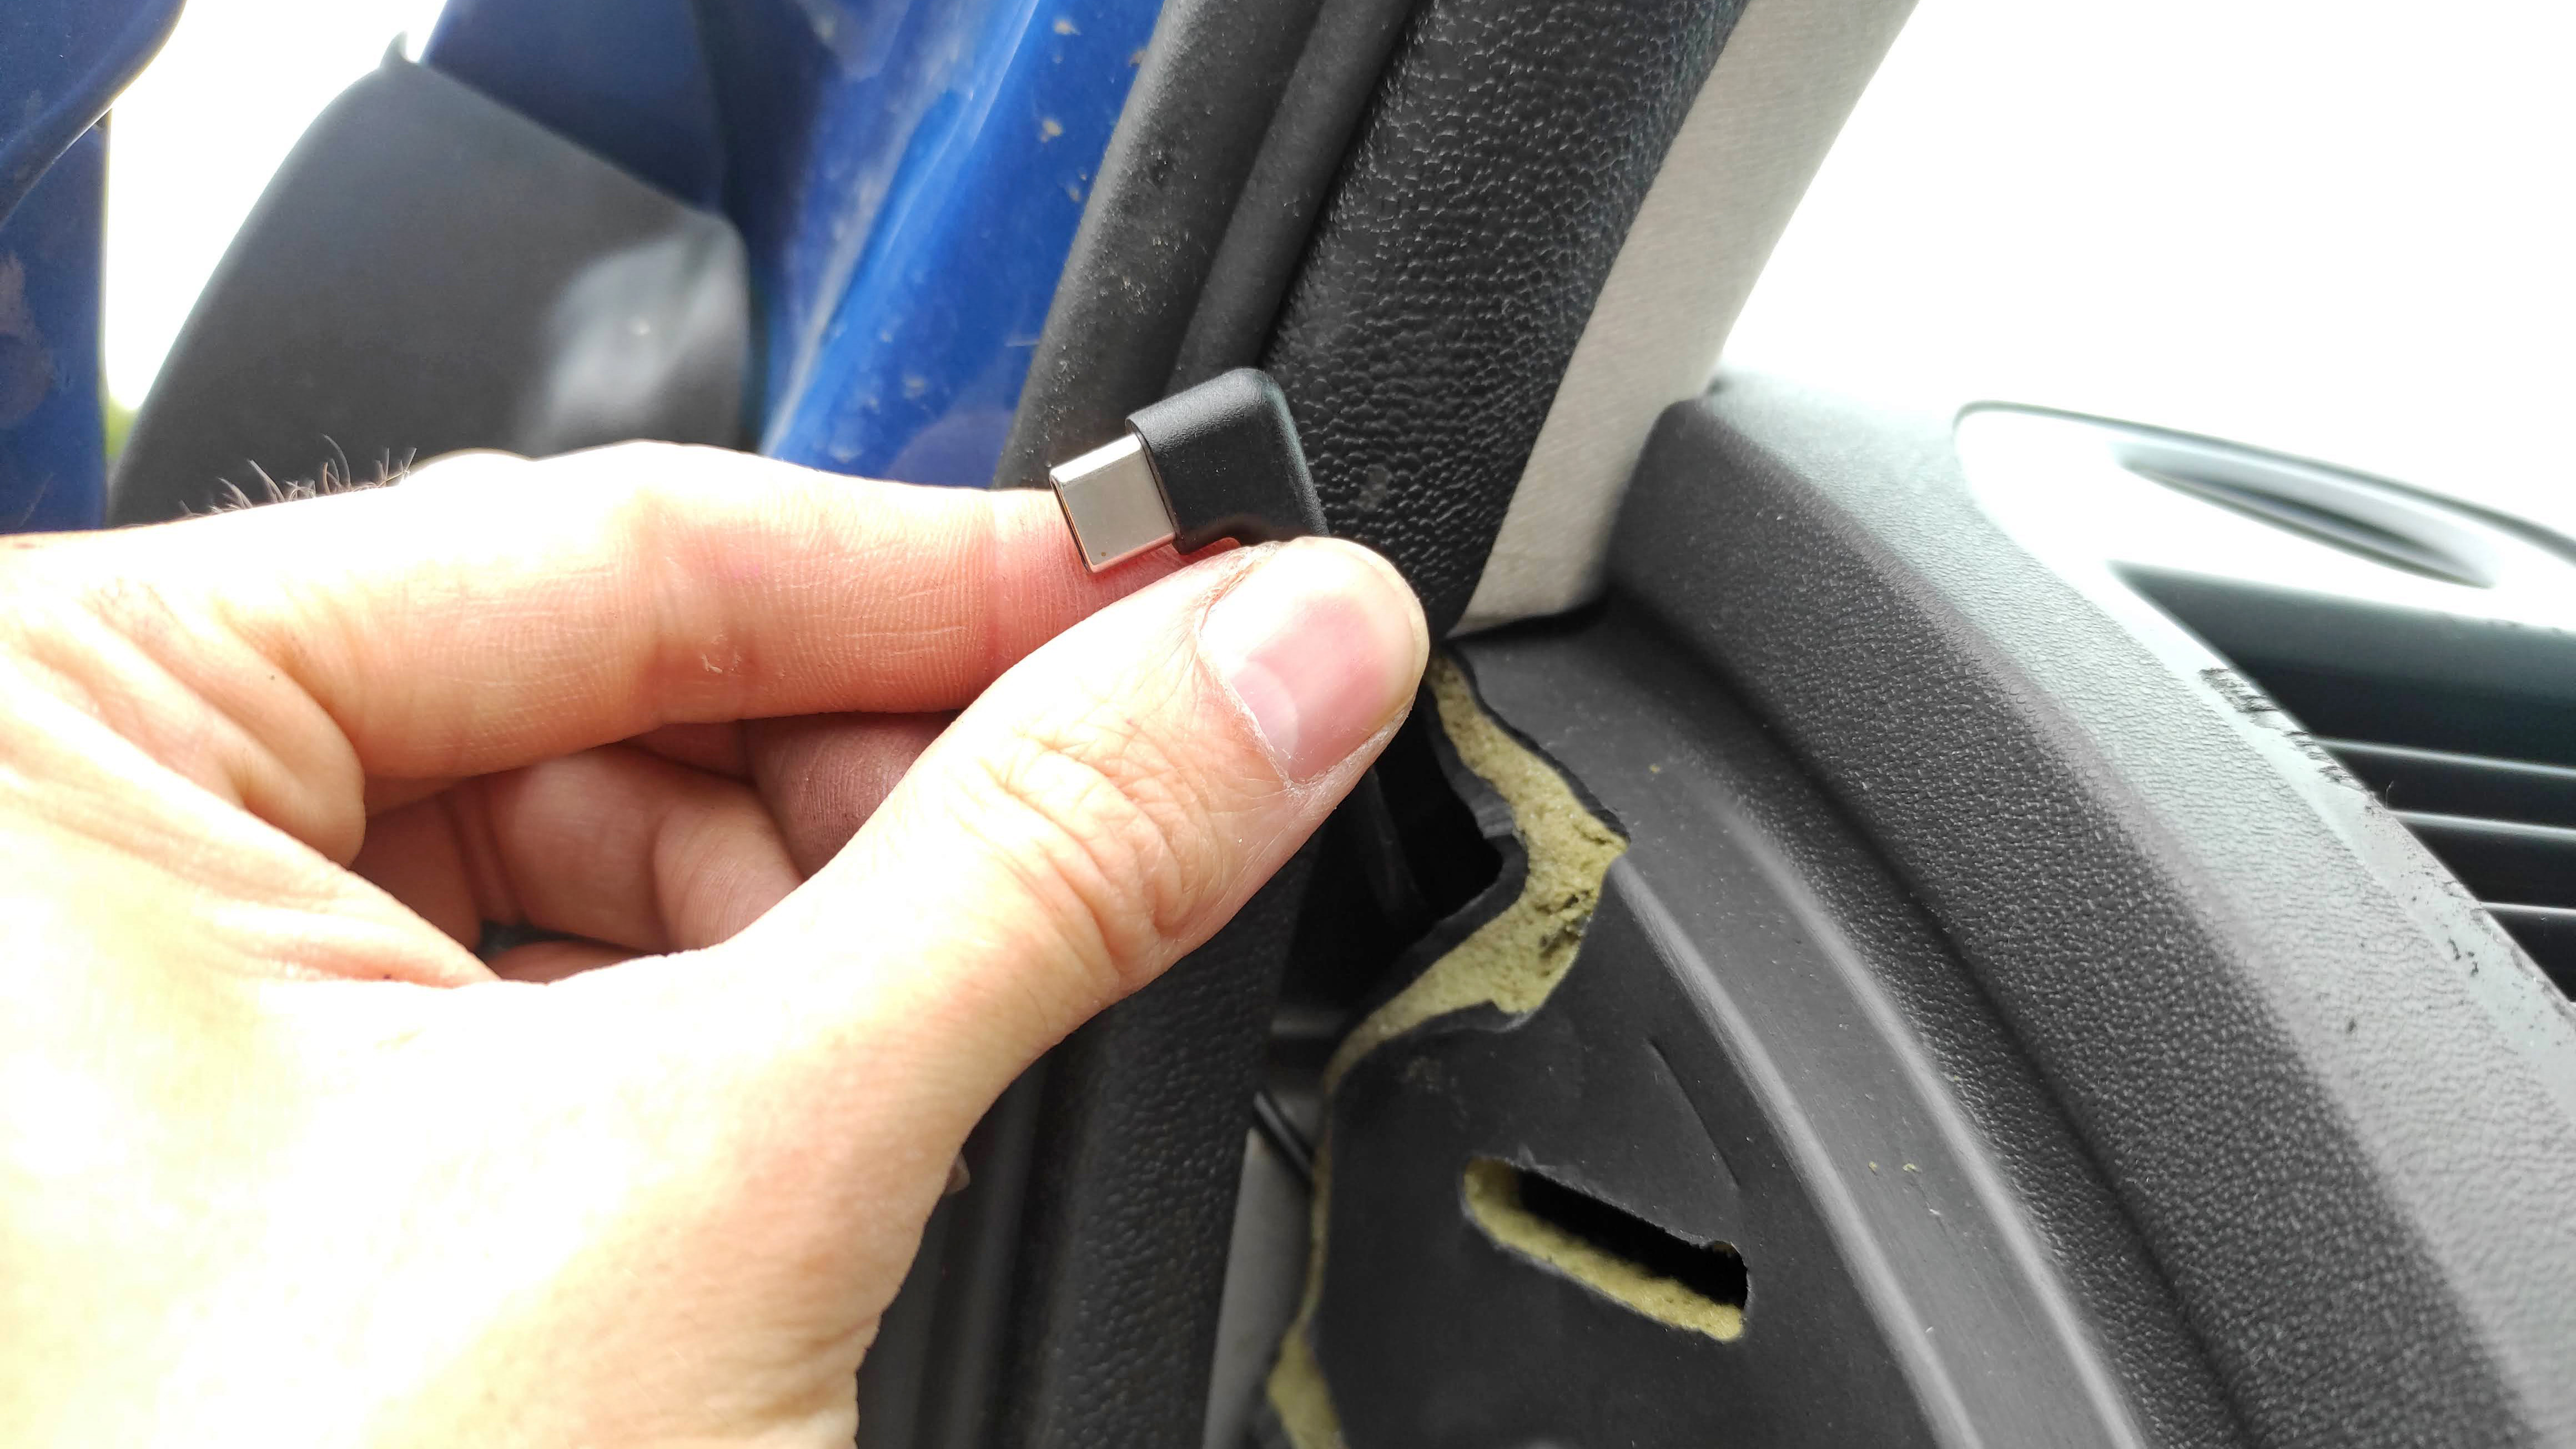
Much better to forget the camera and start at the 12v socket instead. Then thread the other end of the cable – the nice, compact USB-C plug – through the dashboard and up to the camera.
(opens in new tab)
To get a neat install, you may well have to unclip the windscreen A-pillar trim in order to hide the wire behind it.
(opens in new tab)
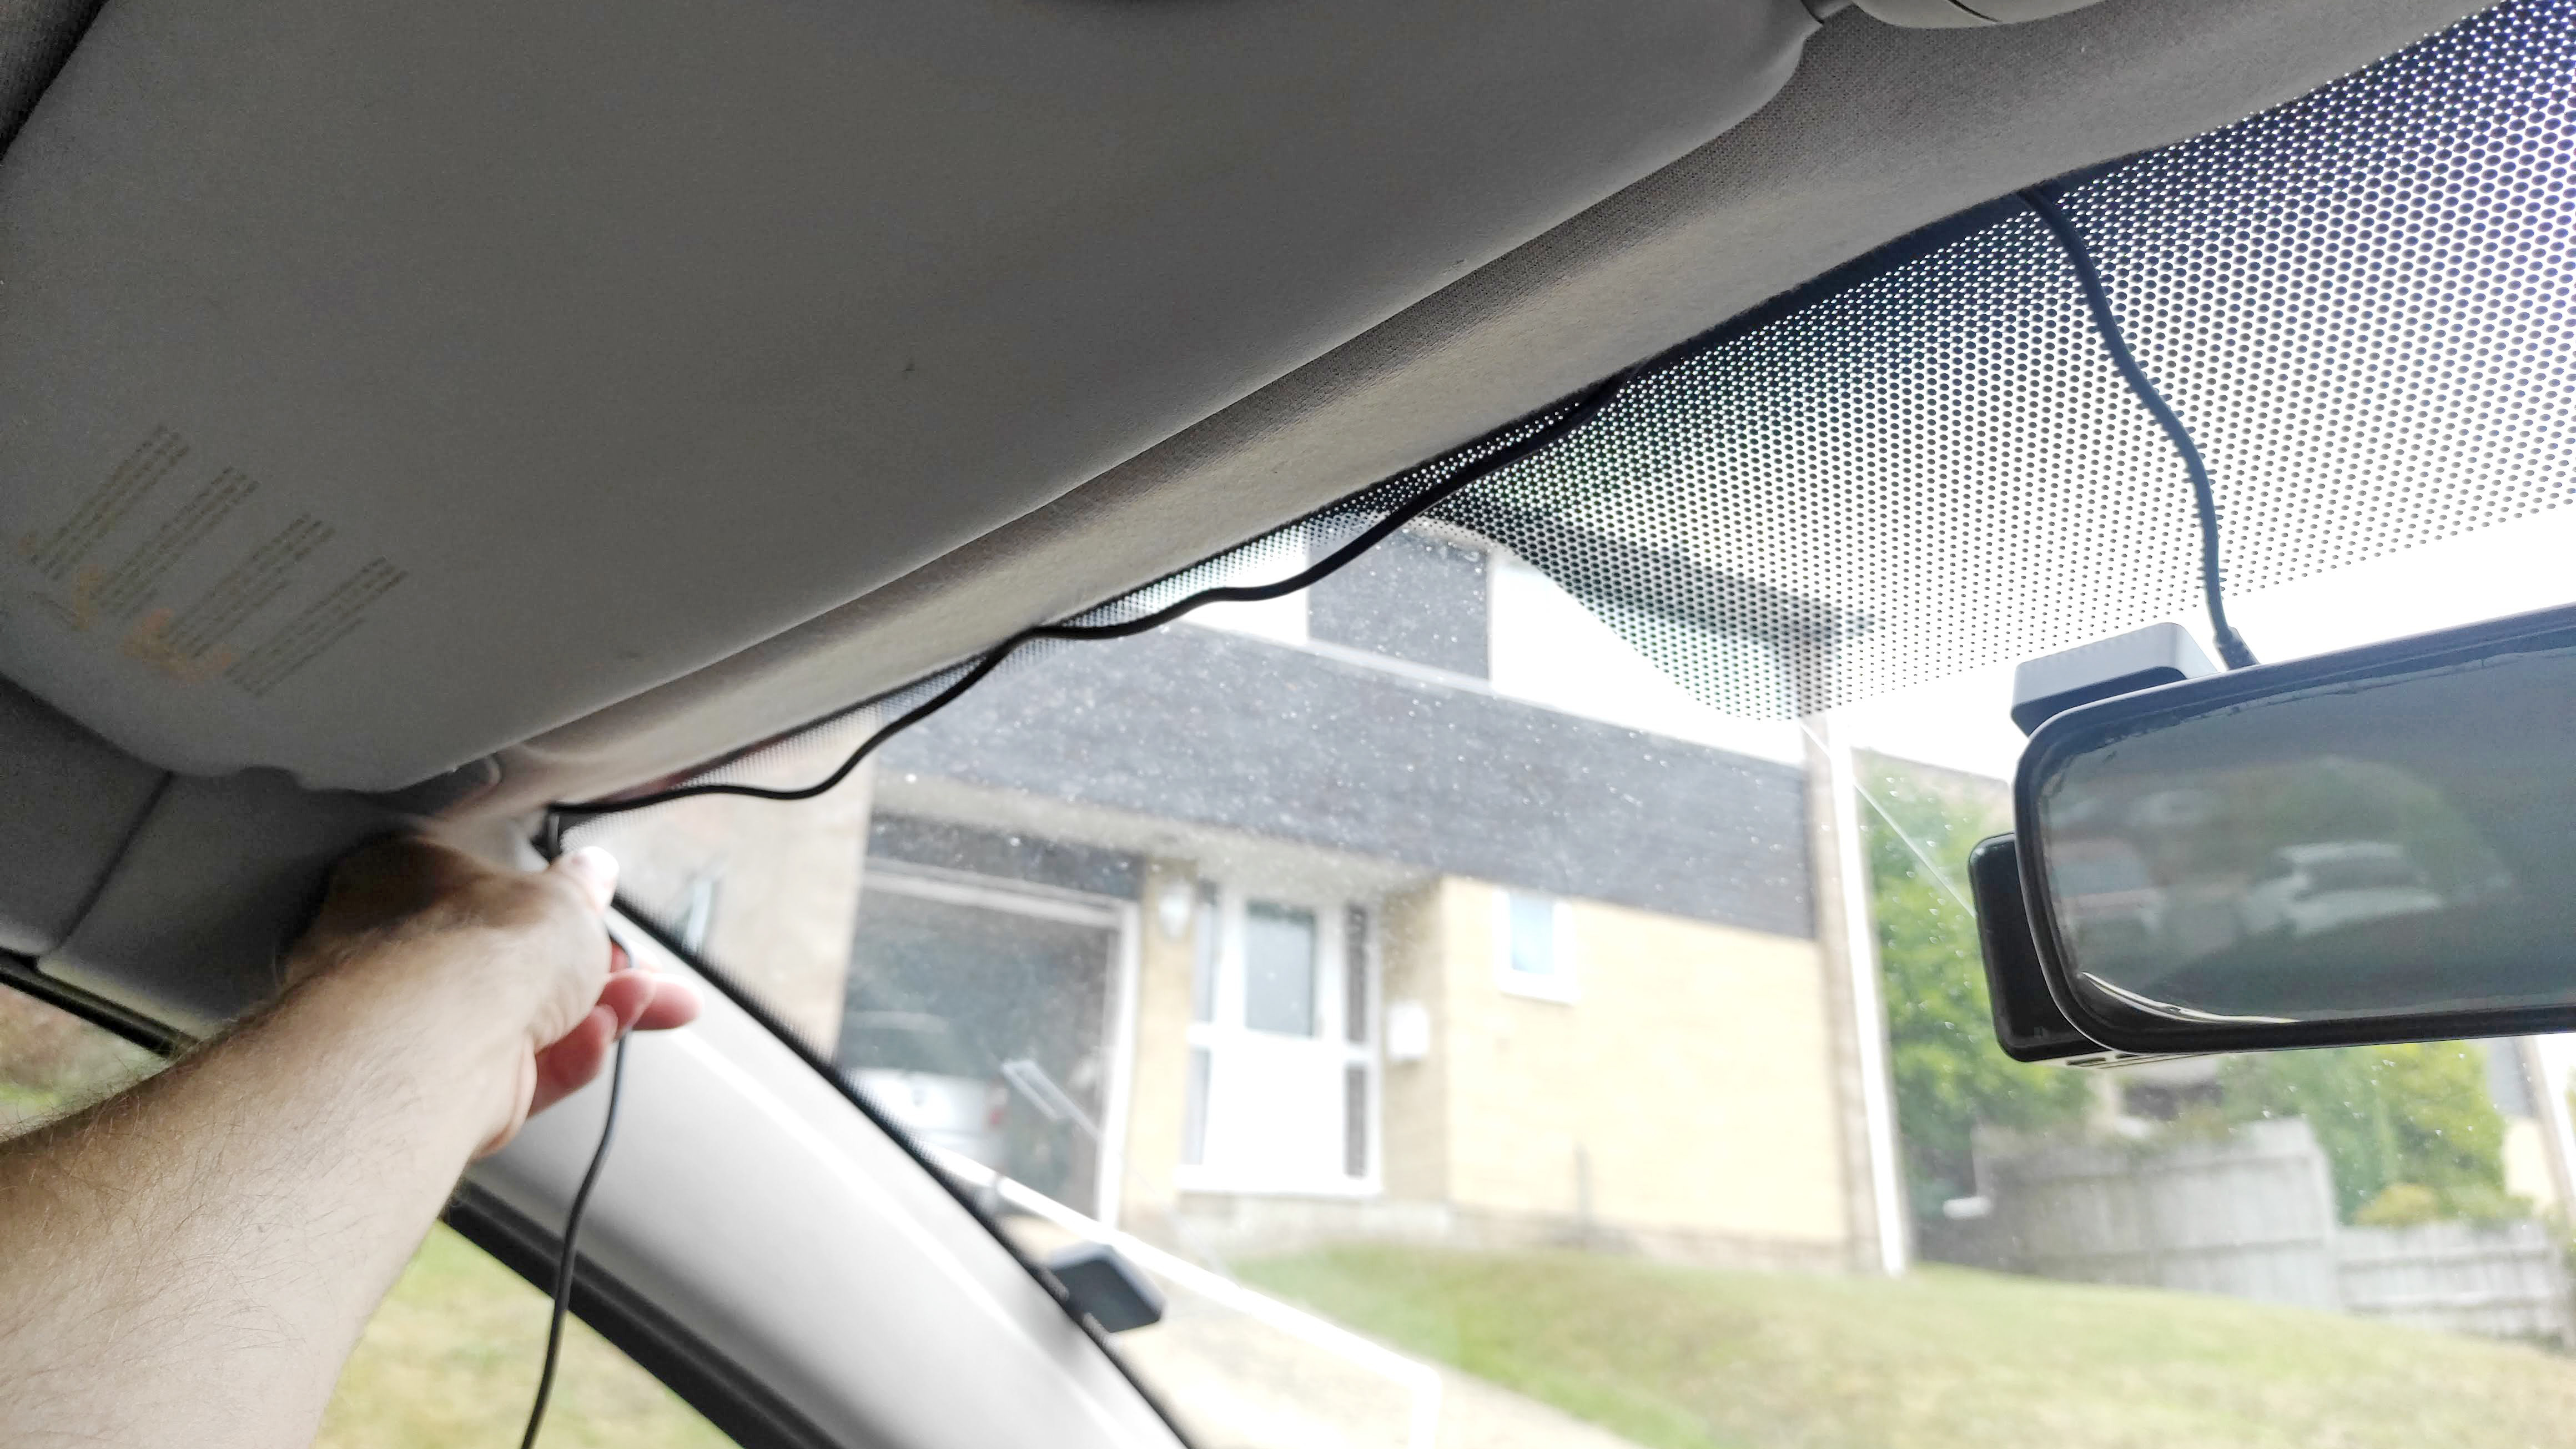
For the final stretch, from the A-pillar across the windscreen to the camera, I was able to just tuck the wire behind the front edge of the headliner – no dismantling necessary.
(opens in new tab)
4: Initial set-up
If you haven’t already, insert your microSD card into the dash cam. In the case of the Vantrue E1, once it’s loaded with a memory card and you’ve connected the camera to your car’s 12v power outlet, you can simply turn your car on and the E1 automatically springs to life and starts recording.
Three physical buttons on the underside of the E1 let you scroll through the various menus in order to change settings if you’d like. Navigating through these menus can be a little fiddly using the button interface, but you can instead connect the camera to your phone via Wi-Fi and use the accompanying Vantrue Cam iOS/Android app to adjust settings more easily from your phone.
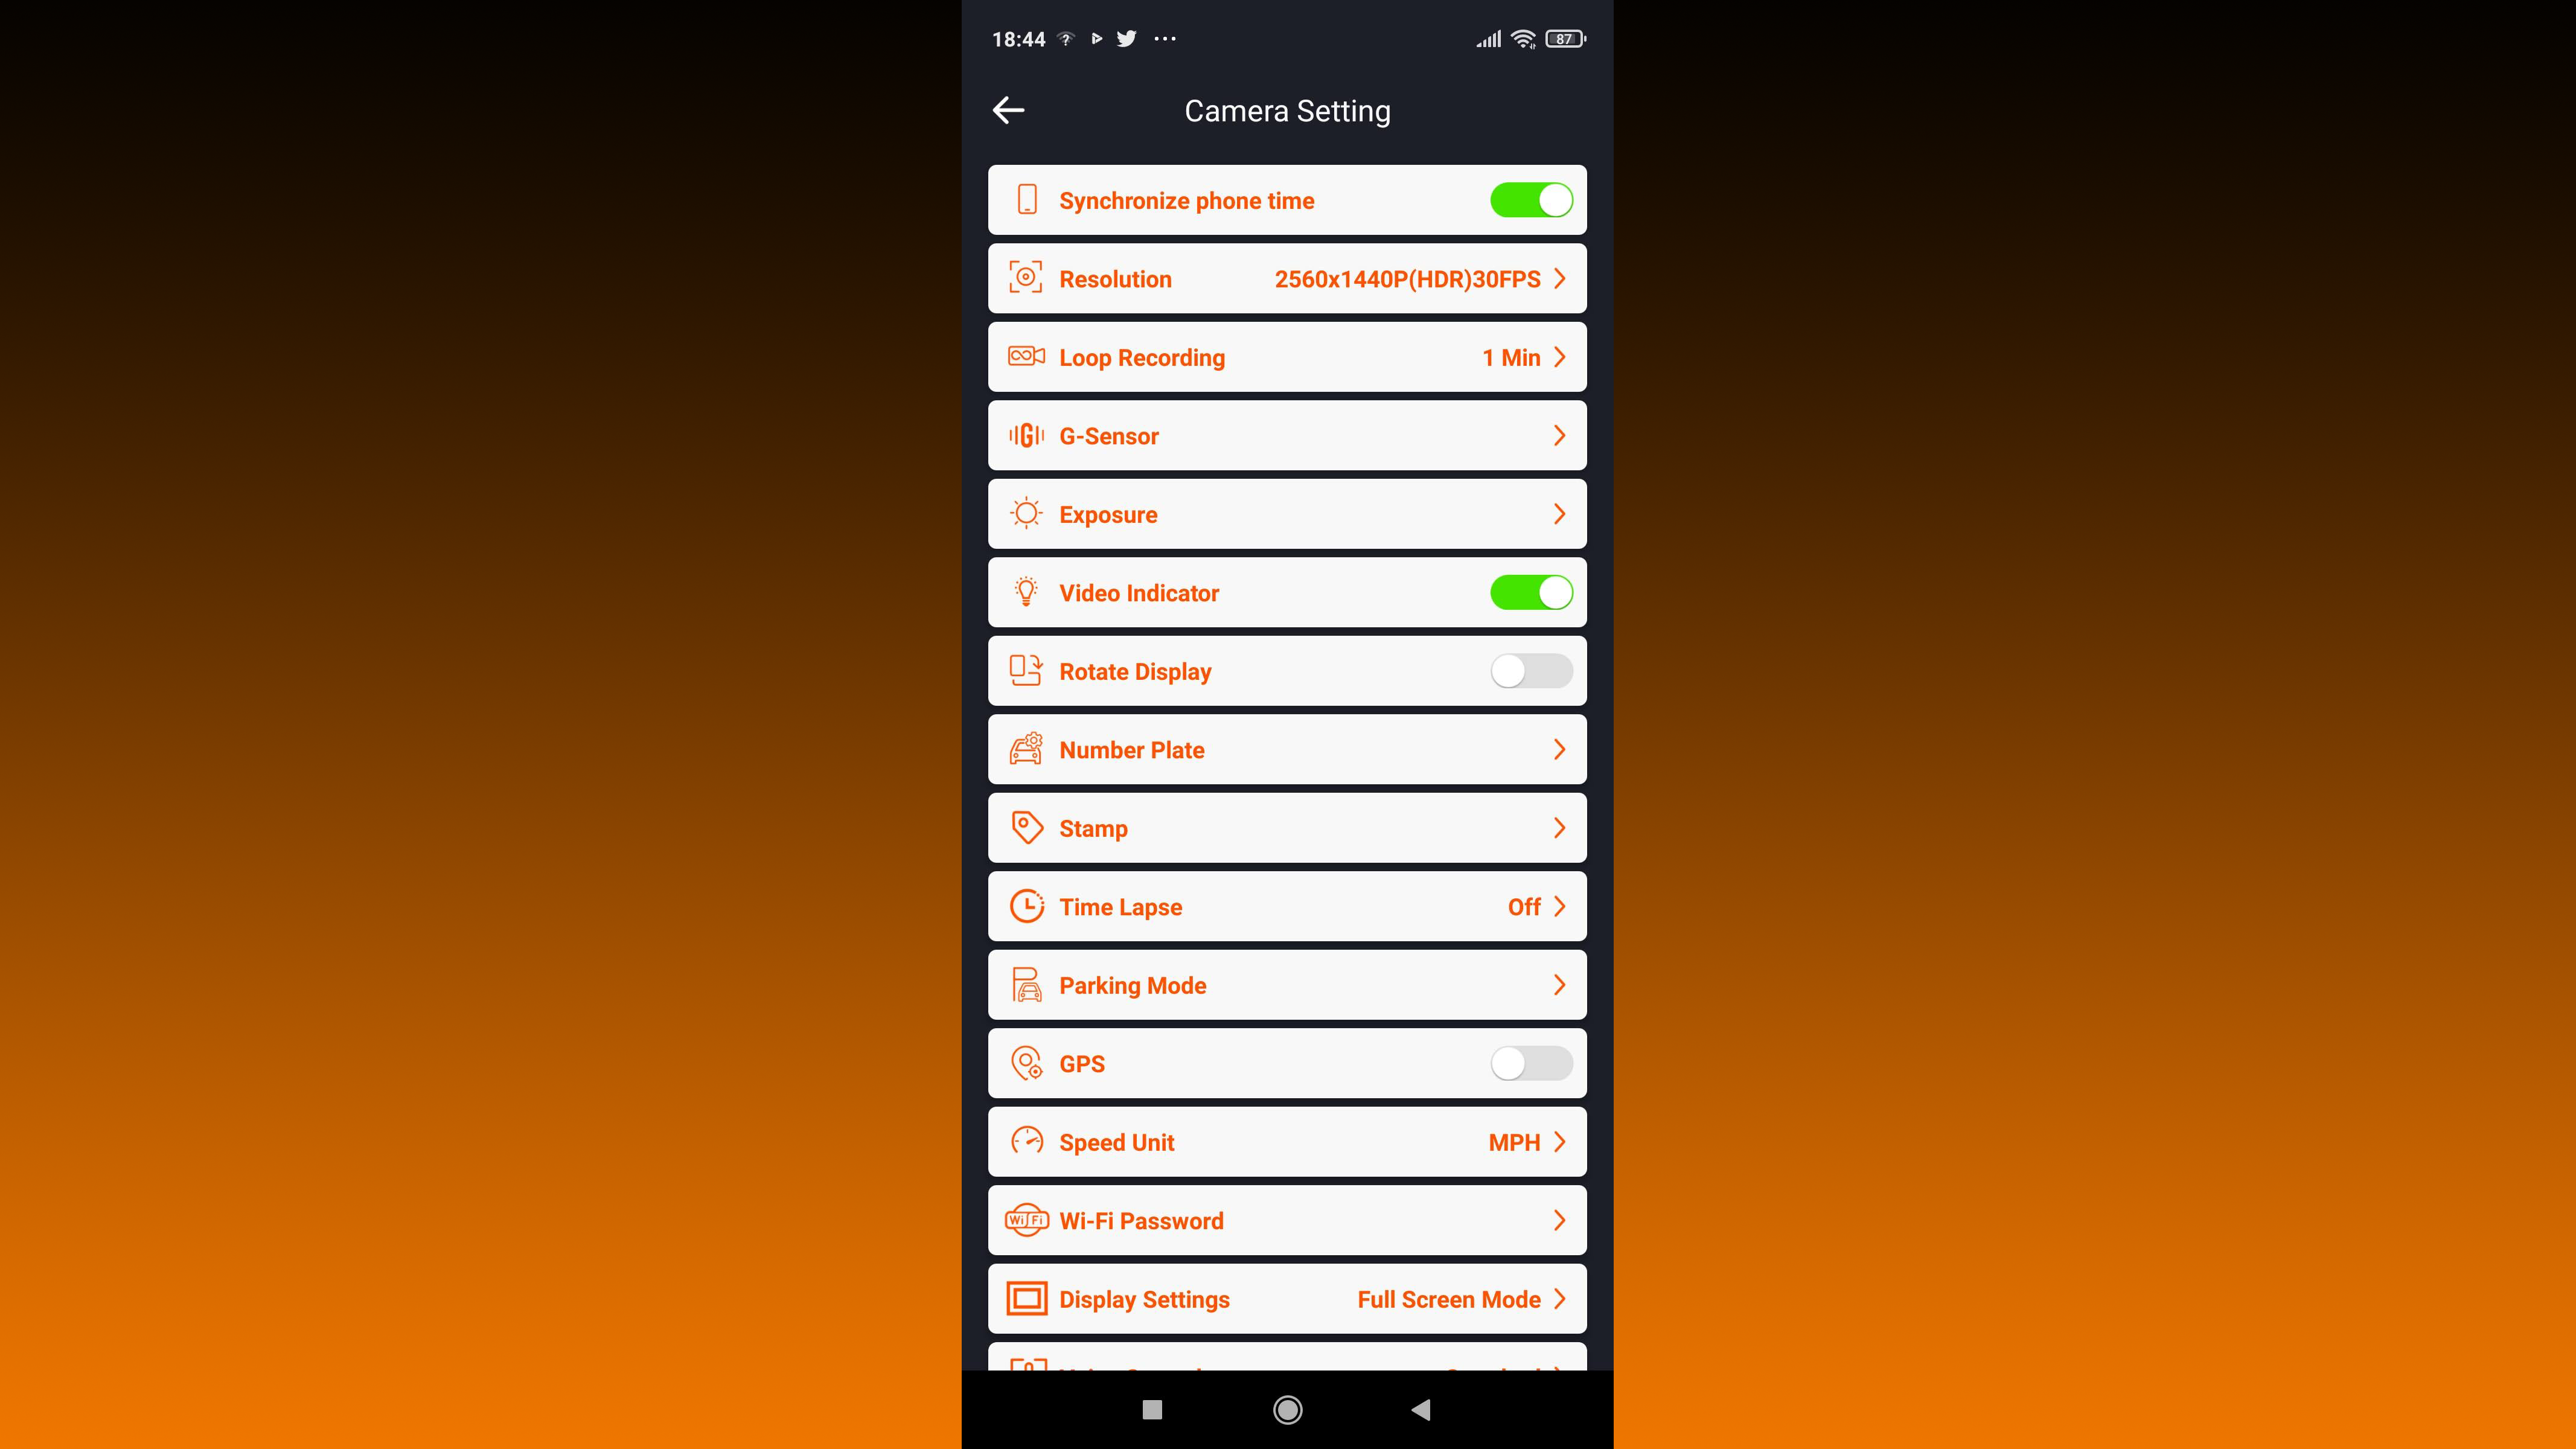
I ensured the camera was recording at its maximum 2560 x 1440 (30p) resolution. I also enabled ‘HDR’ recording, as well as GPS. This displays GPS coordinates as part of the information caption at the bottom of the recorded dashcam footage, so your exact location is pinpointed at any given time. It also continually displays your vehicle’s speed and displays this in the video info caption as well. Finally, I entered my car’s license plate details, which are also then shown in the video overlay, along with the current date and time.
5: Performance & video quality
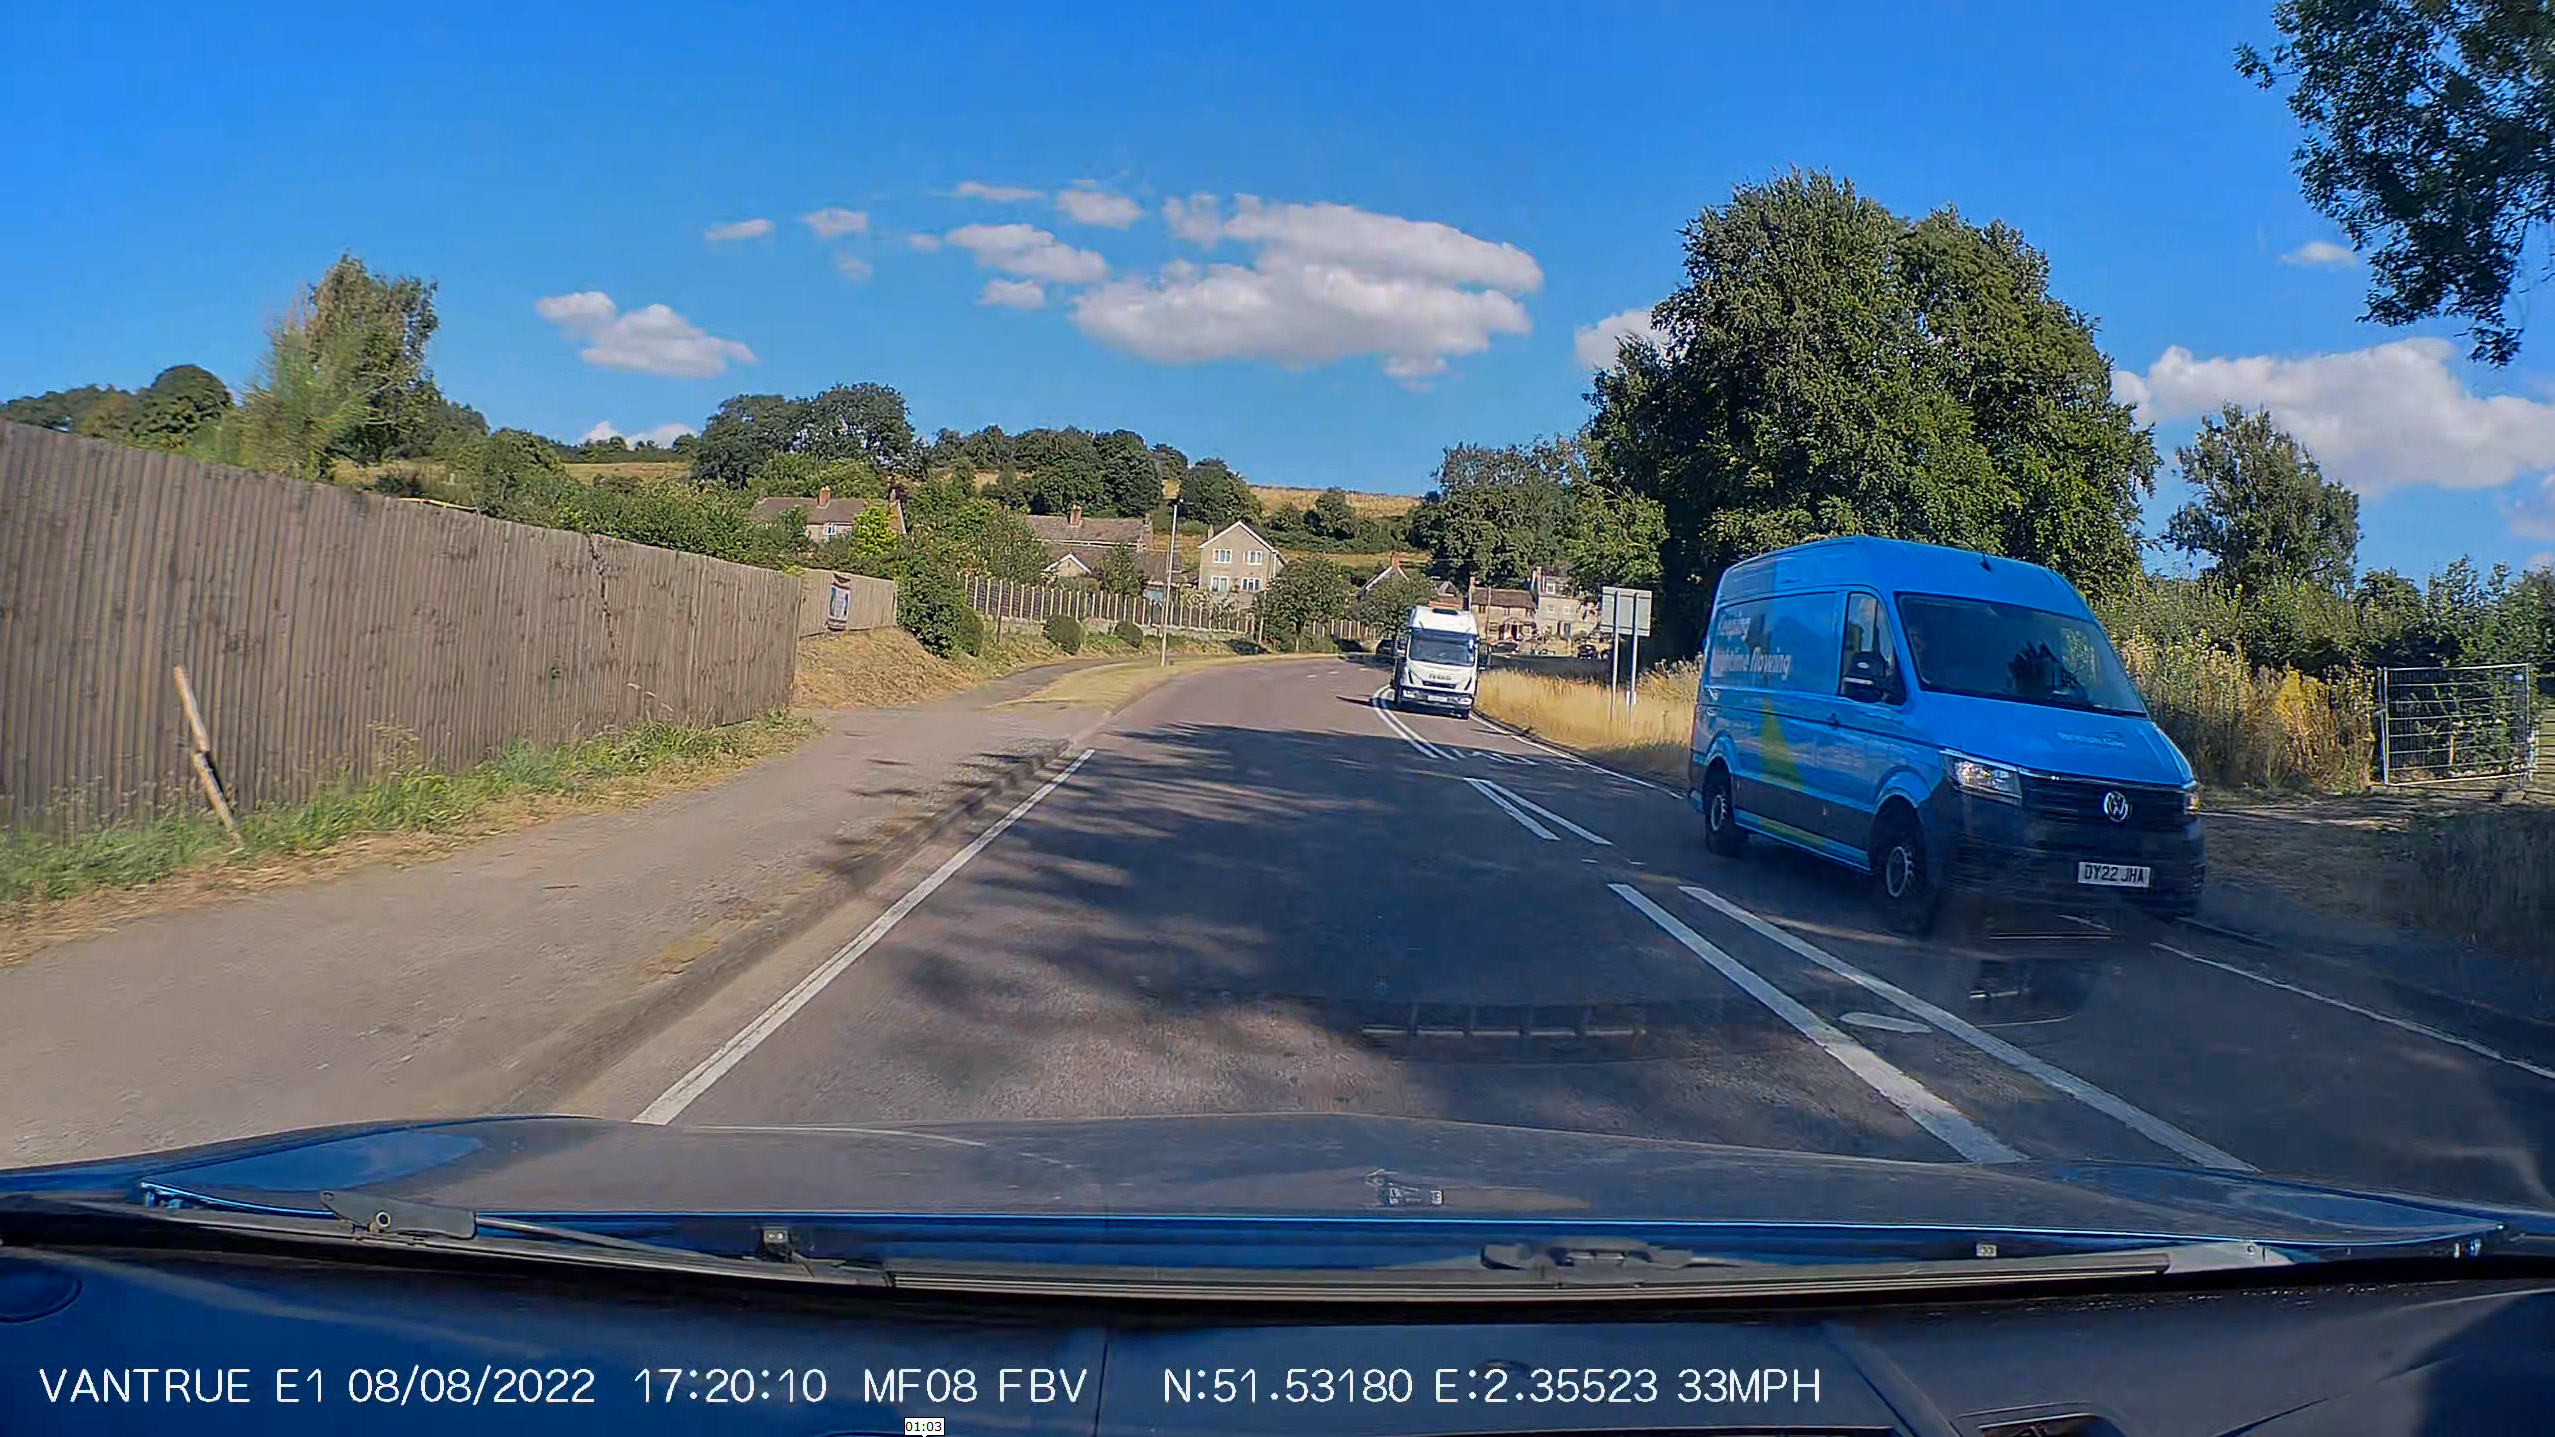
While my dash cam experience may be limited, I am very familiar with video quality from other devices: phones, DSLR and mirrorless cameras at every price point, action cameras, and even security cameras. I’d say the quality of the Vantrue E1’s footage is roughly equivalent to the latter. Like a security camera, this isn’t a device designed to wow you with stunning broadcast-quality video recordings. Instead, you get sufficient detail to read road sign text and the licence plate of the vehicle you’re following from a reasonable distance.

(opens in new tab)
A more demanding test of a dash cam is whether or not you can read the licence plate of an oncoming vehicle as it drives past you. In this scenario, the E1’s footage seems to blur text to the point it’s unreadable as the video is playing. But pause the footage at just the right moment and most license plates become just about legible in the freeze frame. Image noise, at least in the daylight when I was driving, was minimal, and the camera coped well with exposure changes when driving from shaded areas into direct, bright sunlight on a summer’s day.
(opens in new tab)
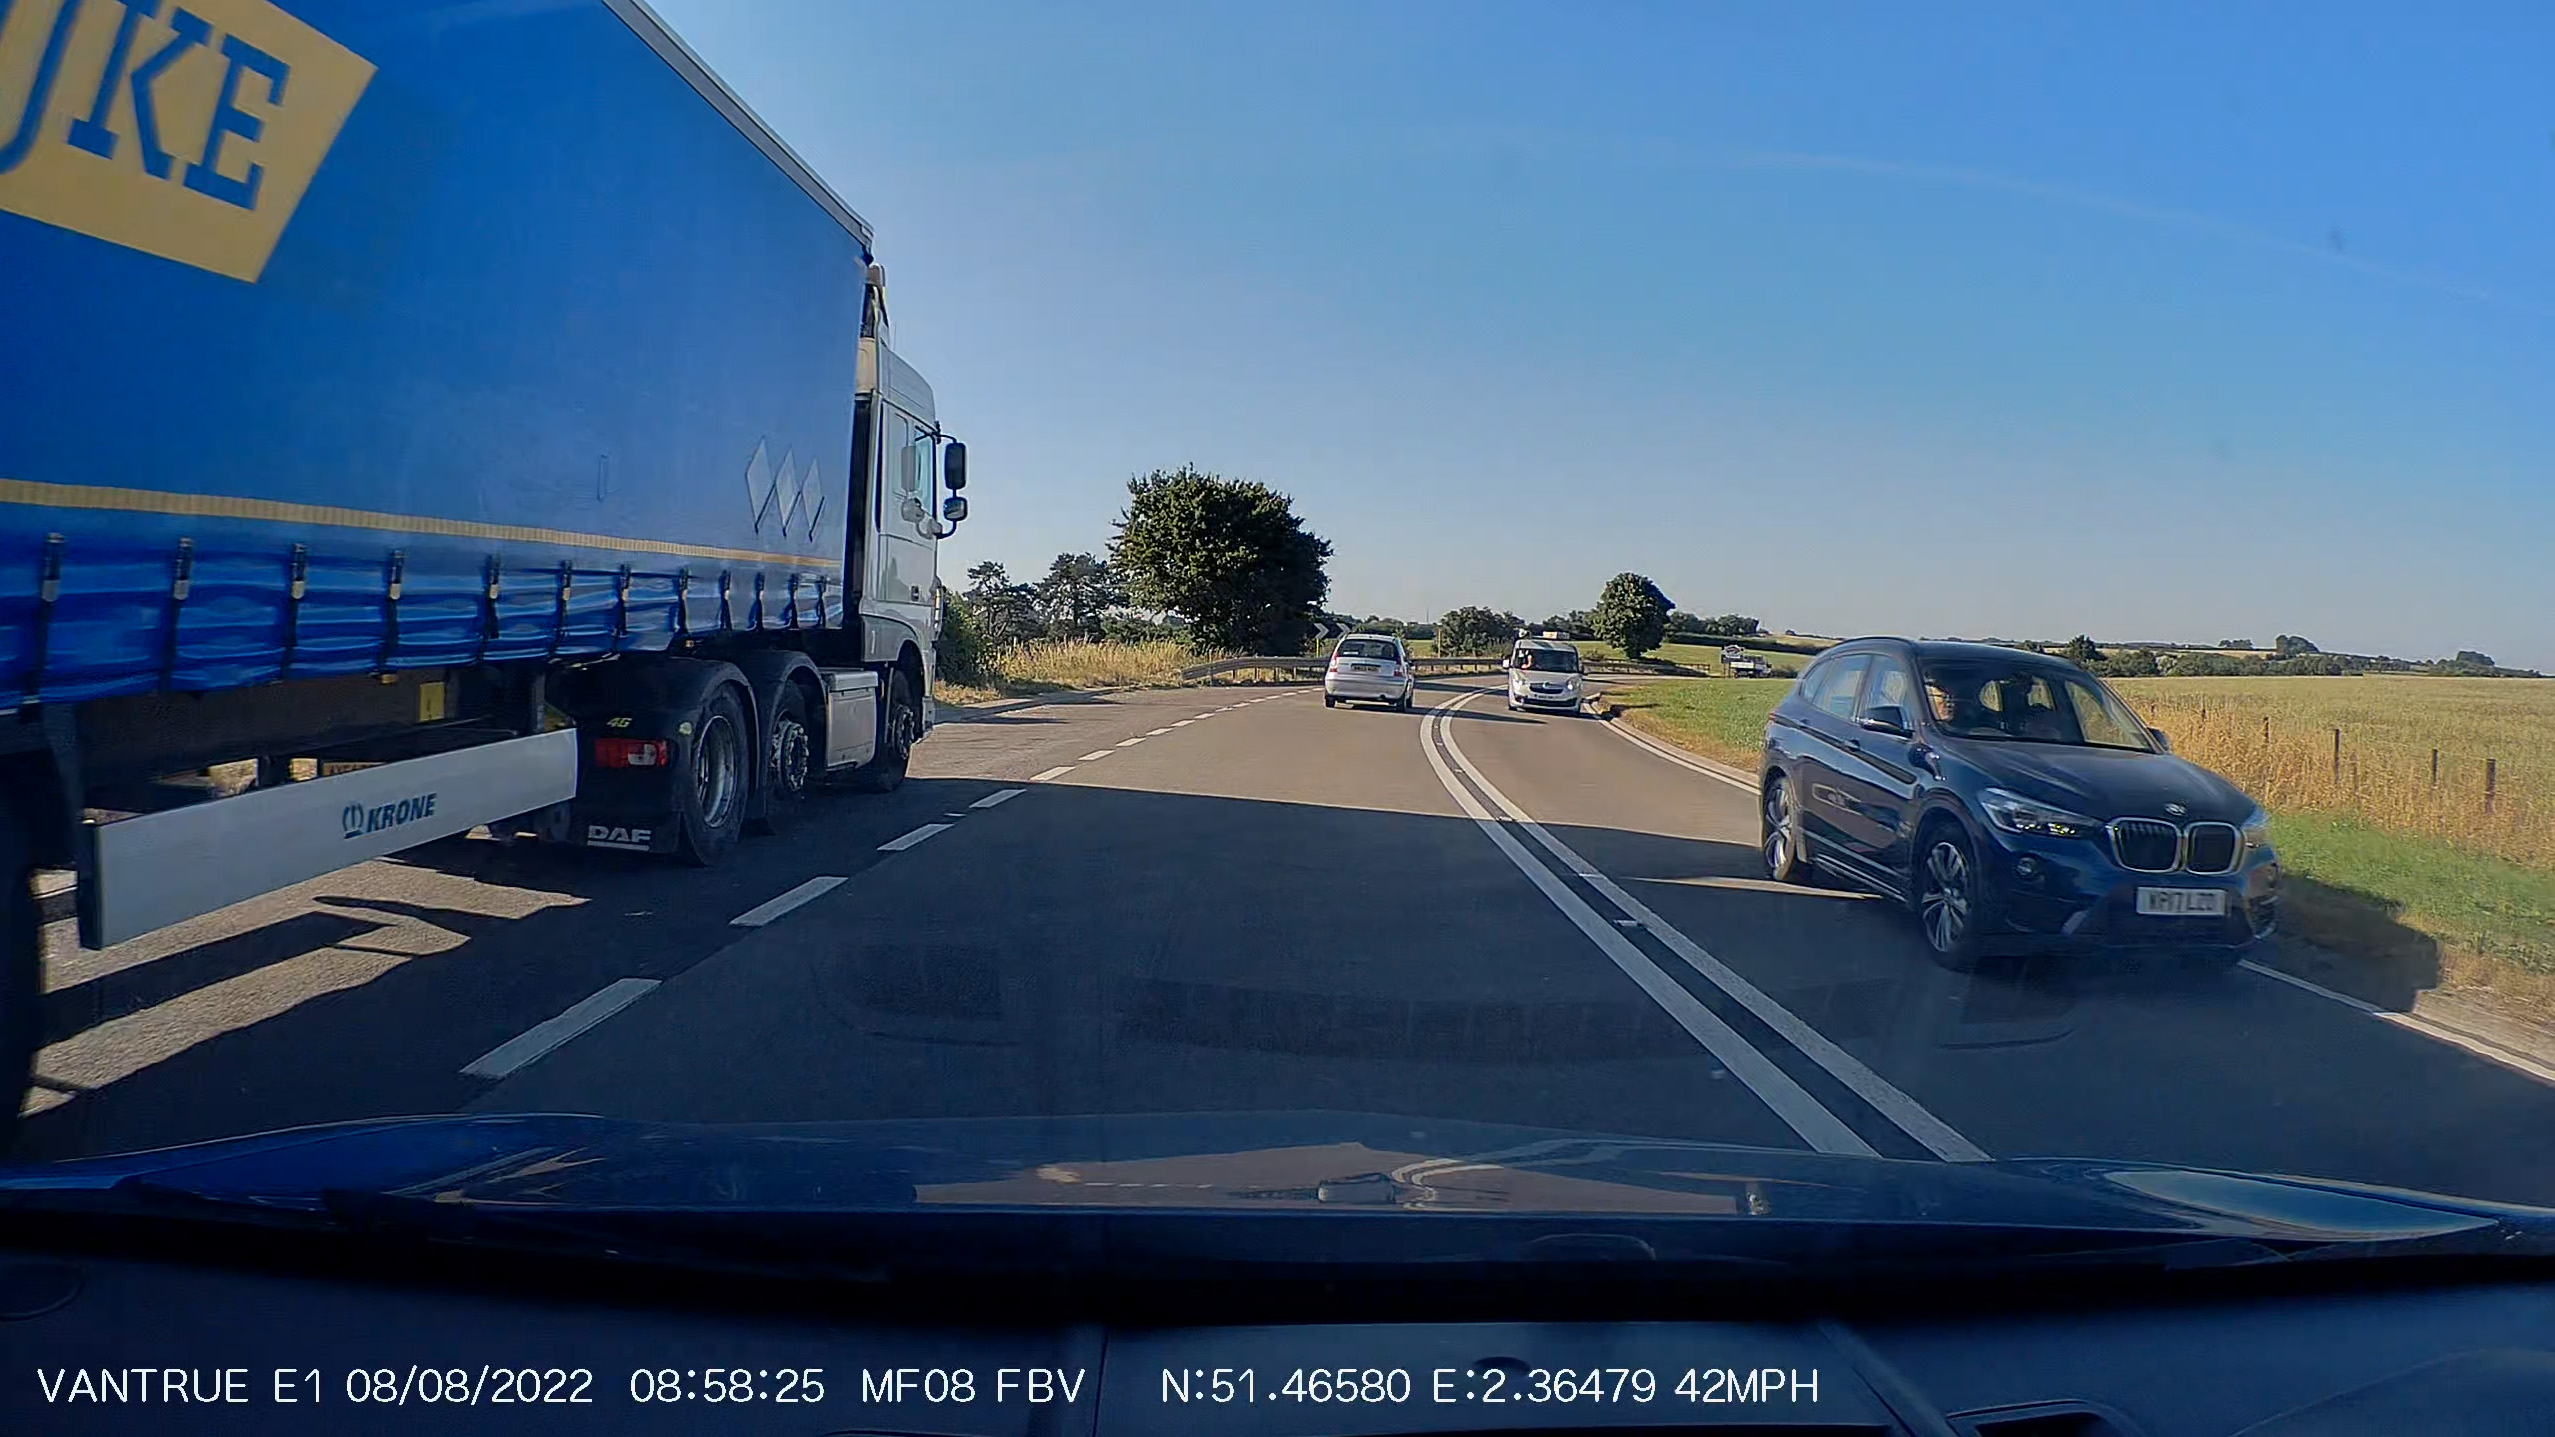
As mentioned, I enabled the E1’s ‘HDR’ mode. Spoiler alert – it’s not really HDR in the true sense of the term. Rather, the feature just ramps up the levels of shadows so they appear brighter, leading to a more washed out image. While it’s not exactly the most attractive look, it does help reveal more shadow detail, and that could well be useful for dash cam evidence.
(opens in new tab)

(opens in new tab)
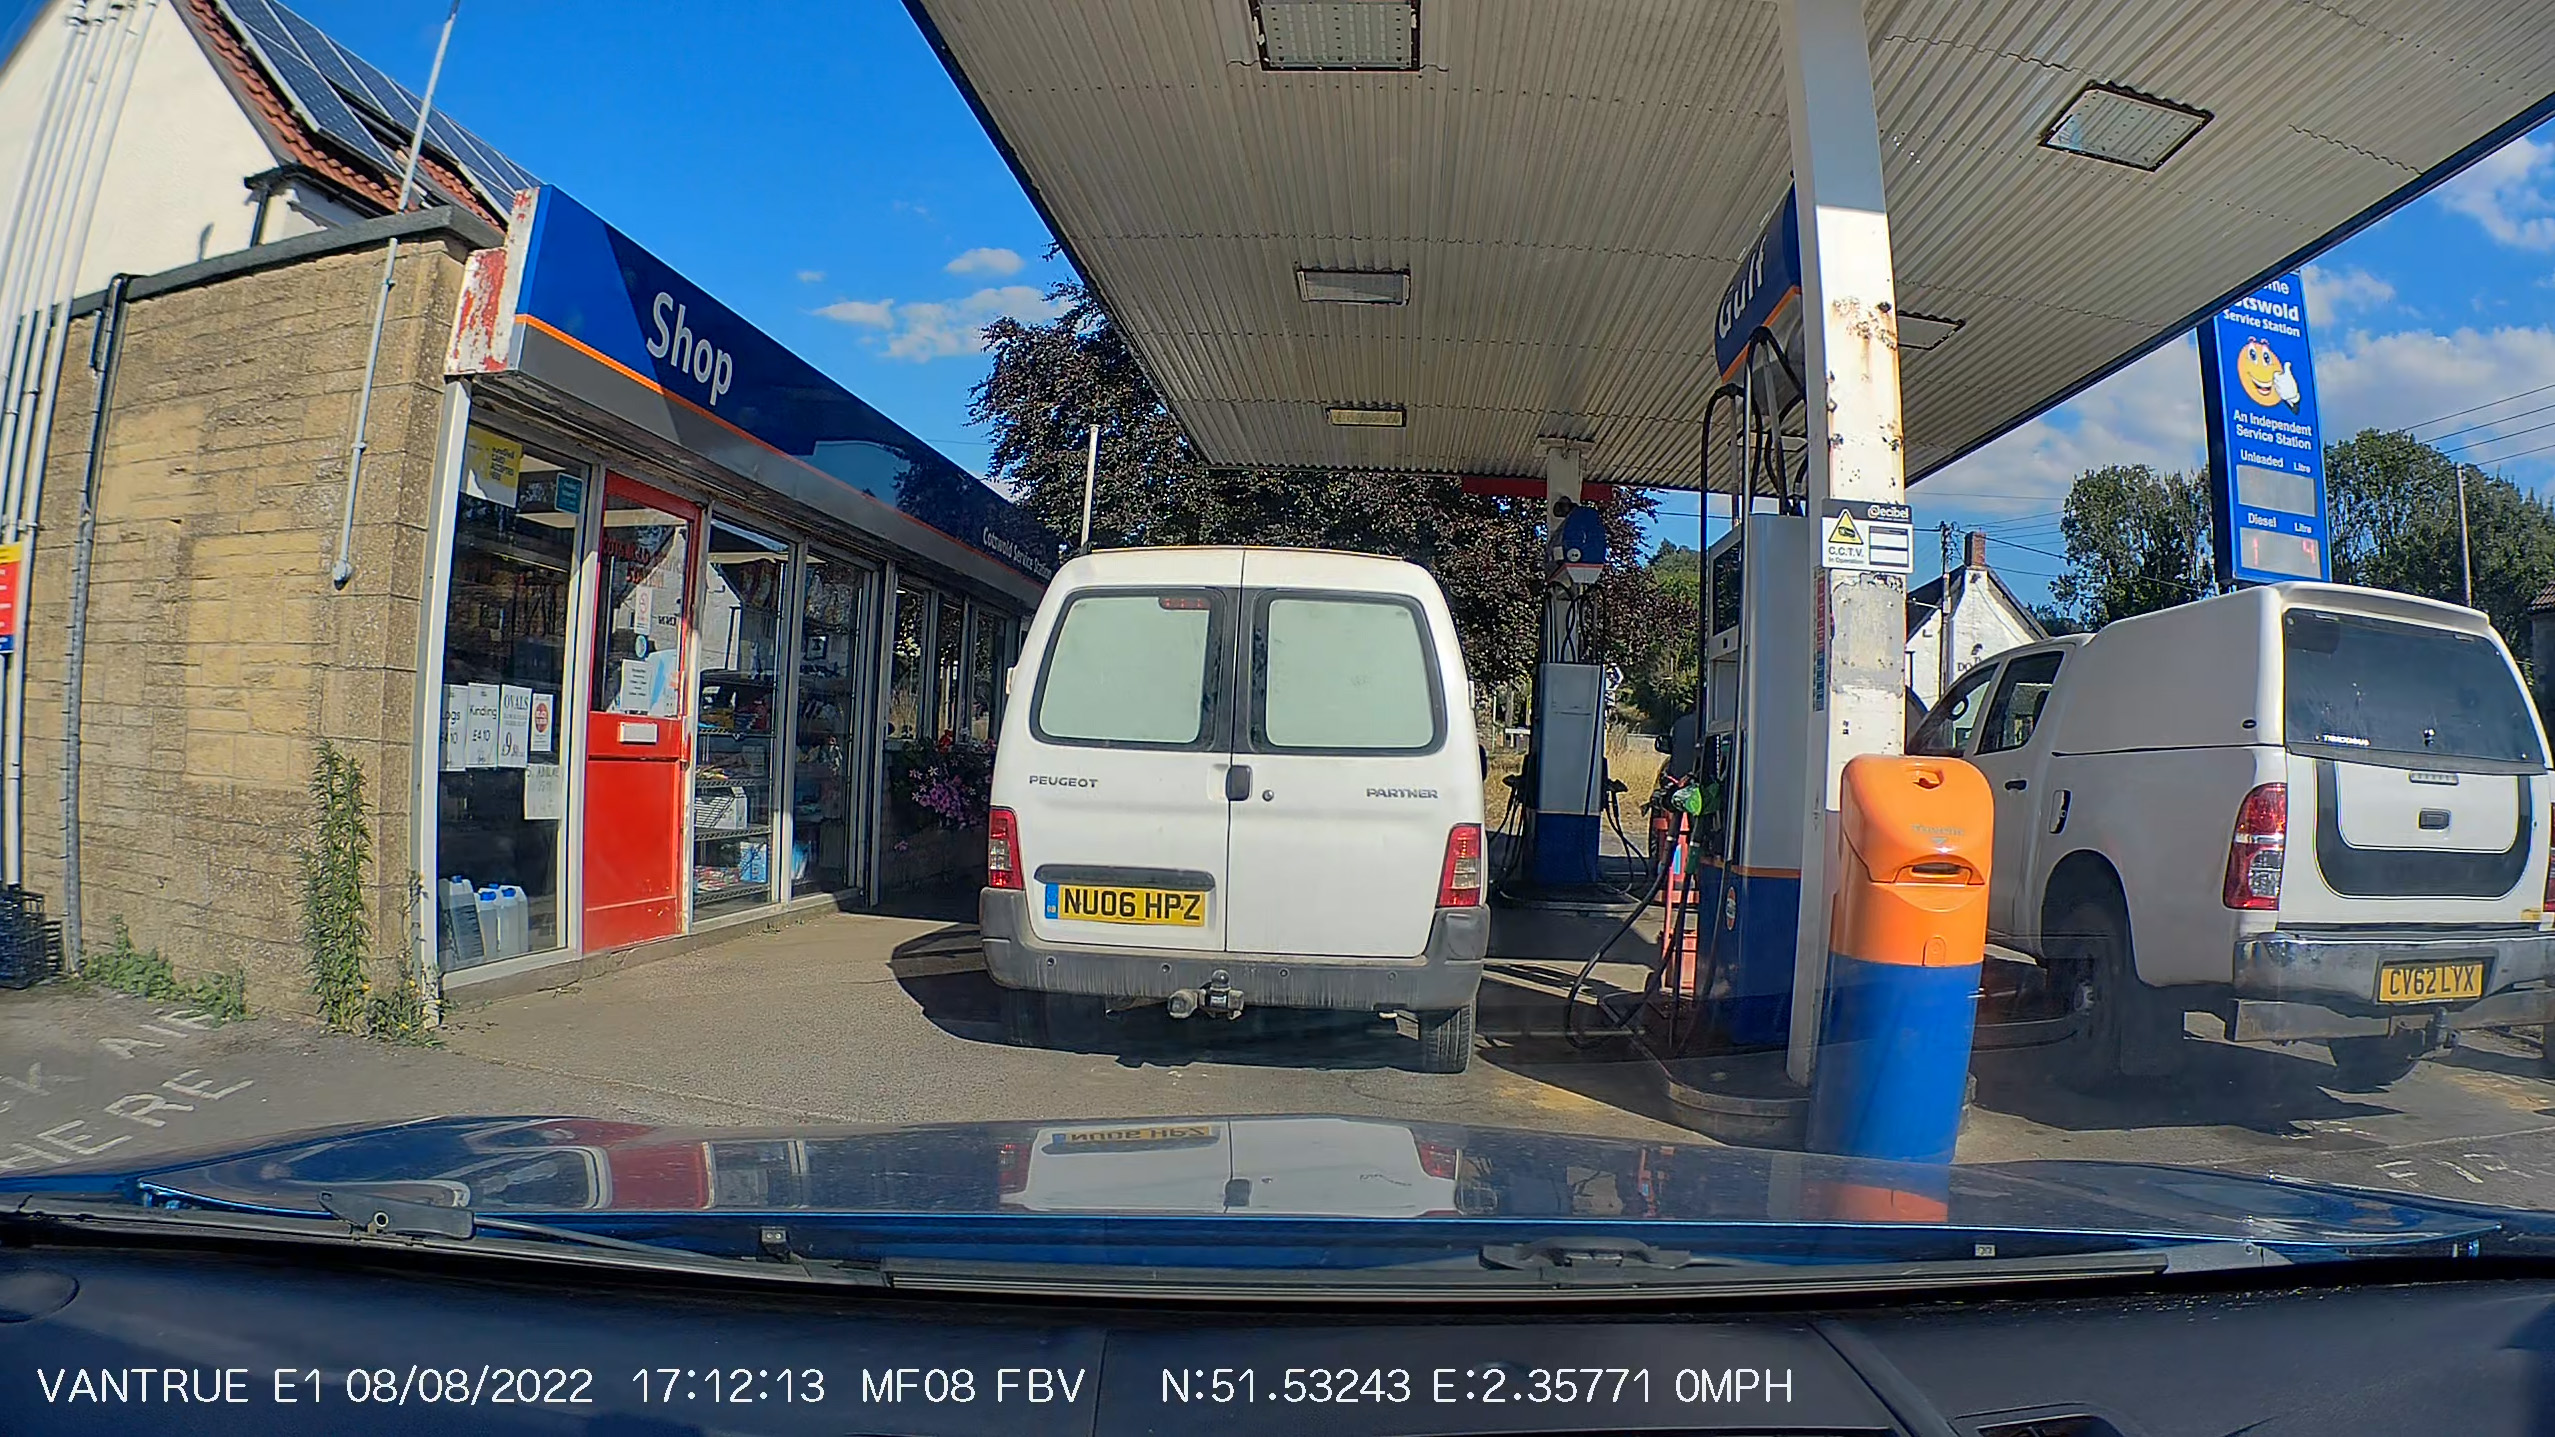
The E1’s field of view is wide enough to cover a usefully large expanse of the road ahead. Some barrel distortion is visible when you’re up close to buildings, but it’s no problem for a dash cam application.
(opens in new tab)
With video quality set to its maximum 2560 x 1440 resolution, a 3 minute clip consumes 359MB. That means a 256GB microSD card (equating to 238GB of usable storage) can record nearly 34 hours of footage before the oldest clips start to be automatically overwritten.
Step down to Full HD 1920 x 1080 res and a 3-minute video clip uses up 218MB. Then almost 56 hours of footage will fit on a 256GB microSD card.

(opens in new tab)
6: Conclusion
Would I recommend going to the trouble of buying, installing and using a dash cam? In short, yes. We all hope we’d never need to call upon dash cam footage to prove we weren’t at fault in a collision, and chances are that many dash cam owners never will. But with dash cams now being readily available for well under $100/£100, the purchase cost is relatively insignificant when bundled in with all the other expenses of owning and running a car. Consequently it’s a relatively small price to pay for even just the reassurance a dash cam can provide, let alone its potentially invaluable evidence should the worst happen.
As far as my installation experience goes, the only tricky/fiddly part was routing the power cable from the camera to my car’s 12-volt power outlet. Thankfully this is a one-time-only job, and you needn’t go to quite the trouble I went to in order to conceal the cable.
Once installed, the Vantrue E1 proved itself to be effortlessly easy to use and reliably records good quality footage that’s fit for purpose. Just don’t expect it – or any other dash cam for that matter – to rival the latest GoPro when it comes to outright video quality.
Related guides:
The best dash cams (opens in new tab)
Best front and rear dash cams (opens in new tab)
Best Uber dash cams (opens in new tab)
The Best camera phones (opens in new tab) today
Best indoor security cameras (opens in new tab)
Best outdoor security cameras (opens in new tab)
The 10 best action cameras (opens in new tab)
The best helmet cameras (opens in new tab)
Best backup camera (opens in new tab)
The best baby camera monitors (opens in new tab)