How to Install OpenMediaVault on a Raspberry Pi
Many enthusiasts have joined forces to create great free software (and excellent guides) to help the average user create a home server in just minutes. Thanks to their creativity, we now have so many options to choose from.
With the right tools, you can create a media server, network storage solution, ad blocking security, music streaming service, Apache web services, and more. OpenMediaVault is one such free home server solution that combined with the Raspberry Pi creates an affordable server in your own home.
OpenMediaVault was originally developed as a network attached storage solution. A simple user interface allows you to perform much of the necessary server administration from any device (with a web browser) in your home.
As long as the web browser is on the same home network as your Raspberry Pi, you have the ability to add users, set up file sharing, install certificates (SSH and SSL), spin up Docker containers, and check your server’s performance from the comfort of your laptop or tablet .
what you will need
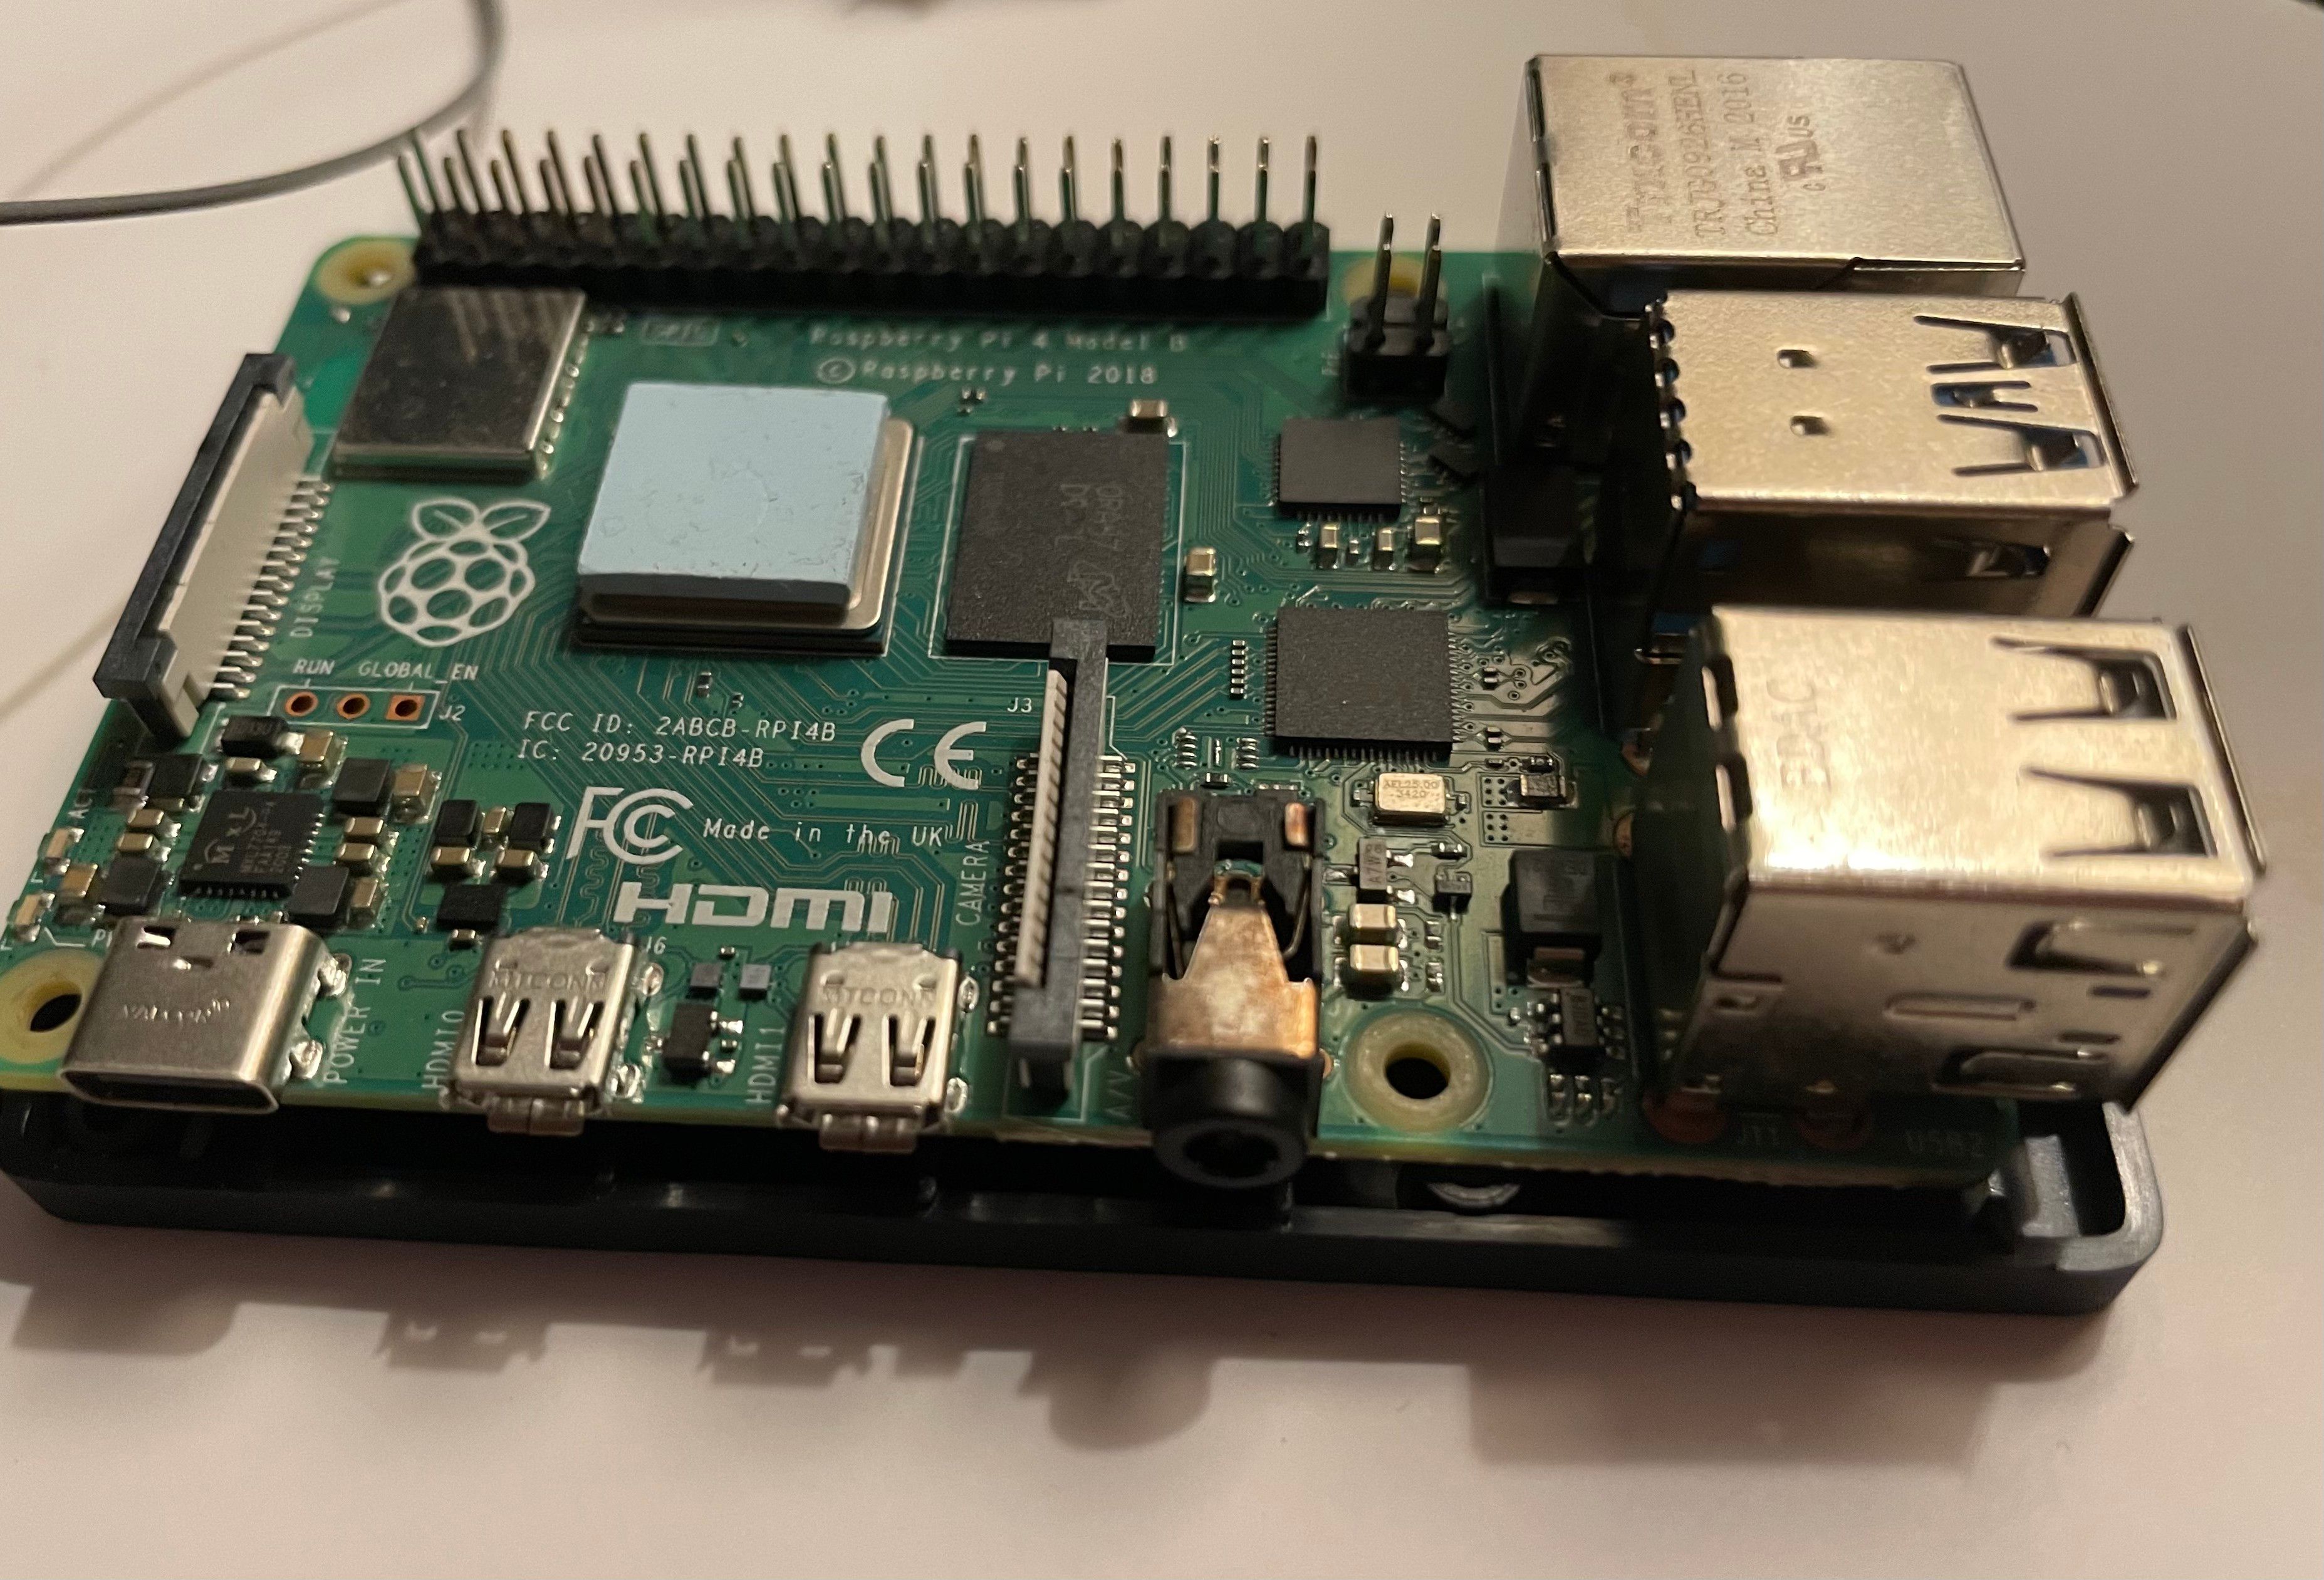
Make sure you have the following items before you start setting up your home server on your Raspberry Pi.
- Raspberry Pi 4 (recommended)
- storage
- SD card (base installation: 8 GB; up to 256 GB for additional storage)
- Additional storage (external SSD/M.2 over USB) is recommended
- Monitor (during initial installation)
- HDMI to Micro HDMI Cable
- Ethernet socket and cable
- Power adapter (make sure the power adapter can power your Raspberry Pi and external storage)
- keyboard and mouse
First you need to install Raspberry Pi Lite OS on the SD card you want to use with your Raspberry Pi. The easiest way to do this is to use the Raspberry Pi installer. On Linux, open a terminal and type:
sudo apt install rpi-imager (Debian)sudo snap install rpi-imager (other Linux distributions)Alternatively, you can use this guide for help installing Raspberry Pi Lite OS from any operating system. Make sure you select Raspberry Pi OS Lite (64-bit). Follow the intuitive instructions and relax. This takes a few minutes.
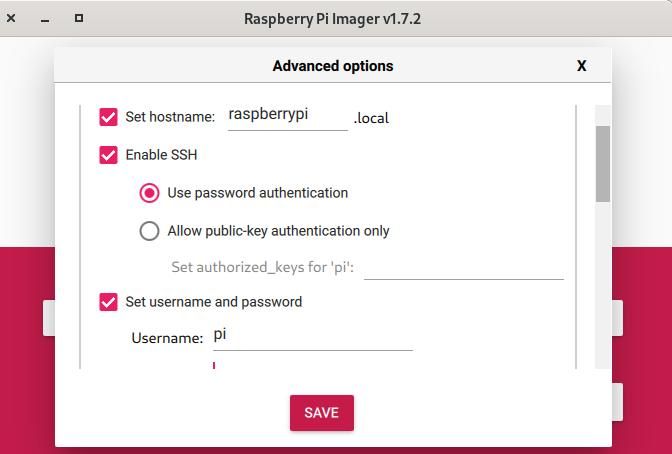
As you go through the installation process, make sure you select the advanced options to set a hostname and enable SSH. Setting a hostname is easier than having to remember your IP address, and an SSH connection is required when accessing your Raspberry Pi terminal remotely. If you choose a username and password, be especially careful to remember this information.
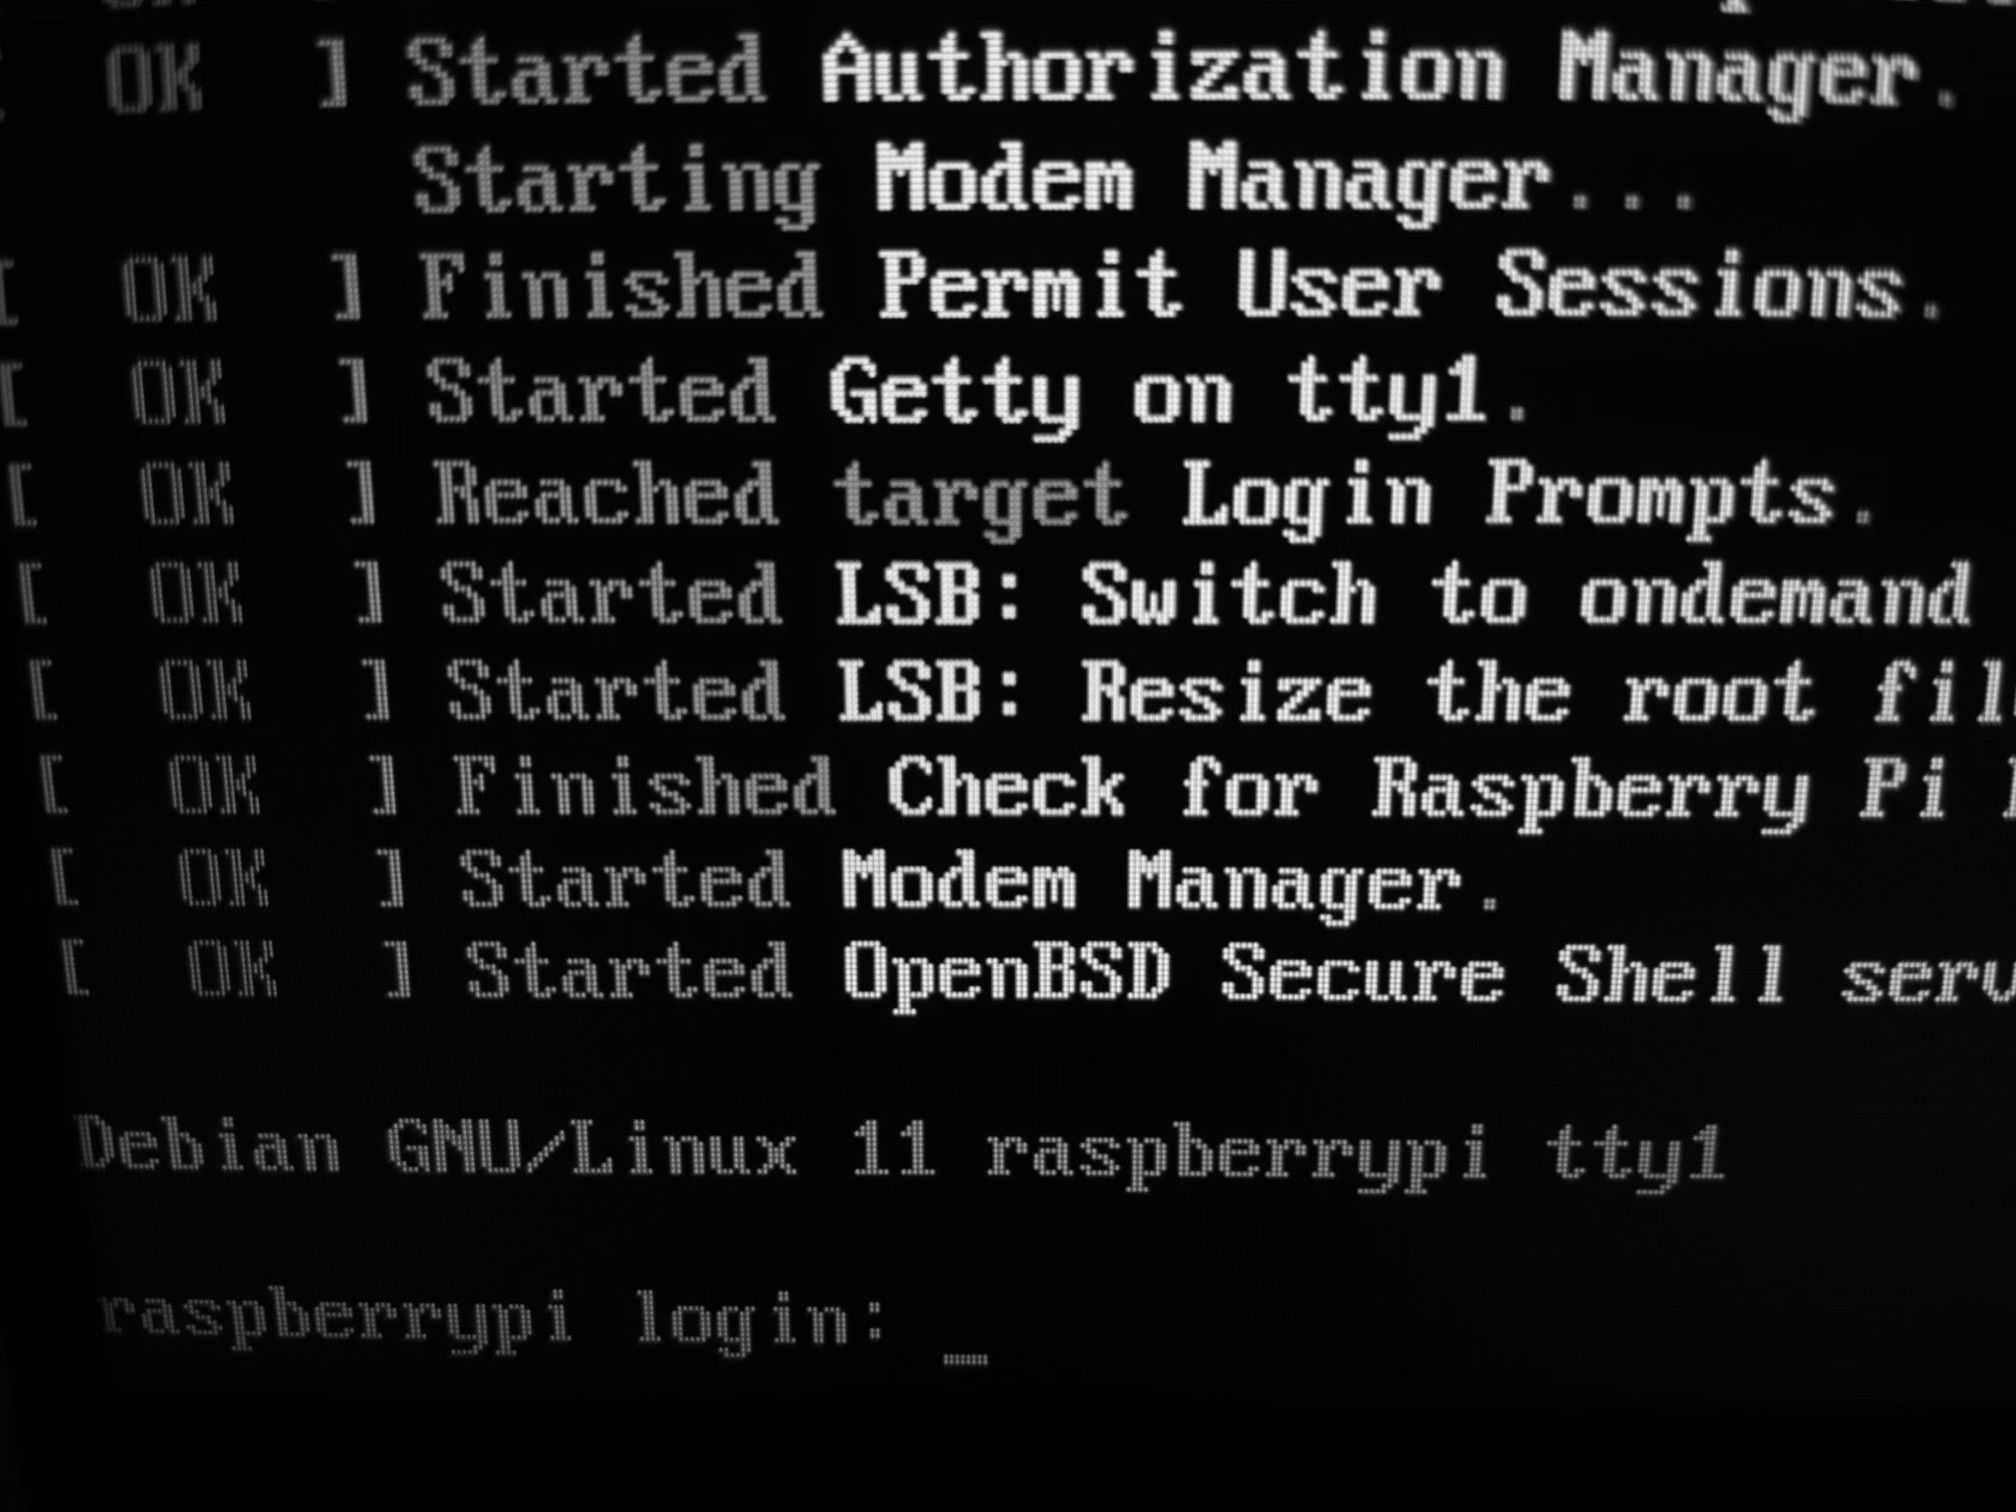
When the installation is complete, a login screen will appear on the Raspberry Pi (this is where the monitor comes in handy).
Enter your username and password that you created during the initial installation. Once logged in, it’s a good idea to update the newly installed operating system, reveal the Raspberry Pi’s IP address, and install the OpenMediaVault software.
Most operating system images bundled with installers do not contain the latest updates. You can easily make sure you’re up to date with the following instructions. Also, enter your password when prompted:
sudo apt update && sudo apt upgrade
Now you need to find your IP address. Enter one of the following commands:
ip addrifconfigUnder the you will find your IP address eth0 section and next to it inet.
On the nearby computer, open a terminal (or similar program) and type in SSH user@IP Address (replace user with the username you created during the initial installation and IP.Address with the IP Address you received moments ago For help connecting to your Raspberry Pi remotely, take a look at our step-by-step guide to SSH in Raspberry Pi for details.
Now that you have the basics of your Raspberry Pi server set up and ready, it’s time to install OpenMediaVault.
In the same application you used to connect to your Raspberry Pi via SSH, enter the following command:
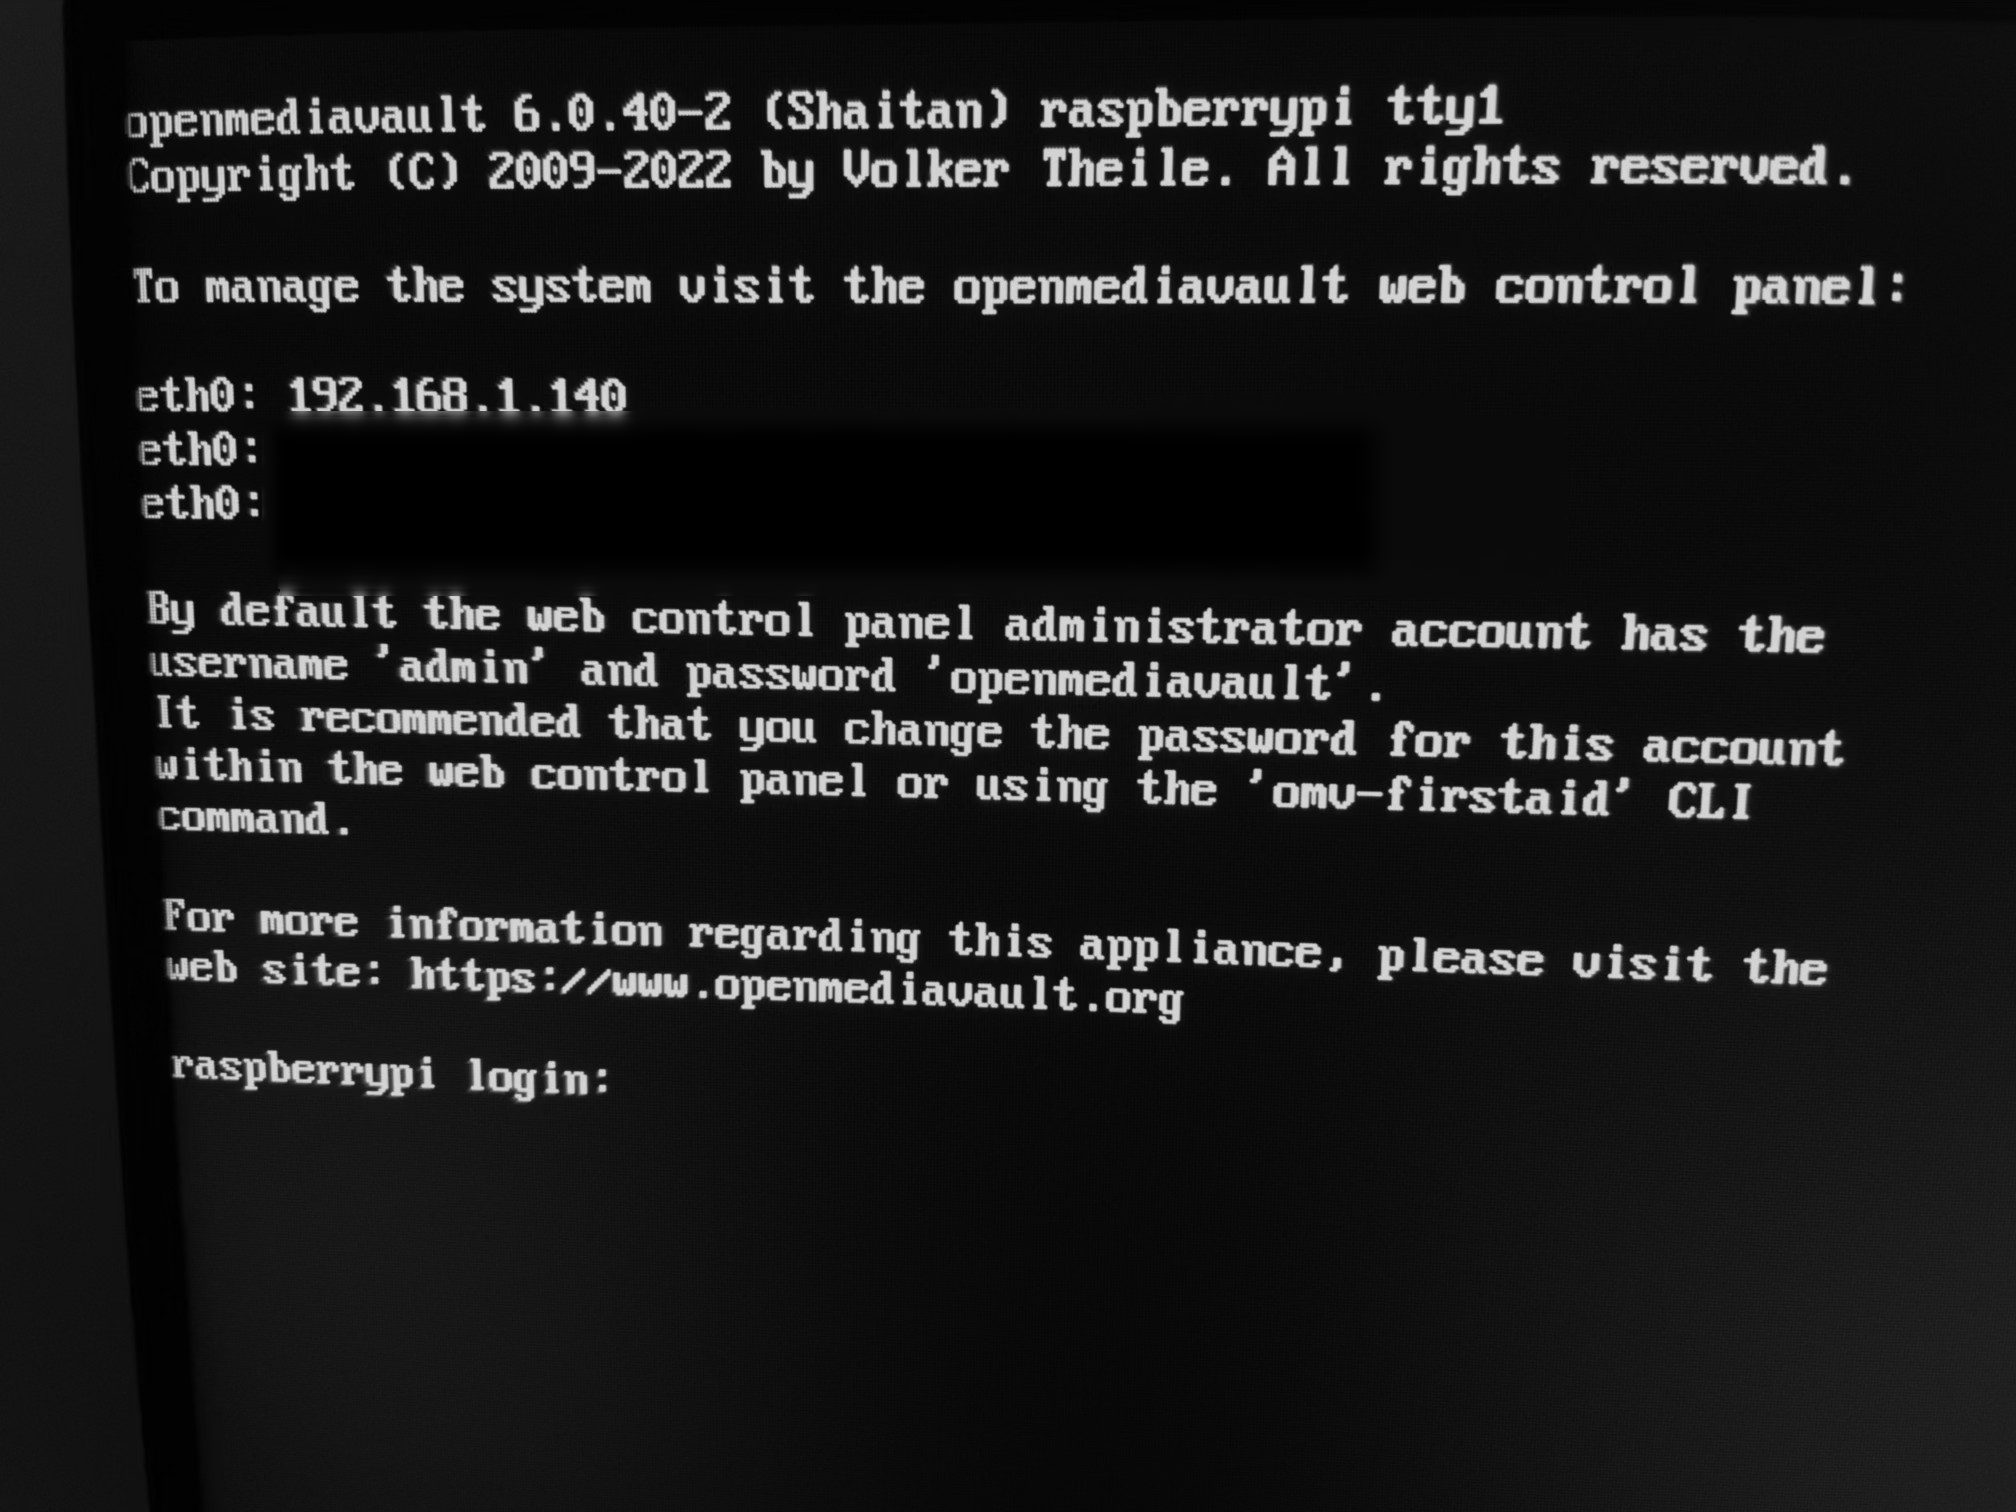
sudo wget -O - a href="https://github.com/OpenMediaVault-Plugin-Developers/installScript/raw/master/install">https://github.com/OpenMediaVault-Plugin-Developers/installScript/raw/master/installa> | sudo bashIf prompted, enter your password to continue. This takes up to 10 minutes. When this activity completes, you should see a screen similar to the one in the image.
When your Raspberry Pi has finished rebooting, the IP address may have changed. You can either note the new IP address (if it has changed for you) or type raspberrypi.local in the web browser’s address bar on your remote computer.
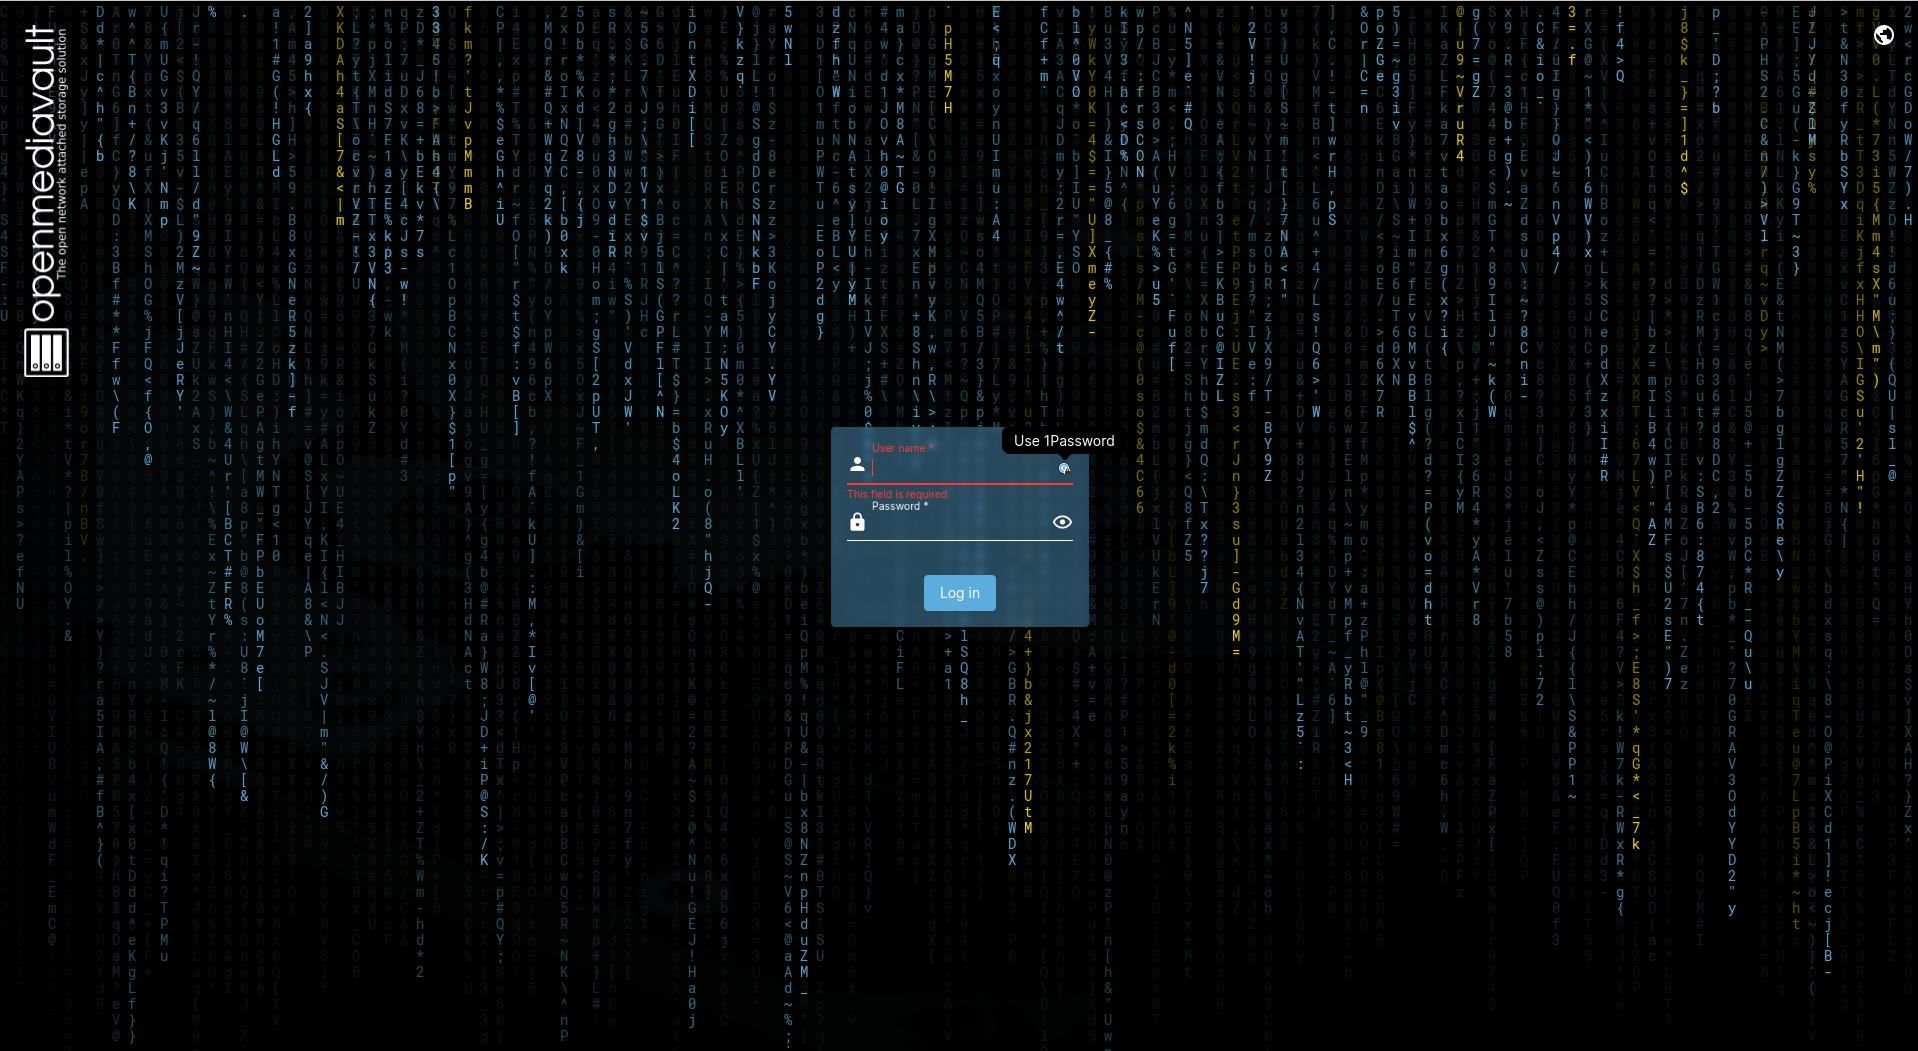
Note the default username (admin) and password (openmediavault) shared in the login greeting. That is very important. After entering your Raspberry Pi’s IP address (or raspberrypi.local) into your computer’s web browser, you will see a login screen.
Customize your server
Now enter the default username and password to login to your server! You will be greeted with a dashboard that needs to be set up. But first, make sure you change the default password. To do this, click the person icon at the top right of the OpenMediaVault main screen.
The included dashboard contains monitoring information for CPU, memory, containers, file systems, services, network interfaces and other diagnostic tools. After selecting the settings page hyperlink (within the informational message), you will be presented with a list of options. Check the boxes next to your preferred diagnostic metric and press Save.
To change your Dashboard widget settings, simply click the person icon in the top right and select Dashboard.
Adding Users
Choose Users > Users from the left menu. Then select the blue plus icon in the top left and fill out the required fields. Don’t forget to press save.
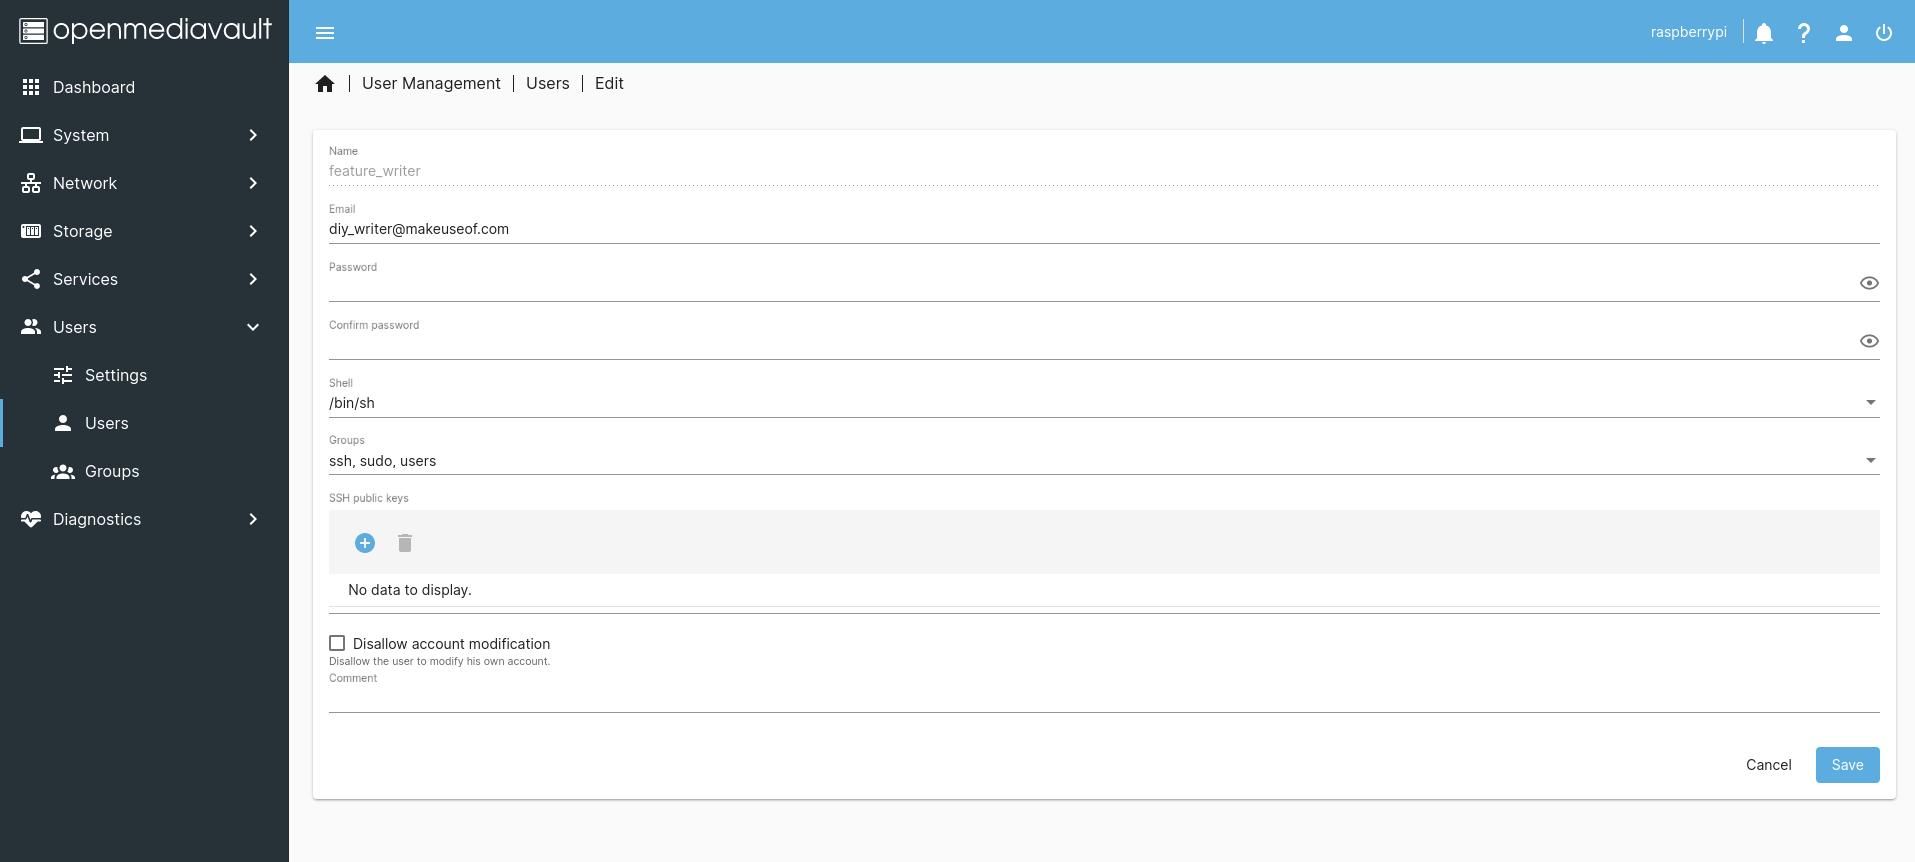
Your users are listed along with email and group information about each user. To change user details, click on the user row and press the pencil icon above the name heading. You should see something like the user details shown in the image.
To better understand Linux user and group permissions, take a moment to read our guide to get an in-depth understanding of Linux user and group permissions.
connect storage
You can choose how you want to use your connected storage. For example, you can use the 128GB SD card that you bought with a Raspberry Pi kit. You can also use a larger USB drive that collects dust. Before you can use your SD card, you need to tell OpenMediaVault to use the root file system for your server storage as well.
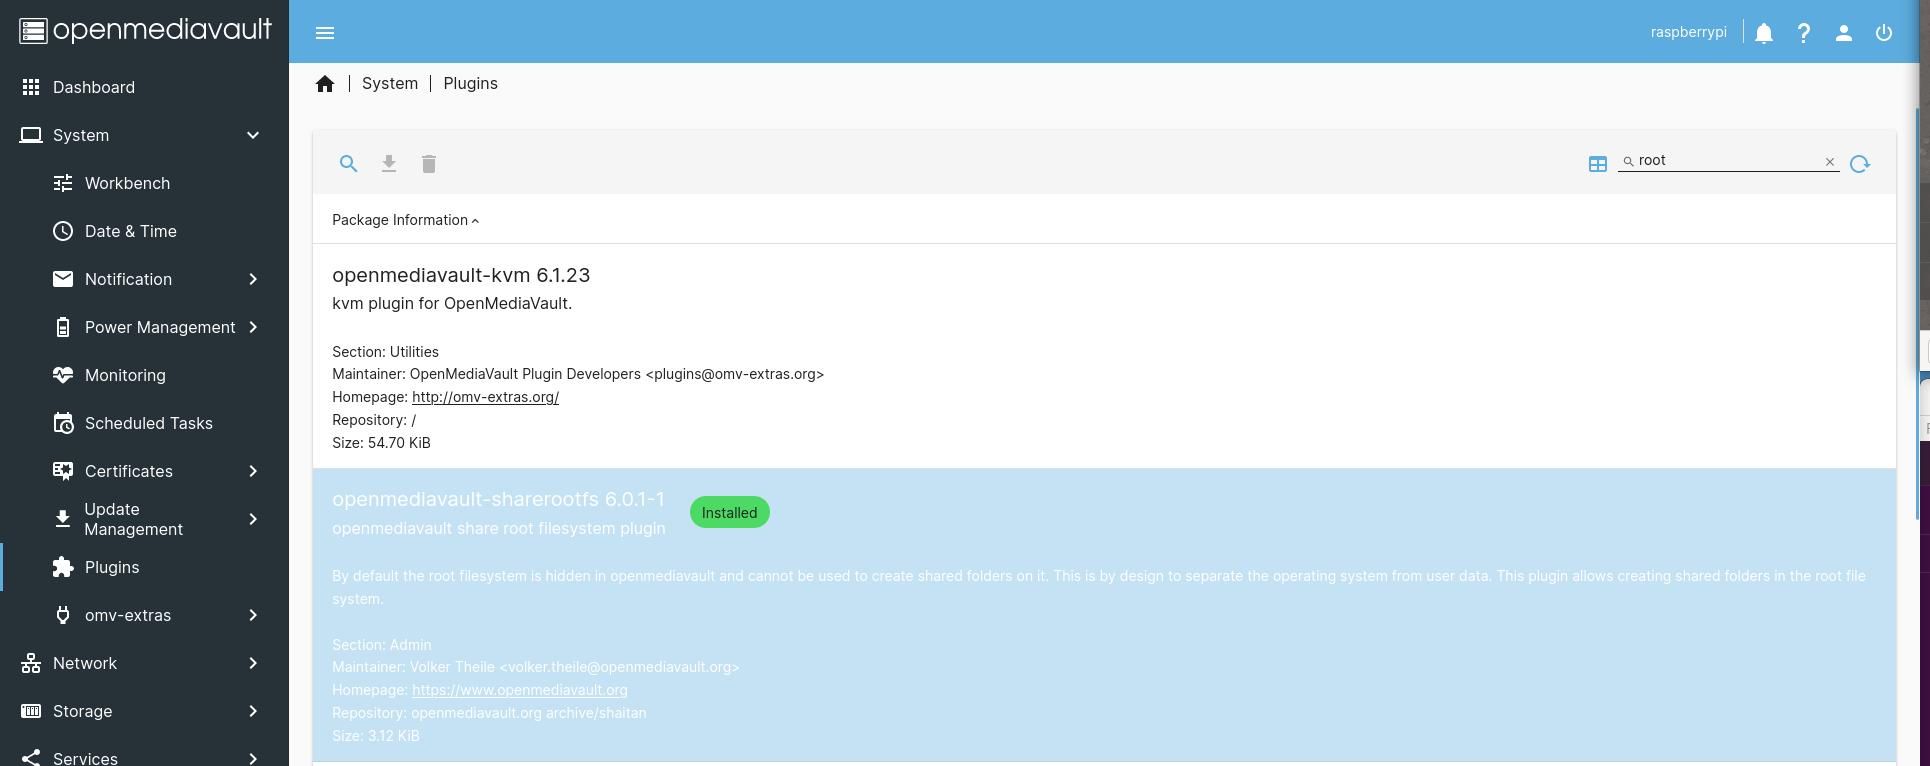
Choose System > Plugins in the left menu. At the top right of this screen you will see a magnifying glass and a line. Search for “root” and you will see the opemediavault-sharerootfs plugin. Simply select the plug-in you wish to install and then click the down arrow (above the words Package Information at the top of the screen).
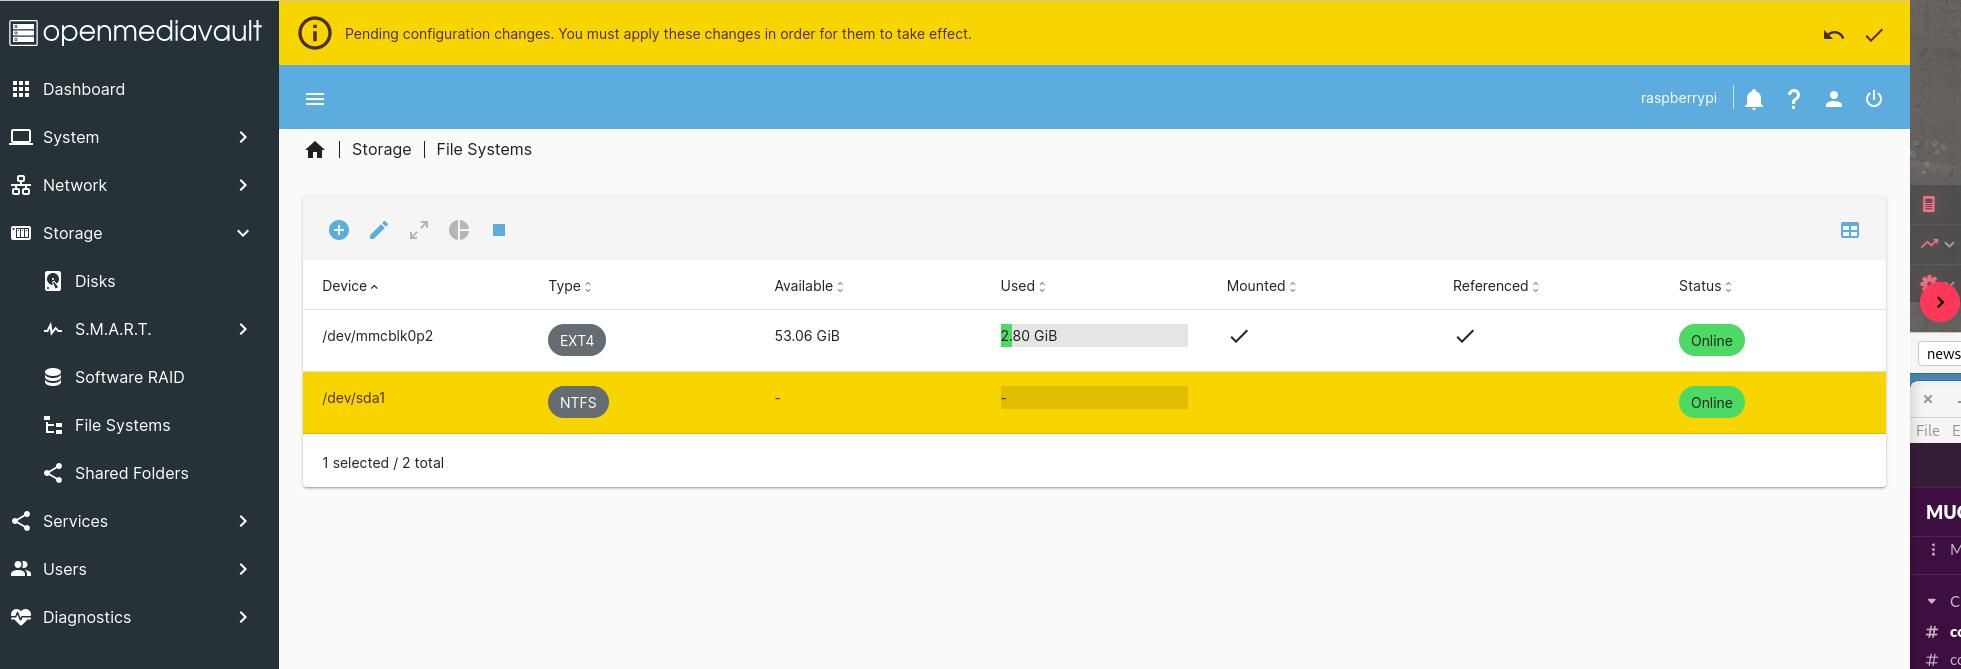
When that’s out of the way, select Storage (left side) > File Systems. Once there, select the blue plus icon at the top of the screen and choose Mount. Then select the file system you want OpenMediaVault to connect to and press Save.
You will also see a warning message at the top. Select the checkmark (top right of this management tool) to ensure your changes are saved. Press Yes when asked if you want to accept the changes.
Other options
You can also add Samba file sharing so you can easily transfer files to your new Raspberry Pi server. First select Services > SMB/CIFS. Check out our guide to learn which file transfer method is best for you.
To keep your server secure, it is important to provide certificates. Choose Certificates > SSH or Certificates > SSL. Click the plus and follow the simple instructions. OpenMediaVault does the rest! Explore our guide to learn more about the purpose of an SSL Certificate.
What will you create next?
Are you going to build a web server, reverse proxy, pi hole, or a plex media server? Of course, you can always stick with what OpenMediaVault was originally designed for – a NAS solution.
