
How to install Visual Studio Code on your Chromebook
Visual Studio is a free integrated development environment or IDE software. It helps software developers create code more efficiently and productively. VS Code supports multiple programming languages including Python, Java, C/C++, C#, PHP, Javascript/HTML/CSS among other.
Okay before you start;
Advertising – Continue reading below
- Enable Linux on Chromebook. You can install Linux on any recently released Chromebook 2-3 years. I am currently using a Samsung Galaxy Chromebook Go. To enable Linux on your Chromebook, go to Settings > Advanced > Developer > Enable Linux development environment. We already wrote a post about how to set up Linux on a Chromebook.
- Update the list of Linux packages. You can also install the optional (but highly recommended) gnome-keyring dependency. GNOME Keychain is a collection of components in GNOME that are saved Secrets, passwords, keys and certificates. So run the following commands;
- sudo apt-get update
- sudo apt-get install -y gnome-keyring
With that done, you can now install and set up Visual Studio on your Chromebook. First, download the appropriate file from the Visual Studio website https://code.visualstudio.com/download. There are different files for Windows, Mac and Linux. Since you’re installing Visual Studio in a Linux container running on your Chromebook, check the Linux files. Here you will see .deb file for Ubuntu or debian-based Linux distributions and .rpm to the Redhat, Centos or Suse distributions. So you should know the Linux container you have installed on your Chromebook. The default is Penguin, which is based on Debian.
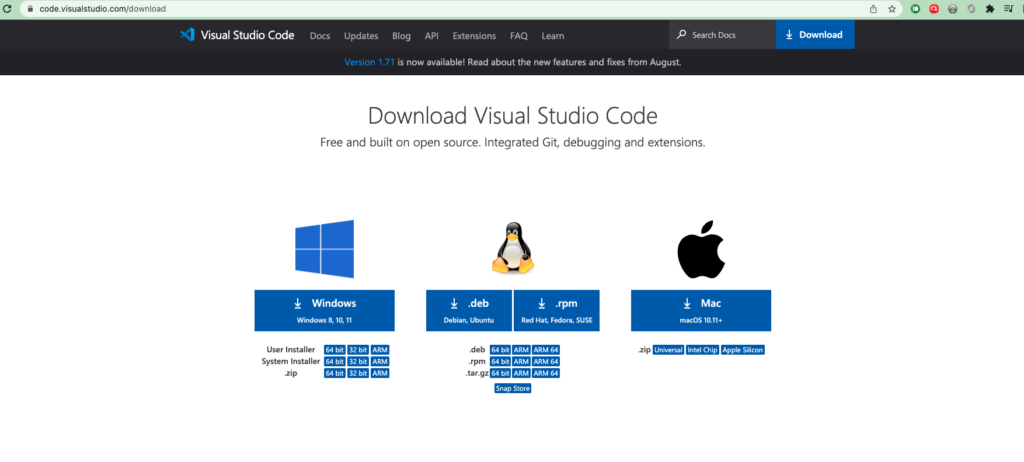
Next, you should know your Chromebook’s CPU architecture. Chromebooks are available with Intel/AMD 64-bit CPUs and ARM-based CPUs. So for Intel/AMD Chromebook use 64bit file while for ARM CPU you need to download ARM64 file.
Run the command dpkg — Print architecture in the Linux terminal to find out our CPU variant.
So as a combo, if you have a Debian-based Linux container running on an Intel-based Chromebook, then you should download .deb 64bit file.
Advertising – Continue reading below
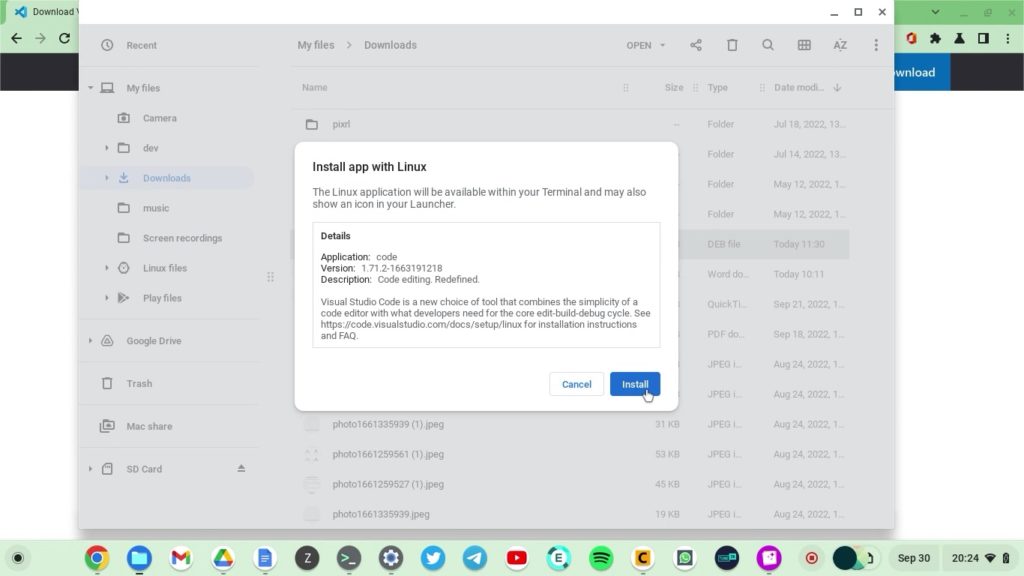
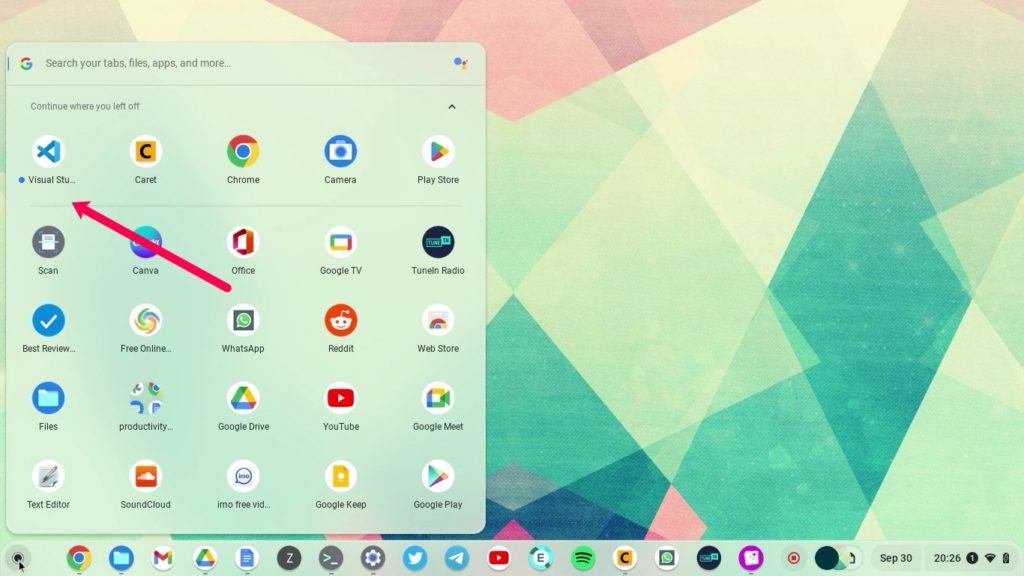
Once you’ve downloaded the correct file onto your Chromebook, simply double-click it. A Installer for Linux packages will appear. Click Install to start the process. In a few seconds, Visual Studio Code will be installed on your Chromebook. You can start it by searching for it in the file application launcher.
Now you can write code. To start developing applications in the programming language of your choice, you need to install additional dependencies specific to that language. For example, to start developing Javascript applications, you will most likely need Node.js.

To install Node.js you will need to install the Node Package Manager (nvm) which should help you install the appropriate Node.js version. If you want to develop Python applications, you need to install Python3, PIP along with other libraries suitable for your needs. The documentation tells you how to install additional Visual Studio plugins or dependencies for your language.
Related Post: How to Install Linux Apps on a Chromebook
Alright, here’s how you can turn your Chromebook into a coding machine. You can follow my youtube video tutorial for step by step instructions.