
How to Iron? All Ironing Tips! » Expat Guide Turkey
Ironing is a difficult and repulsive job for most of us. Different fabrics need to be ironed at different temperatures; There are some ironing techniques that must be used for items such as shirts and pants, some folds are difficult to open, the steam setting varies depending on the type of fabric. Because of such details, even experienced housewives face difficulties in this job, not only beginners. Learning the tricks of ironing will make the job easier and prevent wasting more time than necessary. Here are some tips to make ironing a breeze:
Dry the laundry so that it is easy to iron
- If you use a tumble dryer, dry the clothes to be ironed by setting the machine to the iron setting. In this case, the laundry comes out of the machine a little damper and therefore less wrinkled. This makes ironing easier.
- If you hang dry clothes, remember to stretch and shake them before hanging. Clothes that are hung neatly are easier to iron. It would be good to hang the washed laundry in the machine without waiting. If left in the machine for a long time, they will become very wrinkled and smelly.
- Preparations before ironing
Group the garments to be ironed. (skirts, shirts, t-shirts, pants, etc.)
- Do you do the iron standing up or sitting down? Adjust the height of the ironing board accordingly.
- Iron in a place where you can easily see the items to be ironed.
- Make sure the ironing board cover is thick enough and clean. Also check that the soleplate is clean.
- In order not to waste time commuting, prepare the equipment such as the chair to be stacked and the hanger to hang the ironed goods.
- Placing aluminum foil under the fabric of the ironing board will also open up the creases on the other side as the foil conducts heat.
- Prepare an ironing cloth for garments sewn from shiny fabrics such as silk, wool, and velvet.
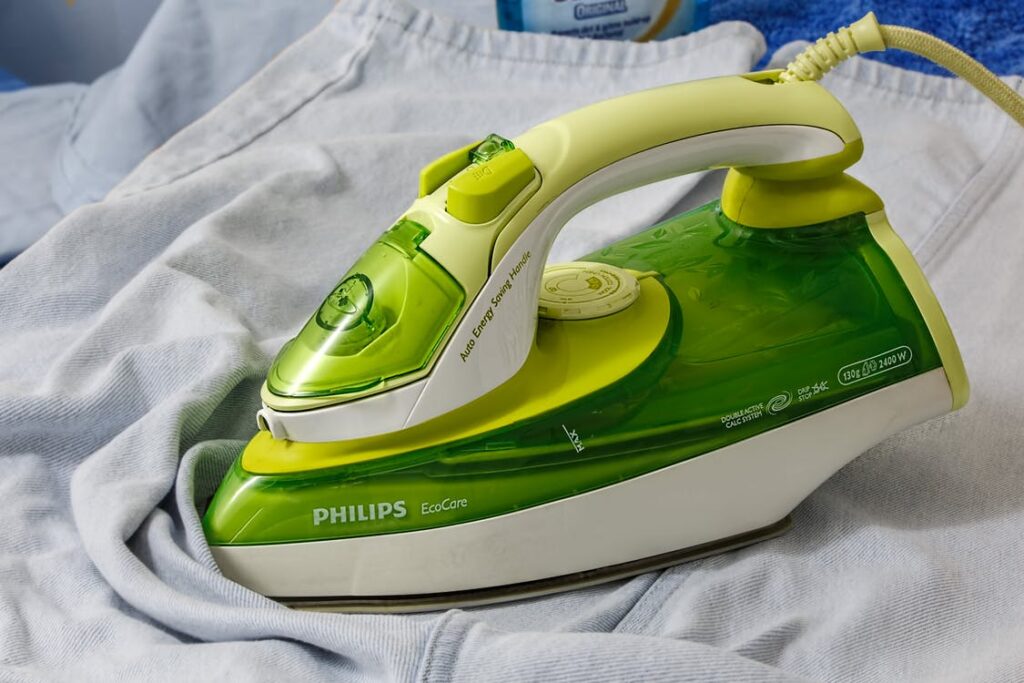
When pouring water on the iron
- Fill the iron with water before plugging it in.
- Fully close the steam control knob if water comes out.
- Do not suddenly pour the water into the iron, it may overflow. Tilt the iron slightly and slowly pour the water through the feed hole.
- If you want the laundry to smell nice, you can add a small amount of essential oil to the ironing water.
Ironing tips
If there are large items to iron, start with them. Lay a sheet or blanket on the floor so it doesn’t touch the floor.
Set the temperature of the iron according to the type of fabric. If the garment has ironing instructions, follow those. In general, synthetic, synthetic blend and silk fabrics should be ironed at a low and medium temperature, wool at a medium or high temperature and linen and cotton at a high temperature.
If you are unsure whether the iron temperature is appropriate for the fabric you are ironing, test the temperature on a part of the garment that is on the inside or is not too badly damaged.
Tips for ironing shirts
- First the sleeves and cuffs are ironed. Place the cuff of the shirt inside out on the ironing board and iron with light pressure. After turning and ironing the outside, place the sleeve of the shirt on the table and smooth it out. Meanwhile, make sure the hemmed part comes down. This reduces the chance of double lines on the arms. After you have finished ironing by moving the iron over the arm with the appropriate temperature, iron the back side as well. Now it’s time to iron the part between the cuff and the arm. To do this, connect the 2 ends of the cuff together and hang the cuff forward so that the folds lie. Then press the iron over the pleats, being careful not to touch the cufflink.
- After the sleeves of the shirt, the shoulder part needs to be ironed. The easiest way to iron the shirt shoulder is to first bring the back of one of the shoulders to one of the edges of the table and run the iron over it. Then, without removing the shirt from the ironing board, gently grasp it and turn it so that the other shoulder is in the same place and iron it as well. Then iron the front of the shoulders on the table, being careful not to touch the collar buttons and the other buttons of the shirt.
- After ironing the both sides of the arms and shoulders in the shirt ironing process, it is time to iron the front and back. Begin by placing the unbuttoned portion of the shirt on the table and ironing that area. Then pull the ironed part towards you, being careful not to crease the sleeves, and iron over the seam on the side. Iron the back of the shirt by continuing to pull the shirt in the same way. If you’re ironing a shirt that has pleats in the back, pull it down to reveal the pleats. After straightening the battery with your hand, push the iron up. Then pull the shirt closer to you and iron it onto the other side. Make sure that the iron does not touch the buttons.
- The last part of the shirt to be ironed is the collar. To iron the collar, first place it upside down on the ironing board, with the unwritten part facing you. After ironing, turn and iron the other side. Press the iron harder in this part so that the padding lies inside the collar. If you want to hem the neckline, gather as needed. Bring each half forward by gently pressing down on the iron. This is how you give the collar the right shape.
HOW TO IRON CLOTH PANTS? HOW IS THE LINE DOWNLOADED?
First take out the bags. Then determine the seam marks of the trousers, lay the seams parallel to each other and start ironing. You can finish the ironing process by first ironing the inner part of the lower leg and then the outer part of the thigh. Don’t forget to use the steam intensively to define the lines of the pants.