
How to Make an Image Black and White in GIMP
GIMP, the free, open-source raster graphics editor, offers users multiple ways to create a color image in black and white. In this article, we discuss the difference between black and white and grayscale images. Then we’ll go through a few ways you can use GIMP to convert an RGB color image to grayscale or black and white.
For this GIMP tutorial, we used the latest available version for Microsoft Windows, GIMP 2.10. Download GIMP for Windows, MacOS, and Linux from gimp.org.
Black and White vs Grayscale
What is the difference between black and white and grayscale? In black and white photography, the terms are used synonymously. Look at the picture below.
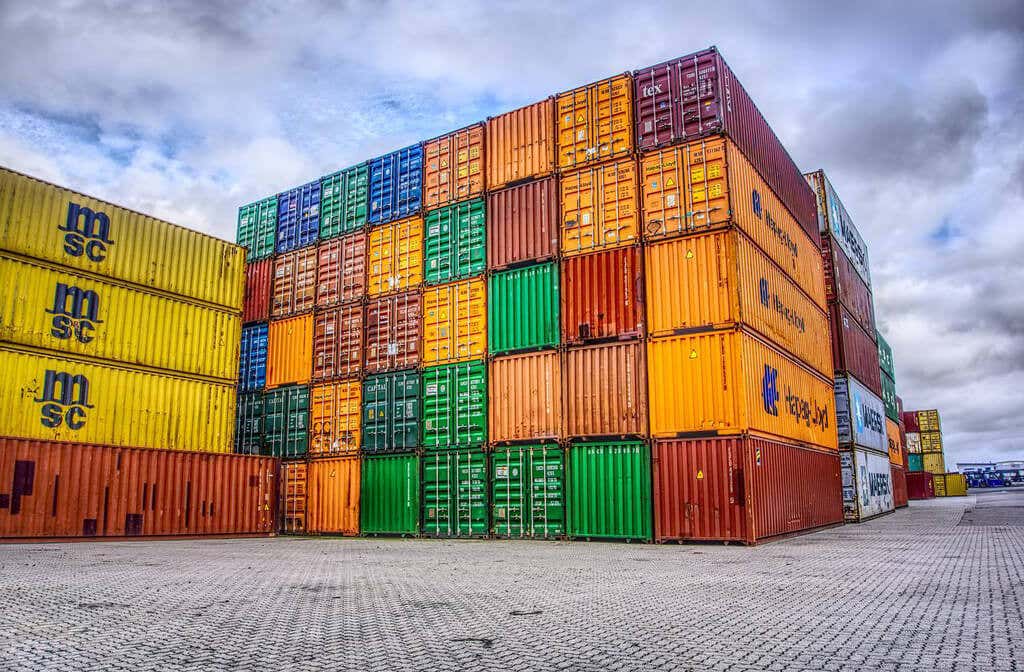
This is a color photo in RGB mode. If we remove the color, it looks like this:
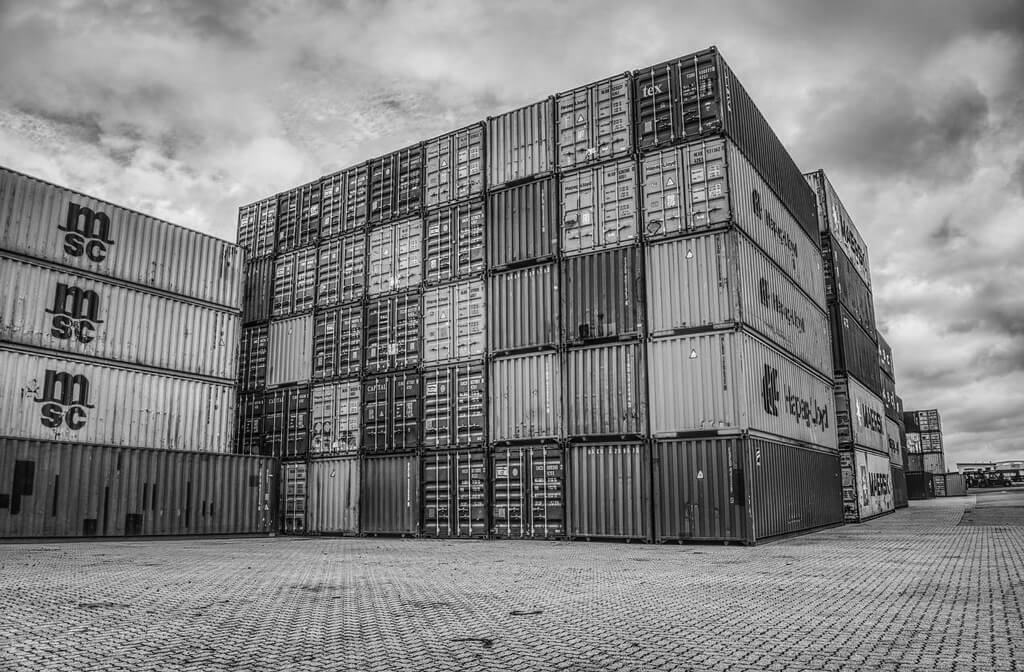
Most people would describe this colorless image as a black and white photo, but a more accurate term is “grayscale.” While black is the only color used in the image, the image consists of a spectrum of shades of gray ranging from pure white to pure black.
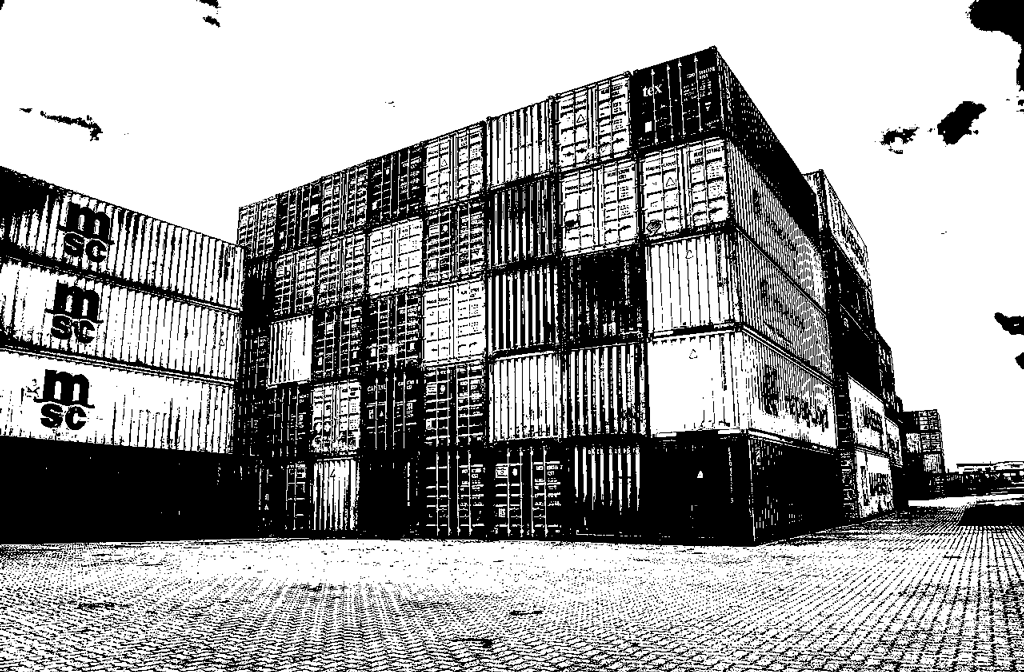
In the world of photo editing, it’s important to distinguish between grayscale and true black and white, which uses only black and white and no grayscale. Here is the same image in true black and white.
The first step to converting an image to black and white in GIMP is to decide whether you want to convert it to true black and white or grayscale. We’ll cover both below.
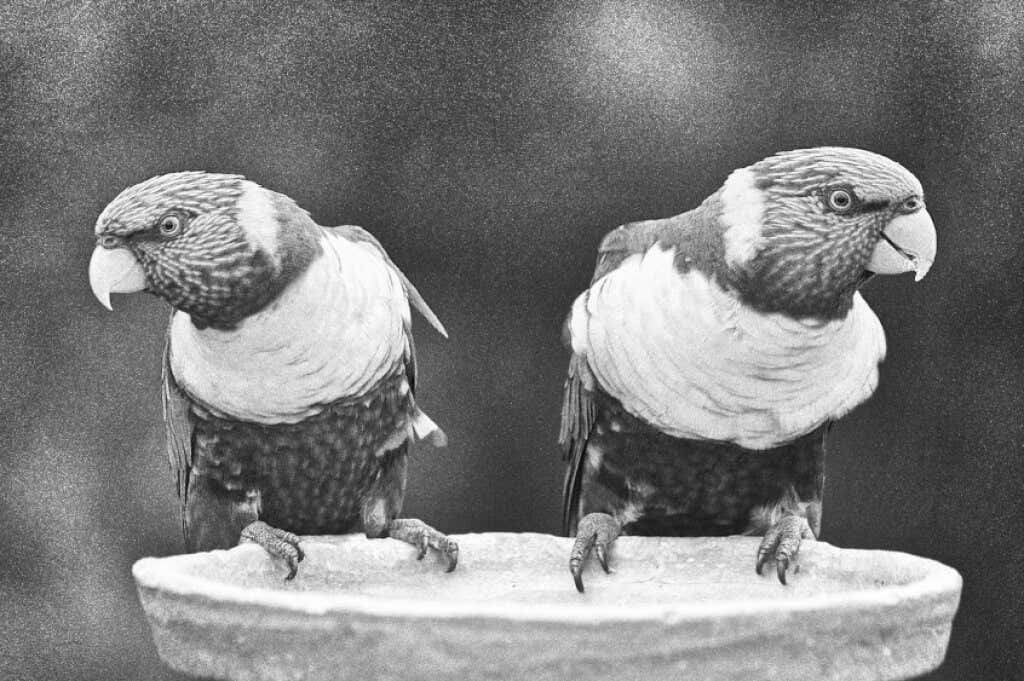
How to convert a color image to true black and white in GIMP
GIMP’s process of converting a color image to black and white involves using the Threshold tool.
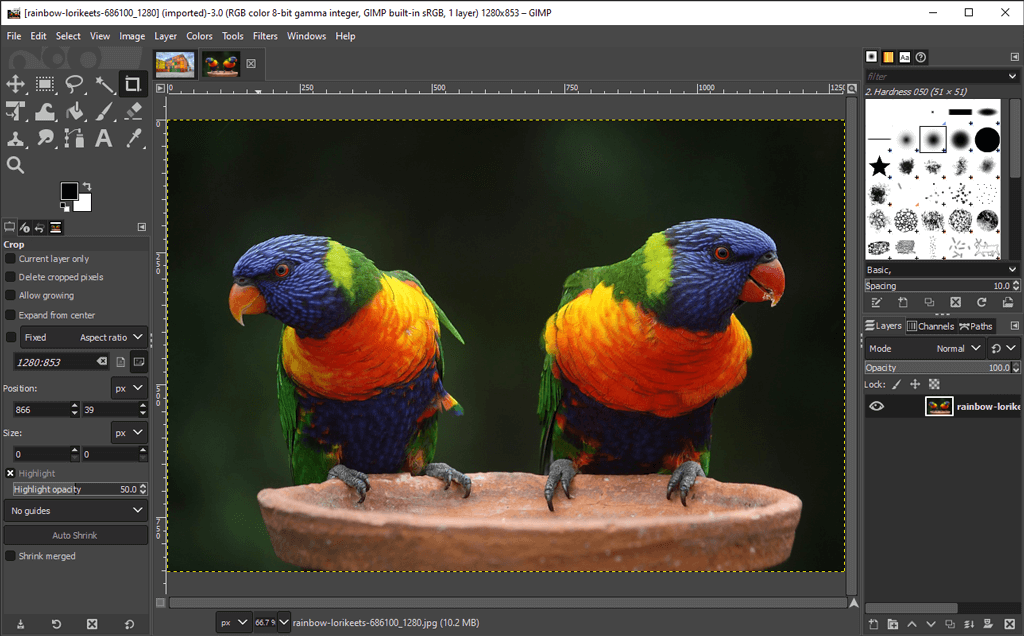
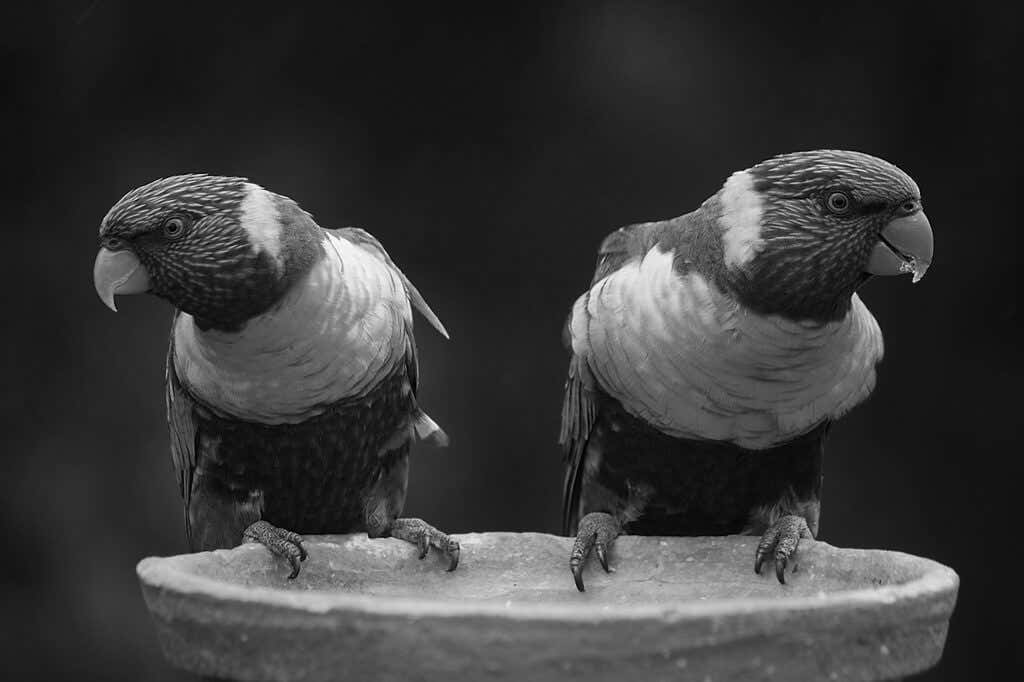
- Open your image in GIMP. We use this image of two colorful birds.
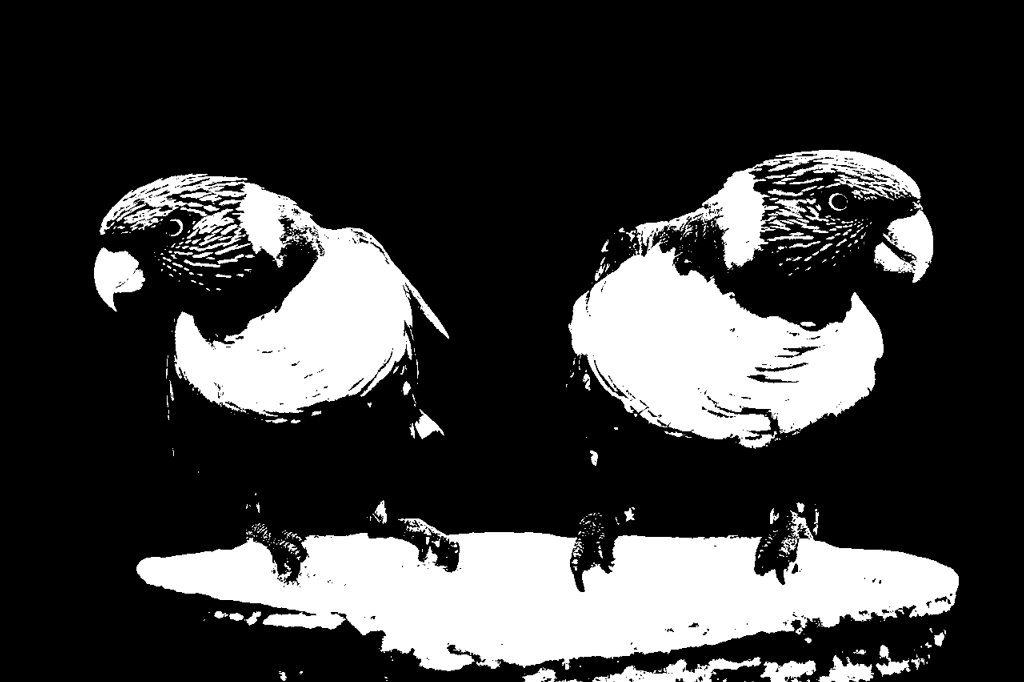
- In which Colours menu, select threshold. This tool turns the current layer or selection into a black and white image. This is what our picture looks like now.
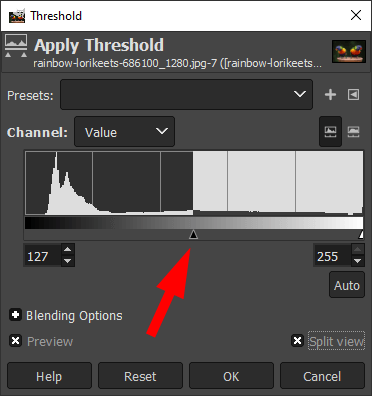
- Notice that channel slider in Apply Threshold Dialog. Drag it left and right to adjust the threshold until you like what you see.
- Check the shared view to show the threshold applied to half of the image so you can compare it to the original color image.
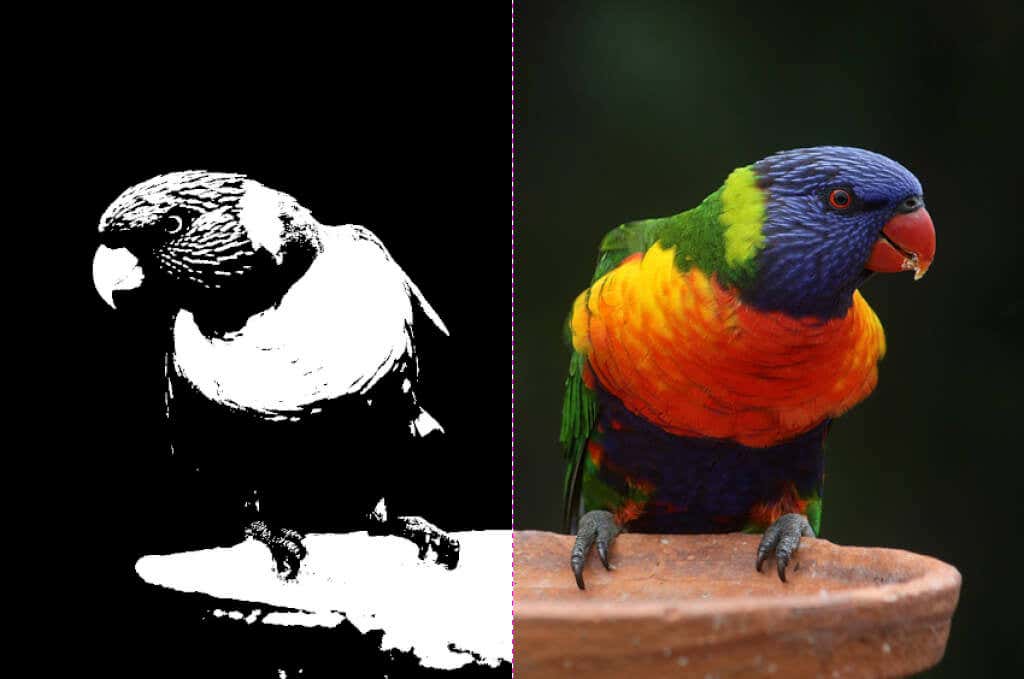
- When you are happy with the threshold, click OK.
What used to be a full color image is now pure black and white, and you didn’t even have to buy Adobe Photoshop.
How to create a grayscale image in GIMP
There are several ways to convert a color image to grayscale in GIMP.
Convert the image to grayscale mode
The quickest and easiest way to create a grayscale image in GIMP is to switch the document’s color mode to grayscale.
- Choose picture > mode > greyscale.

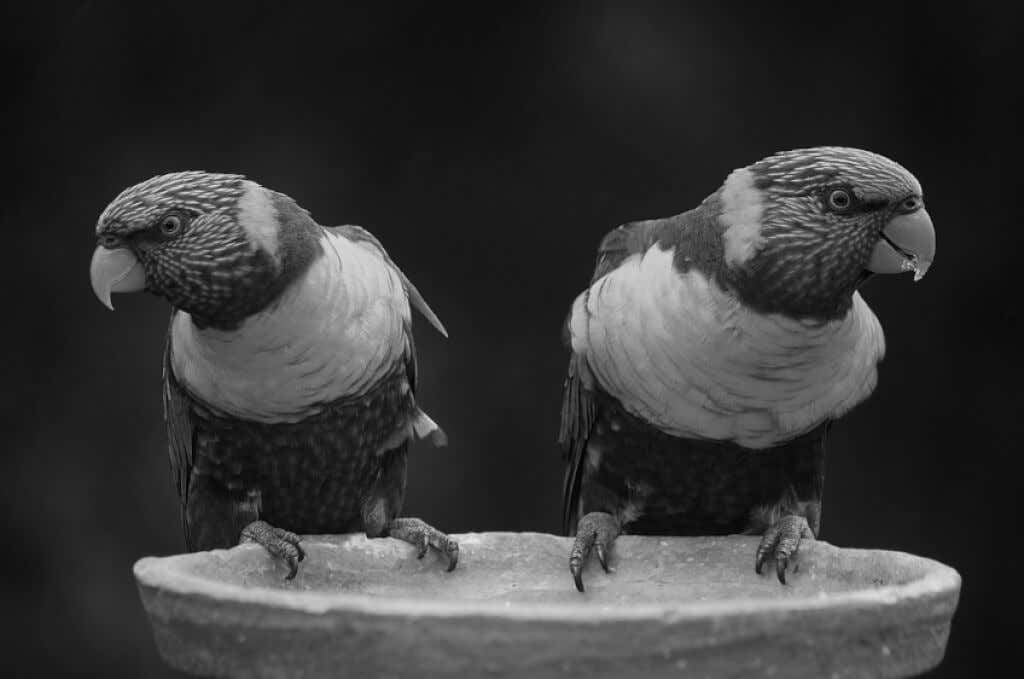
4. Your color image now consists entirely of black, white, and gray pixels.
Note: Once you’ve converted an image to grayscale, you can’t go back to color. Save a copy of the color image before you begin. Also note that changing the color mode of an image affects the entire image, even if you only have part of the image selected.
Create a grayscale image with the mono mixer
To convert a color image to grayscale using GIMP’s Monomixer tool, follow these steps:
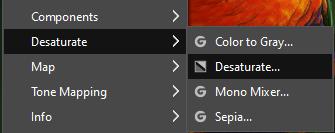
- Choose Colours > desaturate > mono mixer. (Alternatively, right-click to access the same menu options.)

- If you have them preview If you checked the box, you will see that the color image is now displayed in grayscale.
- By default, each color channel is set to 0.333. Experiment with changing the ratios for one or more of the channels. In the example below, we increased the settings for the Red Channel Multiplier to 1.826, the Green Channel Multiplier to 0.930, and the Blue Channel Multiplier to 0.686. Check the preserve luminosity box keeps the luminosity at the same level no matter what changes you make to the channel mixer.
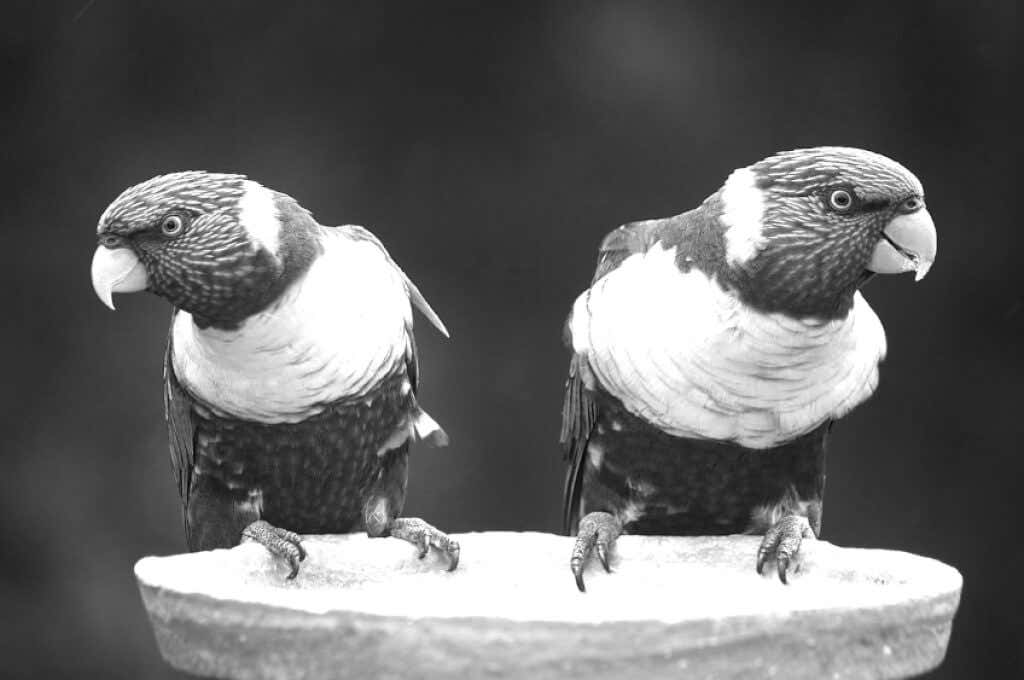
As you can see, adjusting the RGB channels in the mono mixer can make a big difference.
Desaturate to convert a color image to grayscale
A third method of converting color images to grayscale involves adjusting the image saturation.
- Choose Colours > desaturate > desaturate.
- Use of mode Try the different options including luminance, luma, ease, Averageand value. Check the shared view Box to compare the desaturated image with the original.
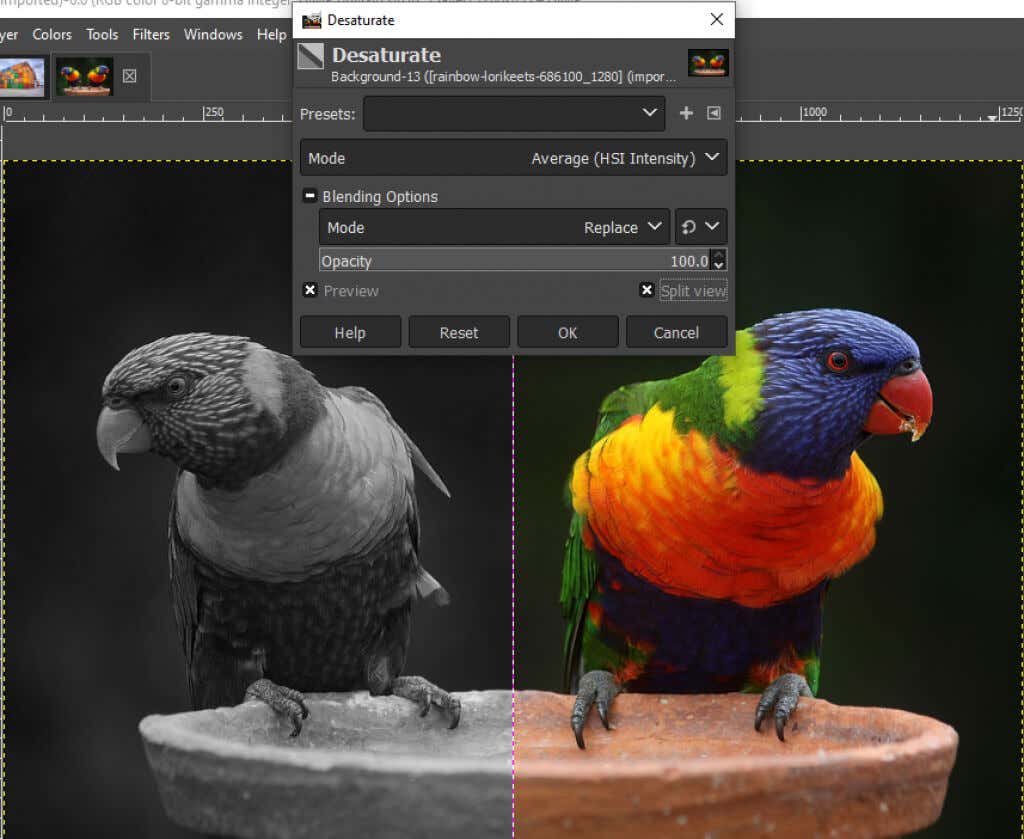
- If you are happy with the results, click OK.
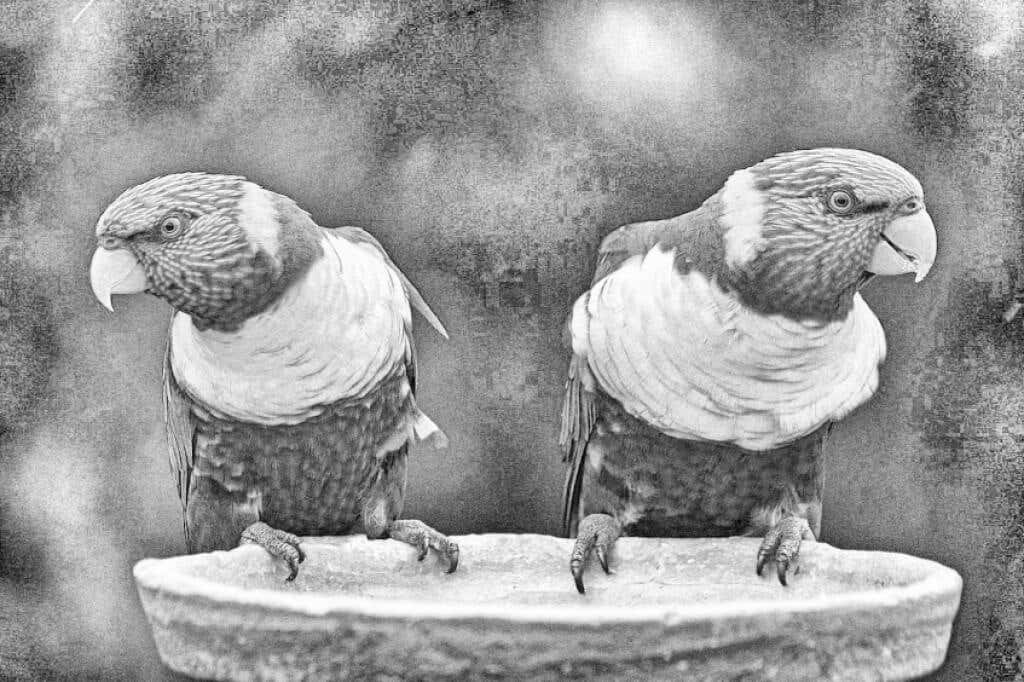
How to use the Color to Gray tool in GIMP
You can also use the color to grey Tool to convert an image to grayscale in GIMP.
- Choose Colours > desaturate > color to grey.

- GIMP doesn’t provide any documentation on what exactly the color to grey tool does, but as you can see from the image below, the effect is more artistic than just a desaturation.
- Experiment with the radius, samplesand iterations slider and the enhance shadows Check boxes to achieve different effects. The image below has the following settings: Radius – 217, Samples – 5 and Iterations – 23.
Use the Hue Saturation tool to create a grayscale image in GIMP
That hue-saturation The tool is another way to create a grayscale image in GIMP.
- Choose Colours > hue-saturation.
- Sentence saturation to -100 or move the slider all the way to the left to convert the image to grayscale.
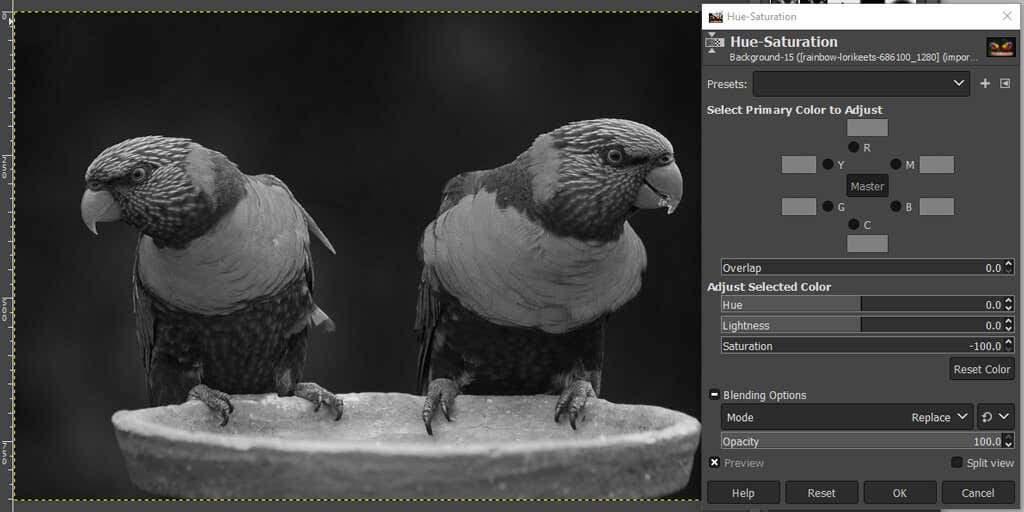
- click OK.
As you can see, there are many ways to make an image black and white in GIMP. If you know multiple methods, you’re more likely to find one that works best for the image you’re editing.
Make bold decisions
A lot of image editing comes down to trial and error, so don’t be afraid to explore all the tools at your disposal – whether you’re using GIMP, Photoshop, or another image editing app.
First, try our How to Make a Transparent Background in GIMP tutorial, which teaches you how to use a layer mask. Or experiment with plugins for GIMP that extend the functionality of the app.