
How to Make Your Twitter Account Private

Sometimes you want to be on Twitter for followers you choose, but eliminate other noise. How to make your Twitter account private.
When you tweet, it broadcasts your thoughts to the world. If you have a good joke or piece of news, it could go viral and blow up your phone. But on the other hand, you might tell a bad joke or post something offensive (unintentionally or for other reasons). Your tweet can go viral for all the wrong reasons.
Instead of broadcasting to the world, you might want to make your Twitter account private. This allows your tweets to only be seen by your followers and not retweeted. In addition, your older tweets will also be protected.
If you want to protect your tweets, you can make your Twitter account private to have some level of privacy on the social media network. This guide will show you how.
How to make your Twitter account private
Knowing how to switch to a private Twitter profile has been a little harder since the last Twitter redesign. The following steps explain what to do.
To make your Twitter account private on your desktop:
- Start your default browser, go to Twitter websiteand sign in if you’re not already.
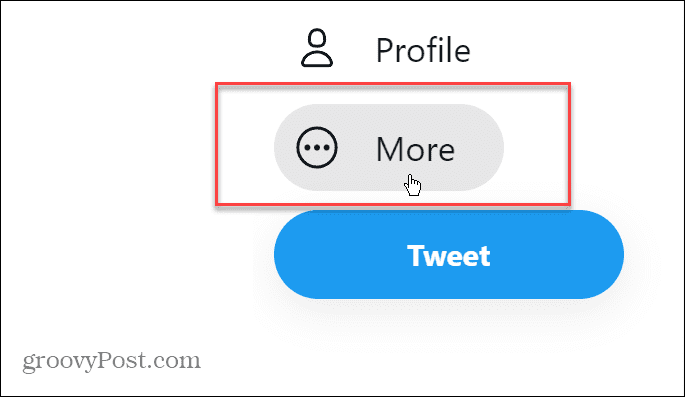
- After logging in, click More from the menu on the left.
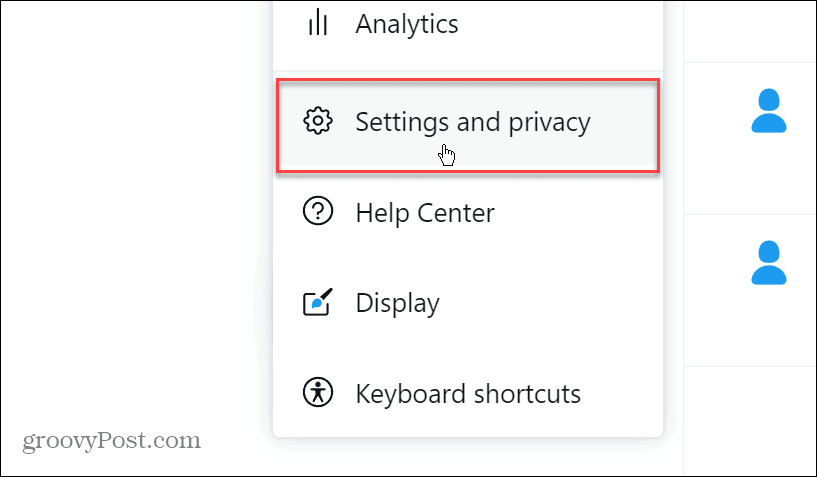
- Tap the Settings and Privacy option from the menu.
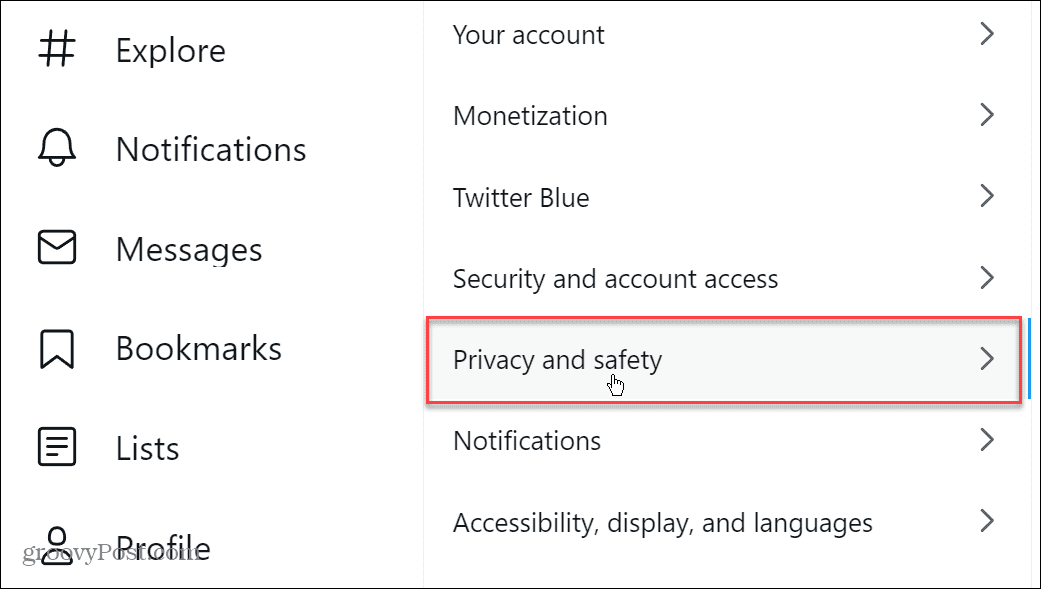
- Under the settings List in the middle of the page, click privacy and security.
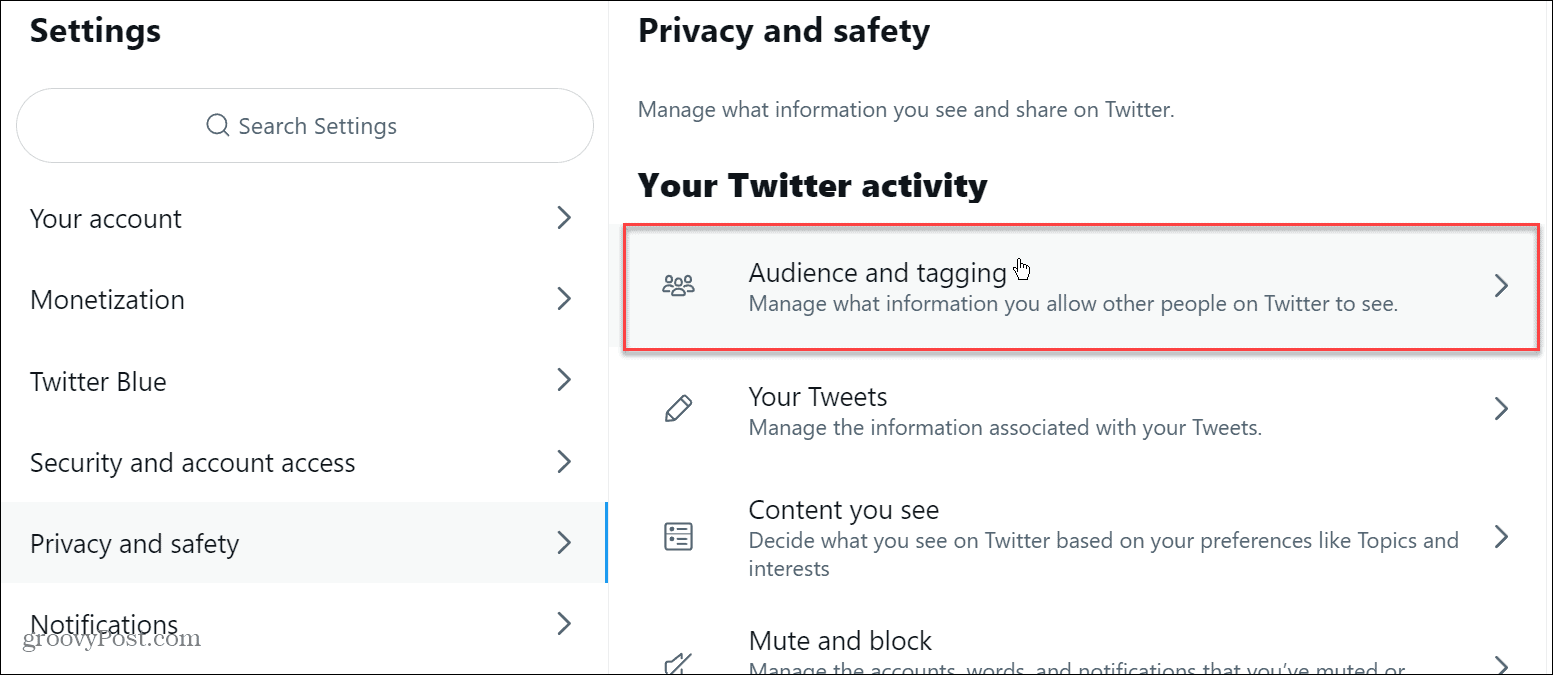
- press the Audience and tagging option in the Privacy and Security list (under the Your Twitter activity Section).
- Under the Audience and tagging section, check the Protect your tweets Crate.
- press the To protect button when the confirmation screen appears.

After completing the steps above, your tweets will be set to Private, making your entire account private. If you have previously made your Twitter account private on your desktop, you will notice that the steps have changed from those shown above.
How to make your twitter account private from mobile
Many Twitter users use their mobile phones or tablets to tweet news and manage settings. We will show you below how to make your Twitter account private on your iPhone. If you have an Android device, the steps are practically identical.
To make your Twitter account private from your phone or tablet:
- Install the Twitter mobile app on your iPhone or iPad, or install the app on your Android device first if you don’t have it.
- Launch the app and log into your Twitter account if you haven’t already.
- Tap yours profile icon in the top left corner of the screen.
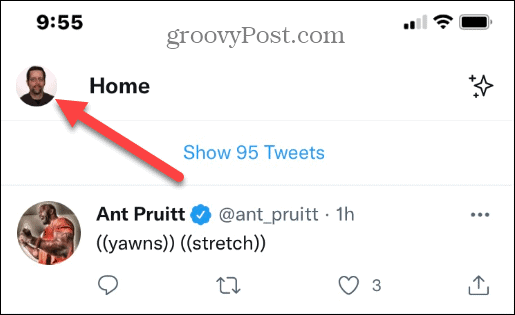
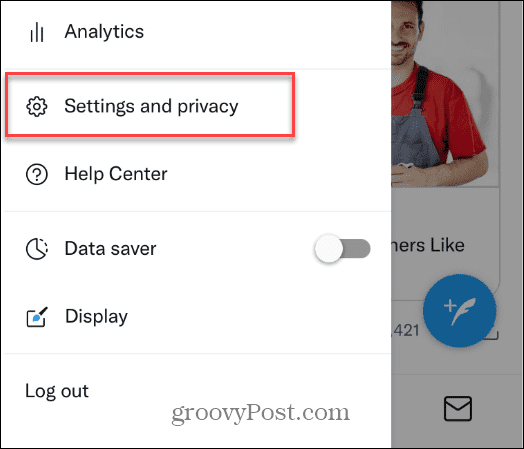
- When the menu opens, scroll down and tap Settings and Privacy from the list.
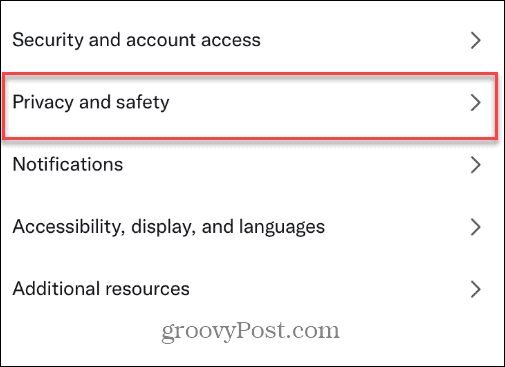
- On the next screen, tap privacy and security option from the list.
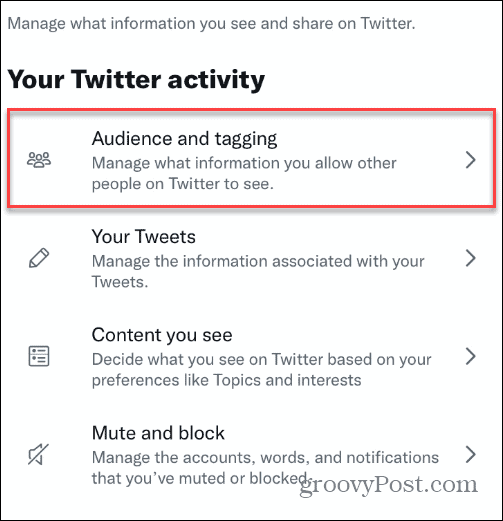
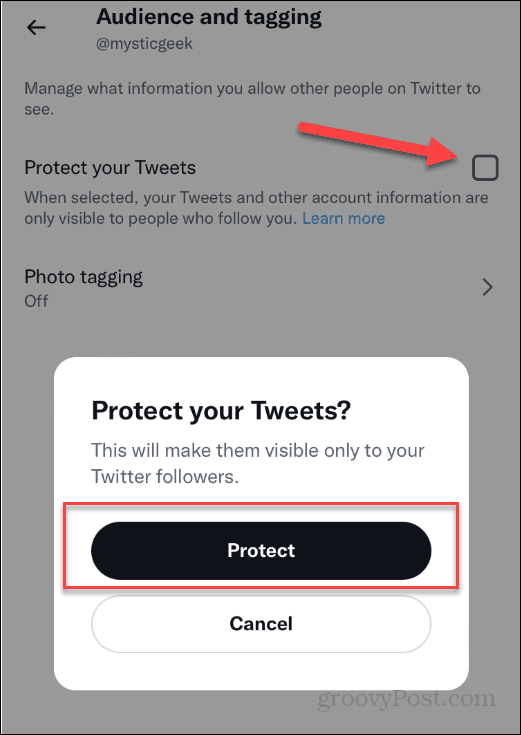
- Under the Your Twitter activity section, tap Audience and tagging from the menu.
- Under the Audience and tagging In the section, tap the checkbox next to Protect your tweets.
- Choose To protect button in the popup menu to check this.
Stay private on Twitter
If you make your Twitter account private, only your followers can see your tweets, giving you extra privacy. In addition, it prevents all that extra noise from the platform from bothering you.
Note that if you reply to another user with a private account, even if it’s a public account, they won’t see it. This is a small compromise, but it can be significant depending on how you want to use the platform.
If you’re new to Twitter, be sure to read our guide to using Twitter. You should also learn how to enable 2FA on Twitter for extra security. If a private account is not enough, you can also permanently delete your Twitter account.
If you are a heavy Twitter user, you can always download and view your Twitter history.