
How to Print on an Envelope in Microsoft Word
If you want to send professional-looking correspondence, don’t let the first thing your recipient sees be a messy handwritten envelope. Take an envelope, put it in your printer and type the name and address into Microsoft Word.
Here we will show you how to print an envelope in Word using a template as well as from scratch on both Windows and Mac.

note: At this time, you cannot print an envelope from the Microsoft Word mobile app.
Print on an envelope in Word on Windows
Before you begin, you may want to determine the envelope size you will be using, as you will need this for the settings you are customizing. You can also load your envelope into the printer so it’s ready to go.
Use an envelope template
If you want to add a little sparkle to your cover, you can use one of the Word templates.
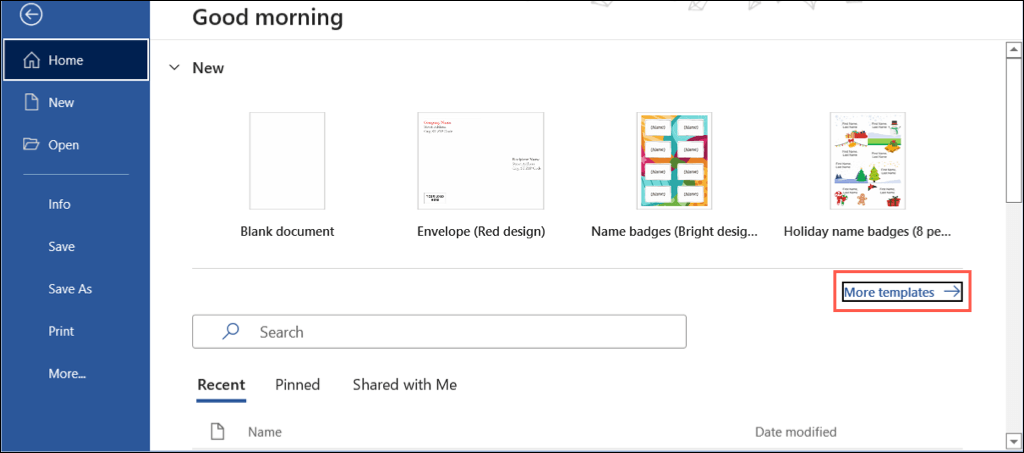
- Open Word and make sure you are in the home Section.
- Choose More templates On the right side.
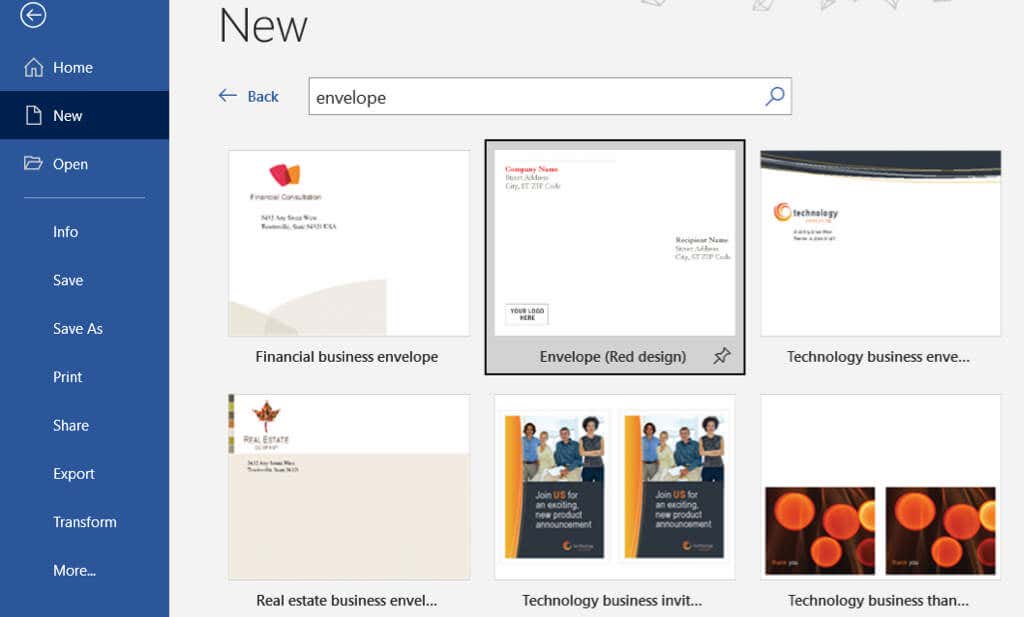
- Type “envelopes” in the search box and press Enter.
- You’ll then see a handful of envelope templates that you can use. If you see one you like, select it and use it Create open for editing.
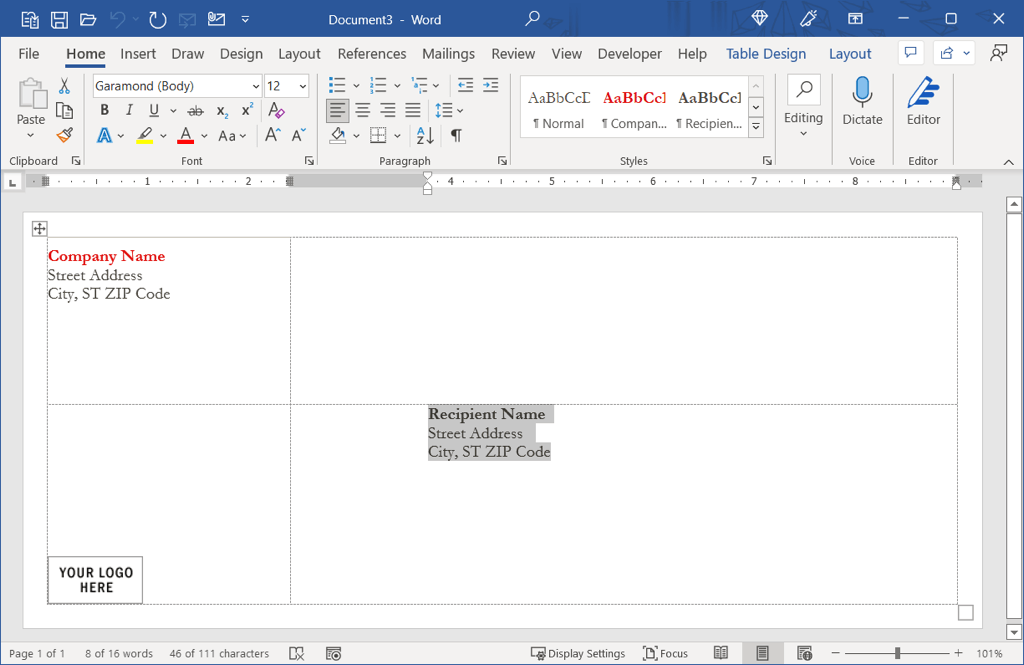
Depending on the template you choose, you may have the option to add a logo or image. For the recipient and return names and addresses, simply enter the text in the placeholders.
Create an envelope from scratch
If you don’t see a template you like, it’s just as easy to create an envelope from scratch.
- With a blank document open in Word, select the mailings tap and select envelopes on the left.
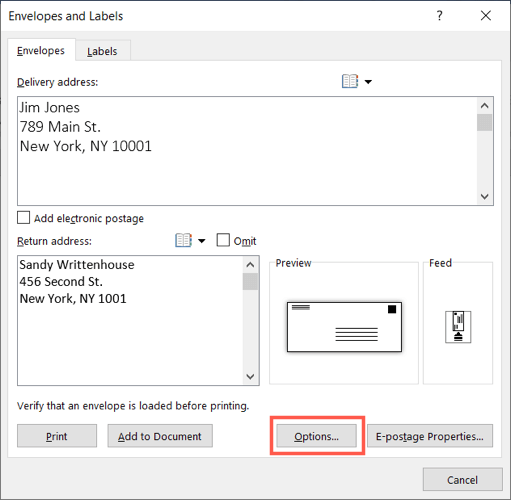
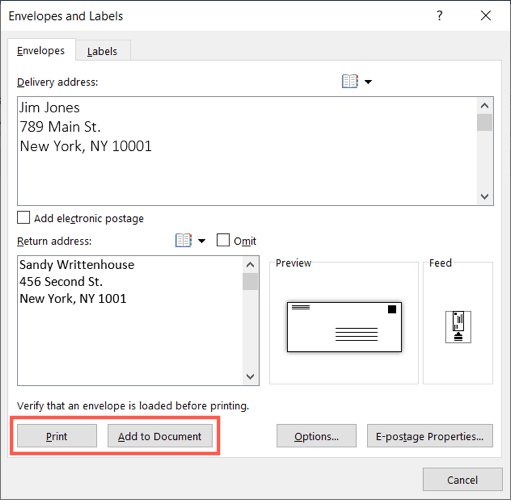
- In the window that appears, enter the delivery address at the top and the return address below.
- Choose options to select the envelope size and printing options.
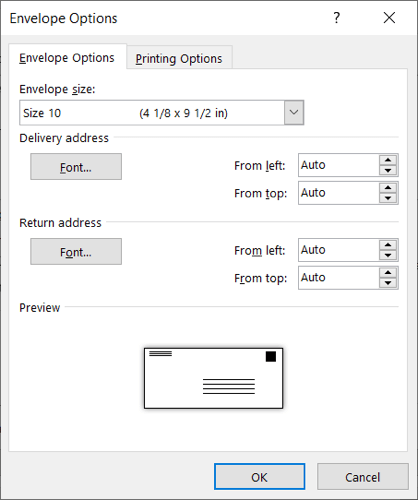
- In this window, use the envelope options Tab to choose the size of your envelope. If you don’t see the size you need, scroll to the bottom of this list and select it Custom formatand enter the width and height of the envelope.
- Next, you can customize where the shipping and return addresses appear on the envelope. Use the From the left and From above Boxes for each address by entering the size or using the arrows to navigate up or down. As you do this, you will see the changes in the preview at the bottom.
- In addition, you can use the font Button to select a specific font style or size for each address.
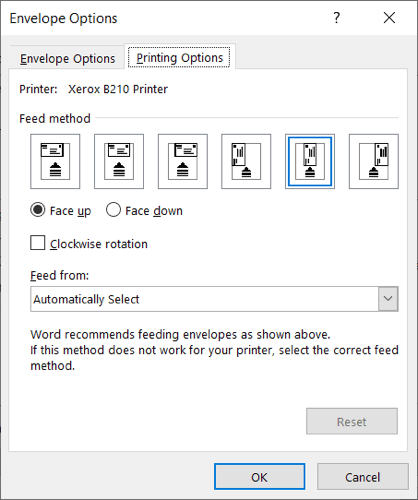
- Next select the print options Tab to select the feeding method and orientation for your envelope. You can also select the input tray from the drop-down menu. You may need to check your printer’s instructions for proper placement.
- When you’re done, select OK.
- You return to the Envelopes and Labels window where you started. To print the envelope immediately, select To press. Otherwise pick up Add to document to create the envelope and follow the steps below to print.
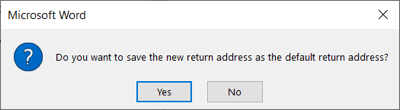
- When prompted to save the From address, select Yes or no according to your preferences.
Print the envelope from Windows
When it’s time to print either your custom envelope or your edited template, load your envelope(s) into your printer according to the manufacturer’s instructions and the settings you’ve customized on the print options rider above.
- Choose file tap and select To press.
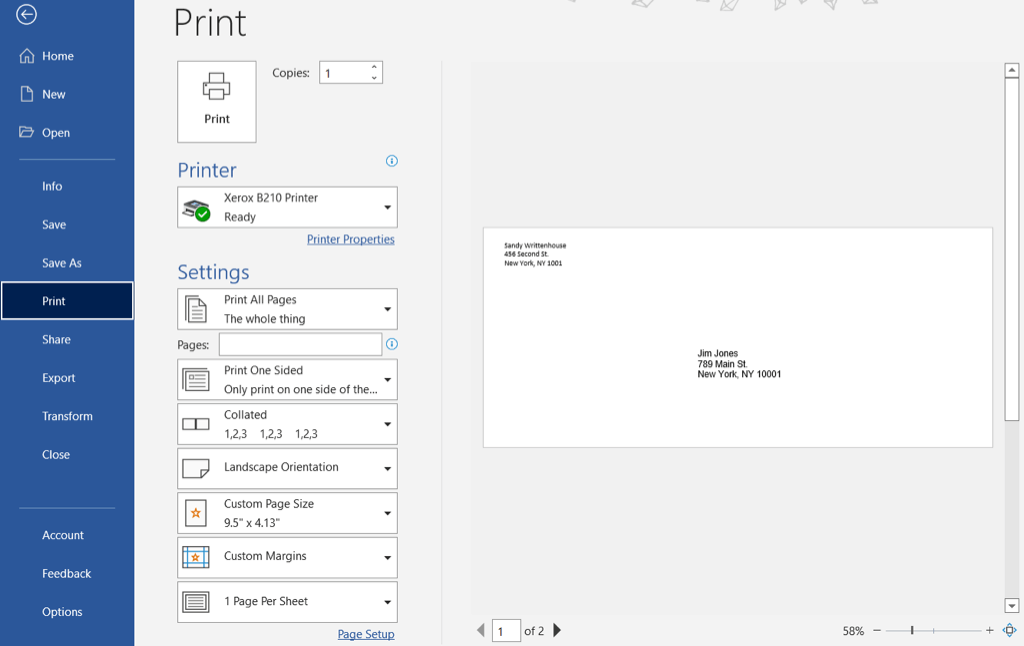
- You can then select the printer at the top and make further adjustments to the print settings if needed. On the right you can see a preview of your envelopes.
- Choose To press.
If you run into problems, check out our Windows 10 printer troubleshooting guide.
Print on an envelope in Word on Mac
Printing an envelope in Word on Mac is similar to printing on Windows, but there are a few minor differences. So please follow below if you are working in Word on macOS.
Use an envelope template
You’ll find the same templates in Word on Mac as on Windows to get your envelope started.
- Open and select Word file > New from template in the menu bar.
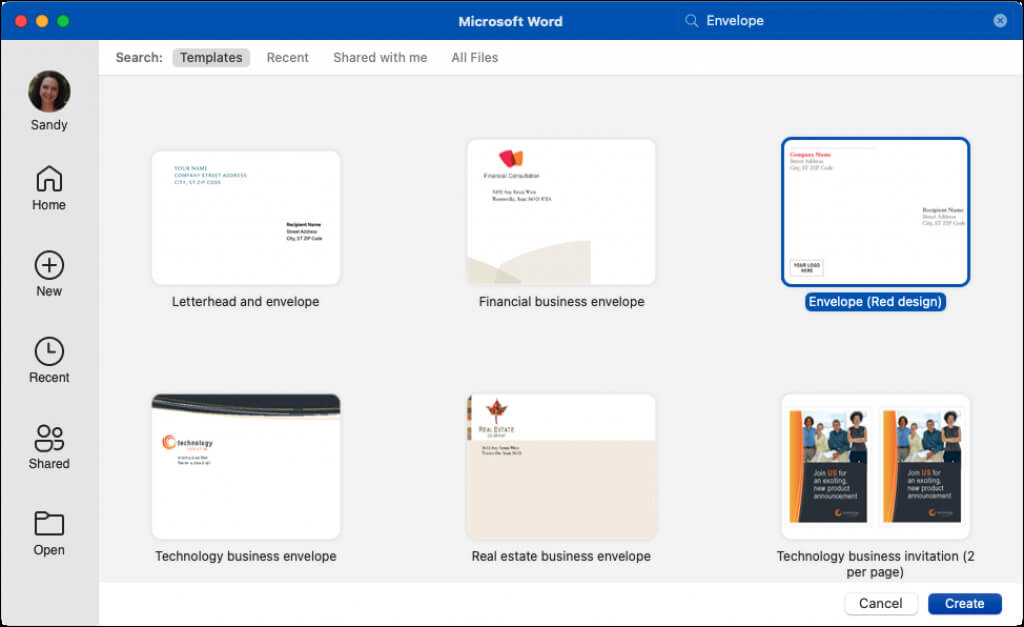
- Type “envelope” in the search box. You’ll see a few different envelope styles.
- If you find one you want to use, select it and use it Create to open it.
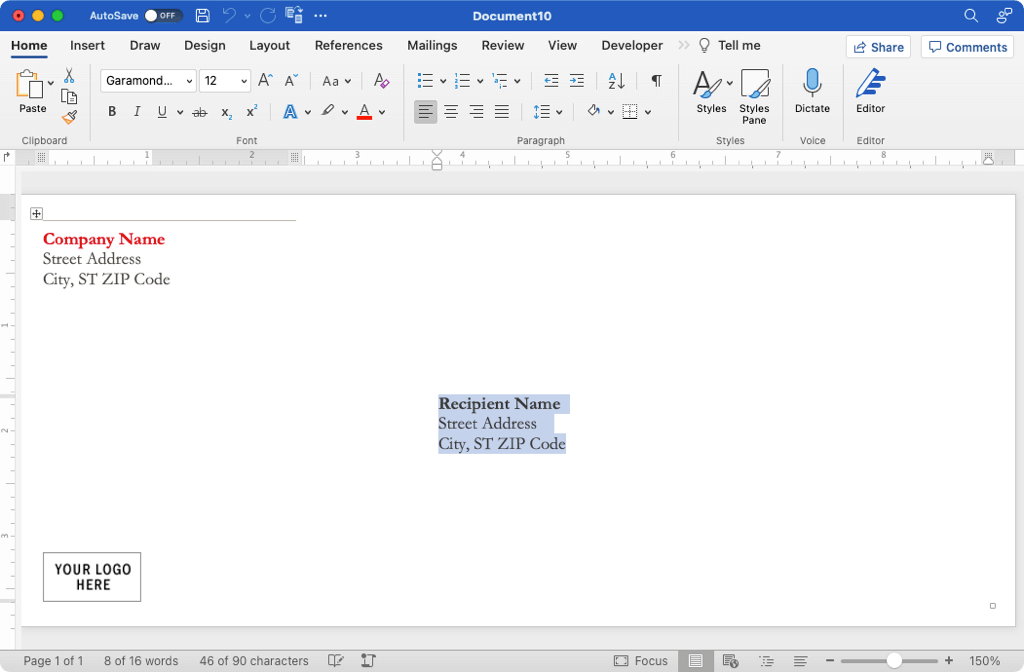
You can then substitute the example names and addresses for your recipient and return them in each text box.
Create an envelope from scratch
If you can’t find a template you want to use, you can easily create an envelope from scratch.
- With a blank document open in Word, select the mailings tap and select envelopes on the left.
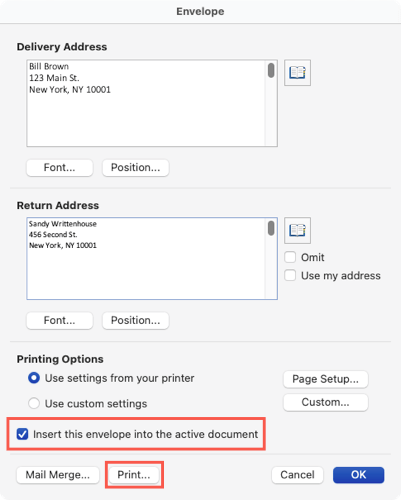
- In the window that appears, enter the delivery address at the top and the return address below.

- Use the font Button to choose a specific font style or font size for each address if you want.
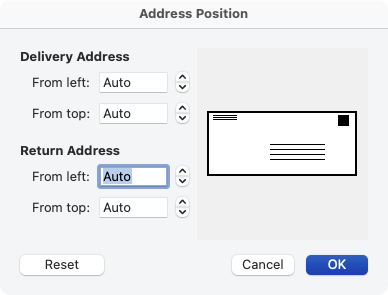
- Choose position Button to customize placement of shipping and return addresses. Use the From the left and From above Boxes for each address by entering the size or using the arrows to navigate up or down. You will see your changes in the preview On the right side.
- In which print options section, select page setup to select your printer, paper size, and optional scaling setting.

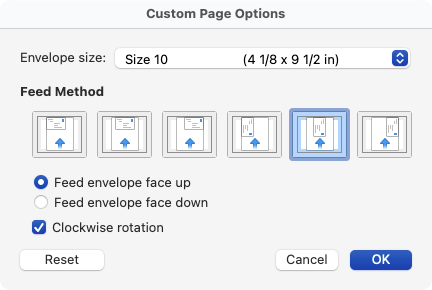
- Next you can choose custom in the same section to select your envelope size, feed method, and orientation of your envelope. If you don’t see the size you need, go to the bottom of the list and select Custom format, and enter the width and height of the envelope. Again, you may need to check your printer’s instructions for proper placement settings.
- Choose OK in each of these pop-up windows to close them, save the changes, and return to the Envelope window where you started.
- To print the envelope immediately, press To press. Otherwise, you can check the box for Paste this envelope into the active documentchoose OKand follow the steps below to print.
Print the envelope on the Mac
When you’re ready to print your custom envelope or edited template, load your envelope(s) into your printer according to the manufacturer’s instructions and the settings you customized in print options described above.
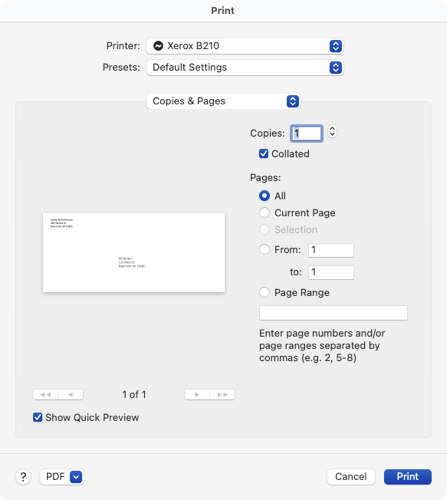
- Choose file > To press from the menu bar.
- You can select a different printer above and make any other necessary print settings changes. You will also see a preview of your envelopes.
- Choose To press.
Save your envelope
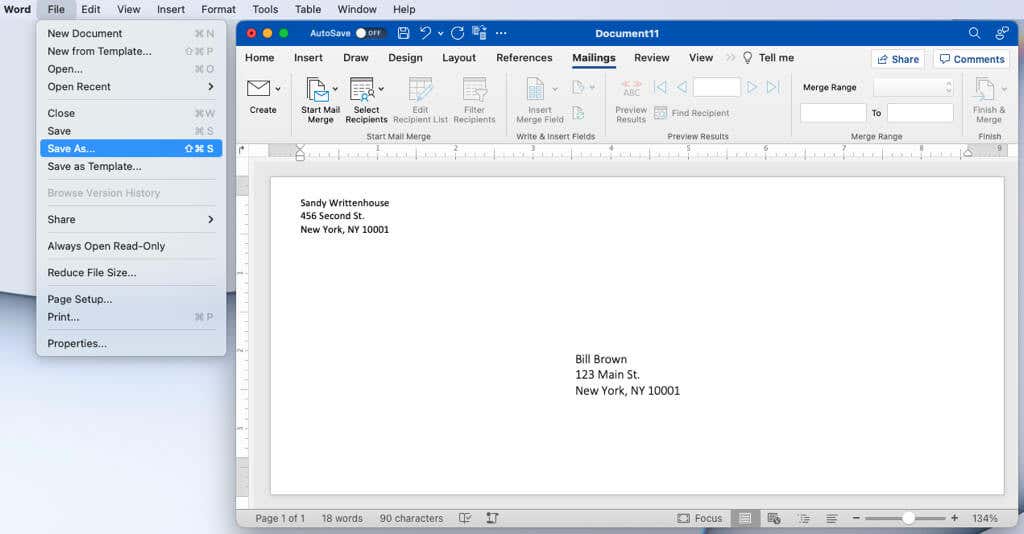
In Word on Windows and Mac, you can save the envelope document you create file > Save on computer or Save as. Choose a location, name your document, and select it Save on computer. Then simply reopen it to edit and reuse your Word document with an envelope.
Now that you know how to print on an envelope in Word, let’s see how to create labels from a Microsoft Excel sheet in Word or how to create a greeting card in Word.