How to Test the Fuses on Your Car
Is there an electrical component on your vehicle that no longer works? Have you replaced the part and it acts like nothing has been done? Your vehicle may have a blown electrical fuse. These are used to protect your vehicle’s electrical system from overloading its circuits.
Fuses are an important part of any electrical system as they prevent potential failures. Like most electrical systems, there are fuses in your cars for the same reason. Anyone can test fuses, and this is how it’s done.
1. Locate the fuse box
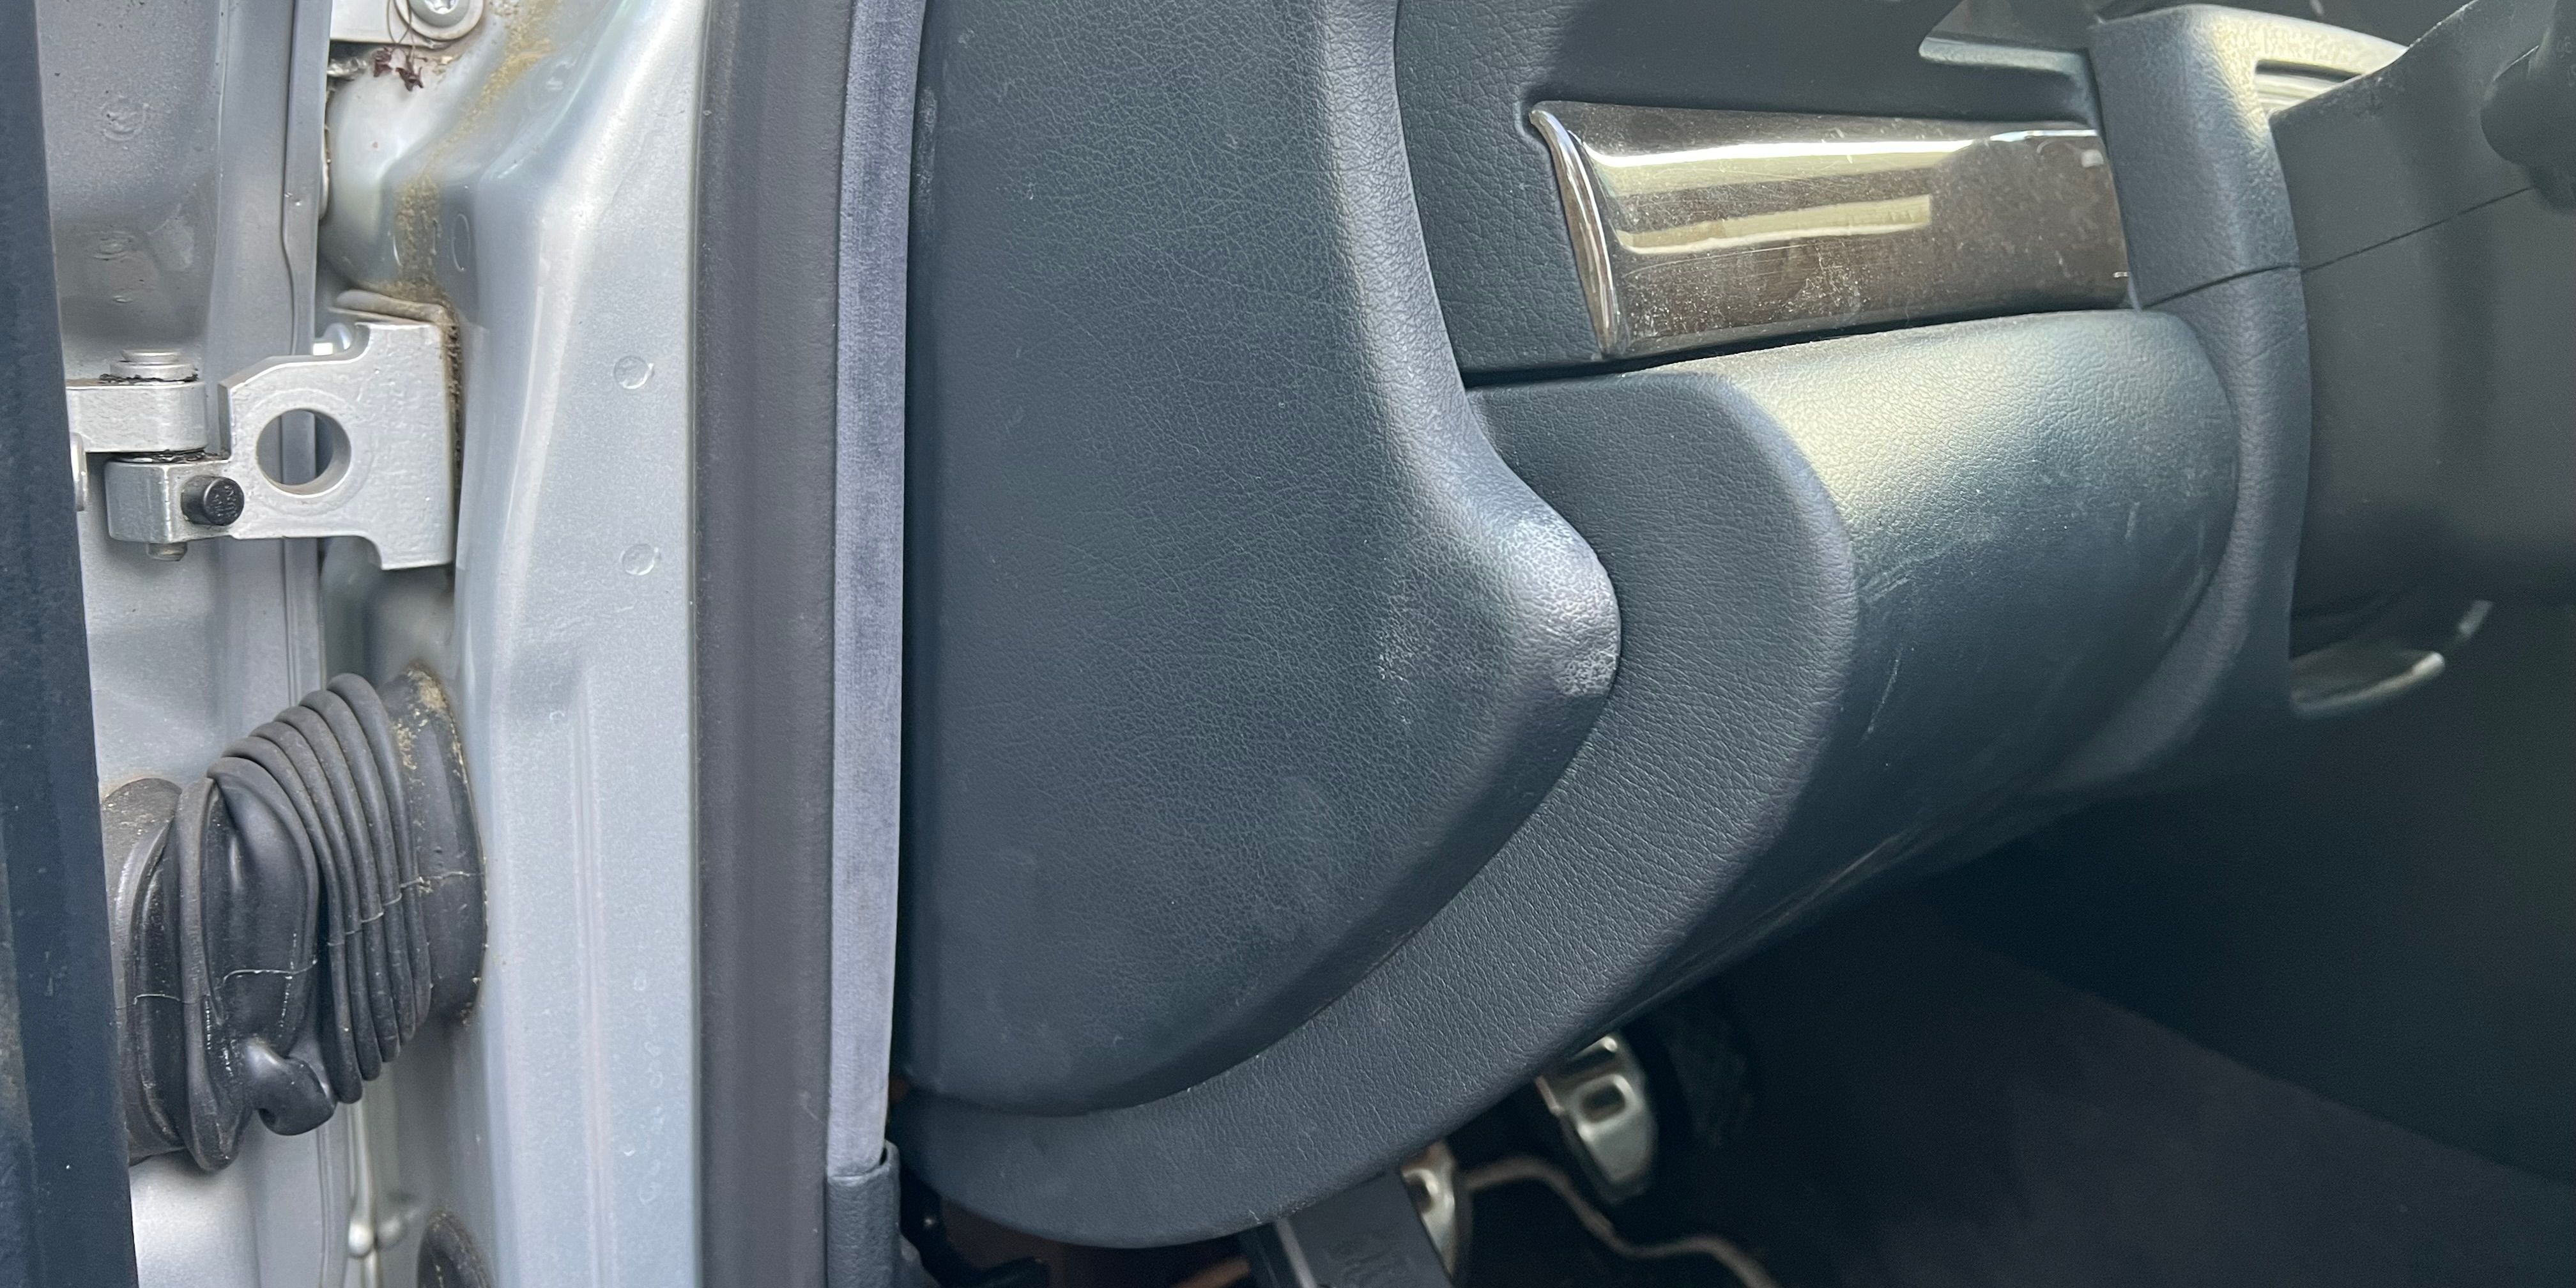
Testing a blade fuse is an incredibly simple process that can be performed with minimal disassembly. In this particular vehicle, the fuse box is located on the driver’s side of the dashboard between the doors. Fuse boxes are placed in different places by different manufacturers, so make sure you use your owner’s manual to locate them if you need them.
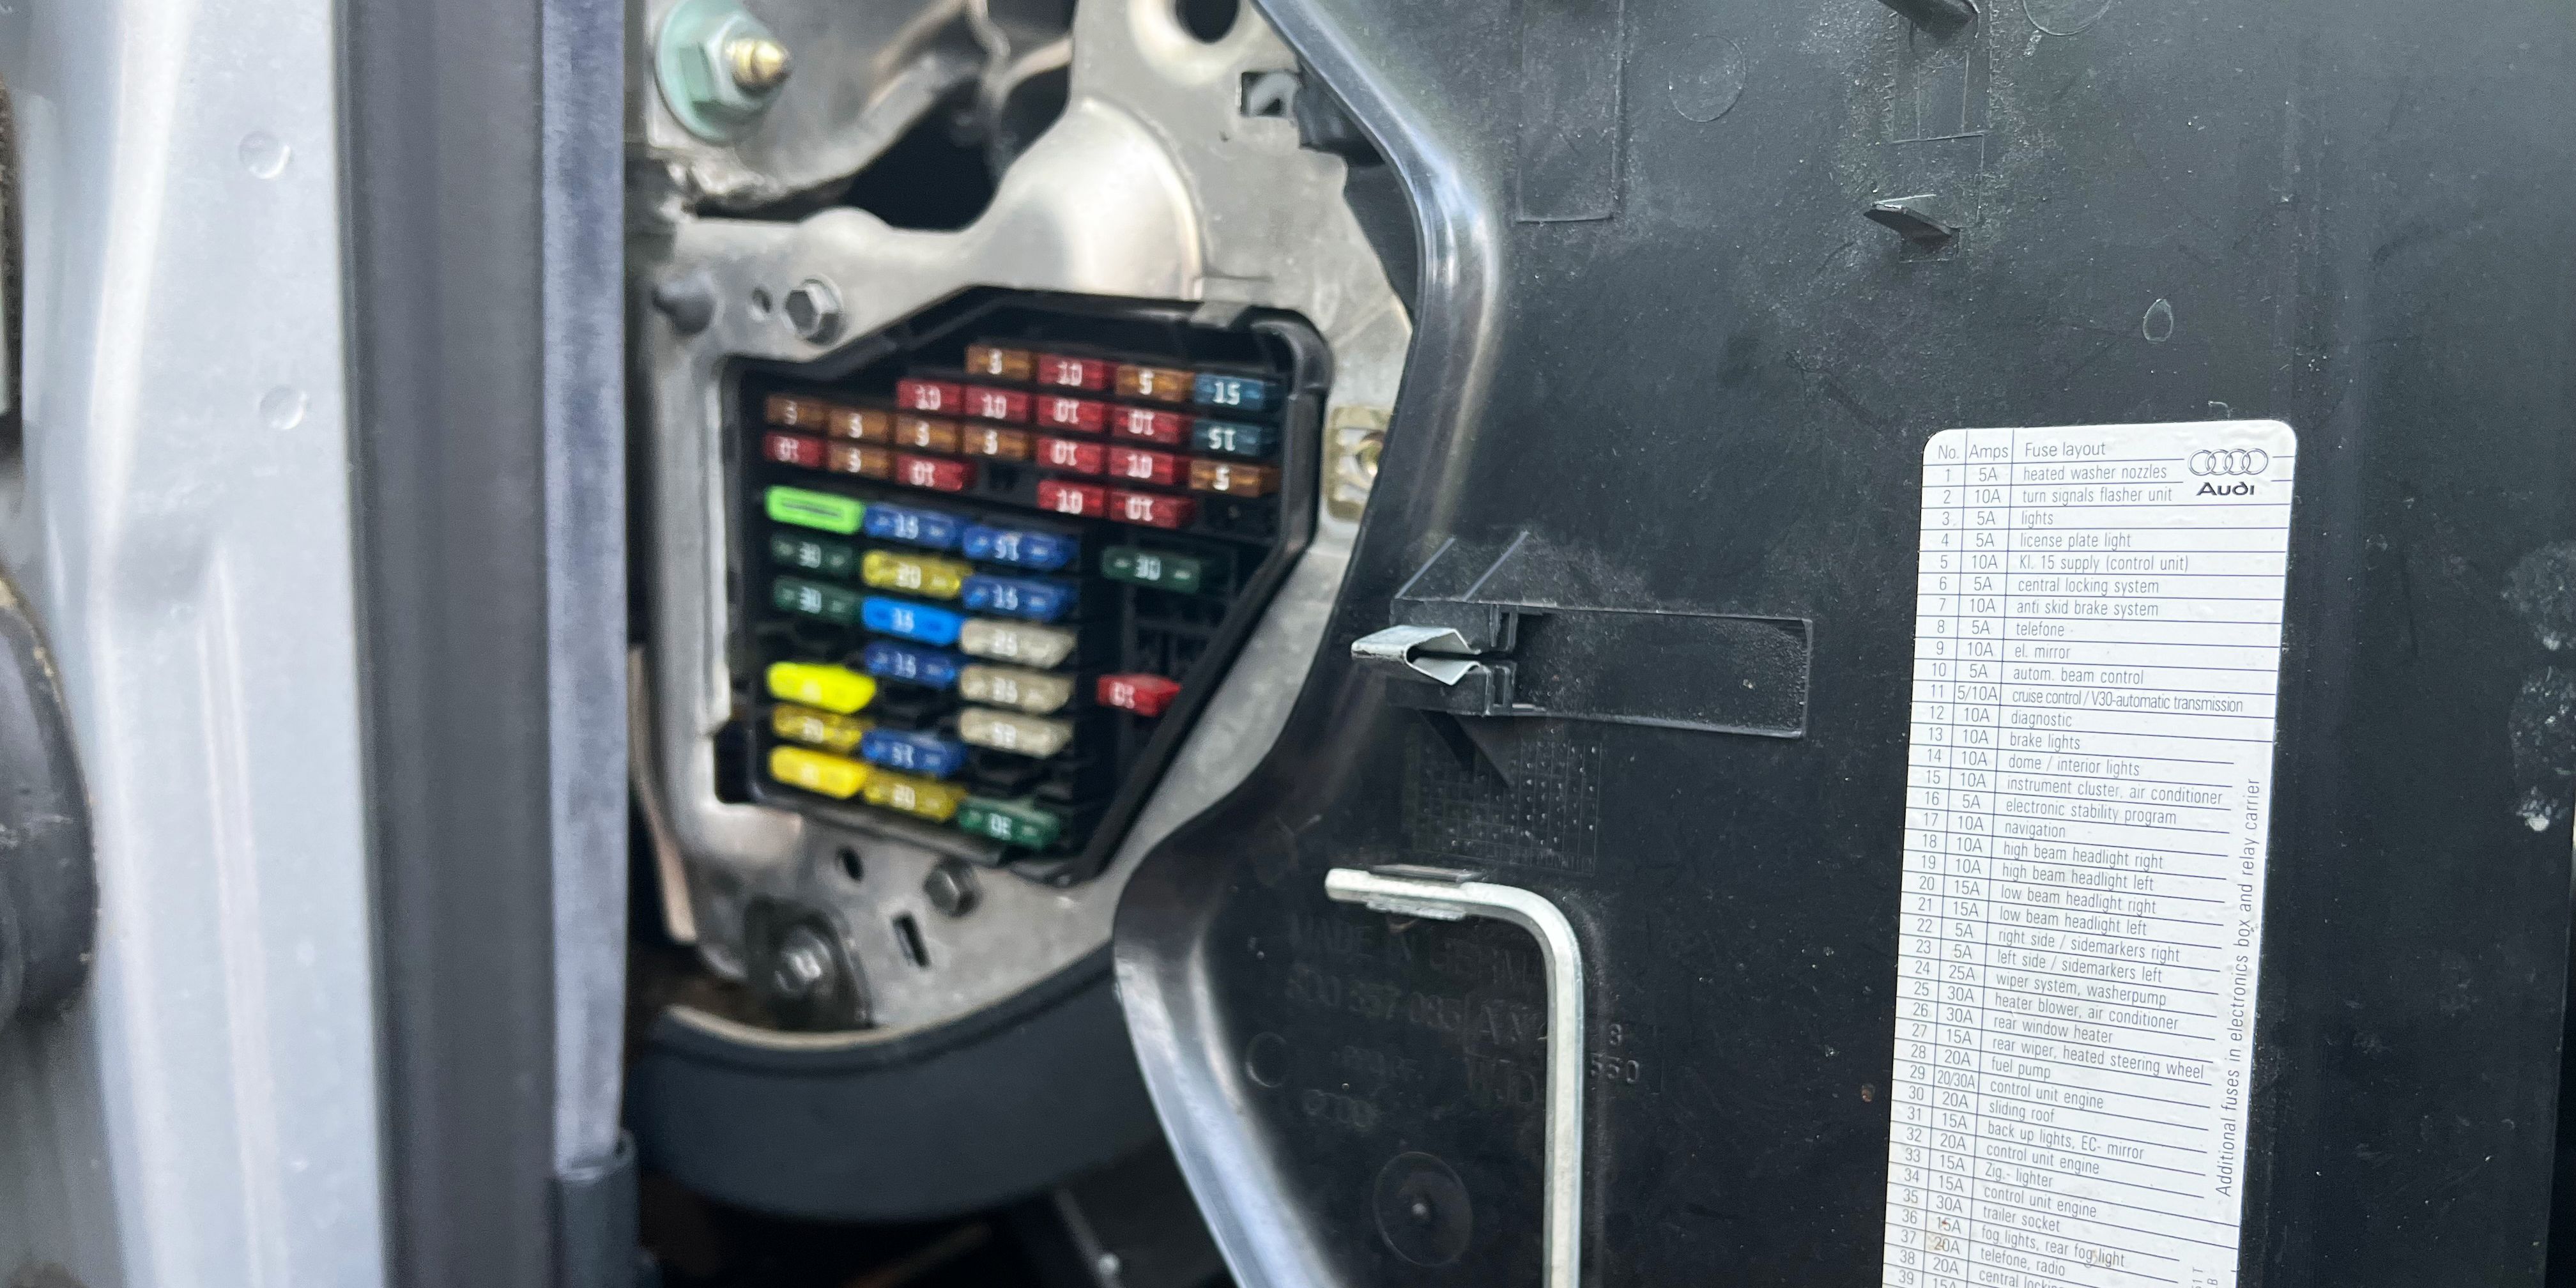
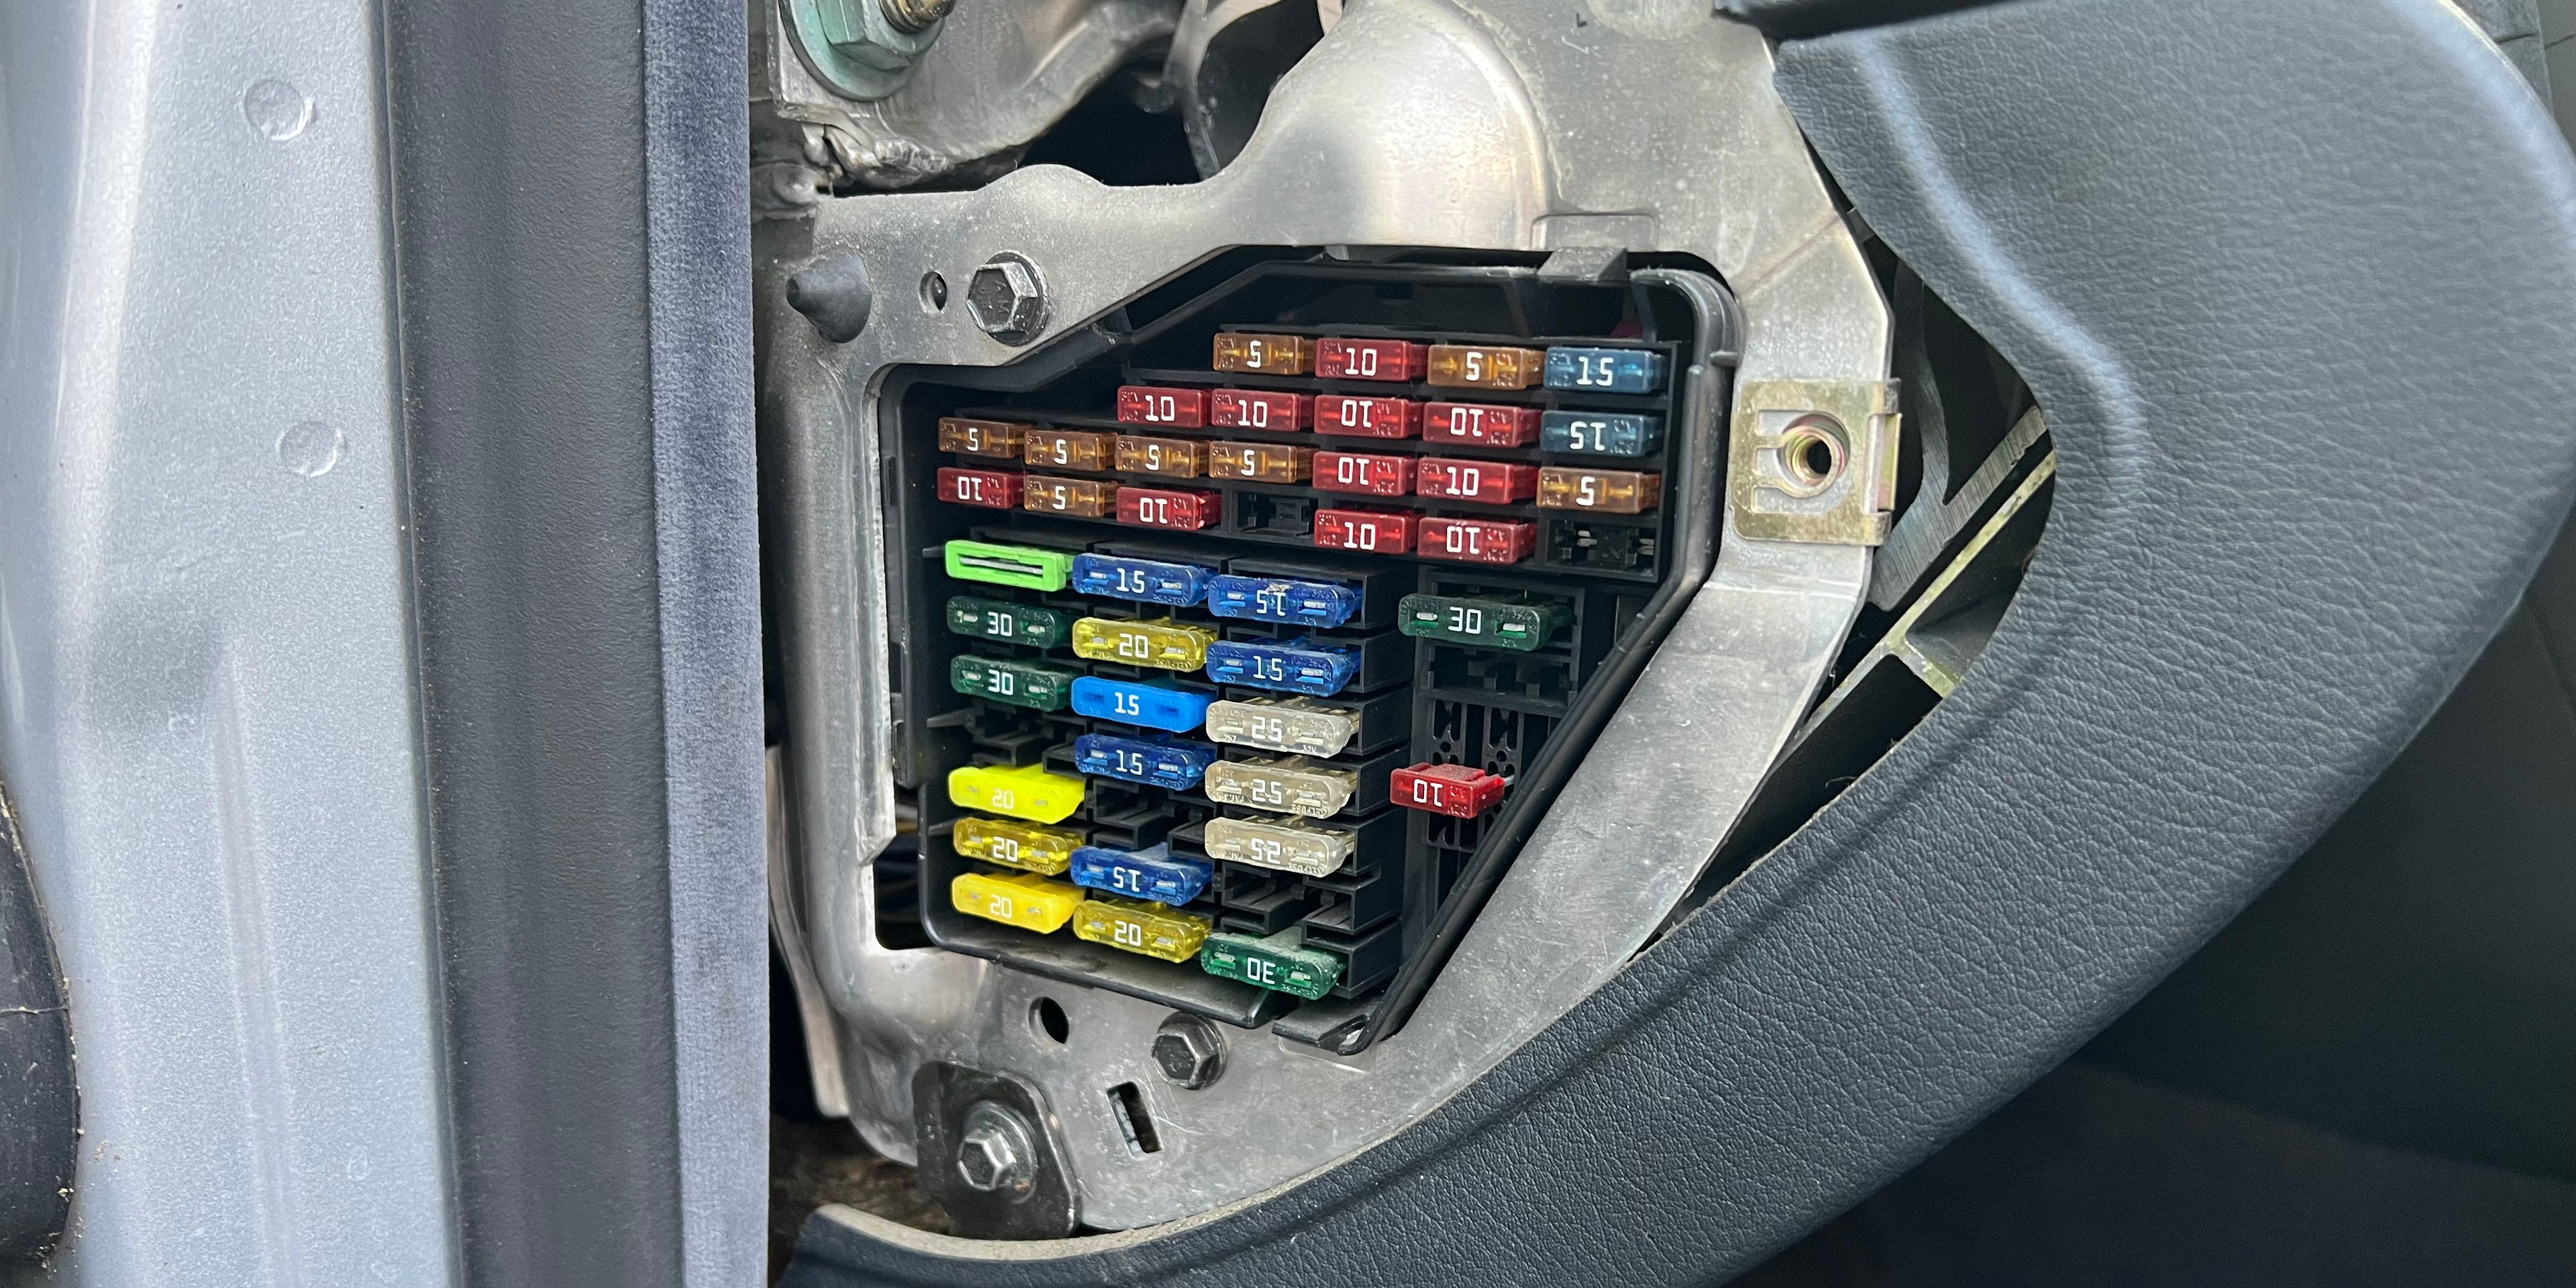
If you pull the fuse panel cover, you will be presented with a plethora of blade fuses parallel to each other. Usually, the functions of these fuses are indicated on the fuse box cover that you just removed. If none is available, your owner’s manual can provide this information for you. If you don’t have your owner’s manual, there are many ways to search for manuals online for free.
2. Check for fuse differences
Blade fuses have numbers on the outer case that represent their amperage ratings. Fuses or circuit breakers are used to prevent electrical fires and overloaded circuits. Amperage is the amount of current the fuse can withstand before it blows, and ranges from half an amp to 120 amps.
Blade fuses come in several sizes – Micro2 and Micro3 are the most common in automobiles. Blade fuses are not interchangeable by size and should only be replaced with parts that match their original specifications.
Testing a blade fuse is nothing more than checking its continuity. Since fuses are designed to blow if there is a malfunction in the circuit, a good fuse should have full continuity. Fuses are commonly found in clear or transparent cases, making it easier to identify faulty fuses and vice versa. A visual test is one of the easiest ways to test your fuses, although it can be time consuming as each fuse has to be pulled.
Car dealers sell special fuse testers that you can use to test your fuses, although it’s not really necessary. While it’s perfectly fine to use tools like this, you can save some money if you already own a multimeter! Multimeters are complex electronic tools that really speed up electrical nightmares. Continuity testing is one of the functions that a multimeter offers.
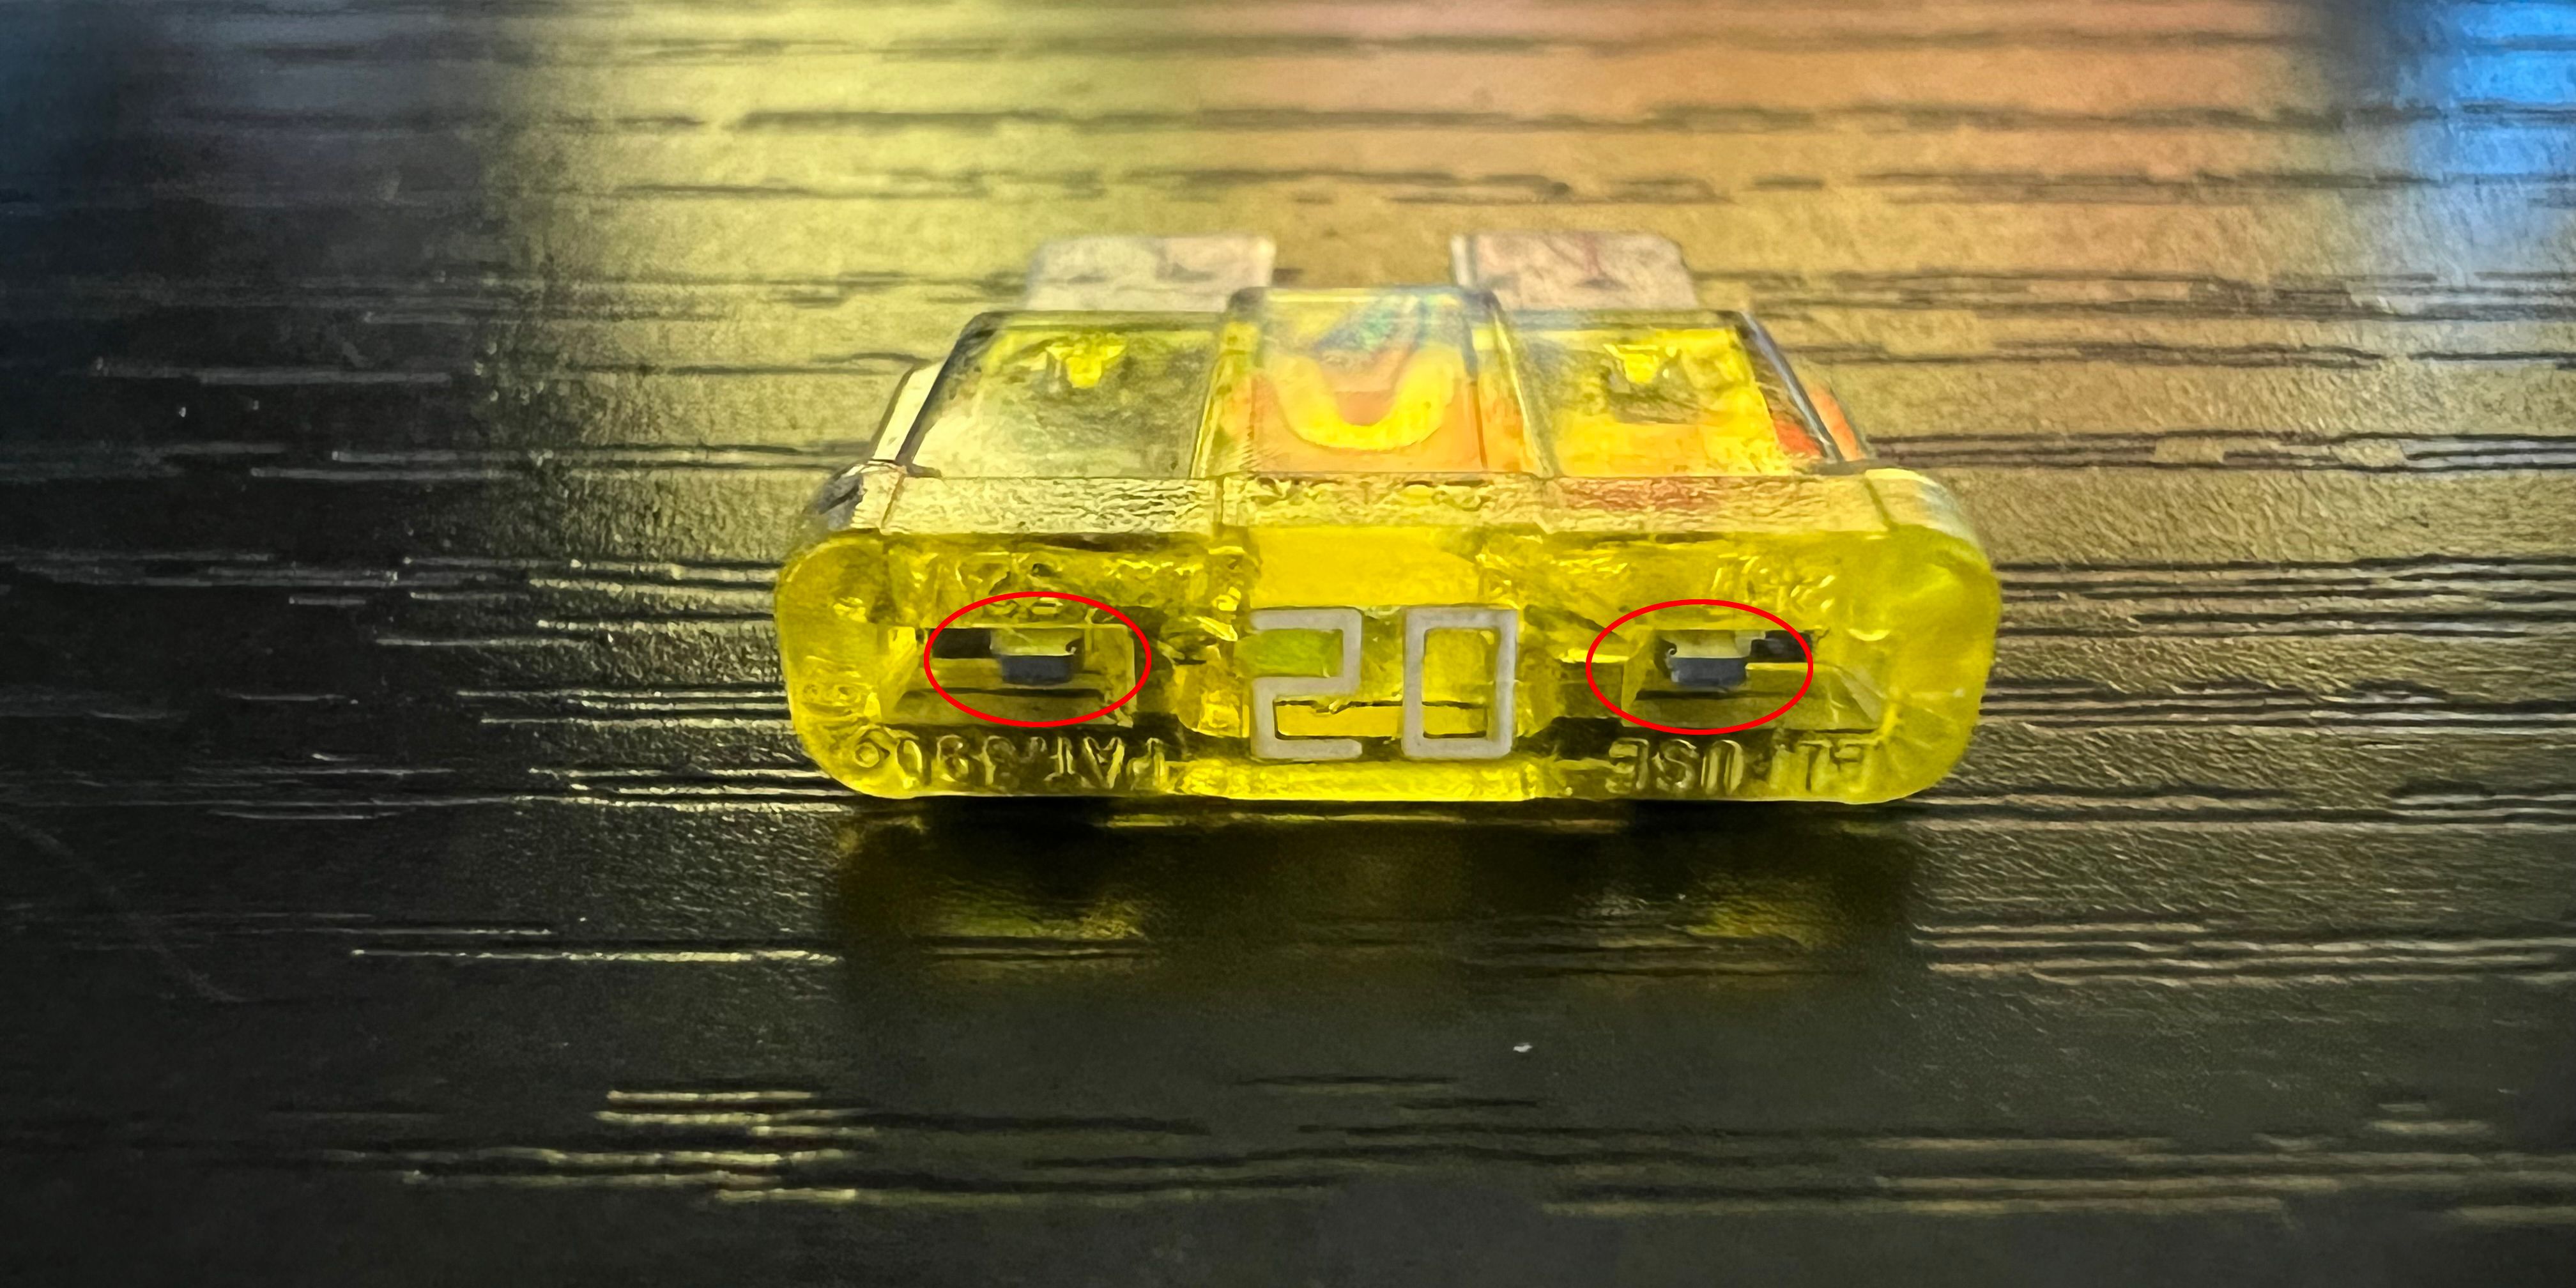
Depending on the design of the fuse, you may see small pins on the outer body of the fuse. Connect the two to complete the circuit using these pins and the two ends of your multimeter. A working fuse will cause the multimeter to produce a constant tone that indicates your fuse is working as it should. If there is no noise from any of your fuses during the test, this indicates a ruptured fuse and needs to be replaced with a suitable candidate.
Check your fuses and save money!
Even if you’re not mechanically savvy, there’s no need to worry because testing your fuses is as easy as diagnosing a vehicle. Whether visually by looking at the outer case or using electronic tools, the process remains easy for any user. In addition, fuses are relatively cheap and usually come in multiples, so you always have a spare. This can save you time and money by saving you a trip to the mechanic.


