How to Transfer Nintendo Switch Save Data From One Console to Another
It’s finally time to update your Nintendo Switch! But what does that mean for all your saves you’ve worked so hard on over the years? And what about your screenshots and saved videos that you love to look back on?
There are several ways you can transfer Switch save data from your old console to your new console, depending on the specific data you want to transfer and the options you have. Let’s look at each method!
Important notes before moving Switch Save Data
There are several ways to move Switch save data from one console to another. If you have a Nintendo Switch Online membership, the process is a little easier. But you can also transfer data locally, as long as you still have your old Switch and they’re both charged, fully updated, and connected to the same Wi-Fi network.
You can only transfer save data between users linked to the same Nintendo Account, but make sure you don’t log into that account on your new Switch until prompted to do so. Otherwise, you may need to log out and log in again later. Also, the Switch you’re transferring game data to doesn’t need to have more than seven users and plenty of internal storage space to support the new data.
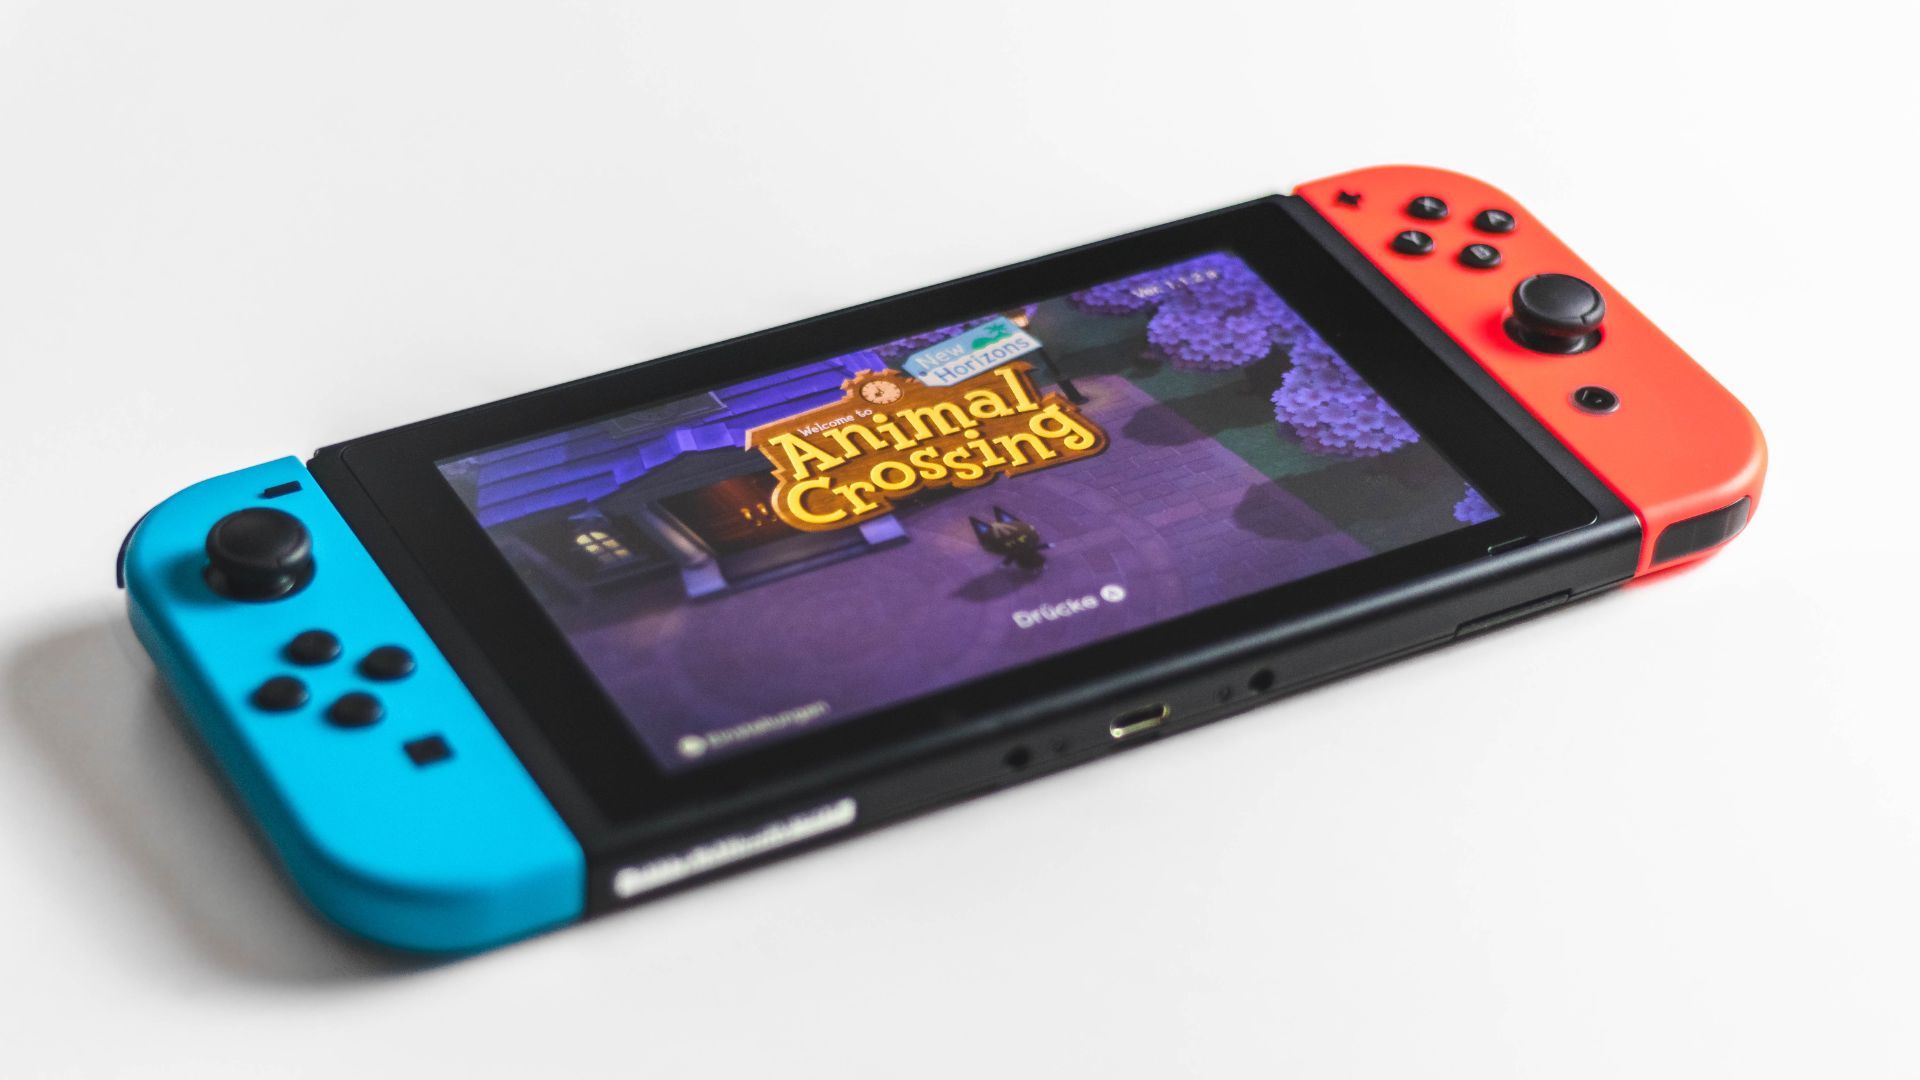
Some titles, like Pokémon or Animal Crossing: New Horizons, aren’t backed up to the cloud even if you have a Nintendo Switch Online membership. That doesn’t mean you can’t transfer your save data from these games, but they do require their own unique processes.
It’s important to be sure what transfer method you can or want to use before you start, and just like cooking a recipe, read through all the steps before you start to make sure you don’t miss anything. Regardless of which method you use, you should know that once your saved data is transferred to the new switch, it will be deleted from your old switch and will no longer be available.
How to transfer existing SD card data to a new Switch
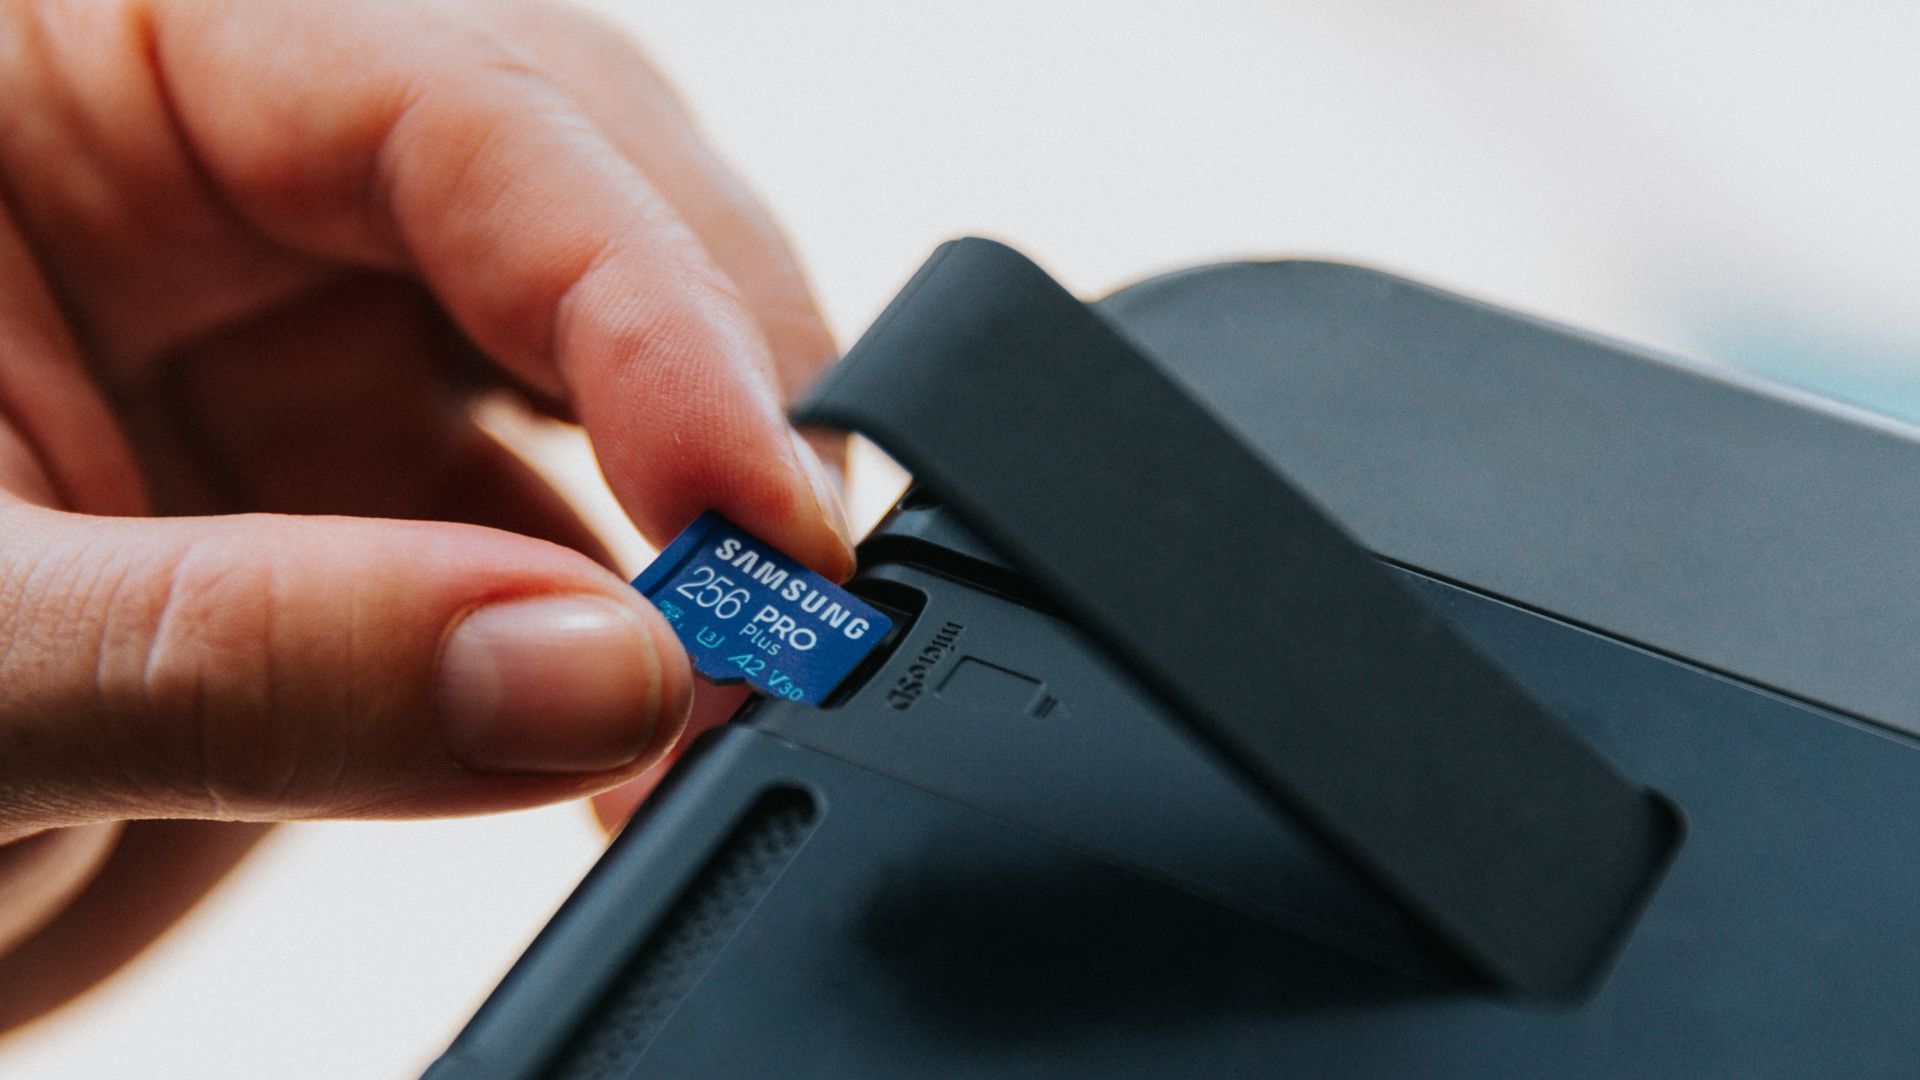
If you want to completely move all your old Switch data to a brand new Switch – game saves, screenshots, saved videos – you should go the microSD transfer route. To do this, you’ll need your original Switch with its original microSD card, a Windows computer with a microSD card reader (or a separate reader), and your new Switch paired with a new microSD card.
Nintendo expressly warns that this operation may not work correctly on operating systems other than Windows. The company also warns that you should use a single microSD with a system and be careful not to swap microSD cards between systems.
First, remove the original microSD card from your Switch console and insert it into your computer’s microSD card slot or into a microSD card reader connected to your computer. If your Windows computer or laptop has an SD card slot but no microSD card slot, you’ll need to purchase a microSD to SD card adapter before you start.
Using Windows Explorer, locate and access the microSD card, highlight the entire folder containing your data, and drag it to the desktop. Do not delete or change any data on the original microSD card until you have verified that the transfer was successful and the new microSD card is working properly. Then properly eject the microSD card from your old Switch and insert the second microSD card for your new Switch.
Locate and access the new microSD card using Windows Explorer and drag the data from your desktop onto the new microSD card. Properly eject the second microSD card and insert it into your new Switch console. Some software update data may not be transferred, but can be downloaded again from Nintendo eShop.
How to move save data via Nintendo Switch Online
When you pay for a Nintendo Switch Online subscription, your games are automatically set to back up data to the cloud. So if you’re upgrading from the Switch Lite to the original Nintendo Switch or to the Nintendo Switch (OLED), moving game data is a super easy process.
As long as you haven’t changed any settings, your old Nintendo Switch Online account will probably back up your save data automatically. However, you can check this by going to Settings > Data Management > Save Data Cloud > Settings and ensuring the Backup save data automatically is selected.
Sign in to your Nintendo Account on your new Switch console and verify Backup save data automatically is on. You can also perform this process manually by going to Settings > Data management > Save data cloud > All save dataselect the game you want data from and click Download save data.
If you plan on keeping both consoles and playing games on both, just make sure each console has it Backup save data automatically switched on. Then you can pick up where you left off on either console.
If you’re not sure about paying for a subscription, we’ve got everything you need to know about Nintendo Switch Online for you.
This method only moves save data from one switch to another, but not screenshots or videos.
How to transfer game data from one switch to another over Wi-Fi
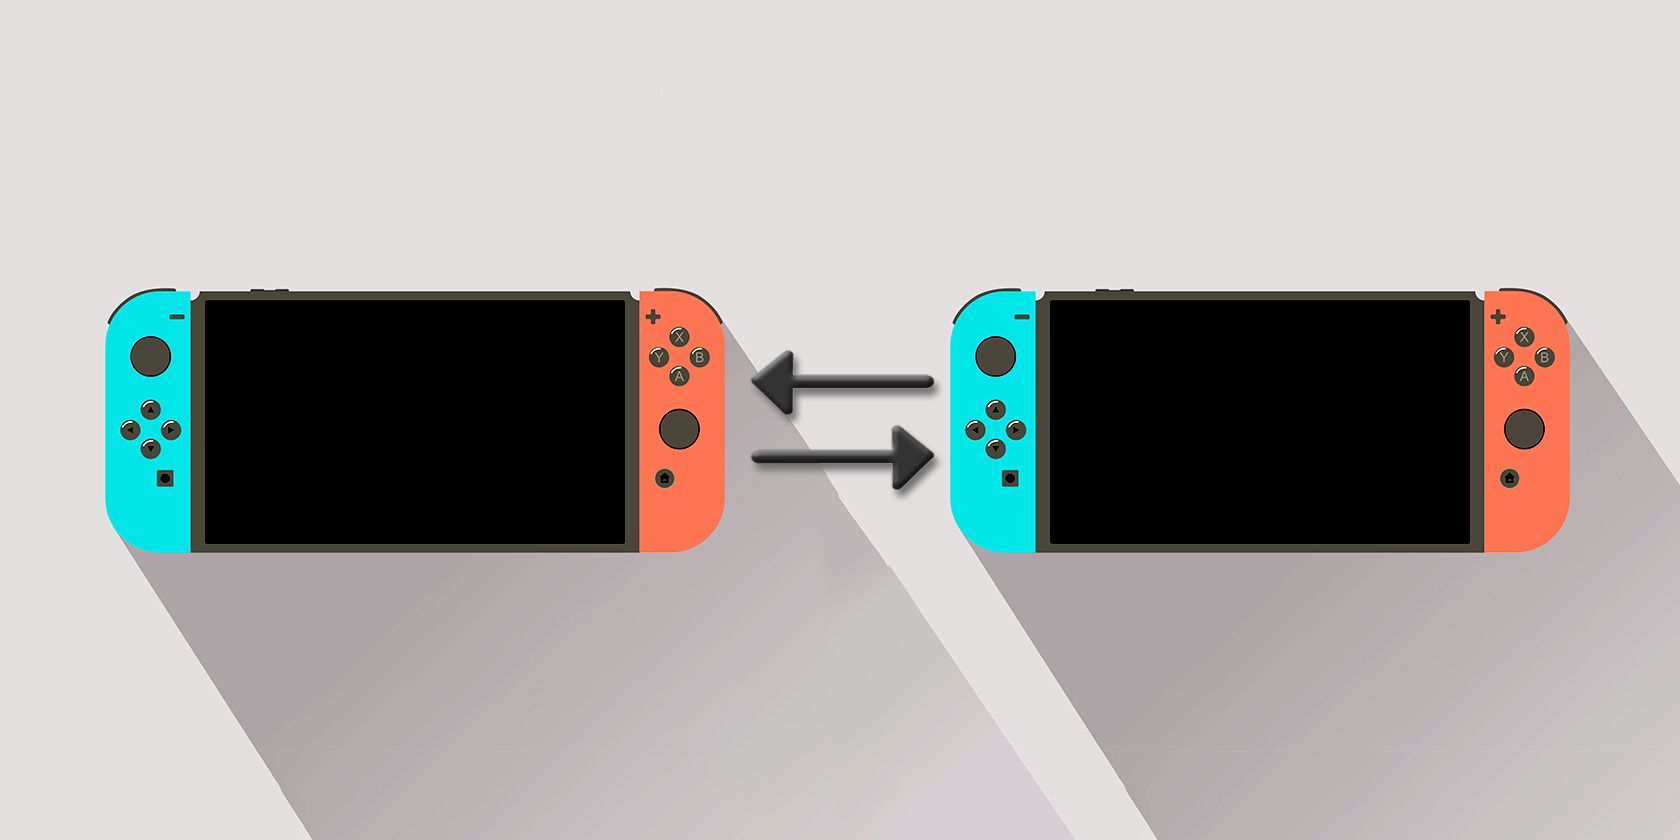
Transferring save data and user information can be done locally, but you can only transfer data from one user at a time. So if you need to transfer your entire family’s data, consisting of four profiles, you’ll have to repeat this process four times.
To start, you’ll need to have both your old and new Switch consoles in front of you and have both charged, updated, and connected to your Wi-Fi network.
On your old Switch, navigate to the Start menu and select System settings > Users > Transfer user data. Follow the prompts and choose when prompted source console to indicate that this is the console you want to transfer data from.
After clicking through all the available prompts on your old Switch, it’s time to switch to your new Switch. However, keep your old Switch nearby because you’re not done with that yet.
From the Start menu, select your new Switch console System settings > Users > Transfer user data and follow the instructions as before. When asked which console it is, select target consoleindicating that this is the console you want to transfer data to.
From there, log into your Nintendo account on the new Switch, then head over to your old Switch to complete the process. On your old Switch, select transfer once it detects your new switch (your target console). This will start the transfer process, which may take a while depending on how much game data needs to be transferred. Once it’s done you need to press End to officially complete the process.
This method of moving your Switch data from an old console to a new one will only transfer your game save data and no screenshots or saved videos.
How to move Animal Crossing: New Horizons game save data
If at any point you’ve played Animal Crossing: New Horizons and want to transfer that save data to a new Switch, you’ll need to follow a separate process. You need to download the Island Transfer Tool from the eShop and follow the instructions.
Fortunately, we have provided you with a detailed guide on how to transfer your save data from Animal Crossing: New Horizons to a new Switch.
Start gaming with your new Switch
Now that all your precious saves are available on your new Switch console, all you have to do is play your games and try out your new system! And if you get a newer Switch model, you’ll know exactly how to transfer your data with ease.
