How to use breaks to create chill-hop drums with Native Instruments Battery
I’m an old school hip hop head – born in the 80’s and raised in the 90’s. The way my producer heroes made their beats in the golden beat era is very different from the way I’ve been doing it for over a decade. But we have one connection in common – drum sampling.
The use of drum breaks has long been a staple of hip hop. In the ’90s it began to permeate many more genres from R&B to reggae to pop. One of the most famous drum breaks of all time, starting at 01:26 from The Winston’s Amen Brother, even spawned its own sub-genre: drum & bass, or jungle. That’s the power of sampling in a nutshell.
The most famous drum loops have been reinterpreted into tracks many, many times. But instead of getting bored listening to them, I always find it interesting to hear how other producers have interpreted them. Part of the reason these drum sounds endure is that they sound amazing! Find the right drum sound and it can greatly enhance your track.
Emeli Sandé’s track Heaven, produced by Naughty Boy, used the break from James Brown’s Funky Drummer. Coupled with her soaring vocals and synth strings, the song just felt epic. The same drums were slashed in Public Enemy’s groundbreaking Fight The Power and even feature in The Powerpuff Girls’ theme song.
In this tutorial I’m going to show how you can use and build upon drum samples to enhance your own tracks.
Step 1: The situation could be completely different for you. Maybe you just want to use a drum sound that you think sounds great. Maybe you’ve already composed a track but can’t find the right drum sound. I recommend finding collections of famous drum breaks and downloading them into your sample library.
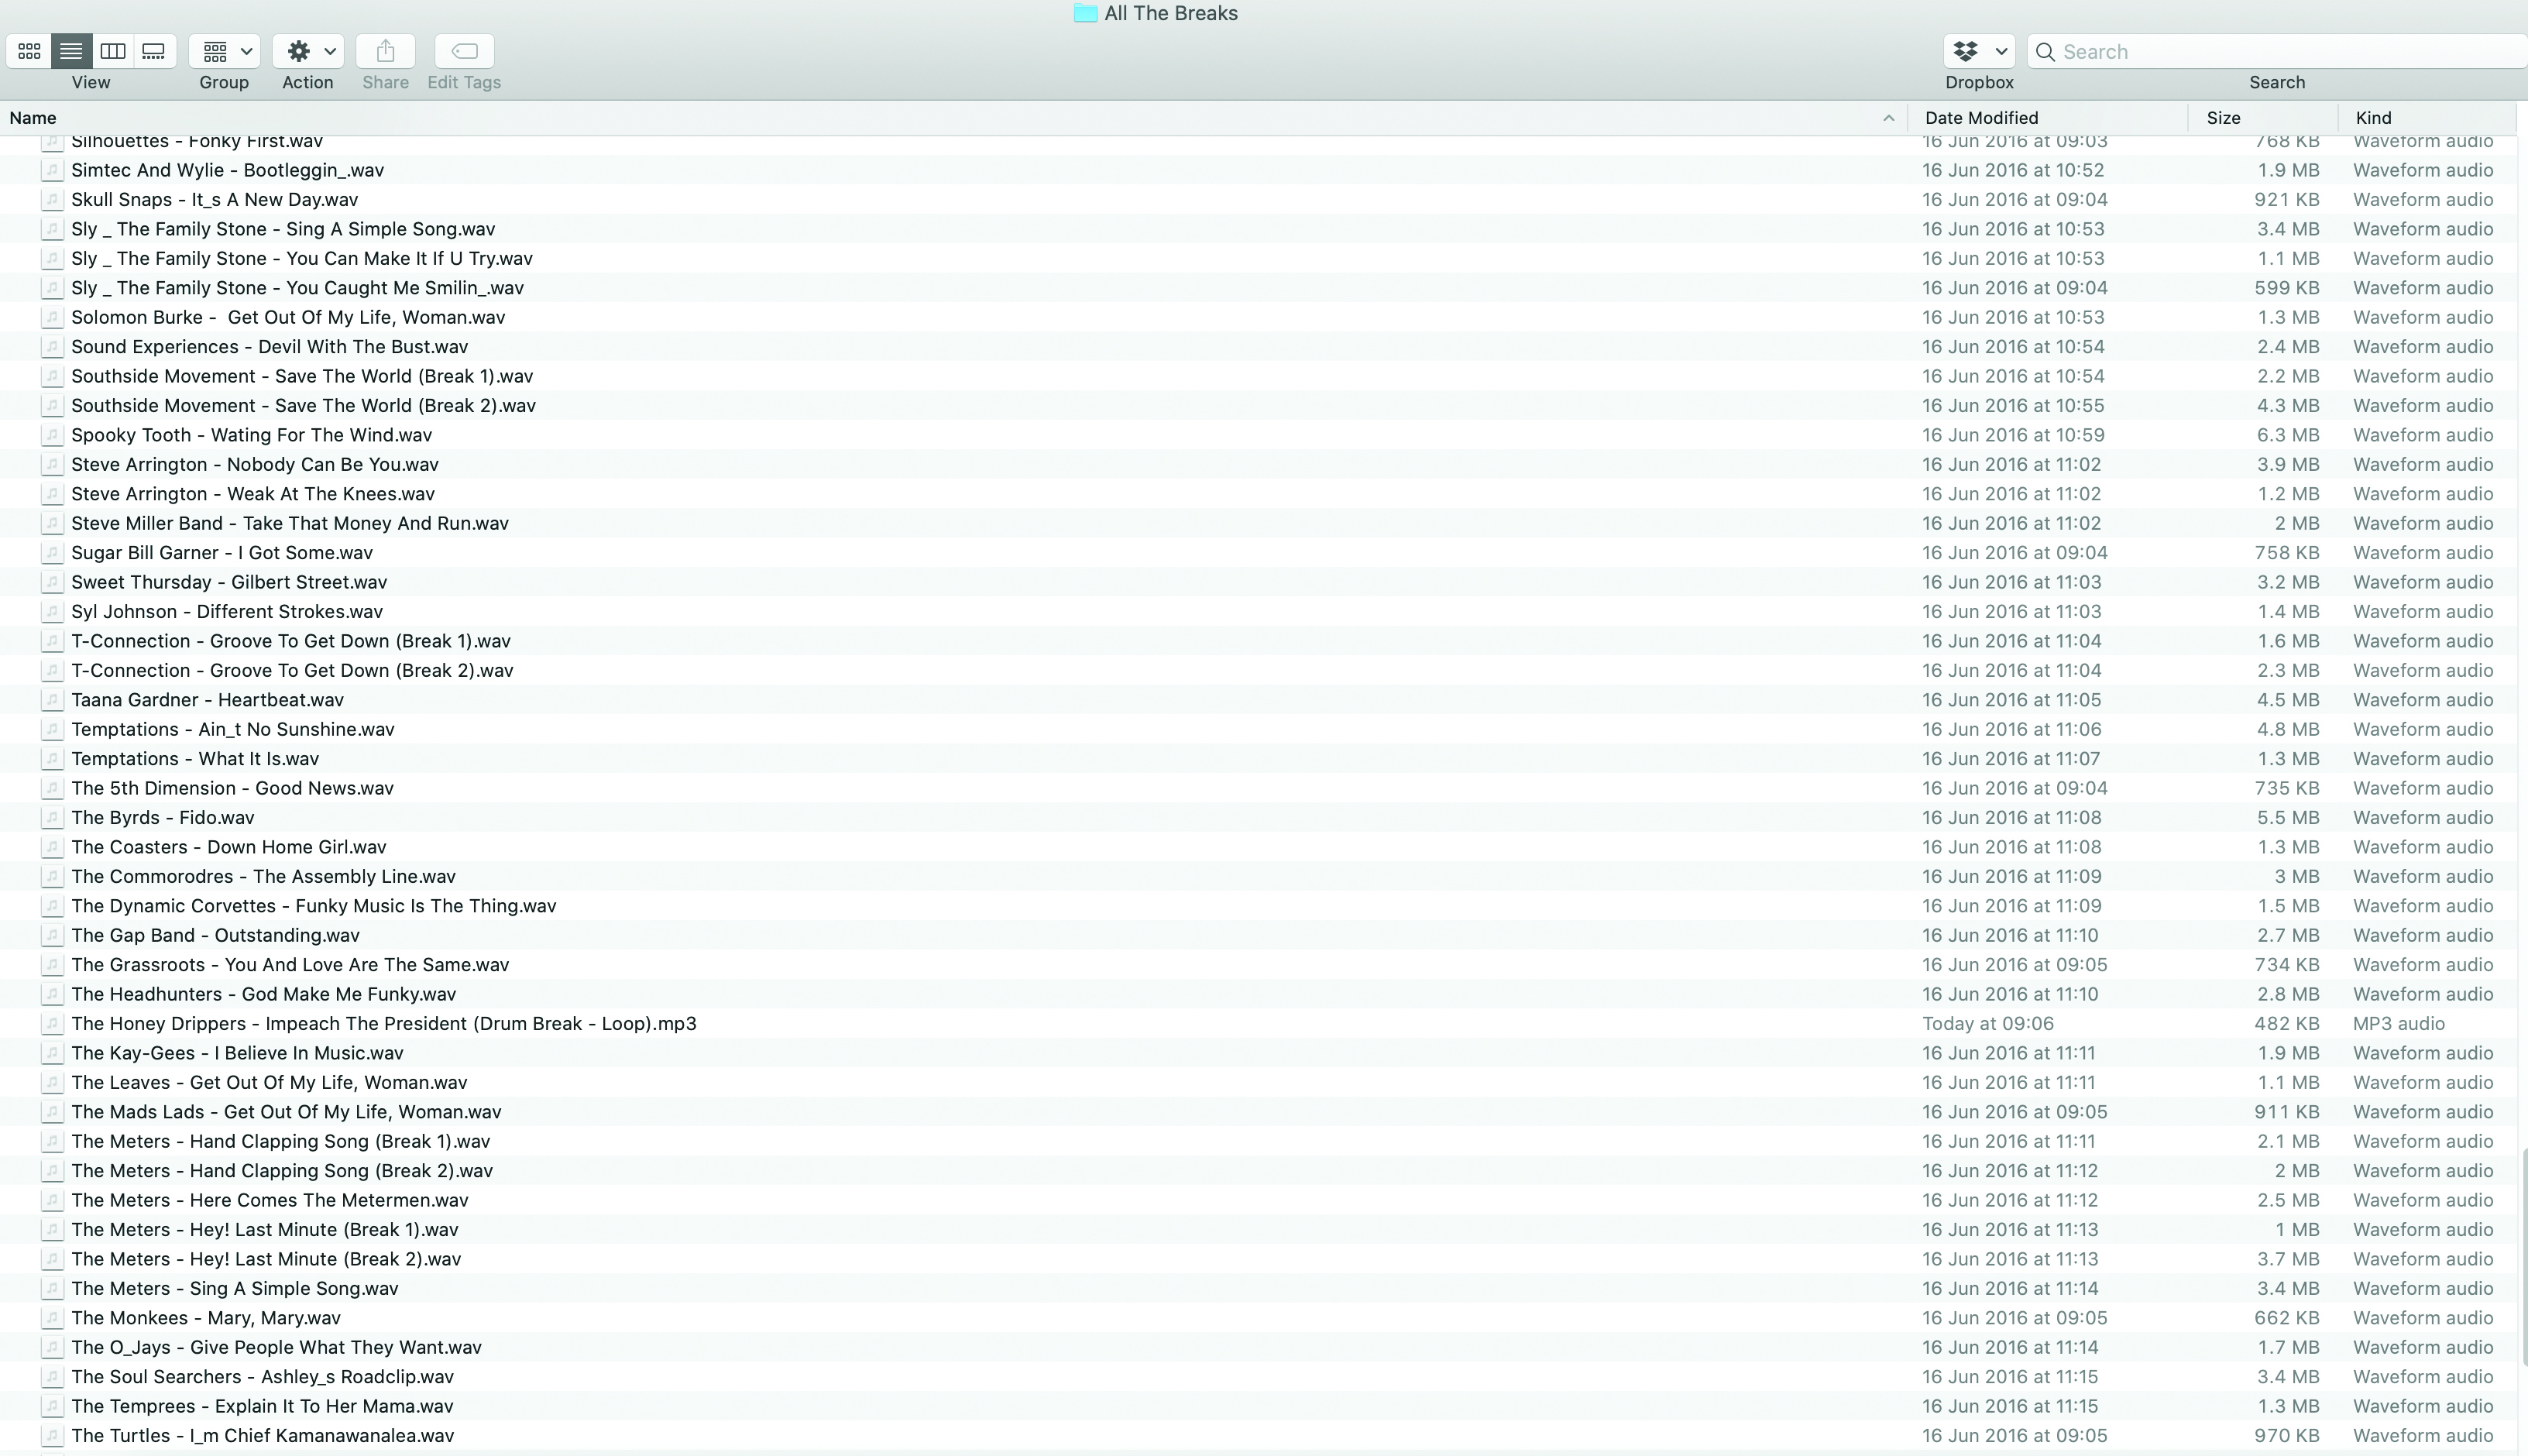
Step 2: My method is usually to find the right drum sound to accompany my existing work in progress track. I’ll be patient and go through hundreds of drum breaks to find something that resonates with me or fits my work. Hip-hop typically uses vintage funk, R&B, and rock drums.

Step 3: Once you have a drum break you like, bring it into your DAW to edit. You can use a sampler to break up the drum parts with their transients. Personally, I like to manually slice the sample down to the transients
my schedule.

Step 4: I use the slice tool to cut out the drum’s core components: kick, snare, hat
and everything else in the respective sound. I find that by editing manually I have a lot more control over where the transition starts and ends, and I can also easily fade in and out so there are no clicks in the audio.
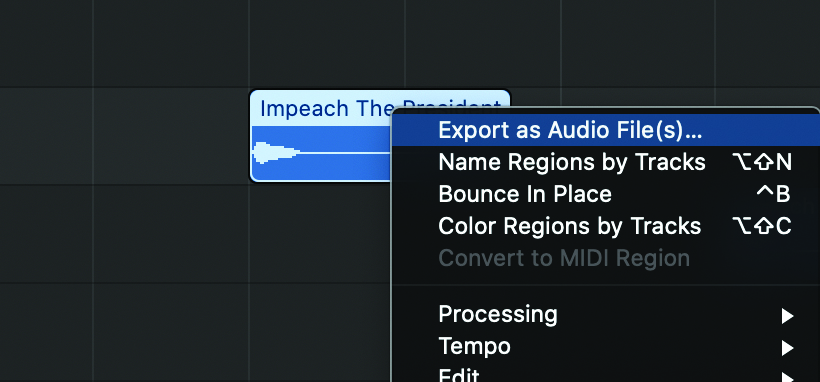
Step 5: Once the drum loop is broken down into individual components, I save each one as a new audio file in my folder. I’m using the Native Instruments Battery 4 cell-based grid. So I load each drum part into Battery and map it to a key on my MIDI keyboard or APC.
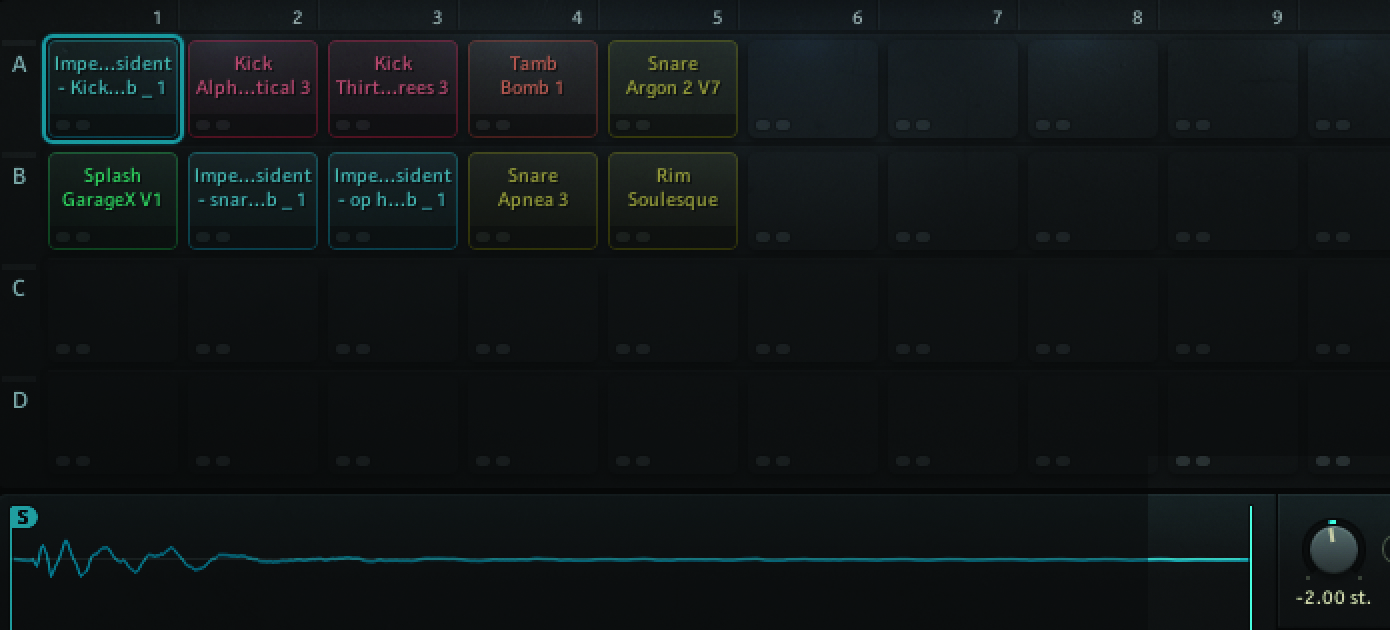
Step 6: Next I will consider various track specific features. The drums may need to be tuned to the track so I can tune the cells up or down accordingly. The transients may be too long or too short so I can adjust the length.
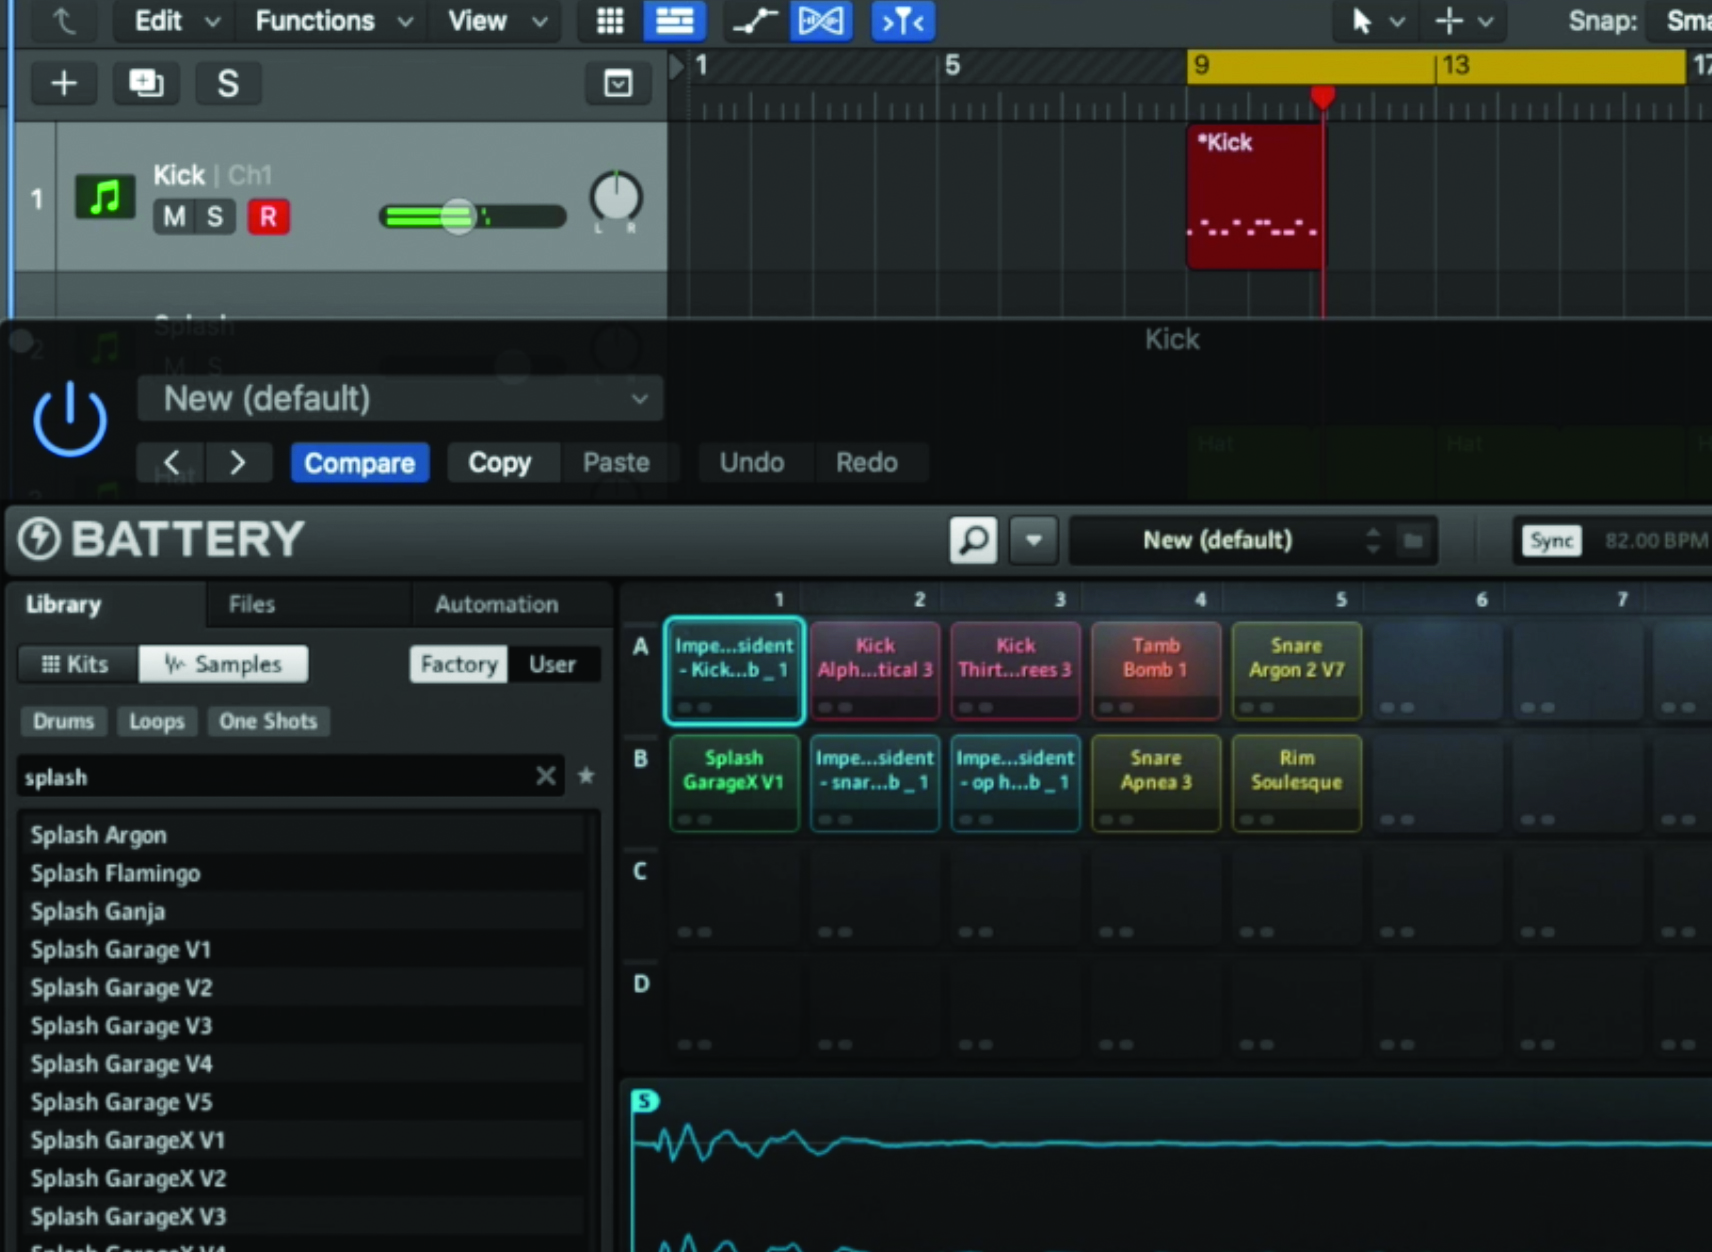
Step 7: Since the drum parts are being sliced up and not just in the default loop of their original recording, I can now play my MIDI keyboard game to create the drum patterns I want. This gives some variety to my interpretation of the source material.
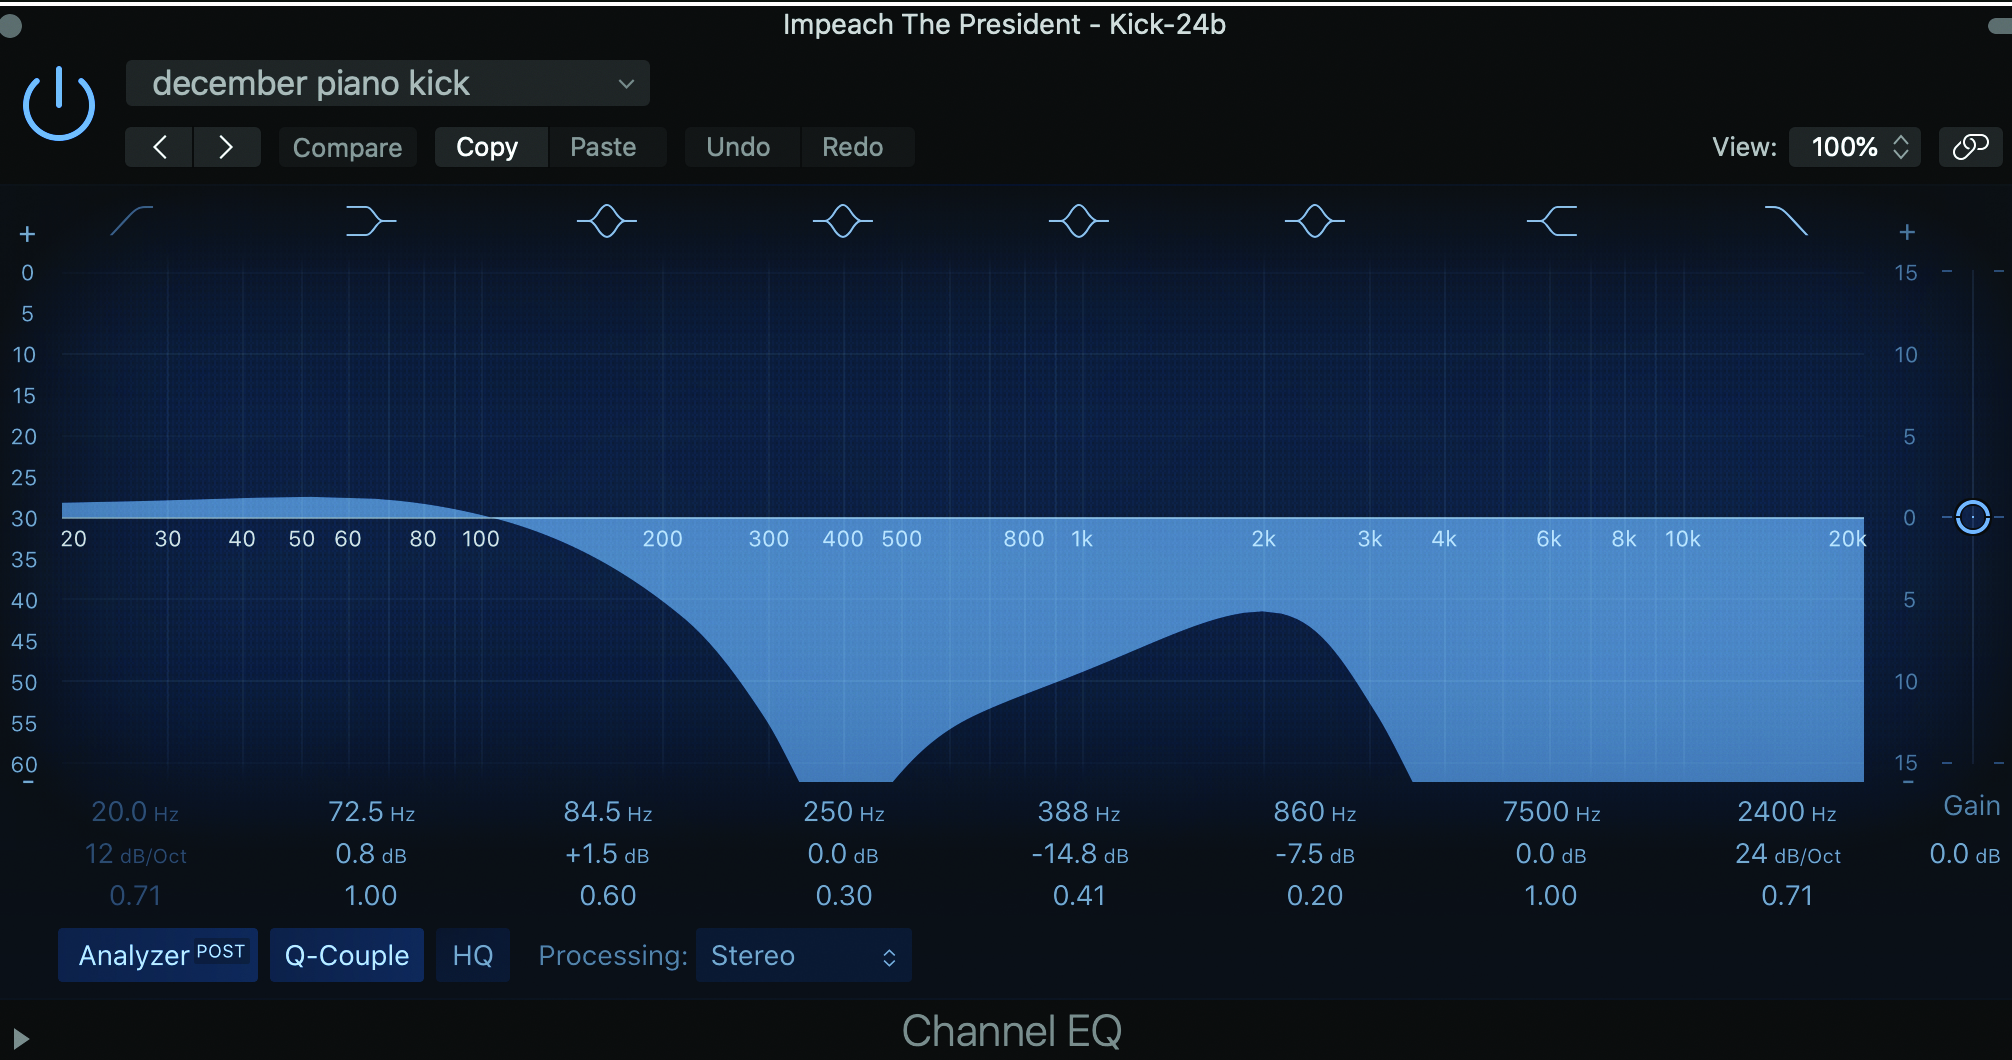
Step 8: Your drums may sound as good as they are, but chances are there’s still room for improvement. Think about your various components – particularly the kick and snare. Do these sound complete? Is the kick too bass-heavy and needs a little more punch at the top? Could the snare sound fatter/fuller?
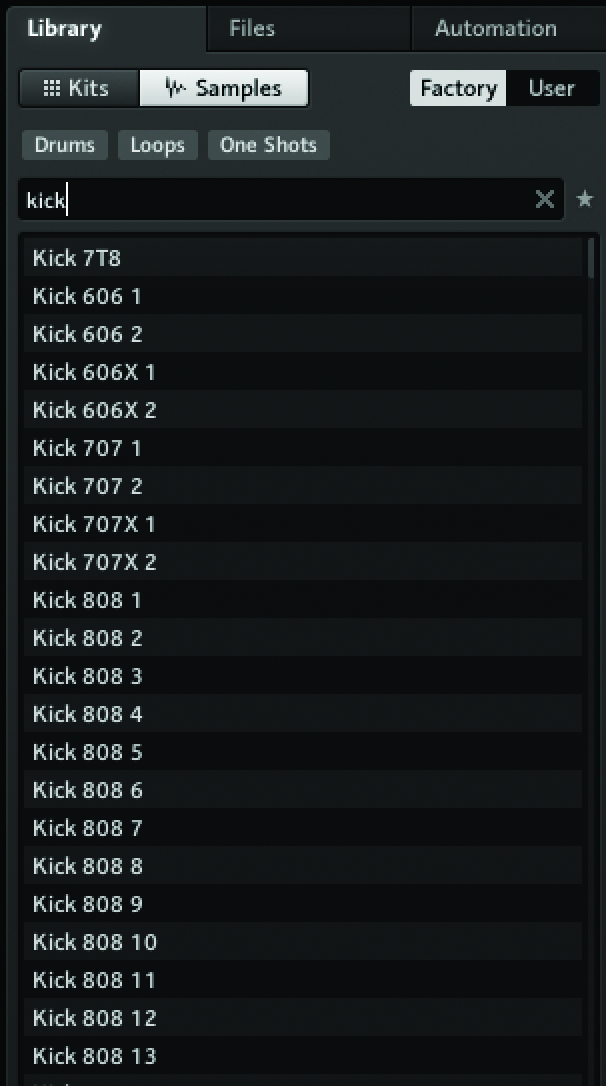
Step 9: I browse Battery 4’s drum sample library to find items that can accompany or enhance my sample drum break sounds. You may have your own drum libraries or recorded sounds for this.

Step 10: Once I’m happy with the components, I set about building a drum bus to bring the sounds together in the mix. One of my little secrets is to sometimes add a guitar amp effects unit to the chain on the bus. You can get some really unique lo-fi/organic tones by trying different guitar amps to play through.
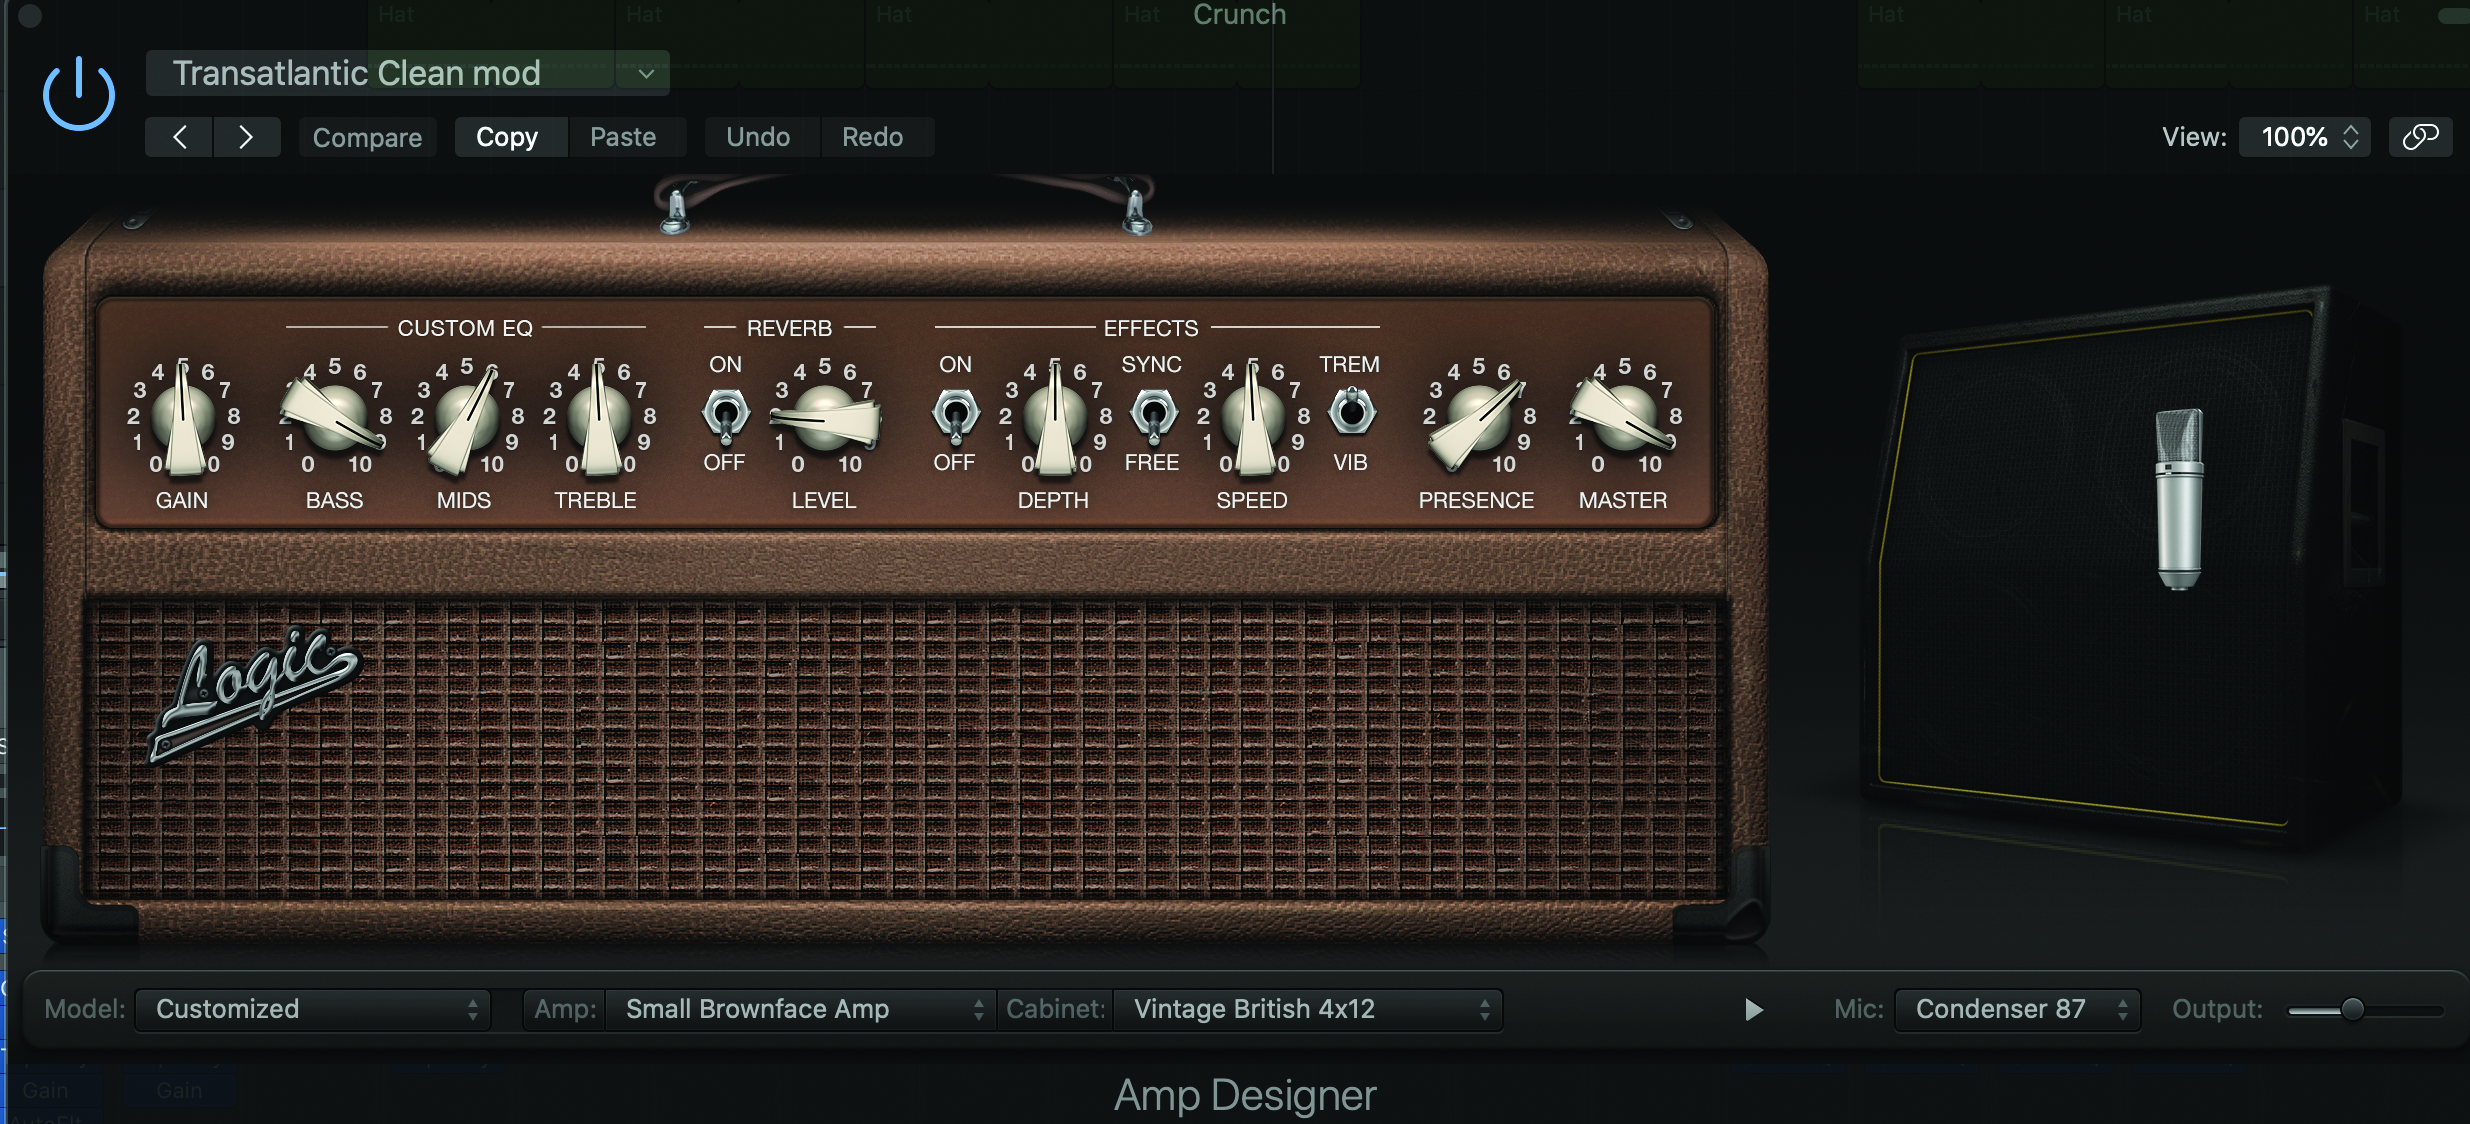
Step 11: I add as much guitar amp effect as I want to add some edge to the drums, then add a compressor to the chain to glue it all together and make it resonate.
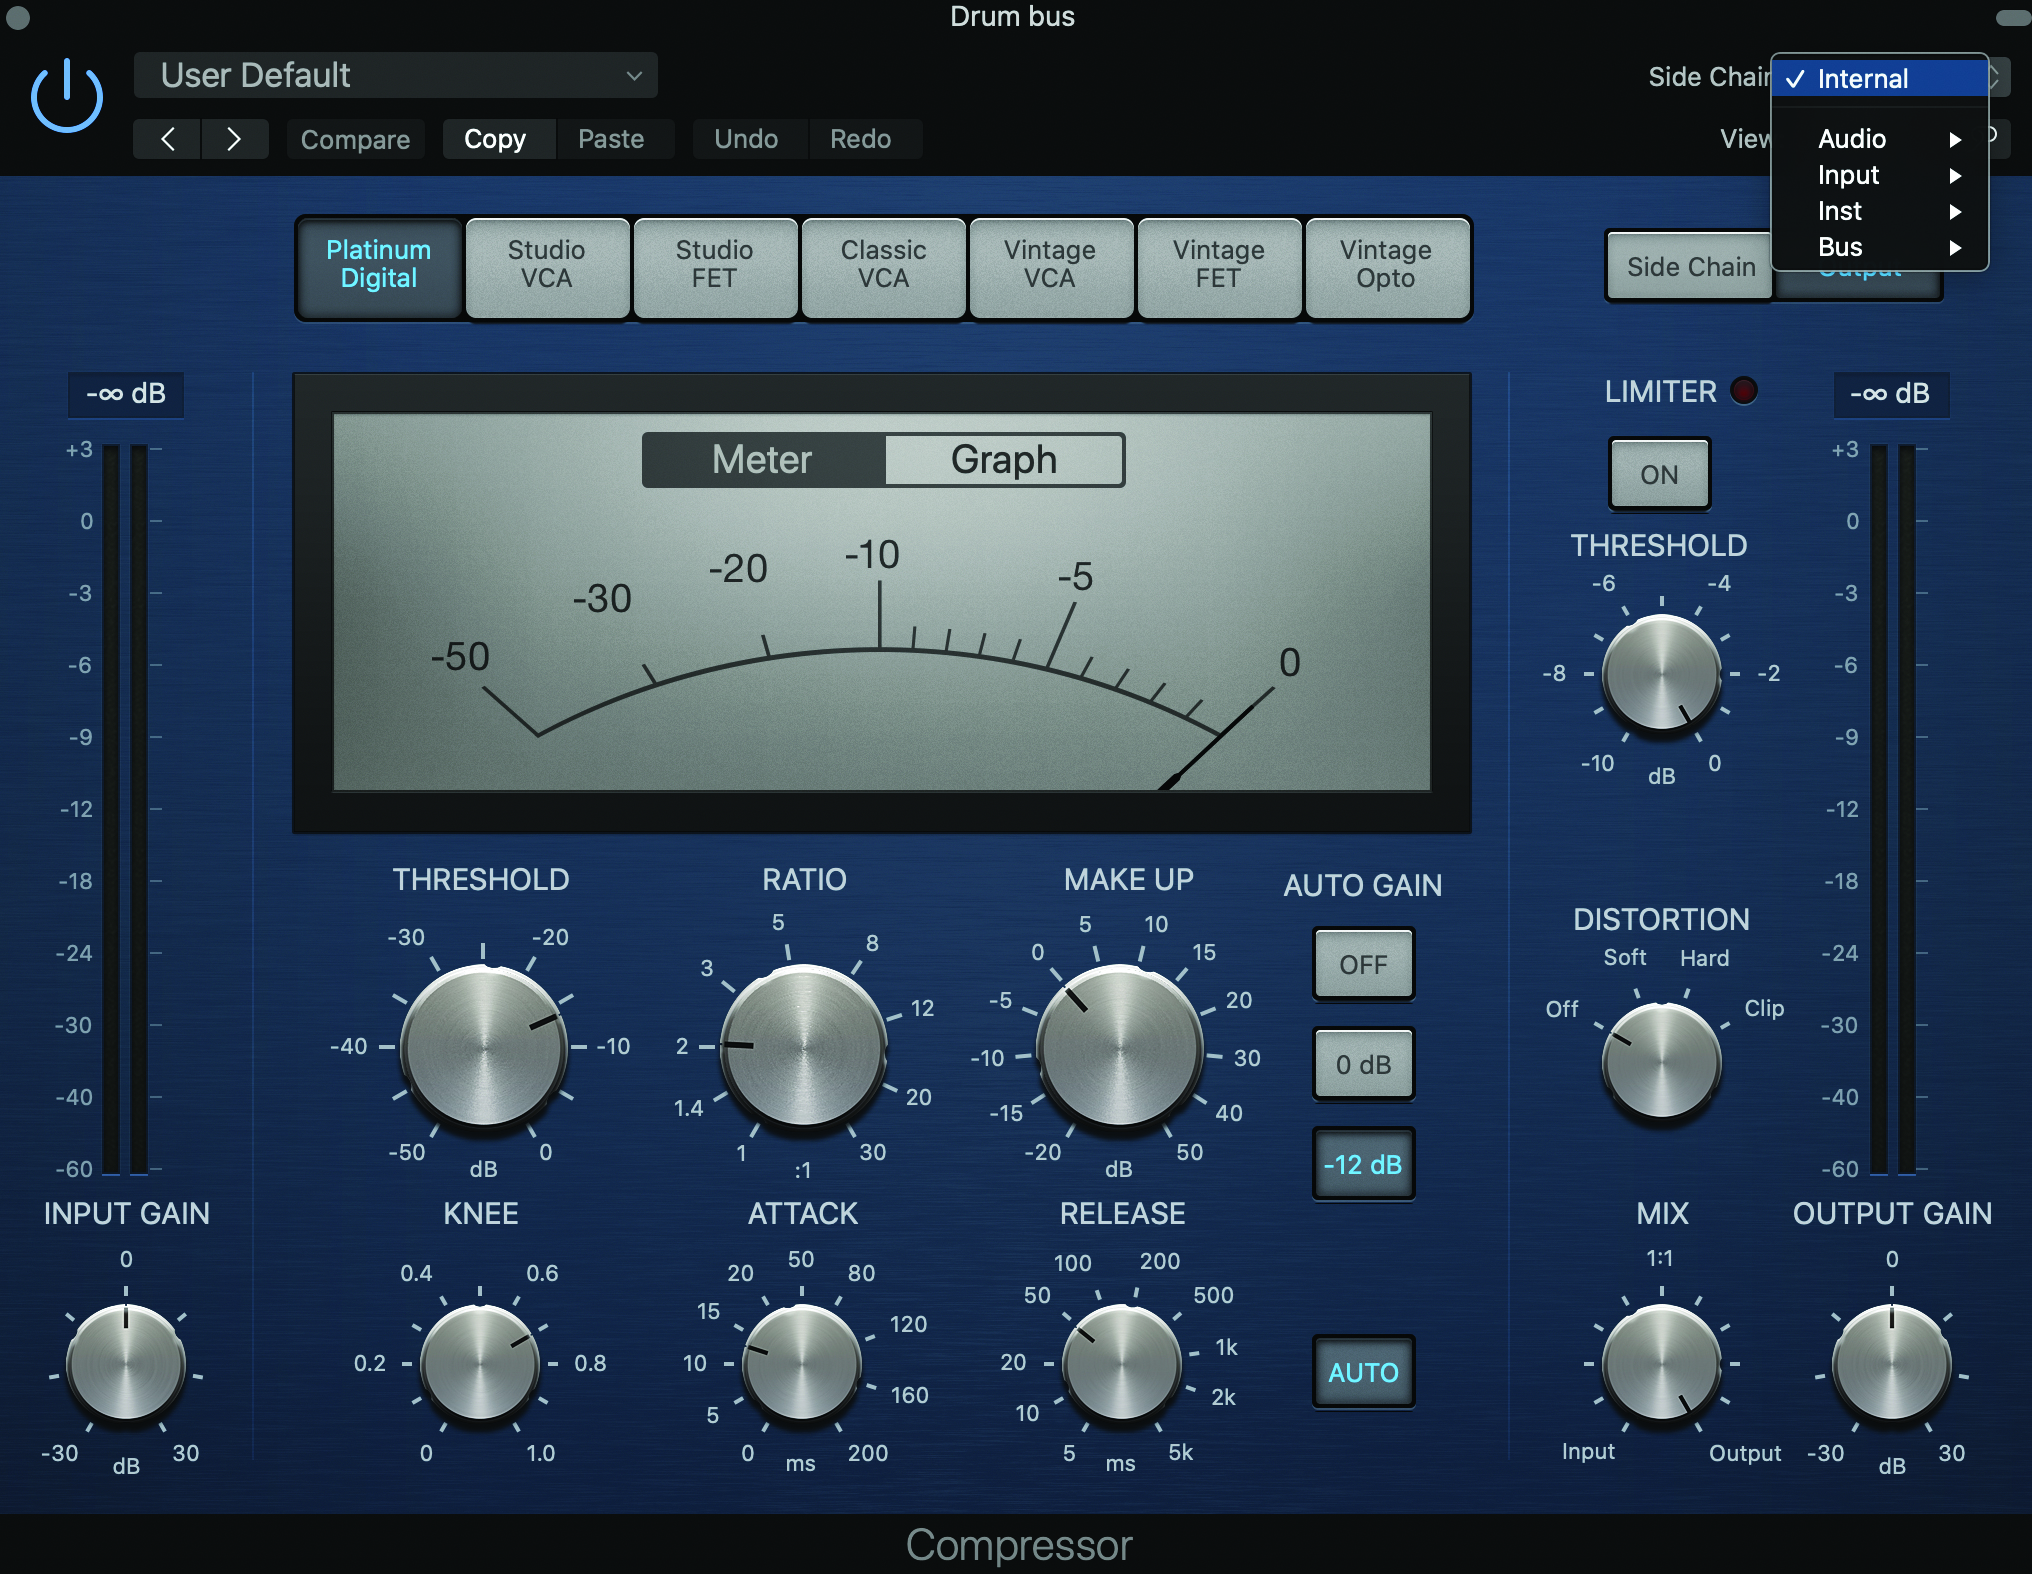
Step 12: Another thing to think about is the relationship between drums and bass. We have published previous tutorials on sidechain compression for bass. Be sure to review these to make sure your drums are sounding great and aren’t fighting for the same spot as your bass.