
Playing a vinyl record: How to properly drop the needle
If you know someone who is interested in turntables and playing vinyl records, chances are you’ve heard them babble about the tactile experience they offer versus digital audio – blah blah blah – and dropping the needle on a crackling black disc is a satisfying part of the whole recording ritual. Guilty as charged. But even with vinyl making its way to the top of the heap of physical music formats, I still find it interesting how many of my friends won’t go near my turntable when asked to put a record on for fear of getting it wrong or screw something up.
Granted, turntables and their accompanying polyvinyl discs are sophisticated, delicate analog devices that are prone to cracking, scratching, and a variety of horrible noises if not handled properly. But if you approach them less like a stomping gorilla and more like a soft-footed cat, you’ll be rewarded with some of the cutest sounds you’ve ever heard. This is where we come in. From unpacking and cleaning to lowering the tonearm, here’s how to play a vinyl record properly.
Derek Malcolm / Digital Trends
Remove the record from its case(s)
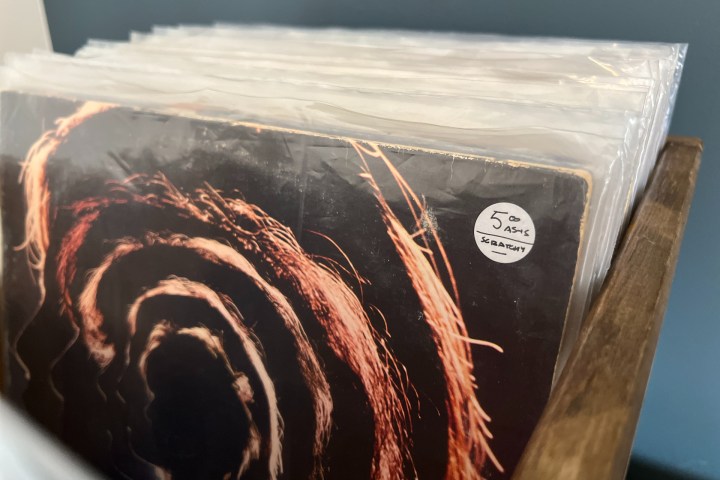
Not to sound condescending, but how you take a record out of its case is kind of important; Vinyl needs to be handled properly to prevent things like oil and dirt from collecting on it from your fingers, which can damage the record and your stylus.
A tip before we begin: if you’re playing someone else’s records, make a mental note of how they fit inside both the plastic outer dust cover (if you have one) and the inner sleeve (usually paper containing the actual disc inside) is placed in the cardboard outer casing. Make sure to put it back in the same way.
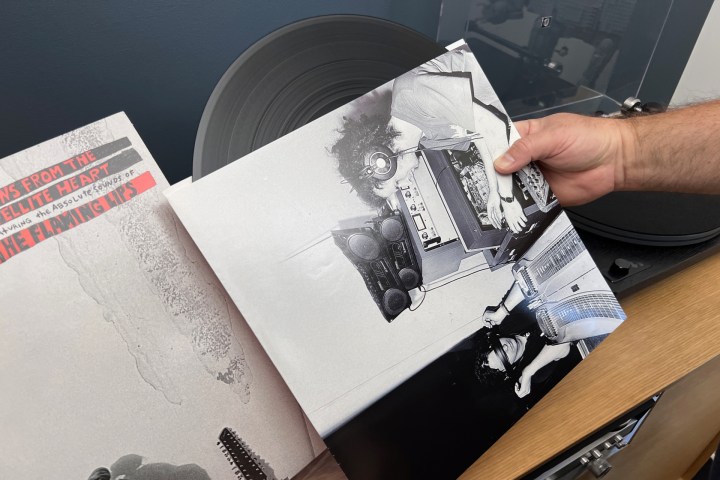
Step 1: if there is one outer protective cover made of plasticremove the record from it.

Abby Malcolm / Digital Trends
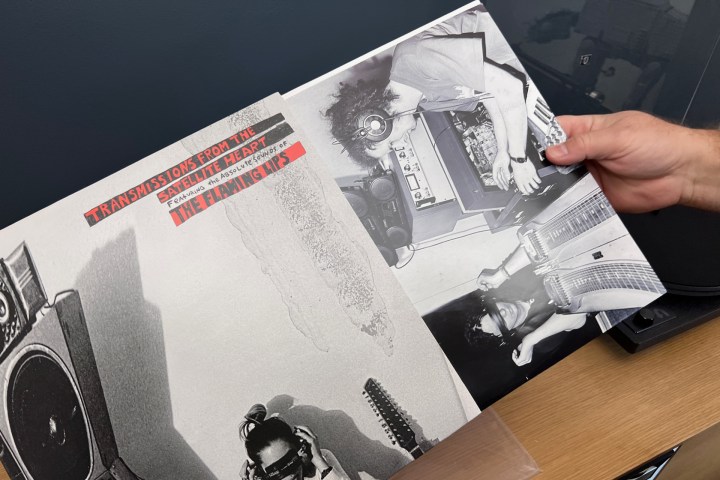
Step 2: The actual disc should be in another inner sleeve within the outer jacket. These are usually paper, or some collectors also use anti-static plastic inner sleeves. take that out
Abby Malcolm / Digital Trends
Step 3: Here’s the important part: Using one hand, gently slide a hand inside the inner sleeve and place a few fingers on the center label of the record.
Abby Malcolm / Digital Trends
Step 4: Slide your thumb along the outside edge of the record, following the basic rule of never touching the surface of the record.
Place the record on the turntable and spindle
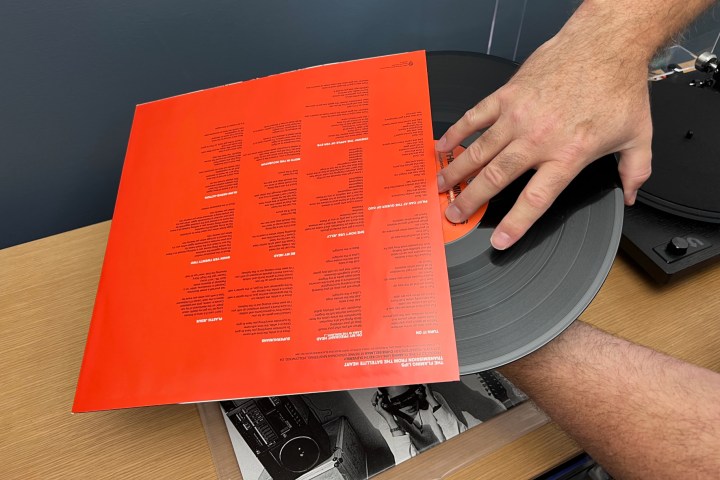
Step 1: Now that you’ve removed the record from its case, let’s make sure you handle it properly when you place it on the platter. This is basically the only way to ever hold a record. This also applies to losing weight.

Step 2: Hold the record by the outer edges and place it on the turntable spindle. Try to make sure you align it as best as possible to avoid the spindle marking the record label. Not a big deal, but if it’s a rare first pressing or a sentimental record, you don’t want to scratch it to death.

Clean the record with an anti-static brush
You’re almost ready to spin. The next step is to remove any dust, dirt, or pet hair from the surface of the record to protect the stylus and remove any static electricity. For this we use a common antistatic brush which you can buy pretty much anywhere.
For grittier or dirtier records, such as used finds or old records, a more thorough cleaning may be required. We cover that in more detail in another post.
Step 1: With the record on the platter, start spinning the platter.

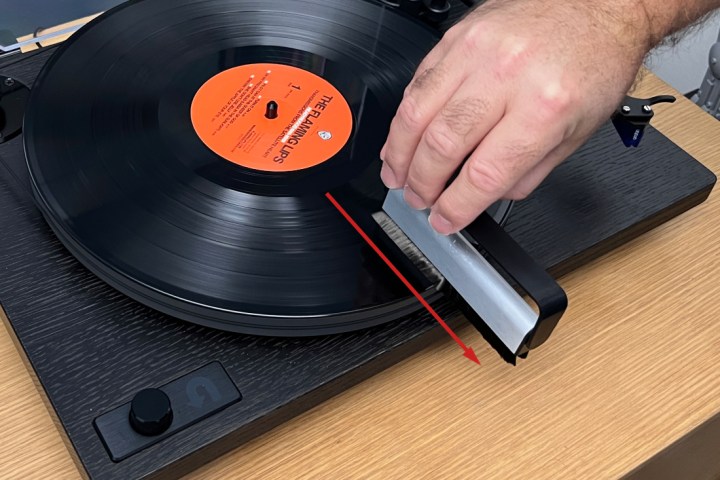
Step 2: Holding the brush against your body (touching the bristles will dissipate any static electricity), hold the anti-static brush perpendicular to the grooves of the record and gently touch the bristles at a slight angle to the spinning record.
Step 3: I like to start at the 9 o’clock position and move the brush to the 6 o’clock position. Then spin the record 4 or 5 times and just let the brush sweep over the surface of the record.
Step 4: To remove, slowly slide the brush toward the outer edge of the record until it comes off.
Step 5: Now you can repeat the process as needed, but make sure to clean the brush each time to loosen anything that’s stuck in it. This can be done with the brush’s plastic outer handle by flipping it back and forth over the bristles. If you want to be more thorough you can remove the outer handle and brush the bristles over the edge as well.
Step 6: Optional: Some people also like to clean their records after playing them before putting them back in their sleeves.
Put the needle on the record
When your record is cleaned, you’re good to go.
Step 1: Turn the platter on to spin at the correct speed – either 33 1/3 or 45 RMP. Every turntable is different. Some have a switch, while others start when you move the tonearm towards the record. Whatever yours works, do it.
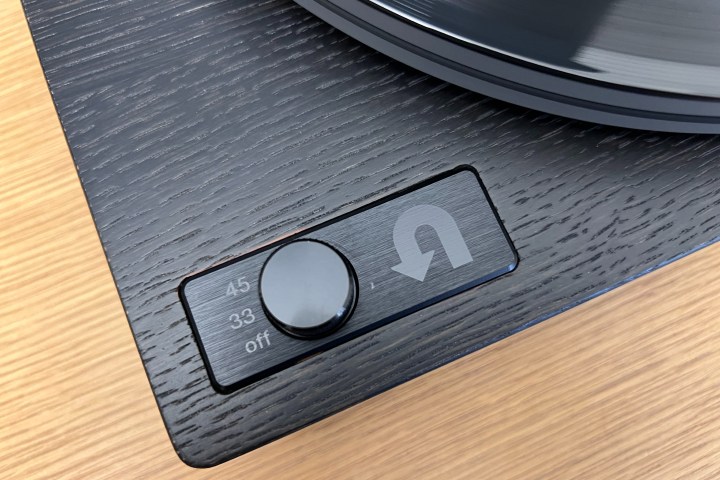
Derek Malcolm / Digital Trends
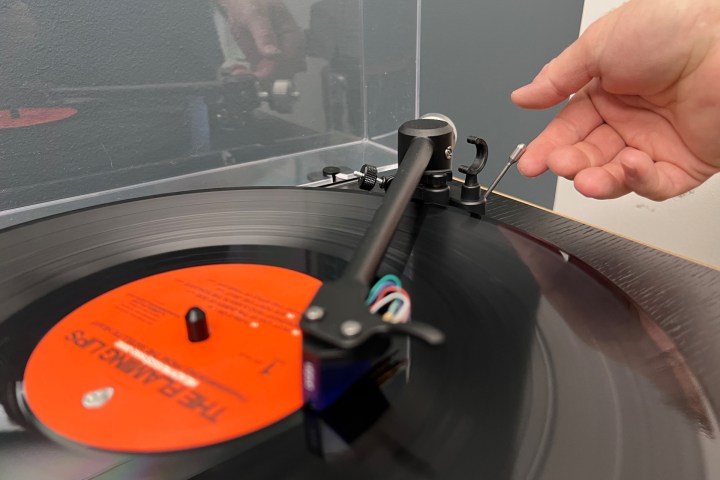
Step 2: Make sure the cue lever is locked (in the up position) and move the tonearm over so the needle sits just over the outer rim of the record to play the first song. When you release, the cue lever will float the needle over the record.
Step 3: Gently lower the cue lever and the needle will touch the surface of the spinning record and start playing.

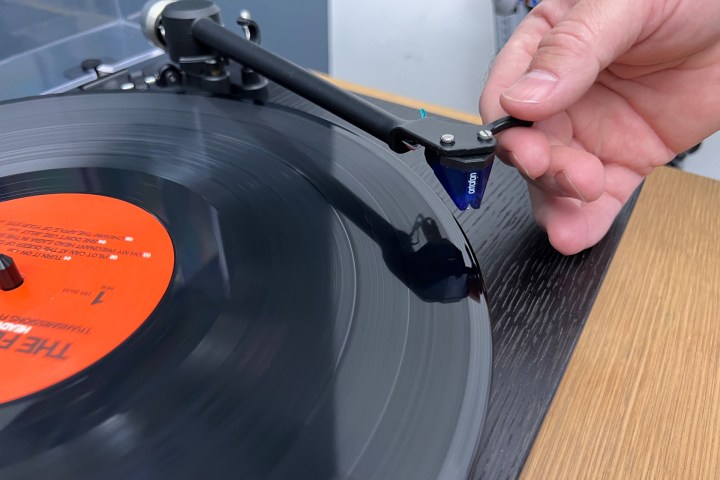
Step 4: Some turntables don’t have a cue lever, so you’ll need to lower the tonearm and stylus by hand. This is also easy, but may take some practice. I suggest using your index finger while resting your hand on the plate for stability.
Step 5: Turn up the volume and enjoy!
Stop recording
Some turntables have an auto-stop feature where the record stops spinning when it’s done. Whether that’s the case for you or not, here’s what to do when you’re ready to stop the music.
Step 1: Simply lift the cue arm to release the needle from the record, whether it’s still spinning or not.
Step 2: Put the tonearm back in its holder.
Step 3: While the record is still spinning, use the anti-static brush again to give the record a final clean before flipping it over to play the other side.
A clue on how to put records in sleeves
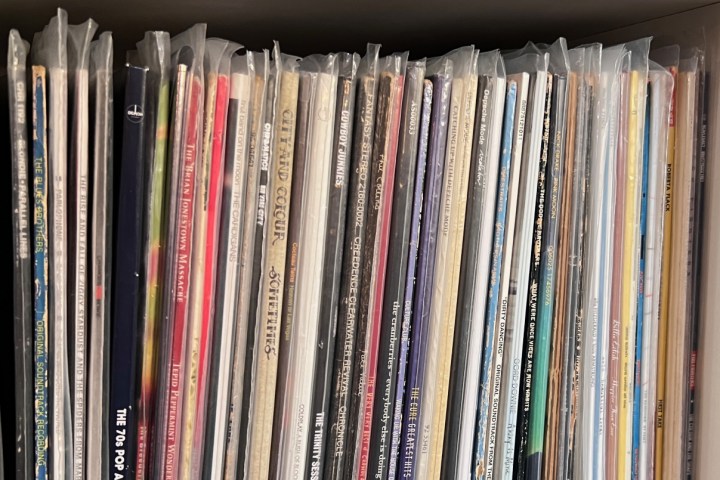
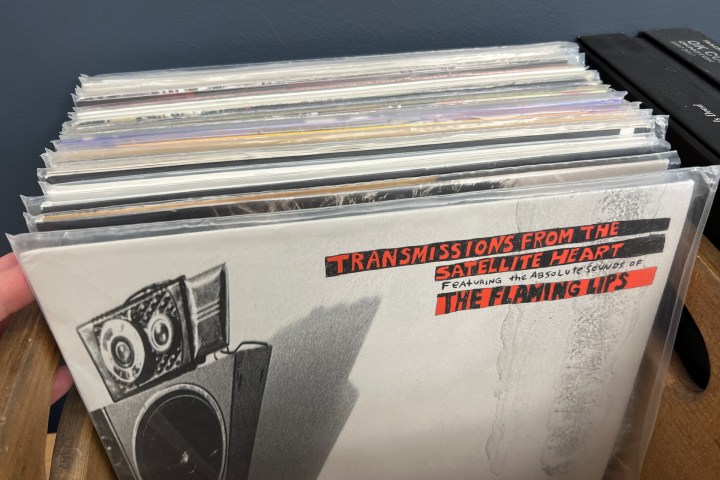
Another note on inserting the records correctly. It depends on how you store your records – like in record store-style bins or cases with the tops of the records exposed for leafing through, or on record shelves with the spines of the books facing outward. It also depends on whether or not you keep your records in plastic sleeves: most collectors do, some don’t, and that’s ok too.
Step 1: Slide the record in the inner sleeve back into the sleeve with the open side facing up and Not opposite the open side of the jacket. This way the record cannot fall out.
Step 2: Place the jacket back in the protective plastic sleeve. If you store your records in the record store style cases, place the plastic sleeves on their sides to avoid exposing the top of the record sleeve to dirty fingers when turning the pages.
If you store your records in record racks, put them in from top to bottom, open side up. This ensures that the spines of the books are covered and that the plastic sleeve does not get stuck inside when you pull it out of the shelf or you do not pull the sleeve out by yourself, especially in cramped shelves. It’s really in the weeds, but it’s the little things that count in record collecting. Enjoy!
Editor’s Recommendations