What Is the Vmmem Process in Windows Task Manager? Here’s How to Fix Its High Resource Consumption
Have you encountered a process called “Vmmem” in Windows Task Manager? Is it consuming too much CPU, RAM and other system resources that worries you? This is a process used by Windows to show how many resources virtual machines are consuming.
So if you see too much CPU or RAM usage, your virtual machine is to blame. In this article, we’ll take a closer look at this process and show you how to reduce resource consumption.
What does the Vmmem process do?
According to a Microsoft DevBlogs post, Windows creates the Vmmem process to display the resources consumed by virtual machines. If you see this process consuming too many resources in Task Manager, your virtual machines are actually using those resources, which this process only shows.
Typically, this process occurs when you are actively running a virtual machine in Hyper-V Manager or using WSL (Windows Subsystem for Linux) to run Linux executable binaries. In general, it shouldn’t overload your resources, but if it does, something is wrong.
Do you also see a high resource consumption in the task manager for this process? Let’s see what we can do to fix it.
First find out what is causing the problem
First, identify which virtual machine or program is behind the high resource consumption of the Vmmem process. If you’re only running a virtual machine manager, you’ve already found the problem. However, if you are running Virtual Machine Manager and WSL at the same time, you need to determine which program is causing the problem.
How can you determine what is draining your resources? To find out, give it a try and is the best approach. Close the virtual machines in your Hyper-V Manager and see if this helps reduce resource consumption. Likewise, you can shut down WSL tools and see what effects they have.
When we close a virtual machine in Hyper-V manager, the Vmmem process immediately disappears from the task manager, which means this process no longer consumes resources. On the other hand, if we close Linux tools or WSL, it takes some time for the Vmmem process to disappear. So wait a bit before judging the impact of the closure.
After identifying the main culprit, read the instructions below that explain how to reduce virtual machine resource consumption in Hyper-V Manager and WSL.
How to reduce resource consumption by virtual machines in Hyper-V Manager
If the Vmmem process in Task Manager shows high resource consumption when running virtual machines in Hyper-V Manager, apply the following preliminary checks first:
- Power on and off your virtual machines in Hyper-V Manager.
- Restart Hyper-V Manager after closing it.
- Only run one VM in Hyper-V Manager if you have more than one.
- If you are using another virtual machine client with Hyper-V Manager at the same time, close it.
If the above checks do not reduce resource consumption, which you can verify by looking at how many resources the Vmmem process is consuming in Task Manager, limit the virtual machine’s resource allocation in Hyper-V Manager. Here’s how:
- Start Hyper-V Manager.
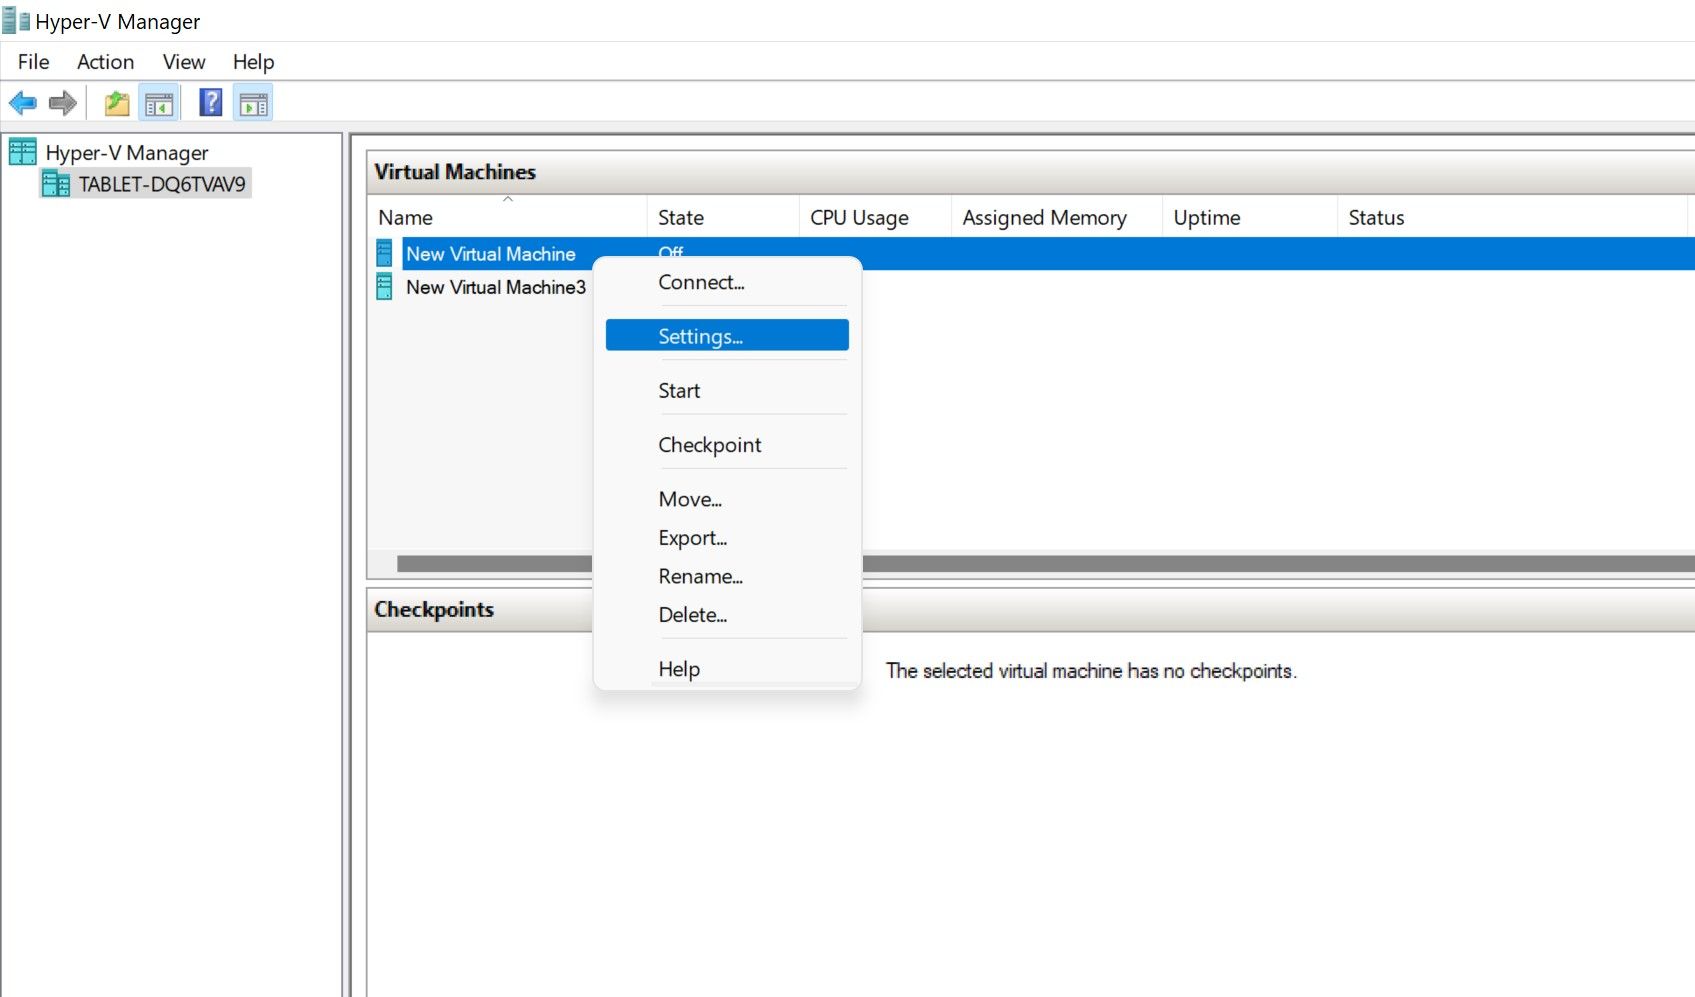
- Right-click on your virtual machine and click settings.
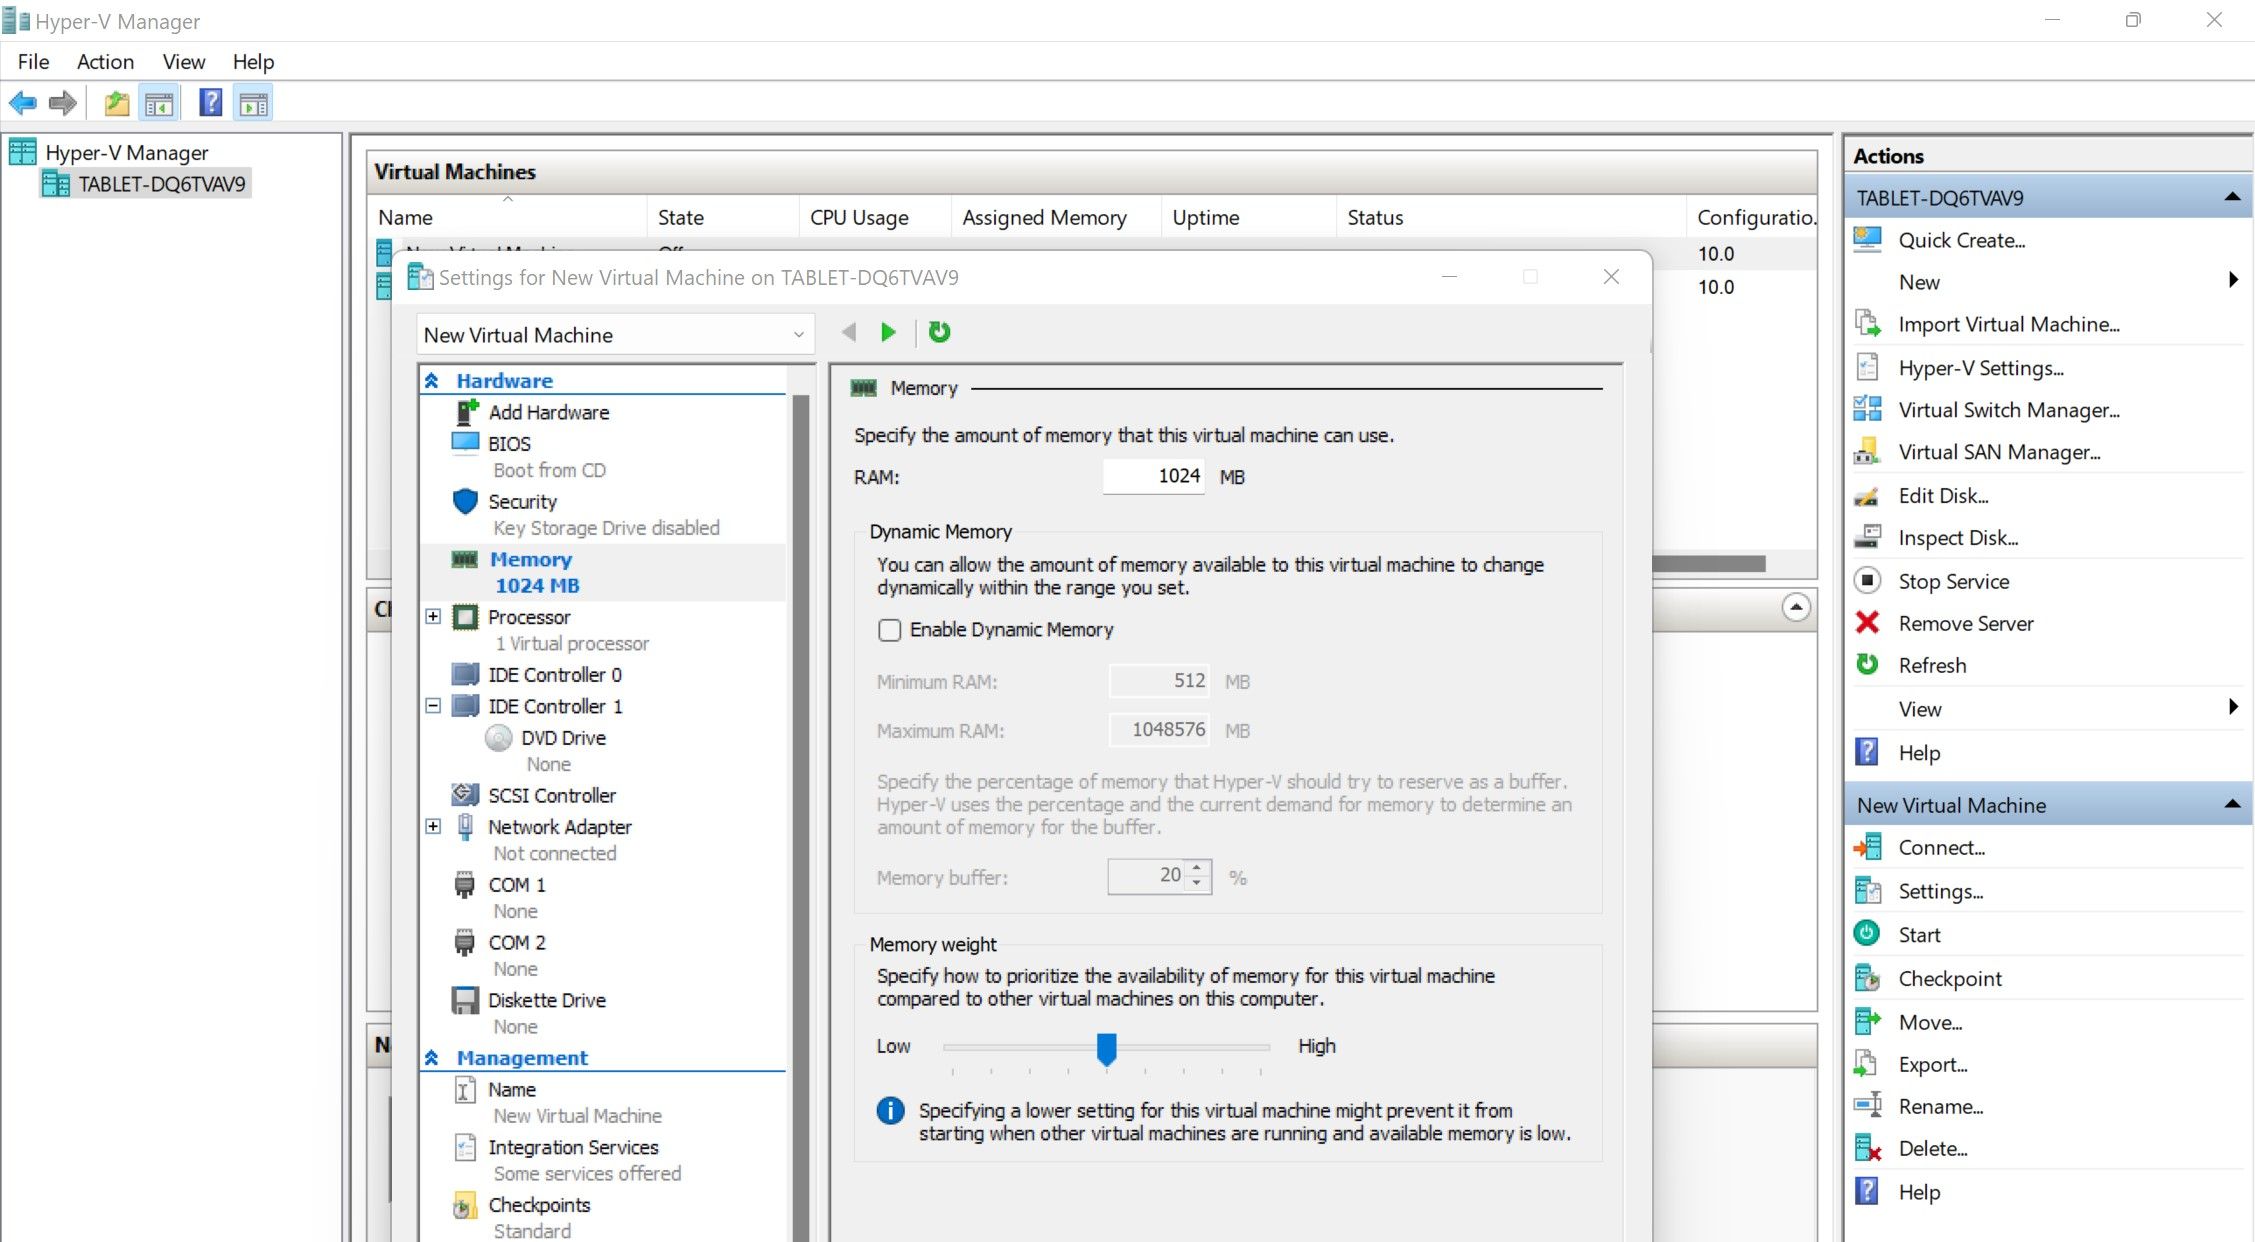
- Click in the left sidebar memory.
- Set the maximum amount of RAM that the virtual machine can use.
- Uncheck the box for Enable dynamic storage or limit the dynamic RAM that the virtual machine can use there.
Similarly, you can change other parameters to restrict the virtual machine to use only certain resources and not burden your computer. If tweaking these settings doesn’t help reduce resource consumption, you can give up Hyper-V manager and use another virtual machine manager like VirtualBox or VMware.
Most third-party virtual managers show memory usage in task manager with processes other than Vmmem process. For example, VMWare uses a process called VMware-vmx.exe. So keep an eye on them, and if they’re consuming too many resources, either limit their memory allocation or apply the fixes mentioned for Hyper-V Manager.
Depending on your Windows build (and it’s really easy to check your build on Windows 11), WSL might have the right to use 50% to 80% of your RAM, as explained in the Microsoft documentation. So you can imagine how resource hungry it can get, and that’s what the Vmmem process is trying to demonstrate.
If running the Windows Subsystem for Linux or certain Linux tools results in high resource consumption, as shown by the Vmmem process, you can reclaim memory and fix the problem by following the steps below:
1. Restart the WSL manually
One of the easiest ways to fix high resource consumption by WSL or Linux tools is to simply restart them. Therefore, you should manually close any Linux tool you currently have open, including WSL itself.
Wait a minute and see if the Vmmem process stops showing you the hefty resource consumption after that. If this is the case, restart the WSL distributions and see if the Vmmem process behaves the same way. If that’s the case, skip the second fix and apply the third.
However, if you close the WSL manually and the Vmmem process doesn’t stop in Task Manager, you’ll have to force shut it down. In the next fix we explain how this works.
2. Force close and restart WSL
To force close WSL, follow these steps:
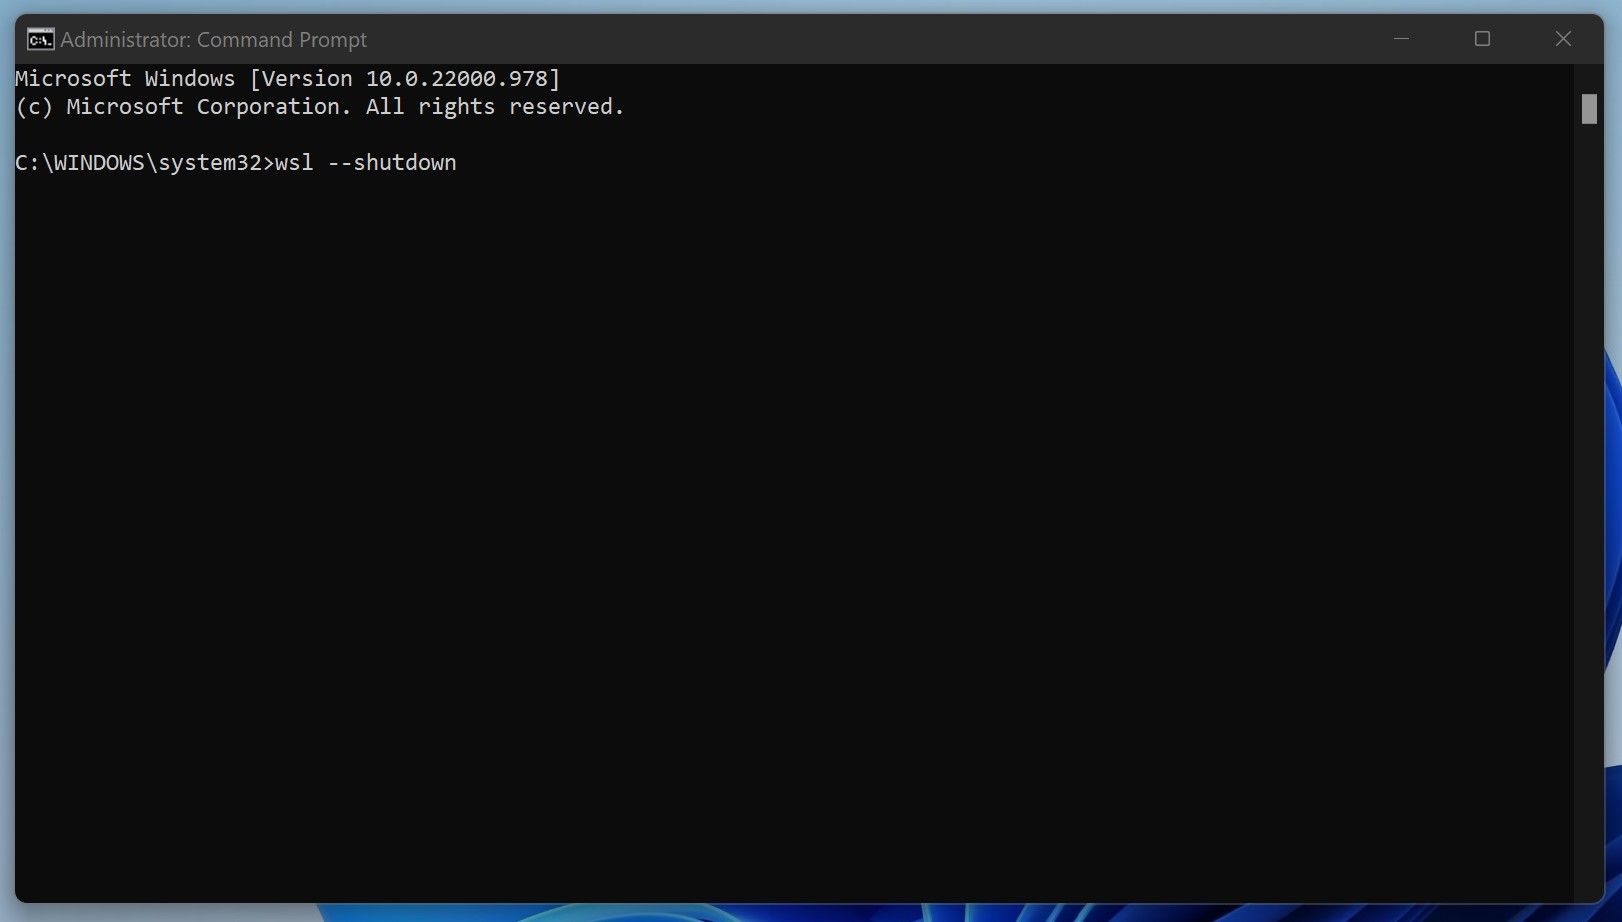
- Run Command Prompt as Administrator.
- Type “wsl –shutdown.”
- blow Enter.
After that, restart the WSL distributions. If restarting WSL doesn’t fix the issue, move on to the next fix.
3. Manually limit resources for WSL
WSL can also be limited in terms of the resources it uses, so it doesn’t overload your system with excessive resource requests. You can only do this with WSL 2, which only works on Windows builds higher than 19041. Read our article on installing WSL 2 on Windows if you haven’t already.
If your Windows build supports WSL 2 and you already have it installed, you can limit its resources by following these steps:
- Run the Windows command prompt as an administrator.
- Type “wsl – shut down” and press Enter.
- Close the Windows command prompt.
- Open the WSL.
- After replacing your username, enter the following command:
editor "$(wslpath "C:\Users\YourUsername\.wslconfig")"
- blow Enter.
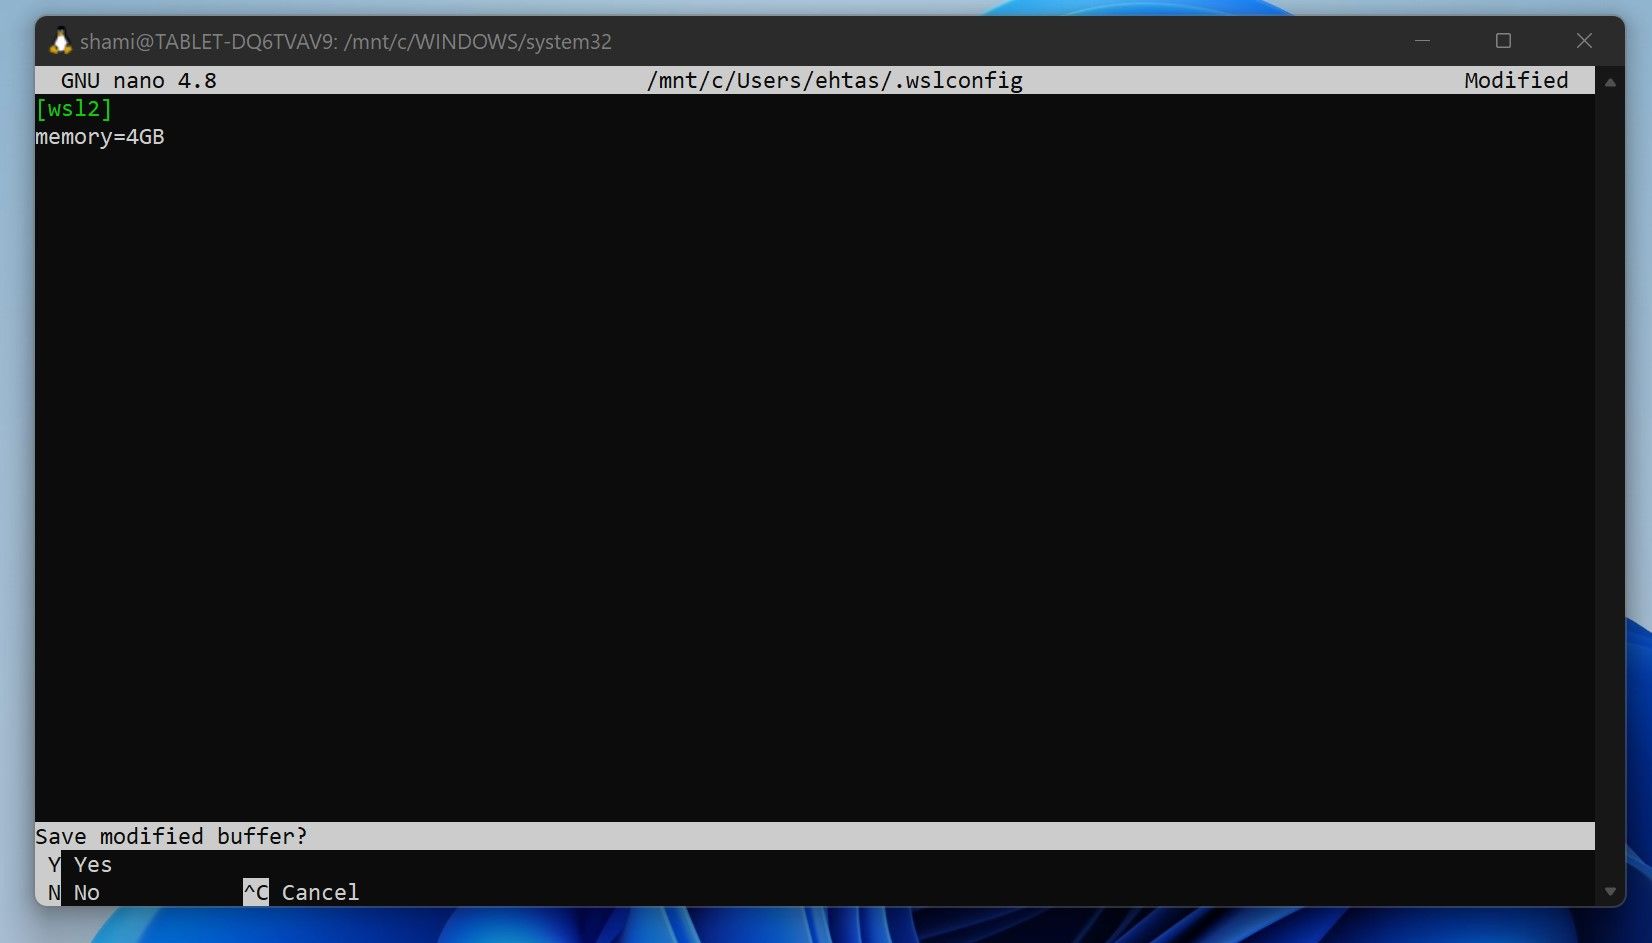
- Enter the following configuration: [wsl2] Memory = 5GB (limit it based on your RAM size)
- blow CTRL + X.
- Press “Y” when prompted to save changes.
- Confirm the location by pressing Enter again.
- Repeat steps one through three.
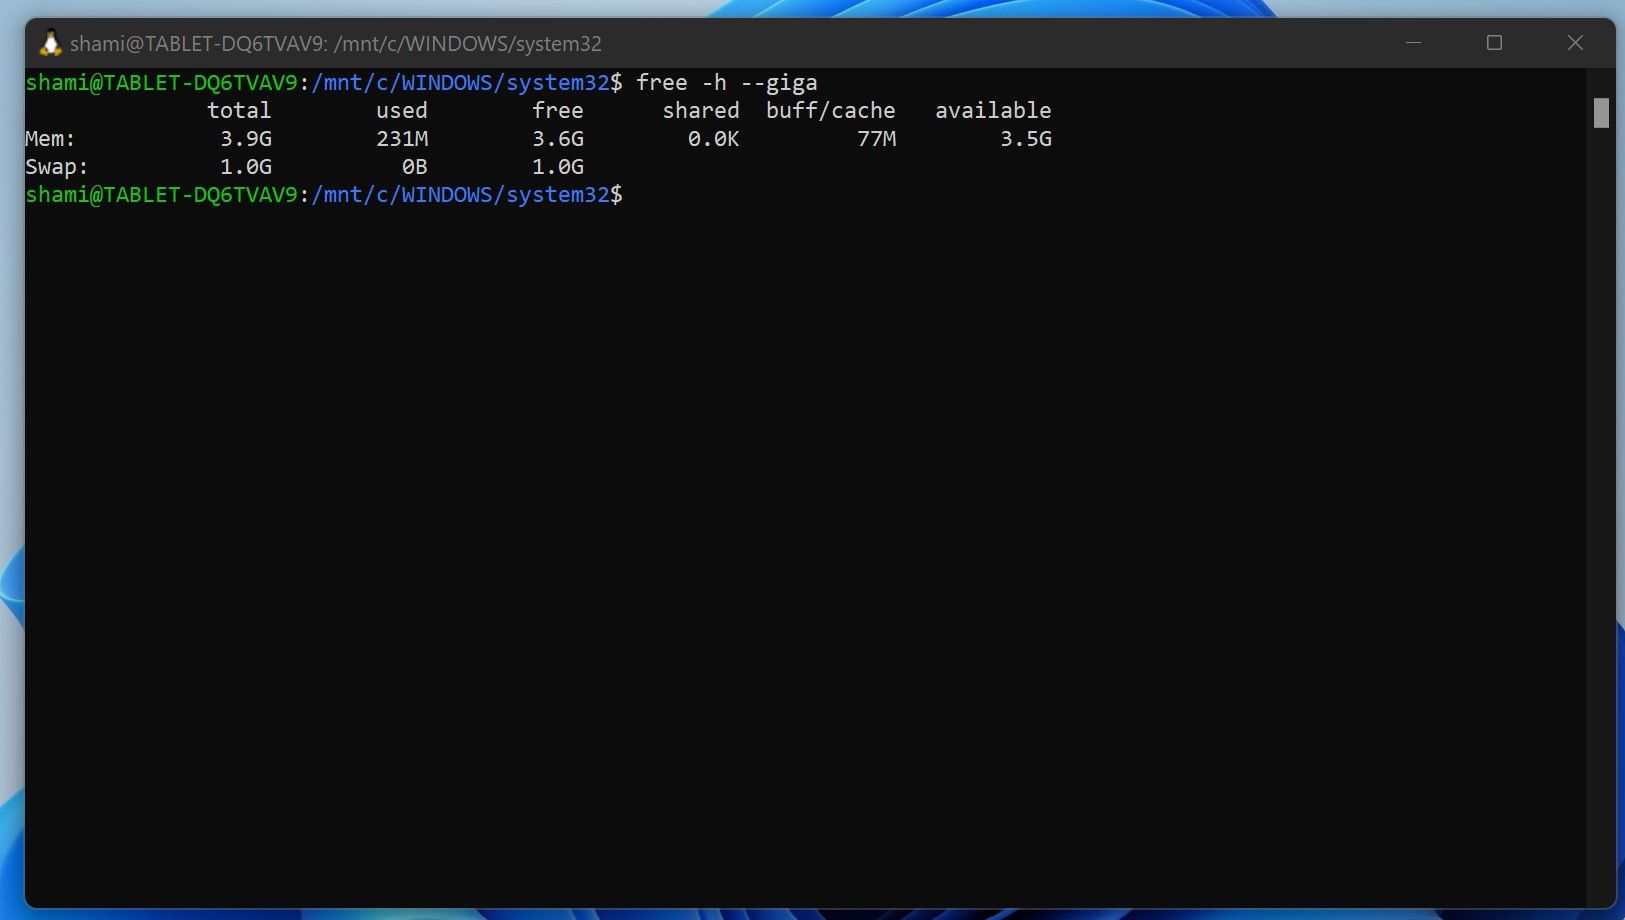
- After WSL restarts, run the following command to confirm that resources were allocated successfully.
free -h --giga
You can use the steps above to limit WSL’s resource usage so it doesn’t overload your computer.
Is it possible to kill the Vmmem process?
The task manager does not allow you to close the Vmmem process like normal tasks. If you try this, an error will occur. To kill the Vmmem process you need to close your VMs and WSL or one of their Linux tools.
Don’t let virtual machines consume your resources
The tips mentioned in this article should help you to limit the resource consumption of virtual machines. After that, the Vmmem process will no longer show up as a resource consumer in Task Manager.
Choosing an excellent virtual machine manager is essential to run virtual machines efficiently. A reliable virtual machine manager will give you optimal performance that an ordinary one doesn’t have.
